This roasted garlic hummus recipe is smooth and creamy with rich, pungent, savory flavors. Quick and easy to make, it’s the best hummus you’ll ever taste!

Admittedly, I didn’t try hummus until I was an adult, but I was immediately hooked!
Since that first taste, I’ve gone out of my way to try as many brands and flavor variations as possible.
Roasted garlic varieties have always been my favorite, but they can be hard to find.
Why you’ll love this recipe
So, instead of going without my favorite dip, I made my own, and I may never go back to pre-made versions again. Here’s why I know you’ll love this recipe:
- Flavor – With homemade roasted garlic and tahini, this recipe is rich and pungent with nutty, sweet notes that leave you coming back for more. Plus, you can easily adjust the ingredients to suit your preferences!
- Texture – Blended with ice water, the texture comes out deliciously thick and smooth, never grainy.
- Stores well – One batch makes 1 ½ cups and keeps well in the fridge for easy snacking throughout the week.
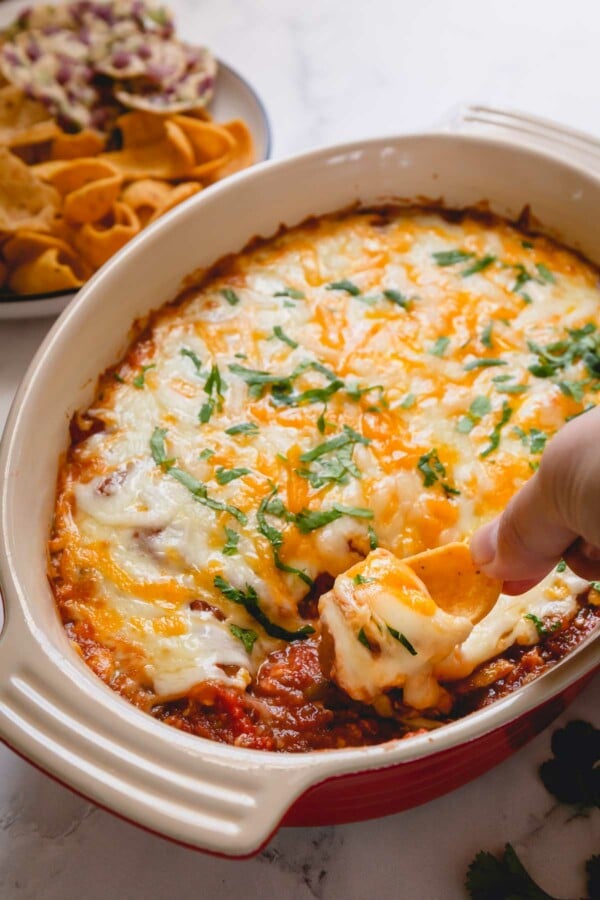
Pair this hummus with creamy hot cheese dip, roasted beet dip, and pesto artichoke dip for the ultimate crowd-pleasing appetizer platter!

Pin this now to find it later
Pin ItKey Ingredient Notes
- Chickpeas – Also known as garbanzo beans, these form the base of the hummus. I always use canned chickpeas to save time. Just be sure to rinse and drain them first.
- Lemon juice – Freshly squeezed is best! The acidity helps balance the richness of the fats and adds a bright, refreshing taste.
- Tahini – This is a crucial ingredient. In my blind tasting, I could tell the difference between one with tahini and one without!
- Roasted garlic – Make roasted garlic ahead of time using a whole head of garlic, oil, and a pinch of salt.
- Seasonings – I include cumin and salt in the dip to enhance the other ingredients and add a warm, slightly spicy taste. Then, I often sprinkle smoked paprika and za’atar on top for extra oomph.

Switch up the flavor
Feel free to get creative and experiment with different mix-ins and flavor variations to make this recipe your own. Some of my favorite ways to switch it up include:
- Spice – Add ½ to 1 teaspoon of harissa paste, Sriracha, cayenne, or chili flakes for a kick of heat.
- Herbs – Add ½ cup of parsley, cilantro, or dill for a bright, refreshing taste.
- Roasted Red Pepper – Add up to ½ cup of roasted red peppers for more depth.
- Caramelized Onions – Create a garlic and onion-inspired dip by including up to ½ cup of caramelized onions. Or, use them in place of the garlic for a slightly different taste.
How to make roasted garlic hummus
- Shake the chickpeas vigorously in a plastic container to loosen the skin.
- Peel the chickpeas and discard the skins.

- Combine all the ingredients except the ice water in a large food processor.


- Blend until smooth.

Adjust the consistency
Add ice water as needed while you blend until you achieve a smooth, creamy consistency.
Tips for Success
- Peel the chickpeas for an ultra-smooth texture. I’ve tested this recipe with peeled and unpeeled chickpeas, and there was a big difference! Personally, I don’t enjoy the chunky, almost grainy texture you get with unpeeled chickpeas.
- Cool the garlic. I highly recommend roasting your garlic ahead of time and letting it cool slightly before blending. If it’s hot, it may explode and create a mess!
- Use high-quality tahini. The taste and texture of tahini can vary wildly from brand to brand, and some can taste pretty bitter. For the best results, look for organic tahini with minimal ingredients.
- Scrape the sides of the food processor. Stop blending occasionally and scrape the sides of the bowl as needed to ensure all the ingredients are well combined.
- Rest the hummus. I always chill my hummus before serving, finding that the rest time allows the flavors to develop nicely.
Ways to use roasted garlic hummus
Homemade hummus is so versatile! Here are some of my favorite ways to use it:
- Dip – great with veggie sticks, homemade falafel, or added to a charcuterie board
- Dressing – adds flavor and texture to salads, like a falafel salad
- Topping or Spread – in wraps, pita sandwiches, or grain bowls

Make-Ahead Tips
The prep time for this roasted garlic hummus recipe can be a little tedious. So, I often like to prepare the different components in advance. Then, all I have to do is combine the ingredients and blend!
- Chickpeas – Drain and rinse the chickpeas, and remove the skins. Then, transfer them to an airtight container and store them in the fridge for up to 3-4 days.
- Roasted Garlic – Refrigerate roasted garlic for up to 3 days, or freeze it for up to 3 months.
Storing Tips
- Store leftover hummus in an airtight container in the refrigerator for up to one week.
- Freeze cooled roasted garlic hummus for up to 3 months.
- Thaw frozen hummus in the refrigerator overnight. Then, give it a quick stir, adding a splash of ice water or lemon juice as needed to combine the ingredients again.

FAQs
I don’t recommend it! Chickpeas are a staple ingredient in most hummus recipes, contributing to the dip’s unique flavor and creamy consistency.
Technically, you can, but the flavor of your hummus will be very different. So, I don’t recommend it.
You can use a high-speed blender instead, but you may need to stop more frequently and run the risk of it overheating.
More Dip Recipes

Roasted Garlic Hummus
Ingredients
- 1 (15 oz) can chickpeas, drained
- 2 tablespoons (30 g) fresh lemon juice
- ¼ cup tahini Note 1
- 1 head of roasted garlic
- ½ teaspoon cumin
- ½ teaspoon salt plus more to taste
- 2-3 tablespoons ice-cold water
- For garnish: smoked paprika Za’atar
Equipment
Instructions
- Place the chickpeas in a plastic container, cover and shake vigorously to loosen up the skin. Peel off the skin. (I’ve tested this recipe with peeled and unpeeled chickpeas side by side, and the difference was quite noticeable! It took me a little over 20 minutes to do this step.)
- In a large food processor, place all the ingredients except for ice water and garnishes.
- Blend until smooth, adding ice-cold water as you blend for creamer texture, about 1.5 minutes.
⭐️ Did you make this recipe?
Please leave a review and let us know how you liked it!
Tips & Notes
– Store leftover hummus in an airtight container in the refrigerator for up to one week.
– Freeze cooled roasted garlic hummus for up to 3 months.
– Thaw frozen hummus in the refrigerator overnight. Then, give it a quick stir, adding a splash of ice water or lemon juice as needed to combine the ingredients again.
Nutrition