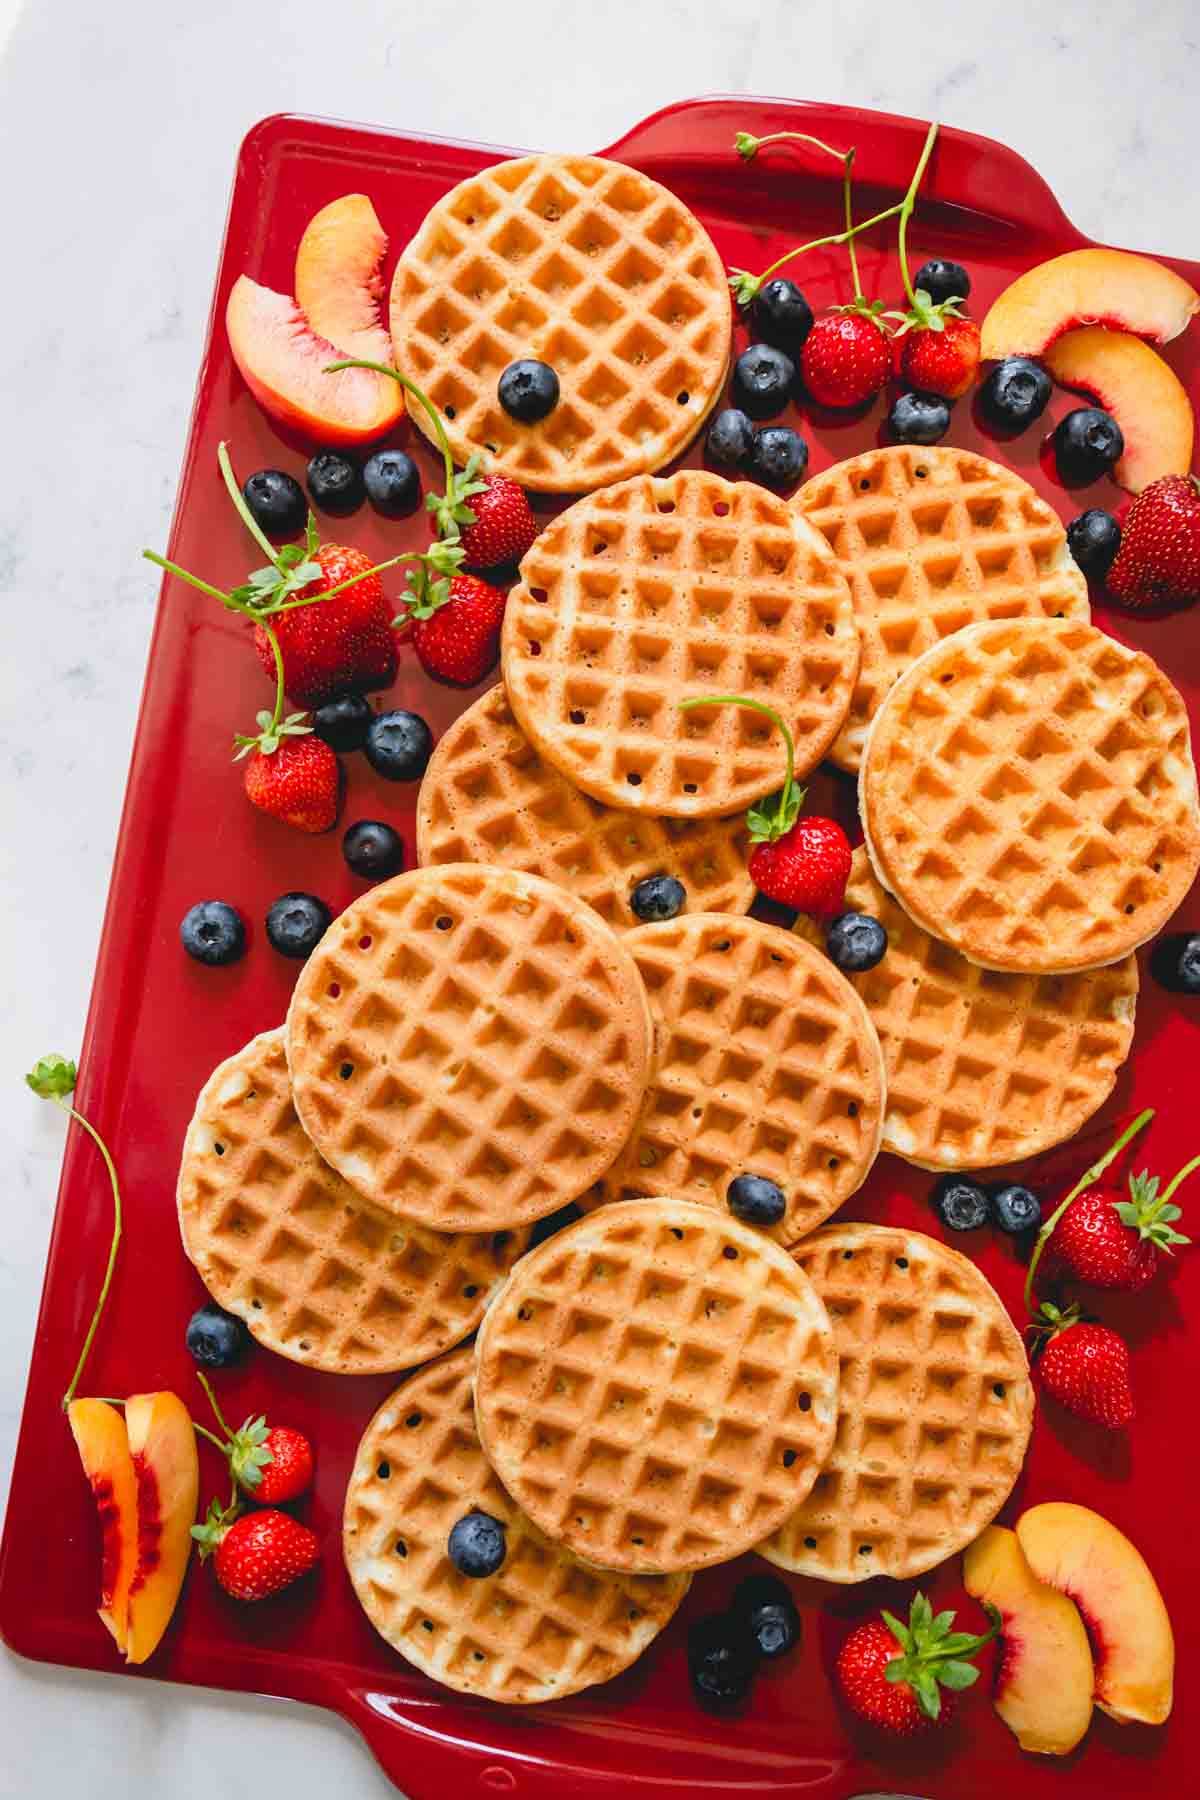
The best homemade waffles boast crisp, golden brown edges with light and airy middles. This is my go-to waffle recipe for busy mornings and lazy Saturdays!

Why you’ll love this recipe:
I cherish a carb-laden hot breakfast, especially one with crispy waffles drizzled in sweet maple syrup. The golden brown pockets hold little pools of syrup and melted butter. It’s breakfast heaven! My crew devour these waffles, then promptly ask for seconds, and I’m confident yours will too!
- Crispy golden brown exteriors
- Light and fluffy centers
- Easy to make (& freeze!)
But don’t save waffles for late mornings and lazy Saturdays, homemade waffles are easy to freeze! Just pop one in the toaster or toaster oven, and breakfast is ready.
Key Ingredient Notes:
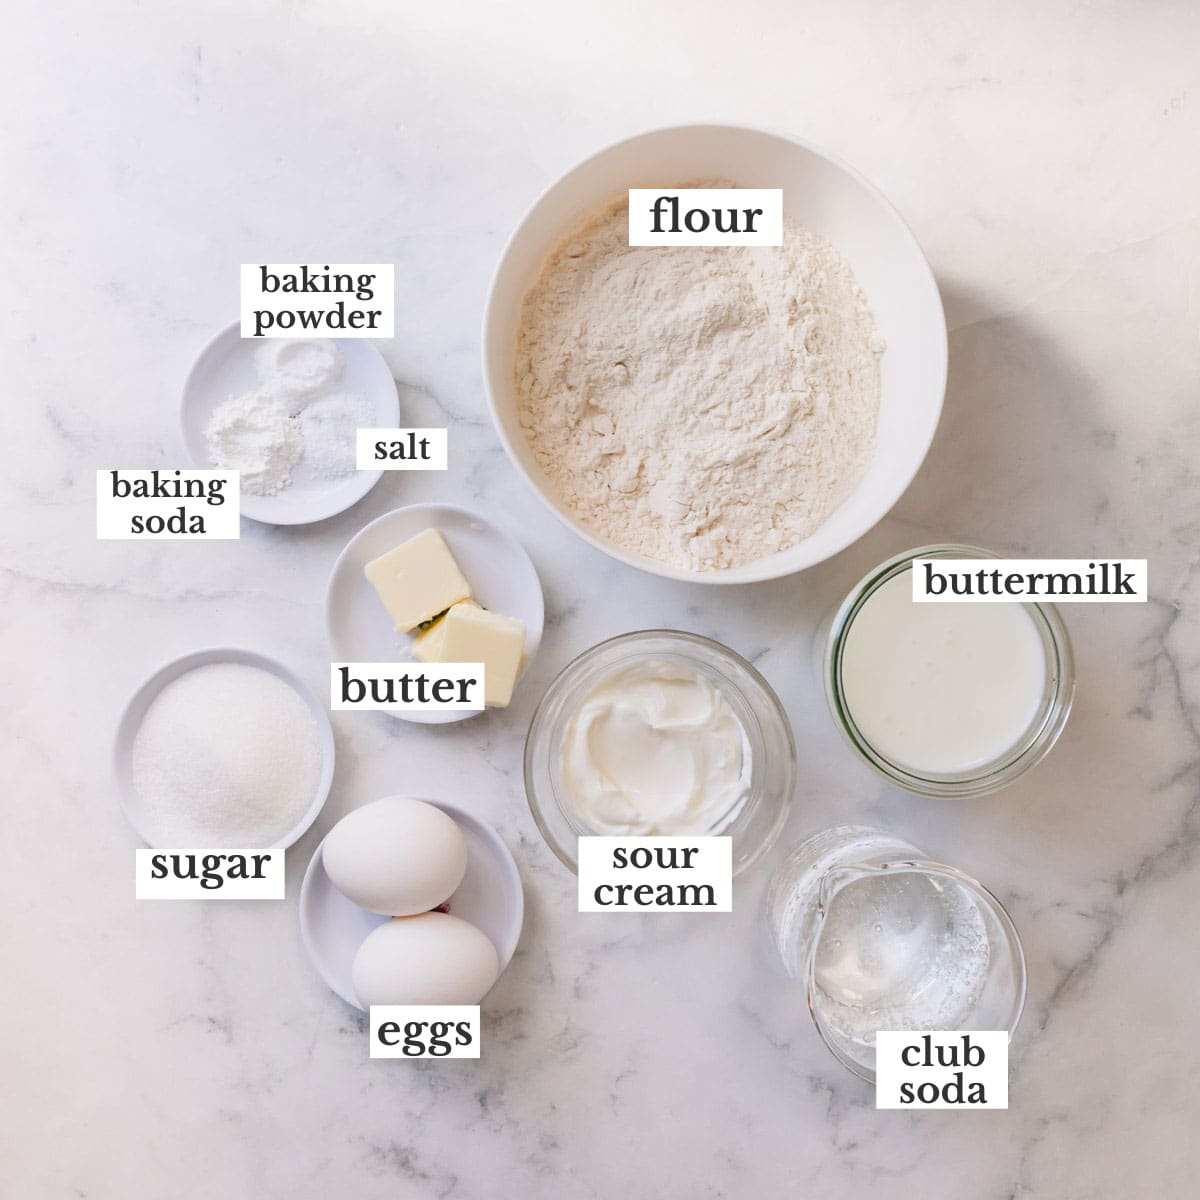
- Sour Cream – Sour cream is less about tang, and more about texture and flavor. It creates a light and airy waffle with a rich taste.
- Buttermilk – Buttermilk reacts with the baking soda to create carbon dioxide bubbles, which causes the batter to rise in the waffle iron, giving you crisp edges and light centers. If you don’t have buttermilk, swap with 1 1/2 cups of sour cream with 1/2 cup of water.
- Sugar – Two tablespoons is plenty to sweeten the waffles! A hefty drizzle of maple syrup will do the rest.
- Leaveners – Baking powder is a mixture of baking soda and an acid like cream of tartar. This combo activates when it’s mixed with a liquid and releases carbon dioxide into the waffle batter for lift. If you haven’t used your baking powder in ages, test it to make sure it’s active. Drop a teaspoon of baking powder into hot water and look for a fizzy reaction. If nothing happens, throw it out and buy a new can.
- Club soda – Aerates the batter even more! Unflavored sparkling water works great too, but avoid tonic water since it’s slightly bitter.
- Butter – For a rich, buttery taste!
How to make this recipe:
This classic waffle recipe is a breeze to make! Here’s step-by-step instructions with photos to guide you through the process.
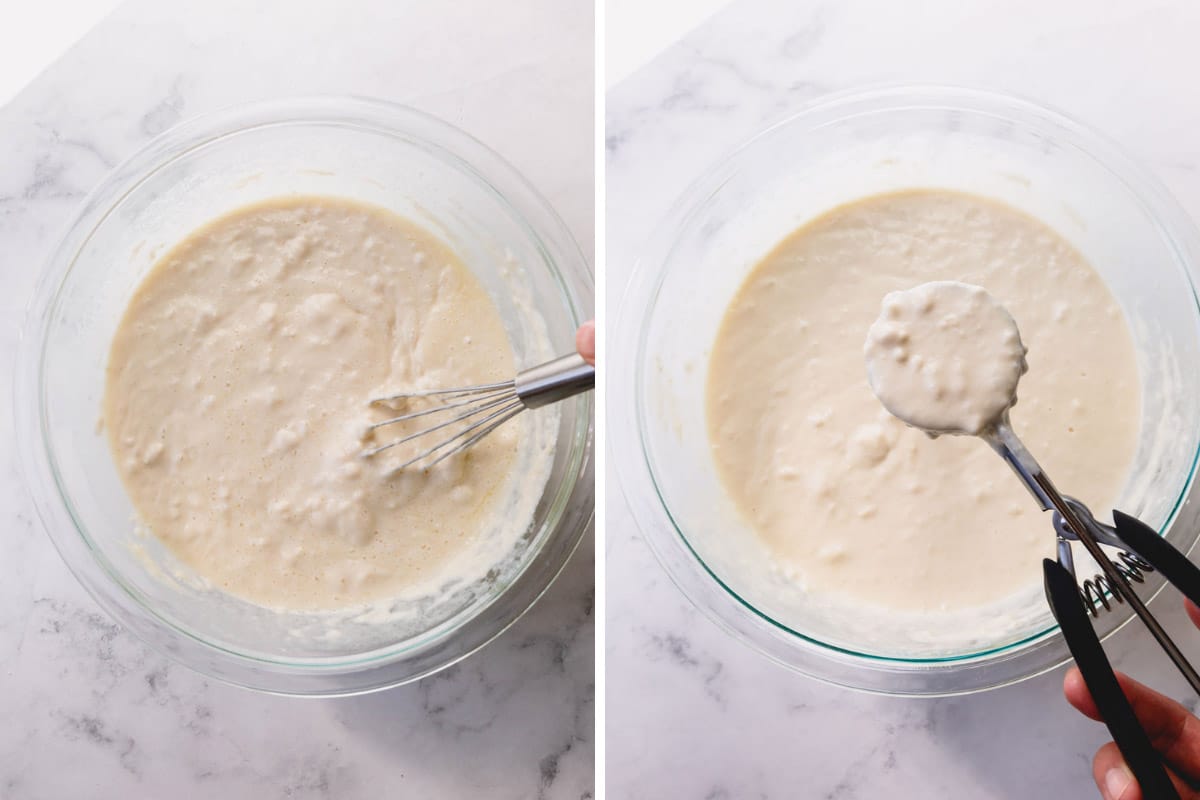
1. Make the batter:
- In a medium bowl, whisk together the eggs, sour cream, and buttermilk.
- In a large bowl, whisk together the flour, sugar, baking powder, baking soda, and salt.
- Pour the wet ingredients into the dry ingredients and mix until barely combined.
- Stir in the club soda and melted butter. The batter should be lumpy! Don’t stir until the batter is smooth.

Tip
Whisking the wet ingredients before you add the dry makes it less likely that you will overmix the batter!
2. Let the batter rest:
- Remember, lumps are a good thing! It means you haven’t overmixed the batter, which produces gluten and deflates the batter.
- Let the batter rest for 10 minutes. Doing so produces lighter textured waffles! Meanwhile heat the waffle iron.
3. Cook the waffles:
- Use a portion scoop to drop the batter into the hot waffle iron. Check your waffle iron’s instruction manual to see how much you need. I use 1/4 cup of waffle batter for a 4-inch waffle iron.
- Cook the waffles until golden brown, about 5 minutes. If the waffle isn’t releasing from the iron with a gentle tug, let it cook for another minute or so.
- Transfer the cooked waffles to a wire rack and repeat until all the batter is gone!

Tips for Success:
- Do not stack hot waffles! The heat from the waffles will soften the edges and leave you with soggy waffles. Always place the waffles in a single layer on a wire rack.
- I’ve said it before, but it’s worth repeating, don’t overmix the batter! Lumps are a good thing, and they won’t result in a lumpy waffle.
- The waffles shouldn’t stick to the pan, but if they do, lightly oil the waffle iron grates. A nonstick cooking spray will do the trick as well.
- Don’t scoop too much batter into the waffle maker, otherwise it will seep out the sides. It should be almost full, but not quite to the edges.
Waffle Toppings:
Waffle pockets were made for liquid pools of maple syrup and melted butter, but don’t stop there! Try one of these delicious waffle toppings:
- Whipped cream + Nutella
- Peanut butter + sliced bananas
- Honey + fresh berries
- Yogurt + granola
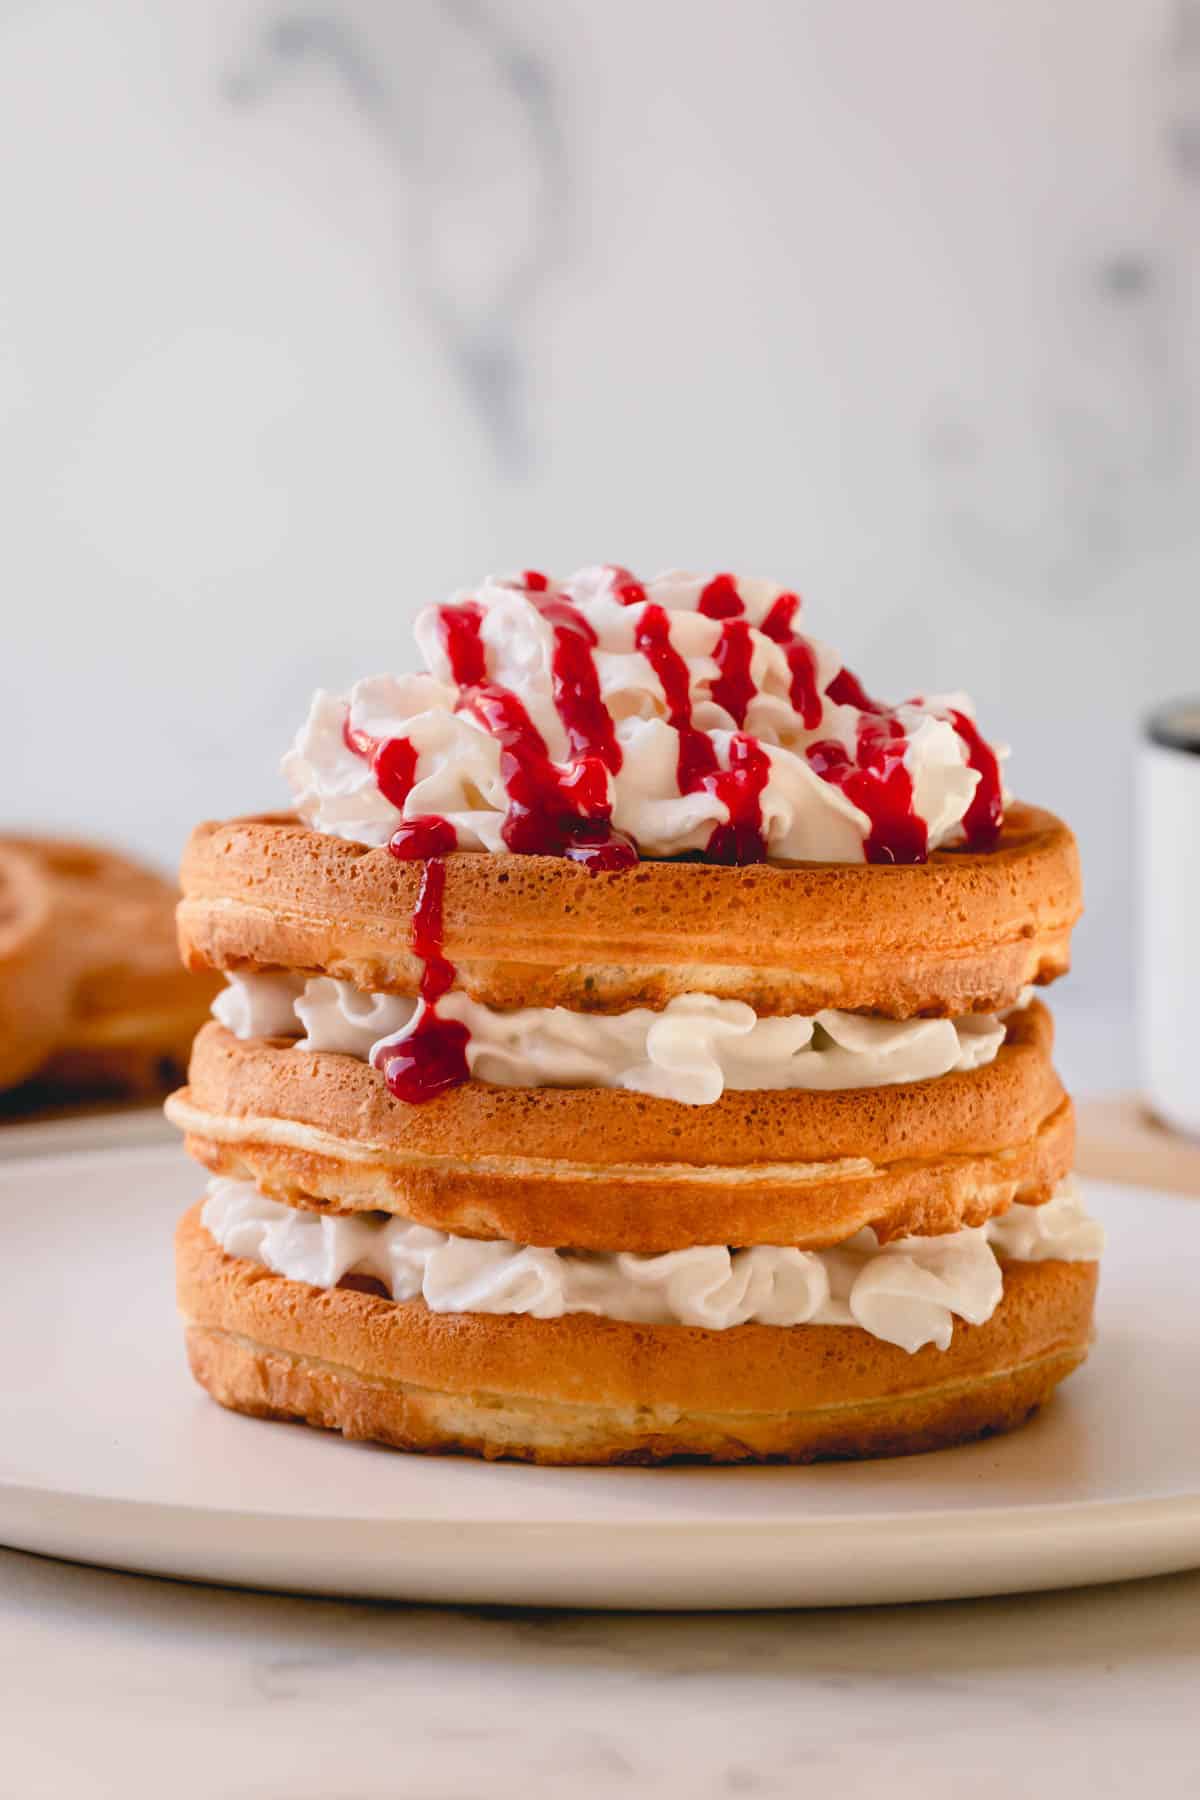
- Raspberry sauce + Chantilly cream
- Fried egg + shredded cheese (trust me on this one!)
Make-Ahead Tips:
If you like to meal prep, homemade waffles are a perfect fit!
- Store them in the freezer and pop in the toaster oven on busy mornings.
Storing Tips:
- Let the waffles cool to room temperature, then store in an airtight container in the refrigerator for up to 6 days, or in the freezer for up to 3 months.
- I recommend storing the waffles in the freezer, so they don’t dry out, then reheating in a toaster or toaster oven until hot and crispy.
- Never reheat waffles in the microwave, lest you ruin their beloved texture. They will lose their crisp edges and get soft/chewy.
To freeze waffles: Layer the cooled waffles in a large ziplock bag, placing a piece of parchment paper in between the layers. And freeze for up to 3 months.
FAQs:
If the waffle isn’t done, it’s more likely to come apart when you try to remove it from the waffle iron. The edges should be golden brown and release from the pan when gently tugged with a fork.
If you don’t plan to serve the waffles straight from the iron, place them onto a wire rack set over a sheet pan. Place the sheet pan in an oven preheated to 220 degrees Fahrenheit.
Must-Try Breakfast Recipes:

Waffles Recipe
Ingredients
- 2 large eggs
- ¼ cup (60 g) sour cream
- 1 cup (240 ml) buttermilk Note 1
- 2 cups (285 g) all-purpose flour
- 2 tablespoons (30 g) granulated sugar
- 1 teaspoon baking powder
- ½ teaspoon baking soda
- ½ teaspoon salt
- 1 cup (240 ml) club soda Note 2
- 3 tablespoons (42 g) unsalted butter melted
Equipment
- waffle iron
- mixing bowl
- Wire rack
Instructions
- In a medium bowl, whisk together the eggs, sour cream, and buttermilk.
- In a large bowl, whisk together the flour, sugar, baking powder, baking soda, and salt.
- Pour the wet ingredients into the flour mixture and mix until barely combined.
- Stir in the club soda and melted butter. Don’t mix it until smooth, the batter should be lumpy.
- Let the batter sit for 10 minutes. Meanwhile, heat the waffle iron.
- Drop the appropriate amount of batter into the hot waffle iron. (I used ¼ cup of batter for a 4-inch waffle maker.) Cook the waffles until golden brown, about 5 minutes.
- Transfer the cooked waffles onto a wire rack and repeat with the remaining batter.
⭐️ Did you make this recipe?
Please leave a review and let us know how you liked it!
Tips & Notes
– Let the waffles cool to room temperature, then store in an airtight container in the refrigerator for up to 6 days, or in the freezer for up to 3 months.
– I recommend storing the waffles in the freezer so they don’t dry out, then reheating in a toaster or toaster oven until hot and crispy.
– Never reheat waffles in the microwave, lest you ruin their beloved texture. They will lose their crisp edges and get soft/chewy.
Nutrition