Here’s how to build the best charcuterie board in less than 20 minutes! Spring edition… Learn the basic rules and create your masterpiece with ease.

Table of Contents
What is charcuterie board?
Charcuterie (“shar-coo-tu-ree”) means a variety of cured meats and even patês, like prosciutto, salami, ham, bacon, chorizo, liver pate, etc!
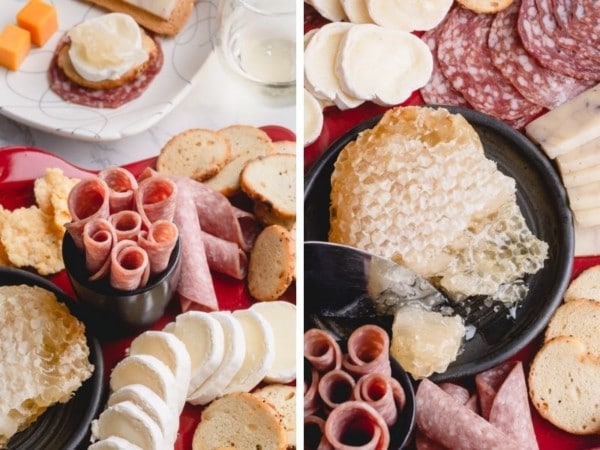
My favorite cured meats are white wine salami, prosciutto and smoked salmon. And I included all three of them in my spring meat and cheeseboard today.
How to build the best charcuterie board:
Step 1. Choose a large platter
You really don’t have to have a beautiful cheese board. Any large surface will do. Here, I’m using a large baking stone. But in the past, I’ve used a simple baking sheet, a large cutting board, and even just a big serving platter.
Step 2. Gather all the ingredients
Right before assembling your charcuterie board, bring everything out on the counter.
Cut all the cheeses into different shapes and sizes for an interesting presentation. I’ve covered how to choose cheeses for cheese boards in my Charcuterie and Cheese Board tutorial.
Step 3. Arrange the cheeses first
Now that you’re ready to build your board, start with your cheeses. Just place them in random places on an empty board. Don’t worry, it’s just a starting point and you can tweak things later too.
Tip
Arrange the cheeses from mild to strong from left to right, or in a clockwise pattern.
Don’t forget to label the cheeses.
Step 4. Onto the meats
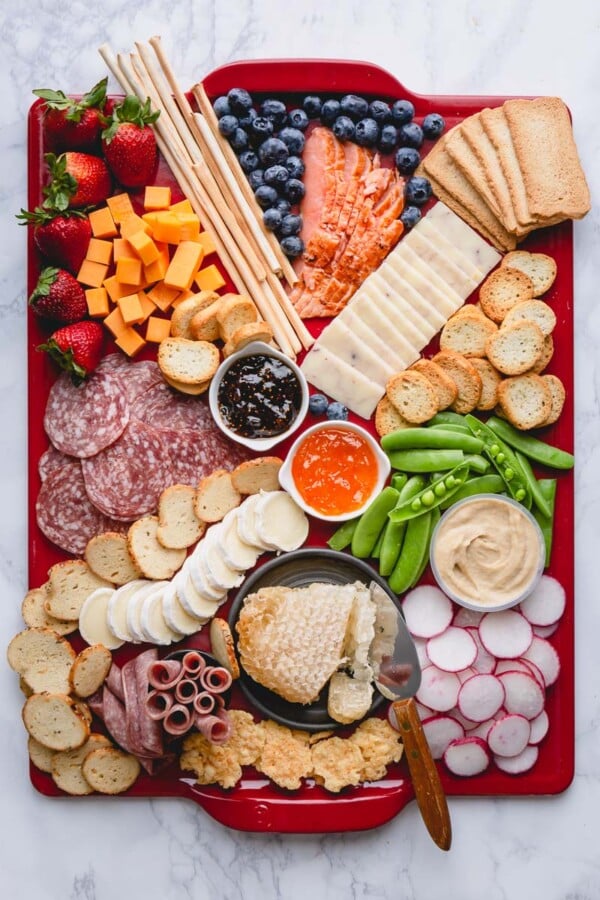
Now, arrange the cured meats, spacing them out in different corners of the platter.
Step 5. Fill in the gaps
- First, add bowls onto the board. Say, if you have bowl of blue cheese, or olives, jams or honey. It’s easier to place the bowls first while you still have some room.
- Then arrange some fruits and vegetables. In this platter, I placed snap peas and sliced radishes together with hummus. Perfect spring addition!
- Crackers come in next. Again, I like to place different varieties in different places, so they aren’t bunched together in one area.
- Lastly, literally fill in the gaps with different snacks, like dried fruits, nuts, olives, etc.
Surprise Ingredient:
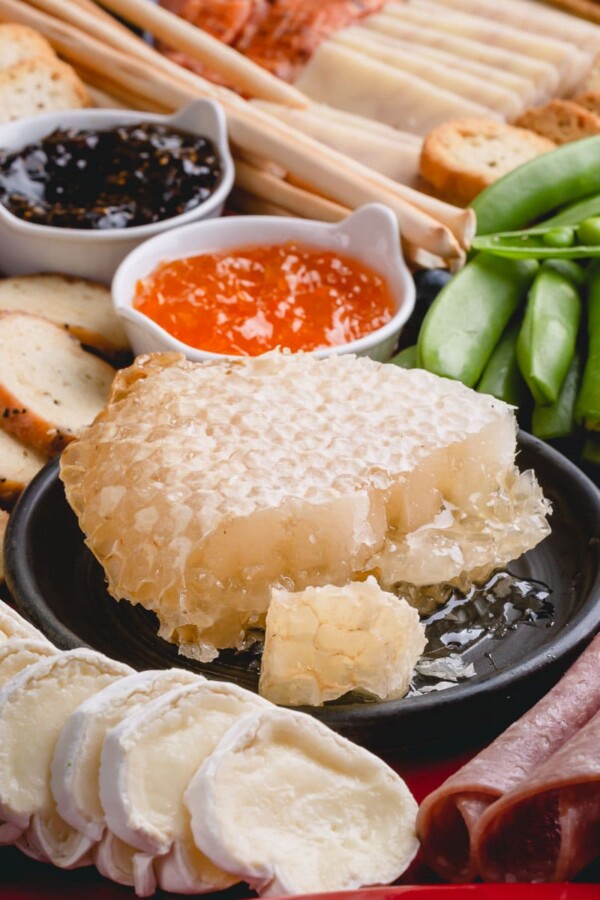
I love featuring at least one interesting ingredient besides cheeses and meats. And this beautiful raw honeycomb makes it the best charcuterie board, in my opinion.
Yes, the whole honeycomb (wax and all) is entirely edible!
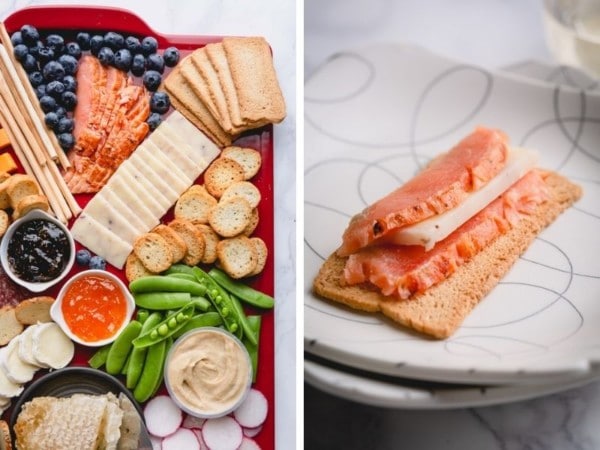
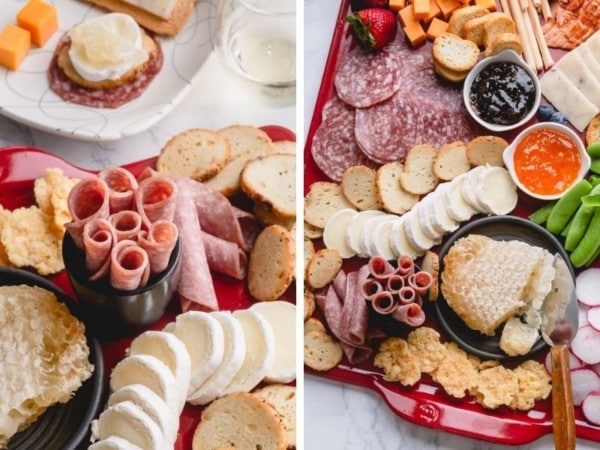
Remember, rules are meant to be broken! Get inspired by rules, then do it your way, however makes sense to you! I promise it’ll delicious and fun no matter what!
Cheese Board Inspirations:
Check out my other cheese boards:
- Charcuterie and Cheese Board – This is indepth tutorial on how to build an epic charcuterie and cheese board. A must read!
- Summer Cheese Board – A great inspiration for summer cheese platter featuring summer’s best fruits!
- Cheese Platter for Two – Learn my go-to 8 cheese platter tips!
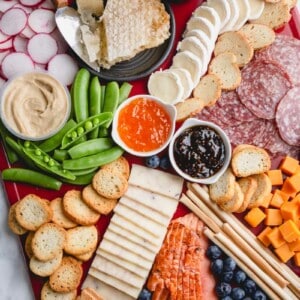
The BEST Charcuterie Board
Ingredients
Cheeses:
- Smoky cheddar cheese
- Blueberry cobbler cheddar
- Brie
Meats:
- White wine salami
- Uncured soppressata
- Cold smoked salmon
Crackers:
- Bruschettini
- Bagel chips
- Crostini toasts
- Thin breadsticks
- Parmesan chips
Fruits and Veggies:
- Snap peas
- Radishes
- Strawberries
- Blueberries
Other:
- Fig jam
- Pepper jam
- Honeycomb
- Hummus
Instructions
- Choose a large platter.
- Slice the cheeses. (This can be done a day in advance. Keep the sliced cheeses in an airtight container in the fridge.)
- Arrange the cheese on a platter first. Then add meats.
- Place some of the accompaniments, such as jams, hummus, in small bowls. Arrange the small bowls on platter next.
- Now, arrange the crackers and then fill in the gaps with the remaining items, like nuts, fruits, veggies, etc.


Greetings Shinee; Thank you for some terrific ideas. I am always asked to make a vegetable or fruit trays/platters for weddings or gatherings. I have made one charcuterie tray but not as nice as yours. I really enjoy your blog and all the recipes you share. That is very generous of you. Again, thank you!
Hi, there!! Thank you SO very much for your kind comment! It’s my pleasure sharing the recipes, and I’m so happy you enjoy reading them. I’ve been making cheese boards over 5 years now, and this one is my first I shared on my blog. I think I’ve come a long way. Hehe