Chocolate Heart Cake with Ganache Filling
This post may contain affiliate links. Read full disclosure.
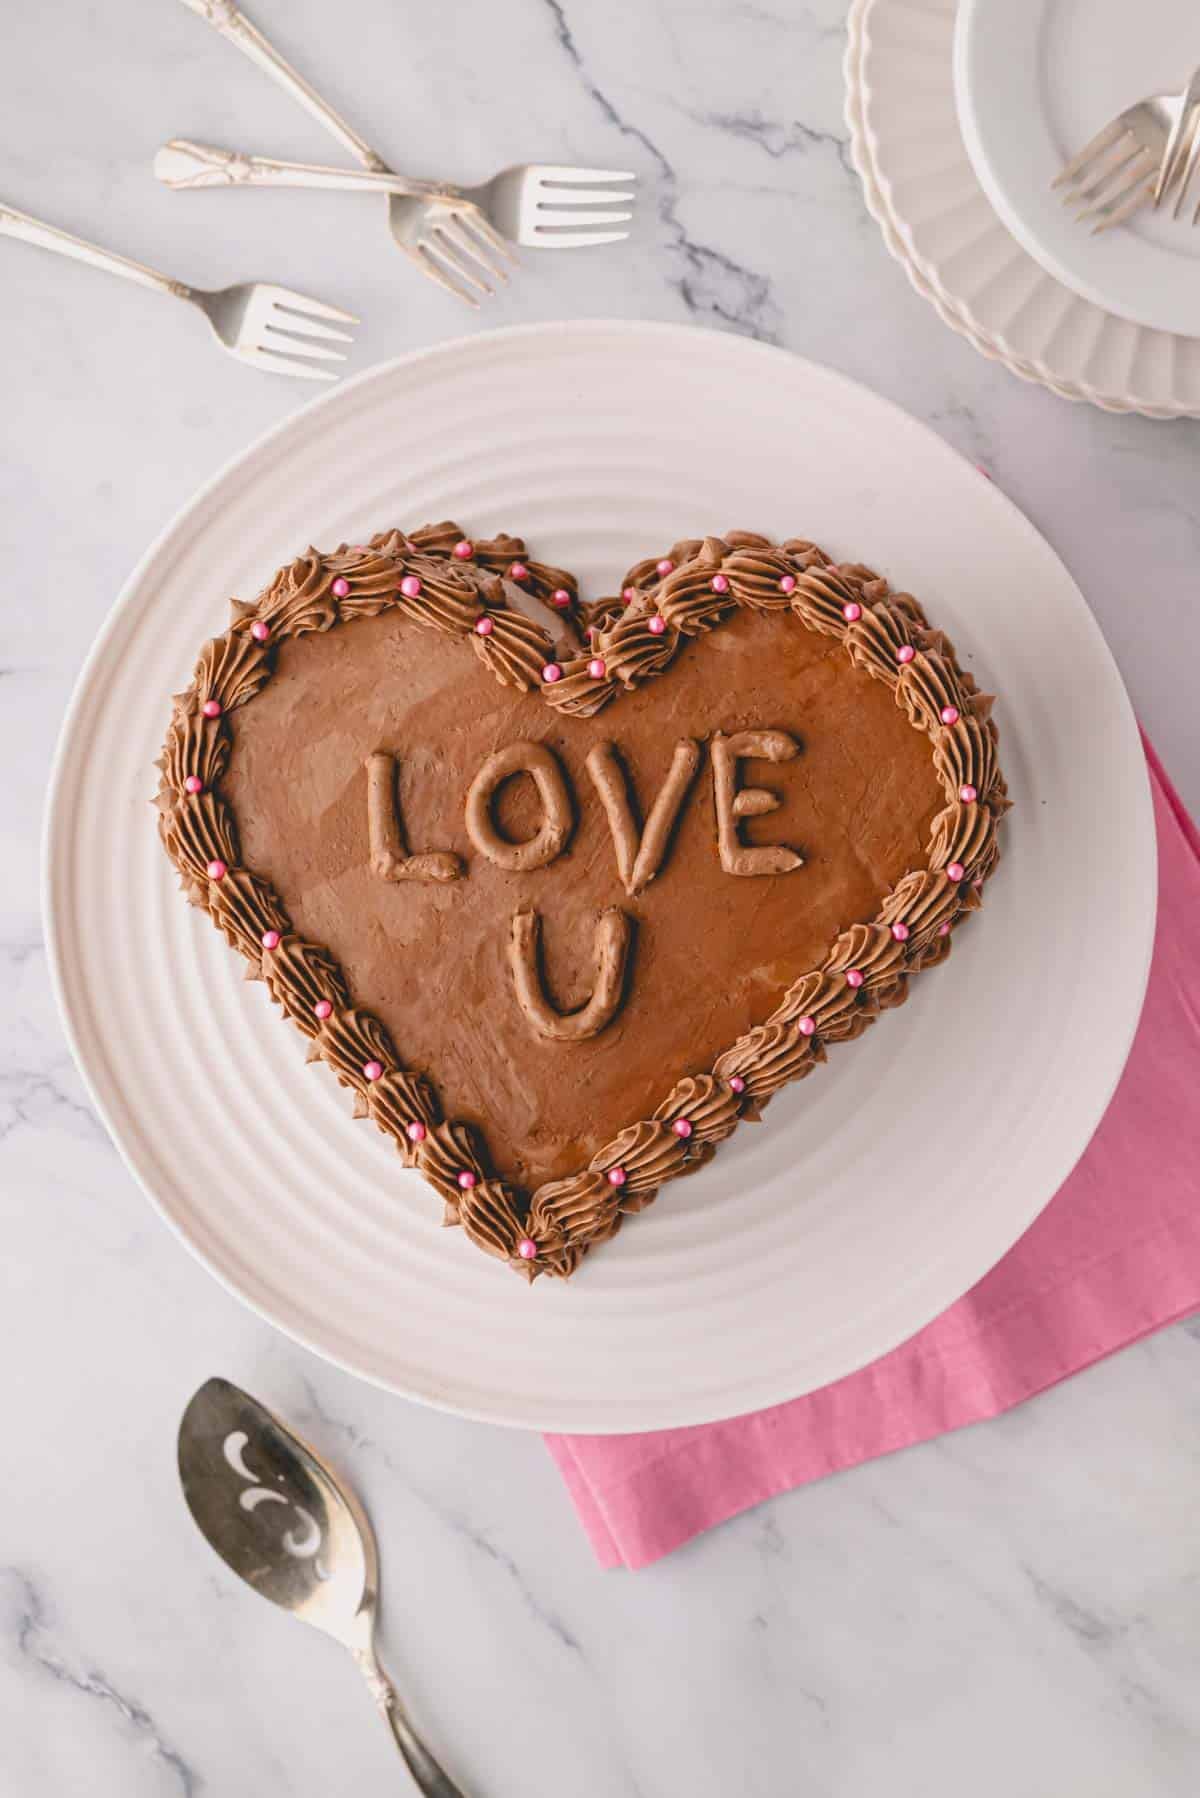
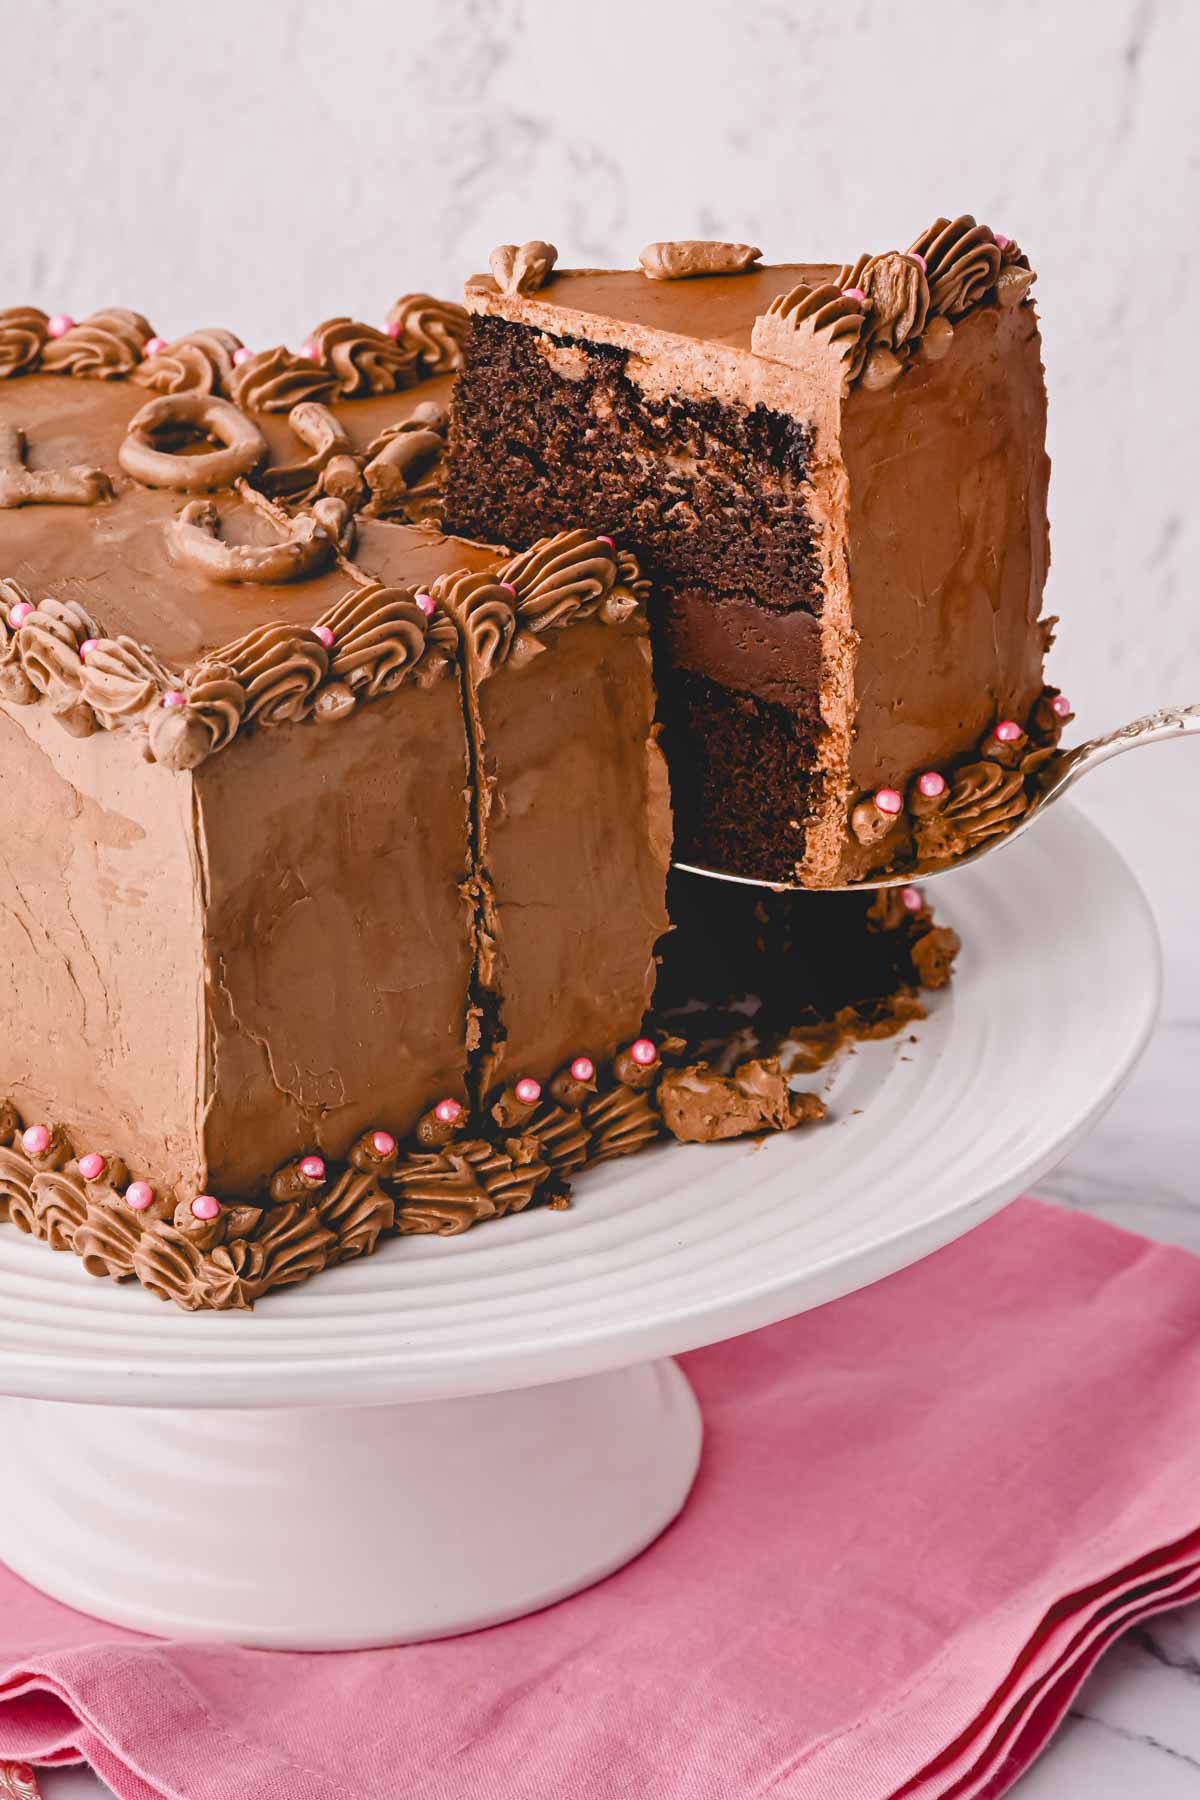
This chocolate heart cake features a rich, chocolate cake base layered with silky chocolate ganache and finished with a light chocolate frosting. The fun shape is achieved without any special tools or equipment, making it the perfect beginner-friendly dessert for Valentine’s Day, anniversaries, birthdays, or anytime you want something a little special!
If you know me, you know I love all things chocolate, from my chocolate souffle cheesecake to my chocolate covered strawberries, and chocolate banana bread. I’m always baking something to satisfy my sweet tooth.
However, I try to make holidays a little extra special with fun themed treats, and this chocolate cake in heart shape is my go-to for Valentine’s Day. Despite its unique shape, it’s surprisingly simple to make, and the rich flavor is a chocolate lover’s dream come true. Just don’t say I didn’t warn you when it doesn’t last more than a day!
Table of Contents
Pin this now to find it later
Pin ItWhy you’ll love this recipe
- With simple steps, the preparation process is completely fuss-free. I promise you don’t need any special pans or equipment. As long as you have baking staples like round cake pans and a mixer, you’ll be on your way to baking a showstopping dessert!
- Everything comes together with simple ingredients. I use just a handful of simple ingredients for each layer, creating a bold, rich flavor with ingredients you likely have on hand and can easily find at any local grocery store.
- The three layers make for a bakery-worthy treat. Bigger is always better, right? The combination of two chocolate cake layers, a silky ganache filling, and a fluffy buttercream topping creates a combination of tastes and textures that leaves guests practically licking their plates.
As written, this chocolate heart cake makes enough for 10-12 generous slices, making it perfect for serving at a party!
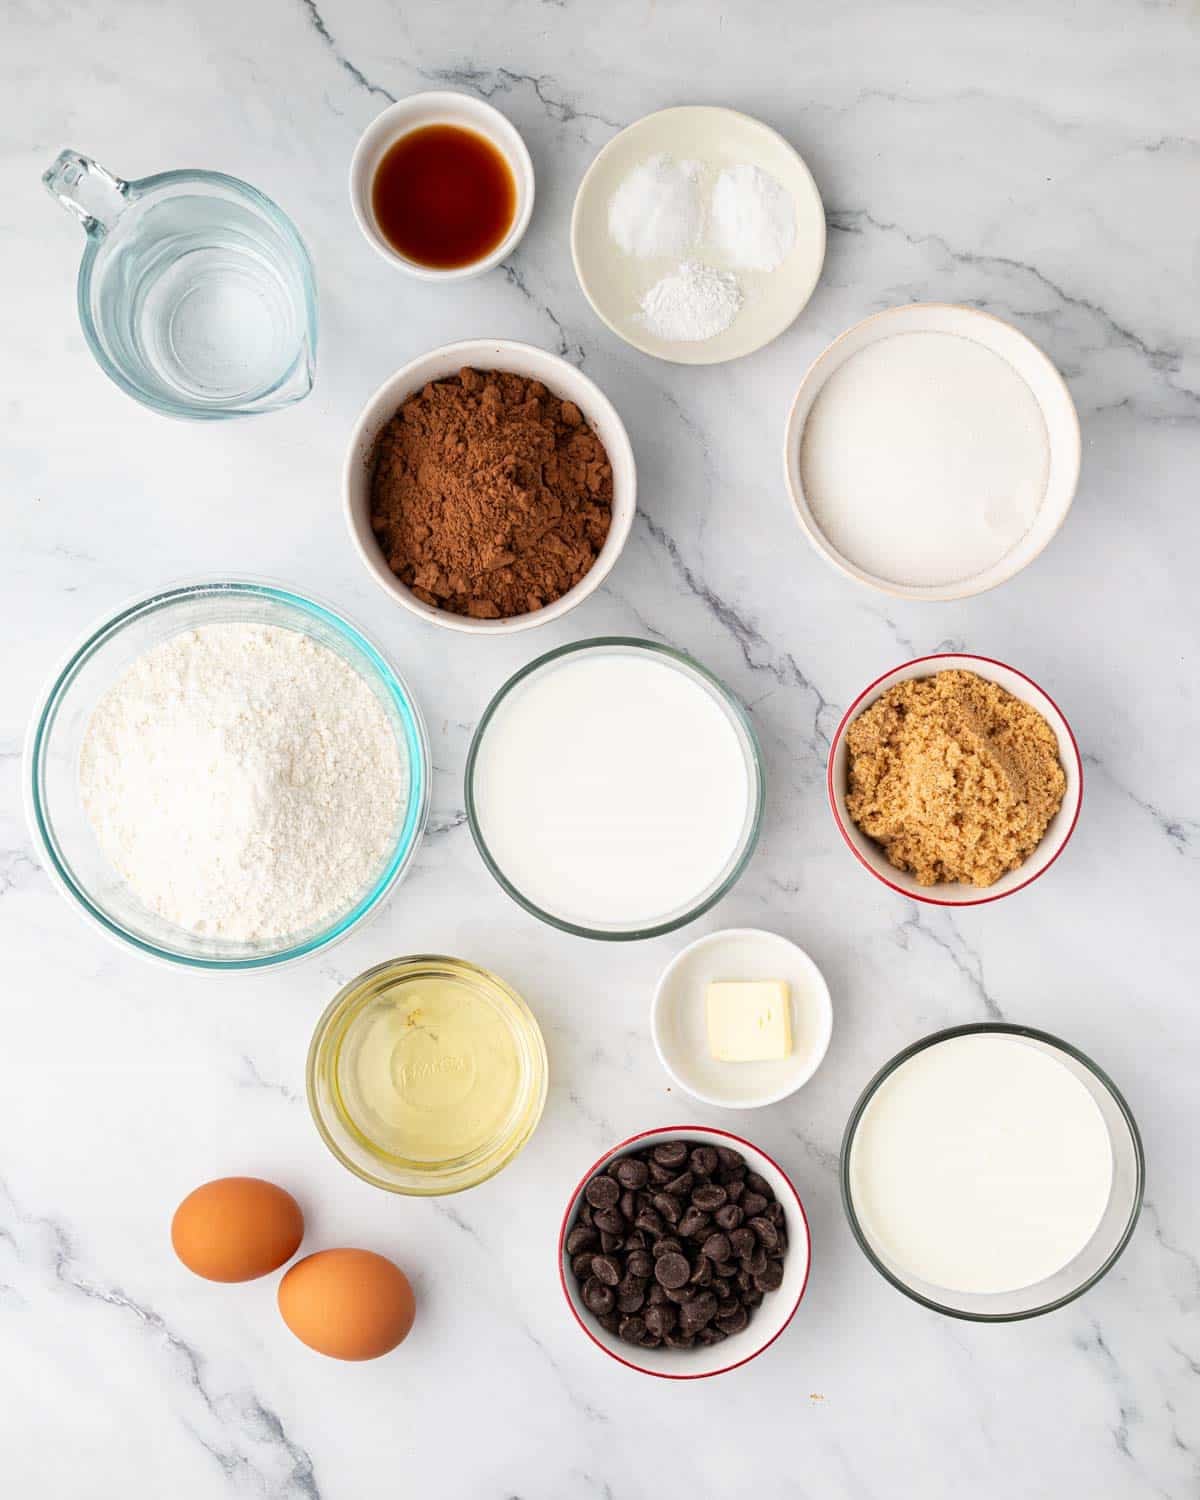
Key Ingredient Notes
For chocolate cake:
- Dutch-process cocoa powder – I use this over other types of cocoa powder to create a super-rich, chocolatey base.
- Buttermilk – When combined with the cocoa powder, this helps create a moist, tender crumb that stays nice and soft, even after chilling or freezing.
- Flour – I use all-purpose flour for the base of the cake, giving it structure. I haven’t tested this chocolate heart cake with other types of flour, and I can’t guarantee your results if you do.
- Sugar – Two types of sugar, granulated sugar and brown sugar (light or dark), sweeten the cake batter, adding structure while keeping it moist and infusing it with a subtle molasses taste. Then, I use more granulated sugar to sweeten the chocolate Swiss buttercream frosting.
Use a buttermilk substitute
If you don’t have any buttermilk on hand, you can easily make a buttermilk substitute by combining milk and distilled white vinegar or lemon juice. Or, combine sour cream or plain yogurt with milk or water.
For ganache filling:
- Heavy cream – This forms the base of the ganache, combining with the chocolate to create a silky consistency
- Dark chocolate – I use dark chocolate for the ganache to add a rich taste without overpowering the cake, but semi-sweet chocolate also works well for a slightly sweeter taste.
- Espresso powder – This doesn’t make your cake taste like coffee, but it does enhance the chocolate flavor of the ganache! If needed, you can omit it, but I highly recommend including it for a well-rounded taste.
For chocolate Swiss buttercream:
- Egg whites – These create a light, fluffy meringue. I’ve tested this recipe with liquid egg whites, but I find that not all brands work for meringue. So, I recommend sticking with whole eggs and carefully separating them instead. Try these 9 delicious ways to use up extra egg yolks so that nothing goes to waste!
- Semi-sweet chocolate – This creates a sweet, chocolate-flavored buttercream. Use either a chopped chocolate bar or chocolate chips. Or, swap the semi-sweet chocolate for dark chocolate for a bolder taste.
How to make chocolate heart cake
1. Bake the cake
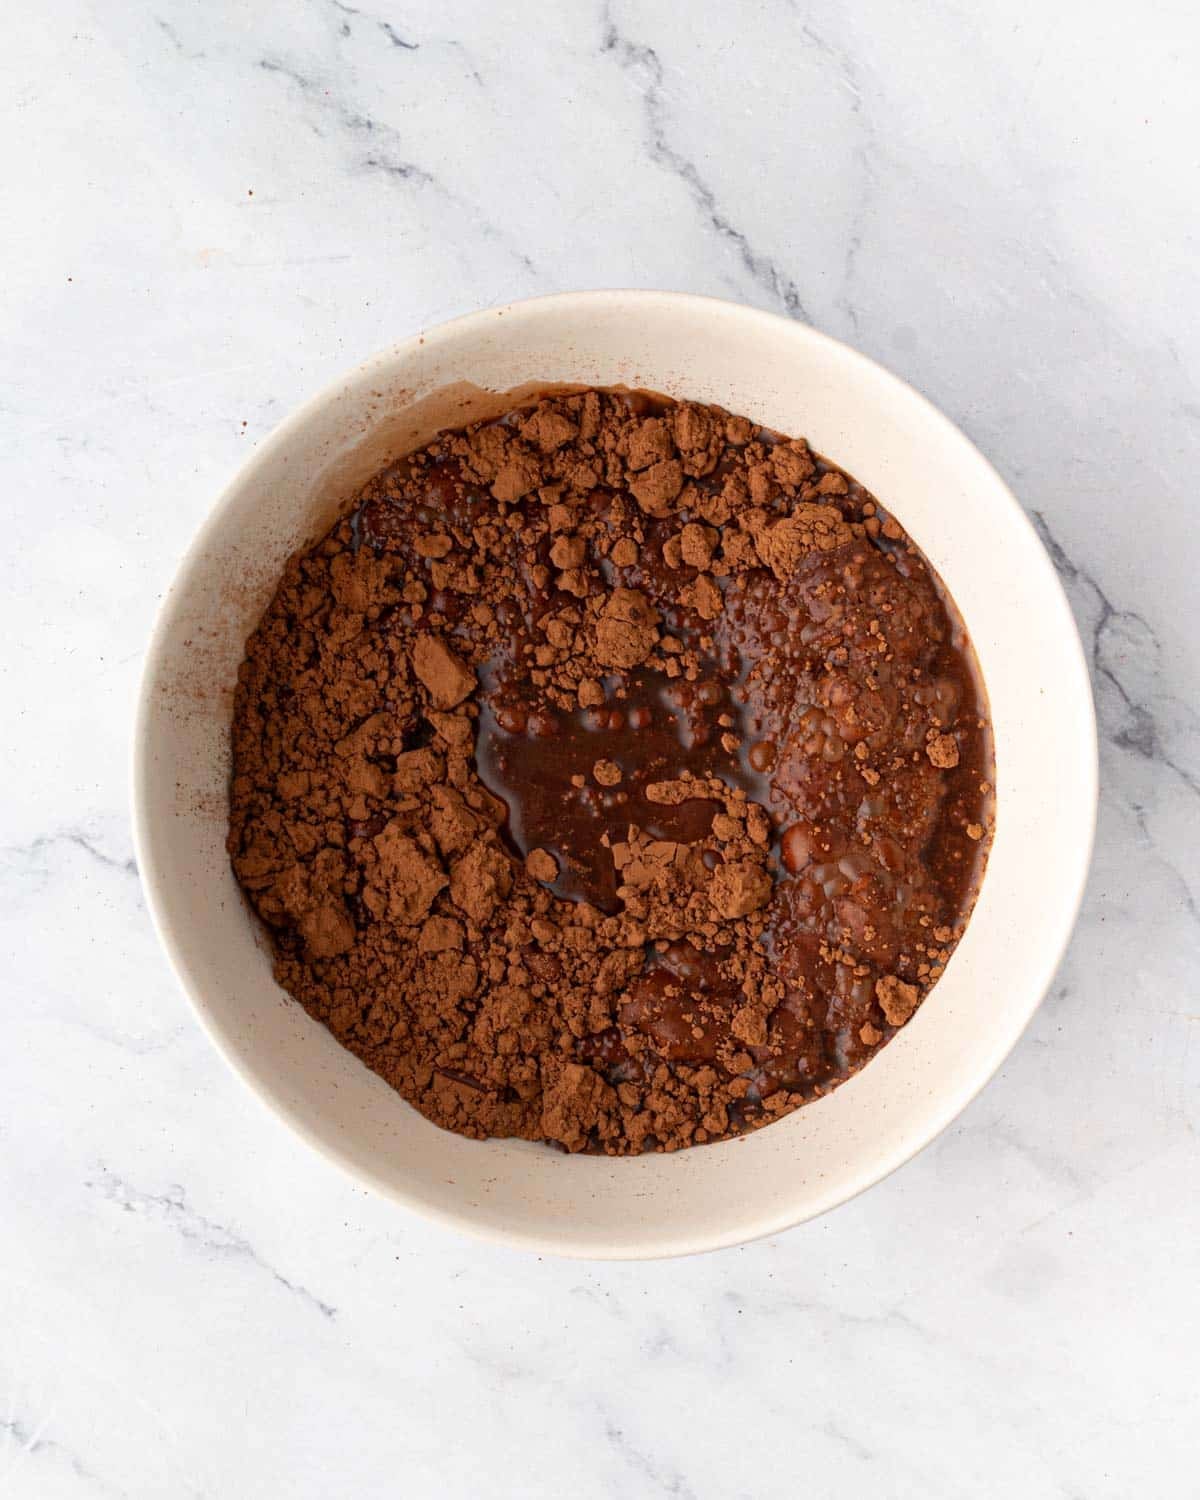
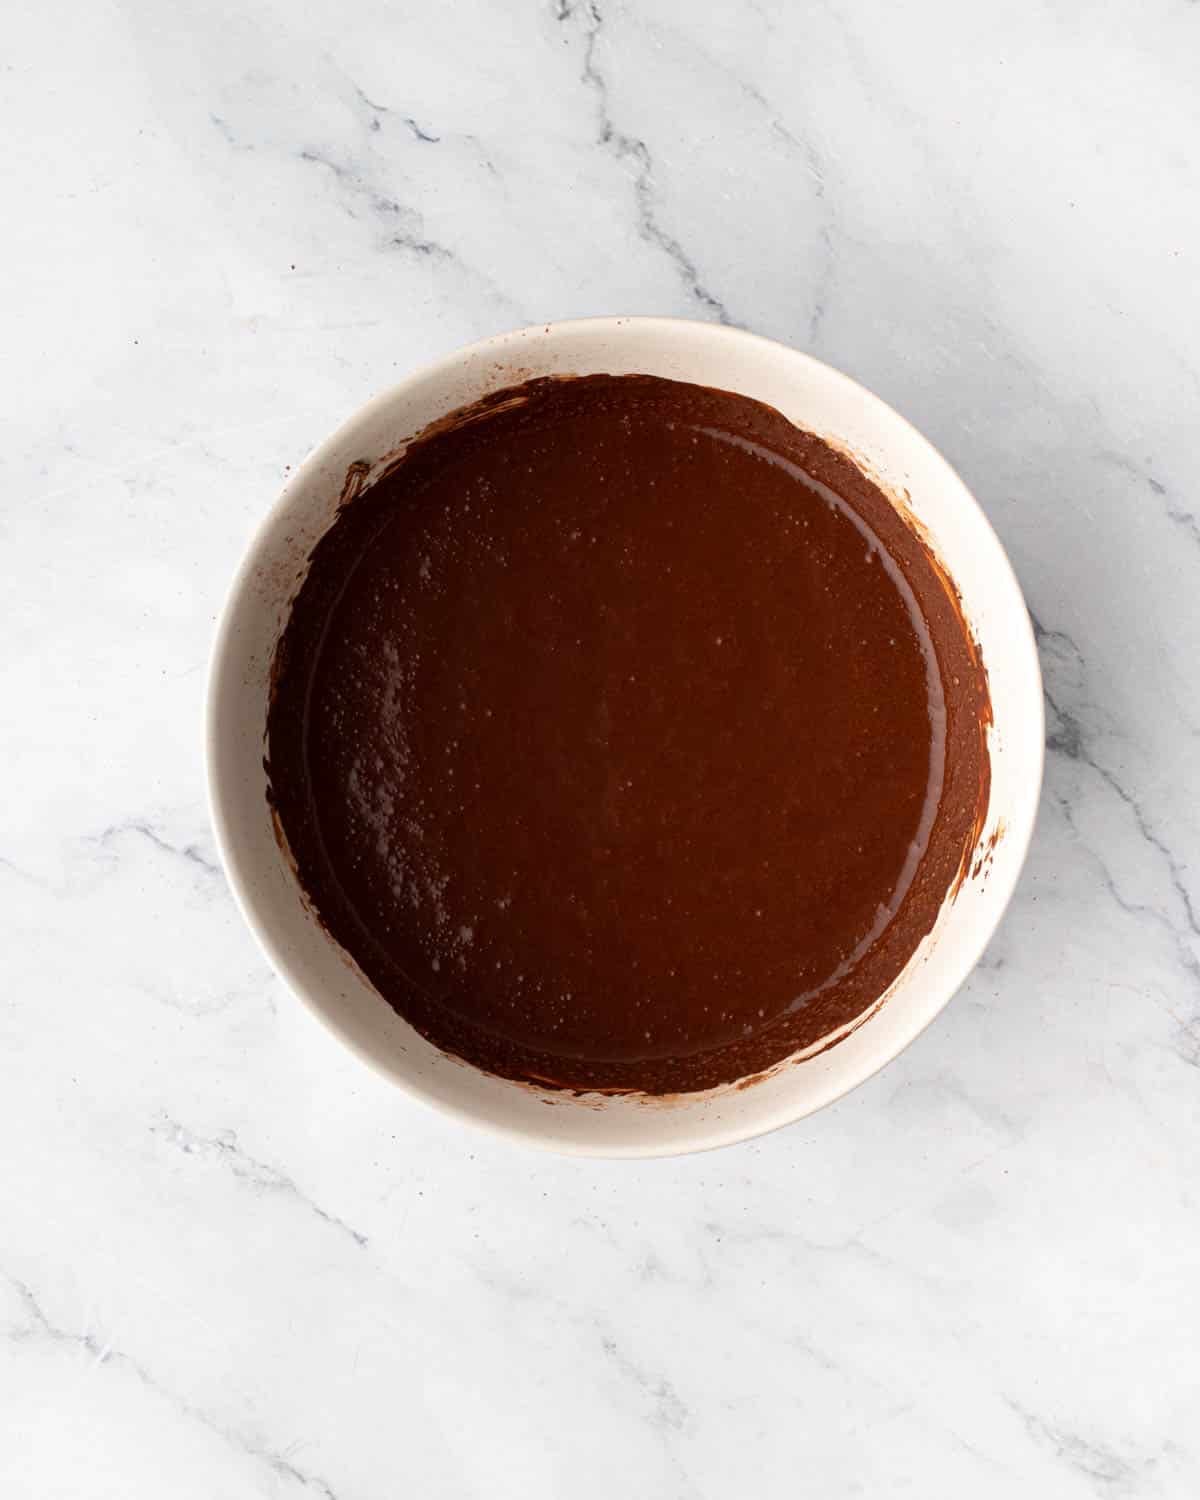
- Whisk the cocoa powder and hot water in a medium bowl until the cocoa is smooth and glossy. Then, set it aside to bloom. This enhances the taste and prevents the mixture from being clumpy in the cake!
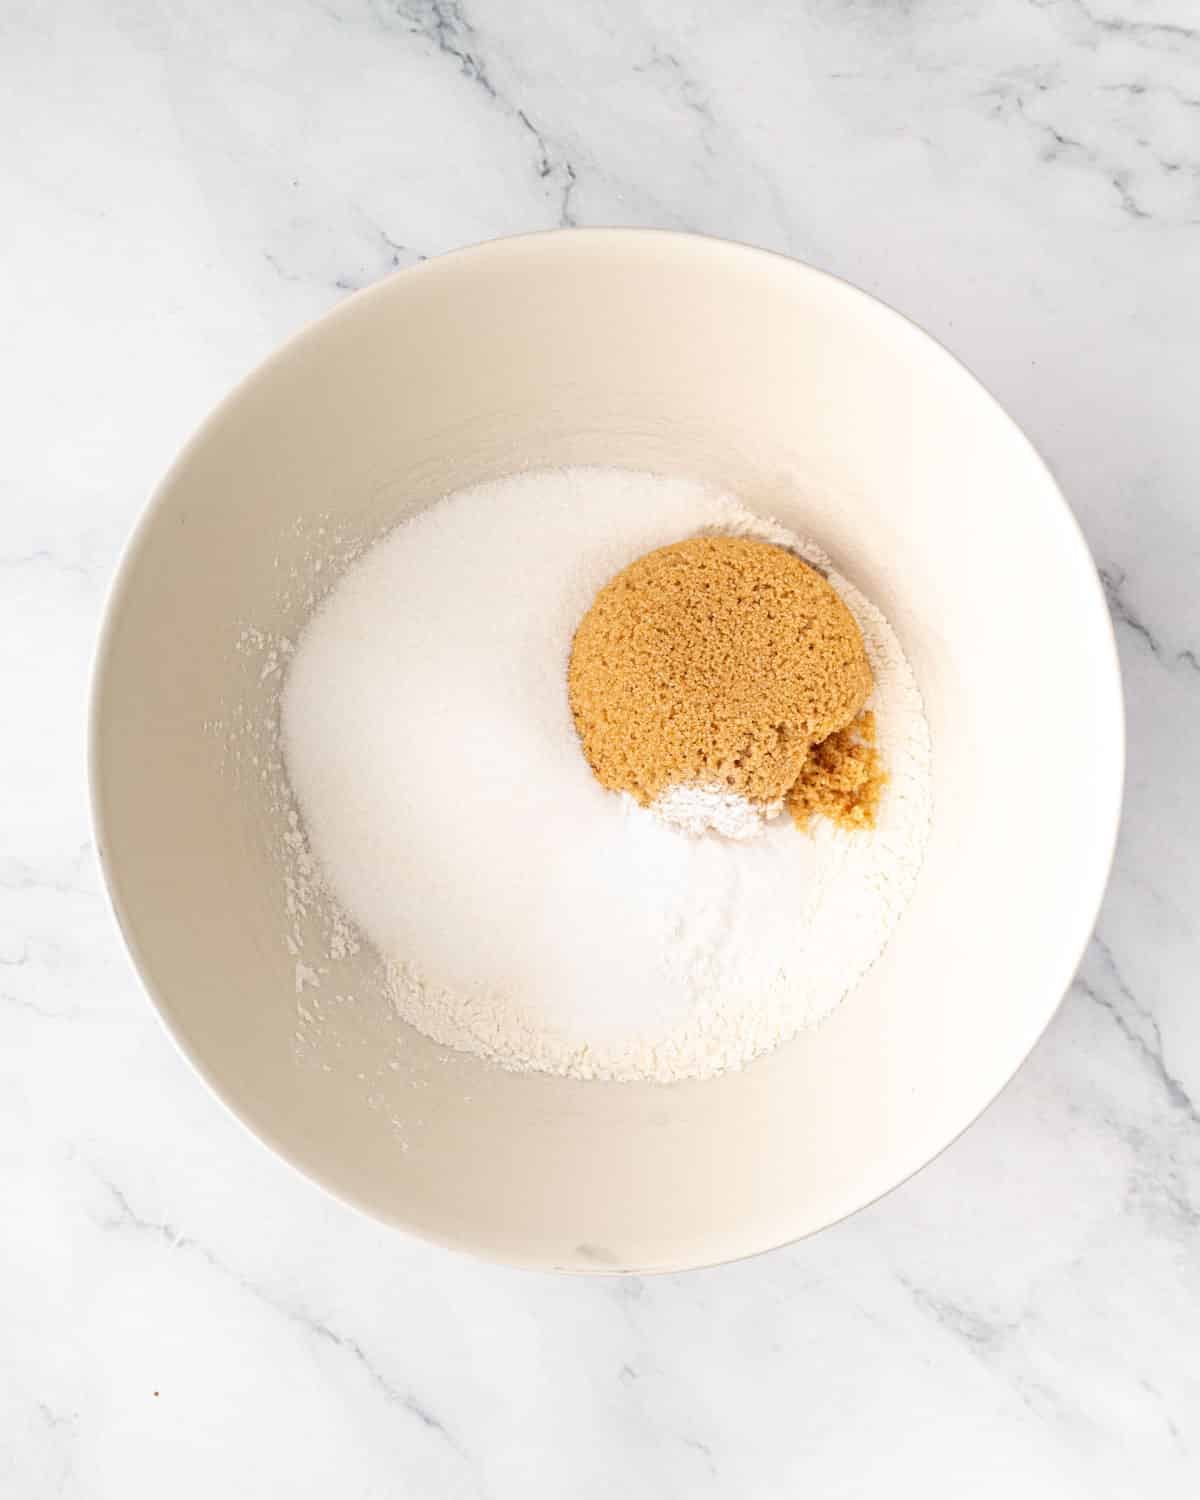
- Whisk the dry ingredients in a large bowl until well combined.
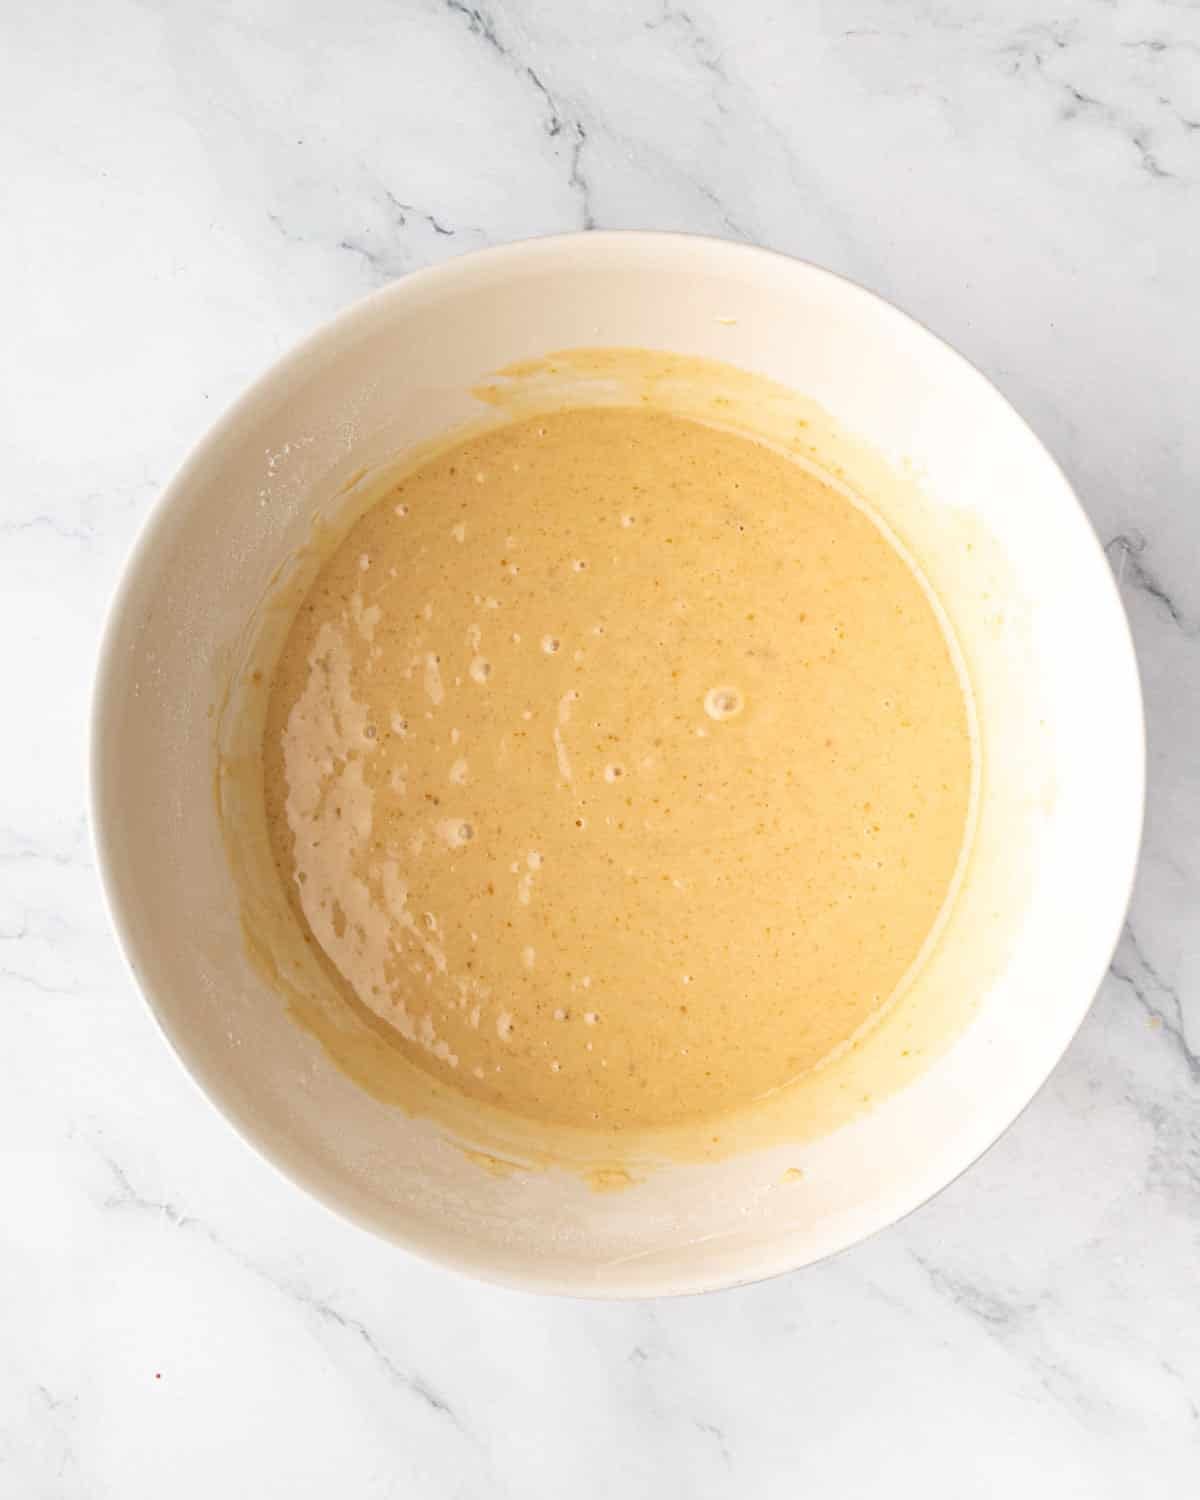
- Add the wet ingredients to the bowl of dry ingredients, and whisk until smooth.
- Pour in the bloomed cocoa mixture, and whisk to incorporate. The batter will be thin at this stage!


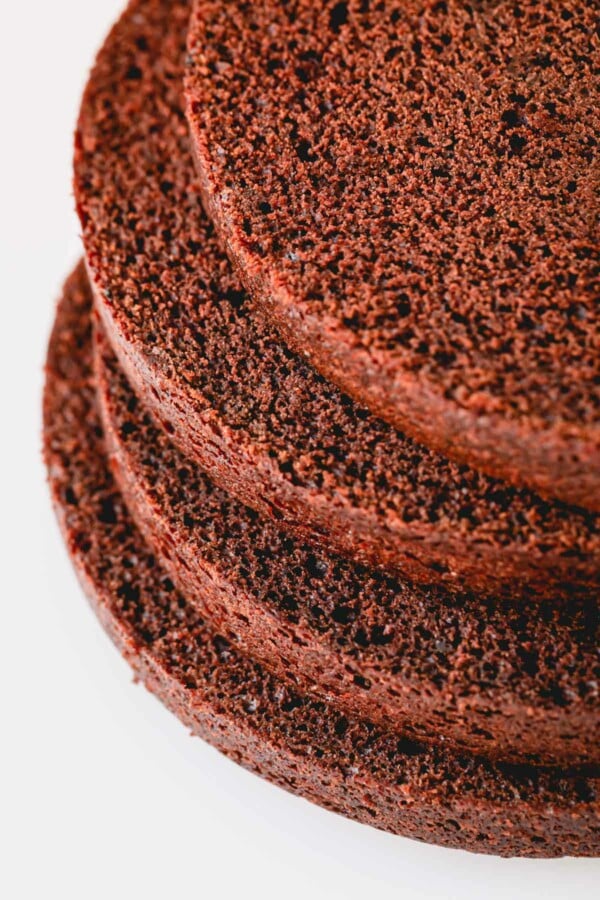
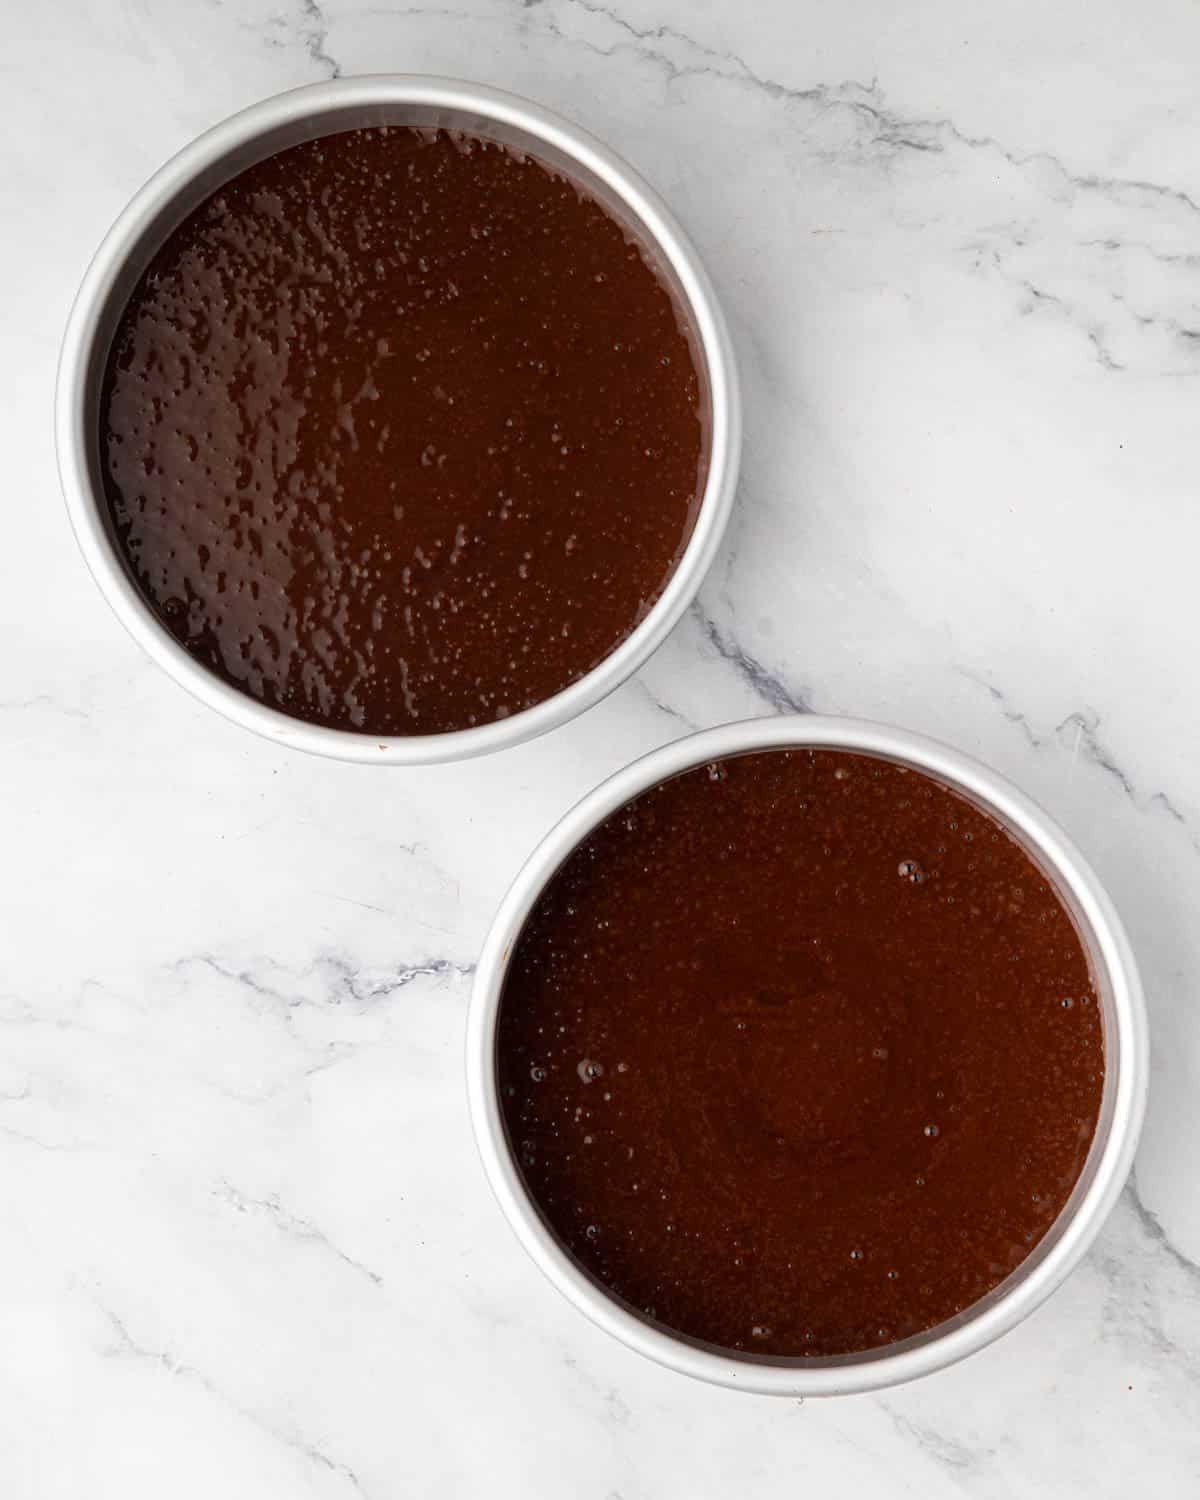
- Divide the batter evenly between two 8-inch round cake pans greased with oil.
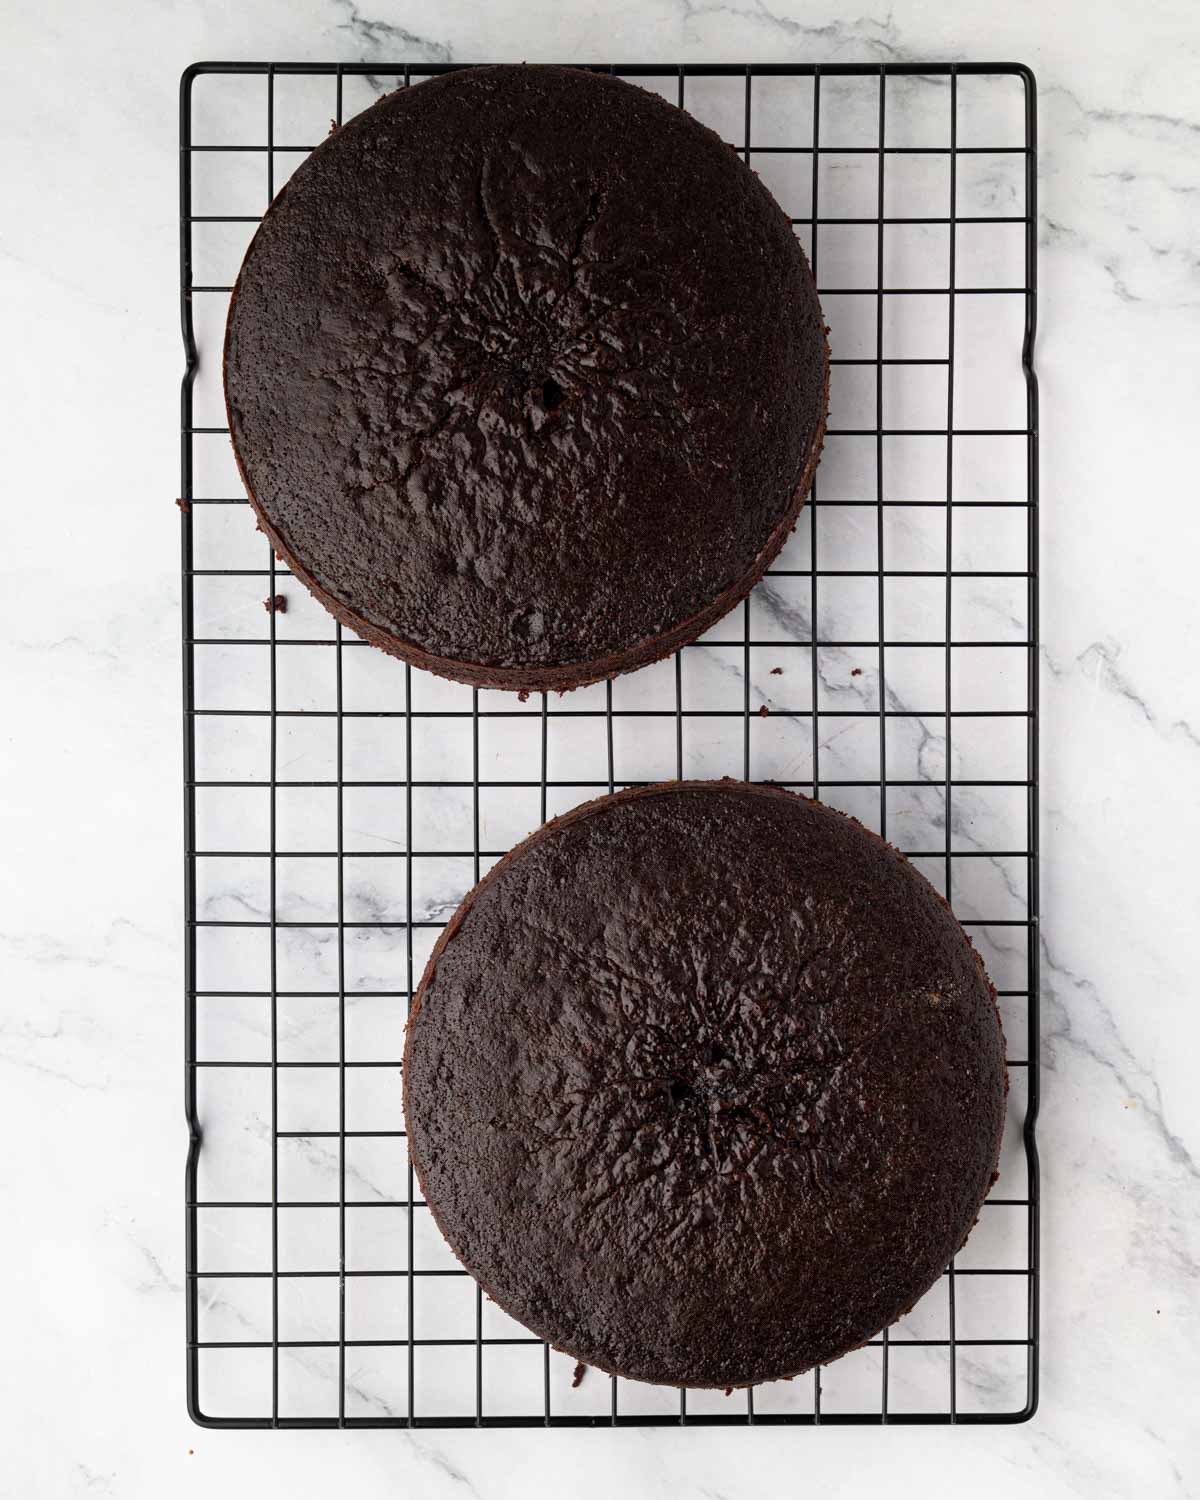
- Bake until a toothpick inserted into the center comes out clean and the internal temperature registers about 200°F when measured with an instant-read thermometer.
- Cool the cakes in the pans for a few minutes. Then, transfer them to a wire rack to cool completely.

2. Make the ganache filling
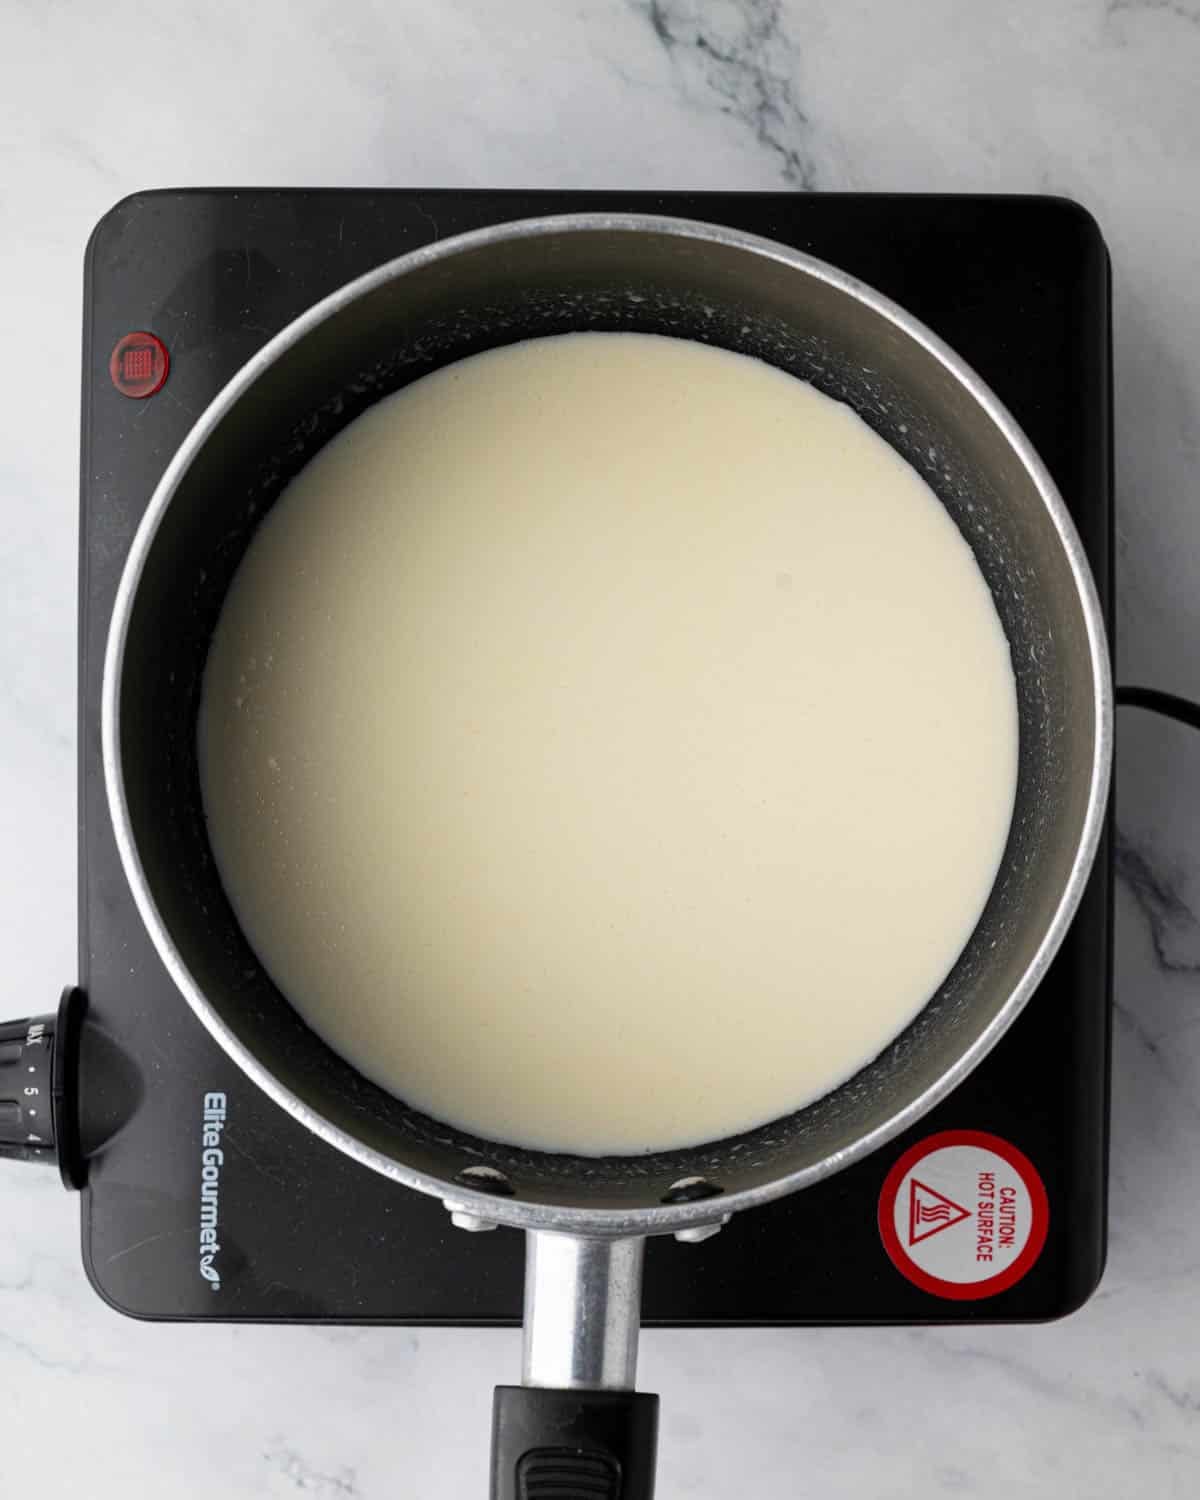
- Heat the heavy cream in a small saucepan over medium heat just until it begins to steam. Do NOT let it come to a boil!
- Remove the pan from the heat, and stir in the espresso powder, making sure it dissolves completely.


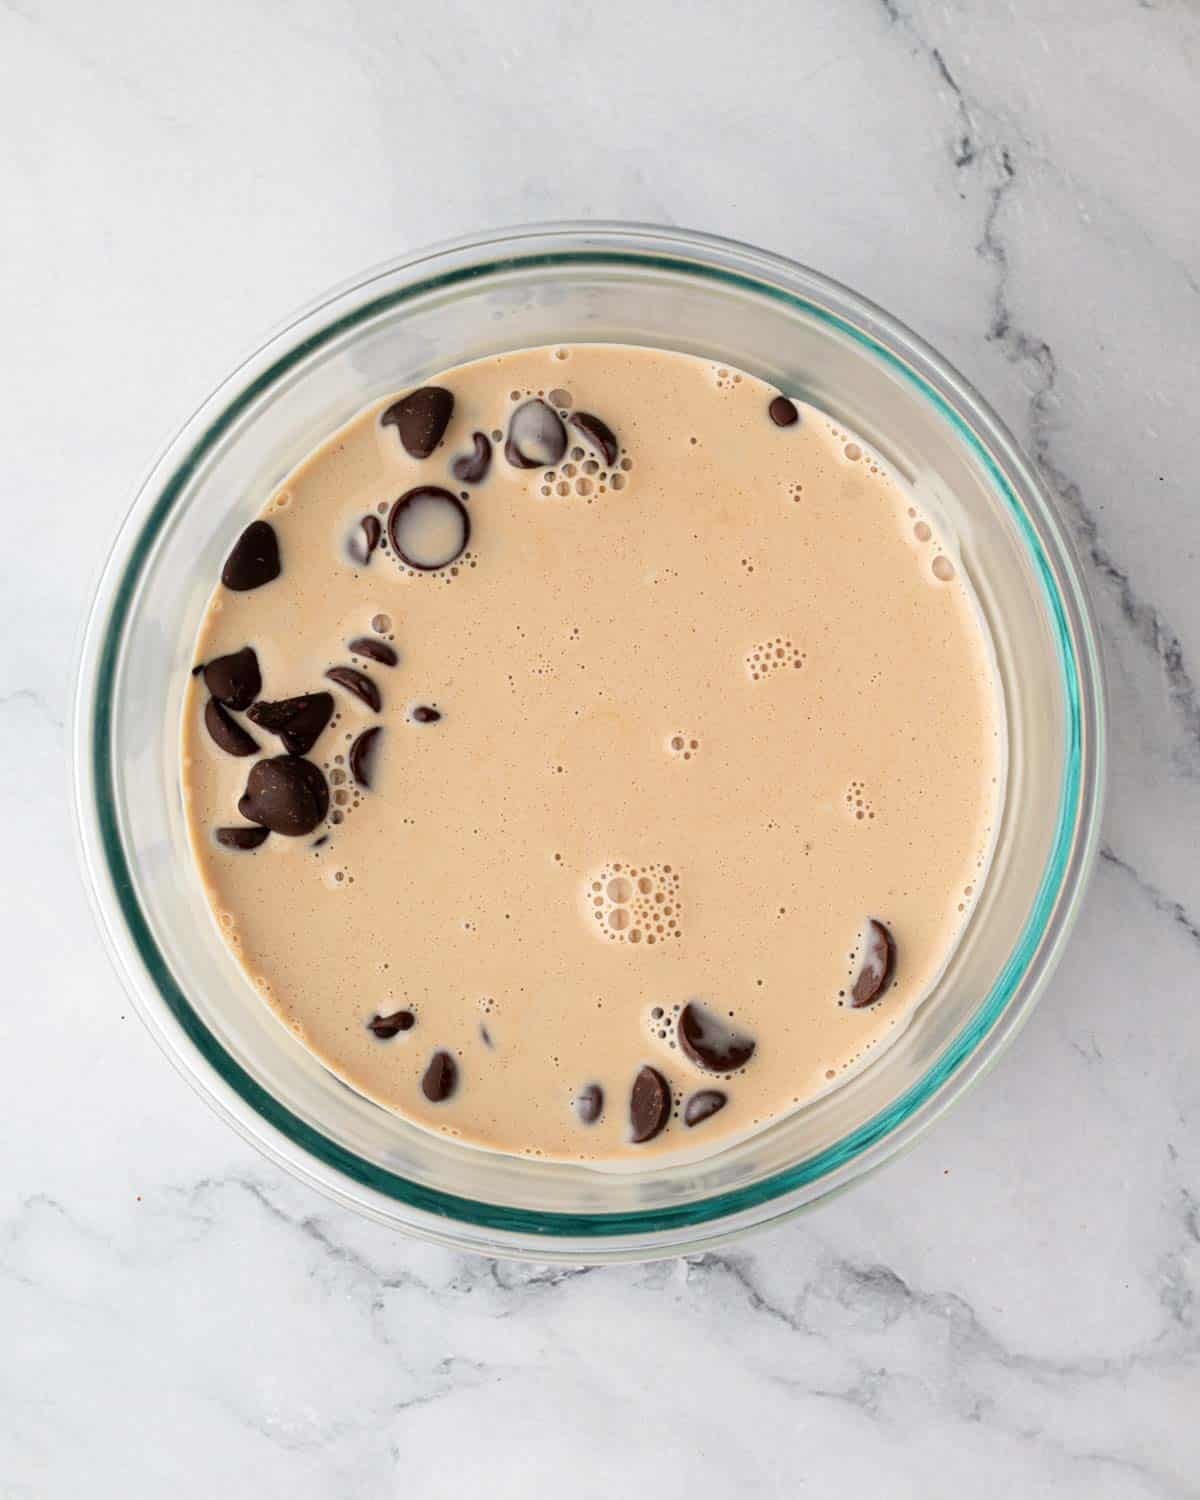
- Pour the hot cream over the chopped chocolate in a heatproof bowl. Cover the bowl, and let the ingredients rest for a couple of minutes. Then, working from the center outward, stir to combine, creating a glossy consistency.
- Add the butter, and stir to combine and emulsify.


- Stir in the vanilla extract and salt. The ganache will look fluid, shiny, and cohesive!
- Cool at room temperature until the mixture thickens to a spreadable consistency. We want it to be soft but not runny, kind of like warm Nutella.

3. Prepare the Chocolate Swiss Meringue Buttercream
- Boil water in a small saucepan, and reduce the heat to a simmer.
- Whisk the egg whites and sugar in a medium heat-proof bowl. I like to use my stand mixer!
- Place the bowl over the saucepan of simmering water.
- Cook the egg white mixture until the sugar melts completely and reaches a temperature of 160°F.
- Remove the bowl from the heat, and whisk on medium speed, slowly increasing the speed to medium-high until stiff peaks form and the mixture is cool to the touch. This takes me about ten minutes with a stand mixer, but will likely take a little longer with a hand mixer!
- Melt the chocolate according to the package instructions, and let it cool.
- Scrape the sides of the bowl of whipped egg whites, and add salt.
- Turn the mixer to medium speed, and add the butter one tablespoon at a time. Don’t worry if the buttercream starts to curdle. This is normal!
- Whisk the buttercream until it’s smooth, light, and fluffy.
- Switch the mixer to a paddle attachment, add the cooled melted chocolate, and beat to combine.

4. Assemble the Chocolate Heart Cake
- Place two overlapping sheets of parchment paper on a serving plate, if not using a cake board, and place a cooled cake layer on top.
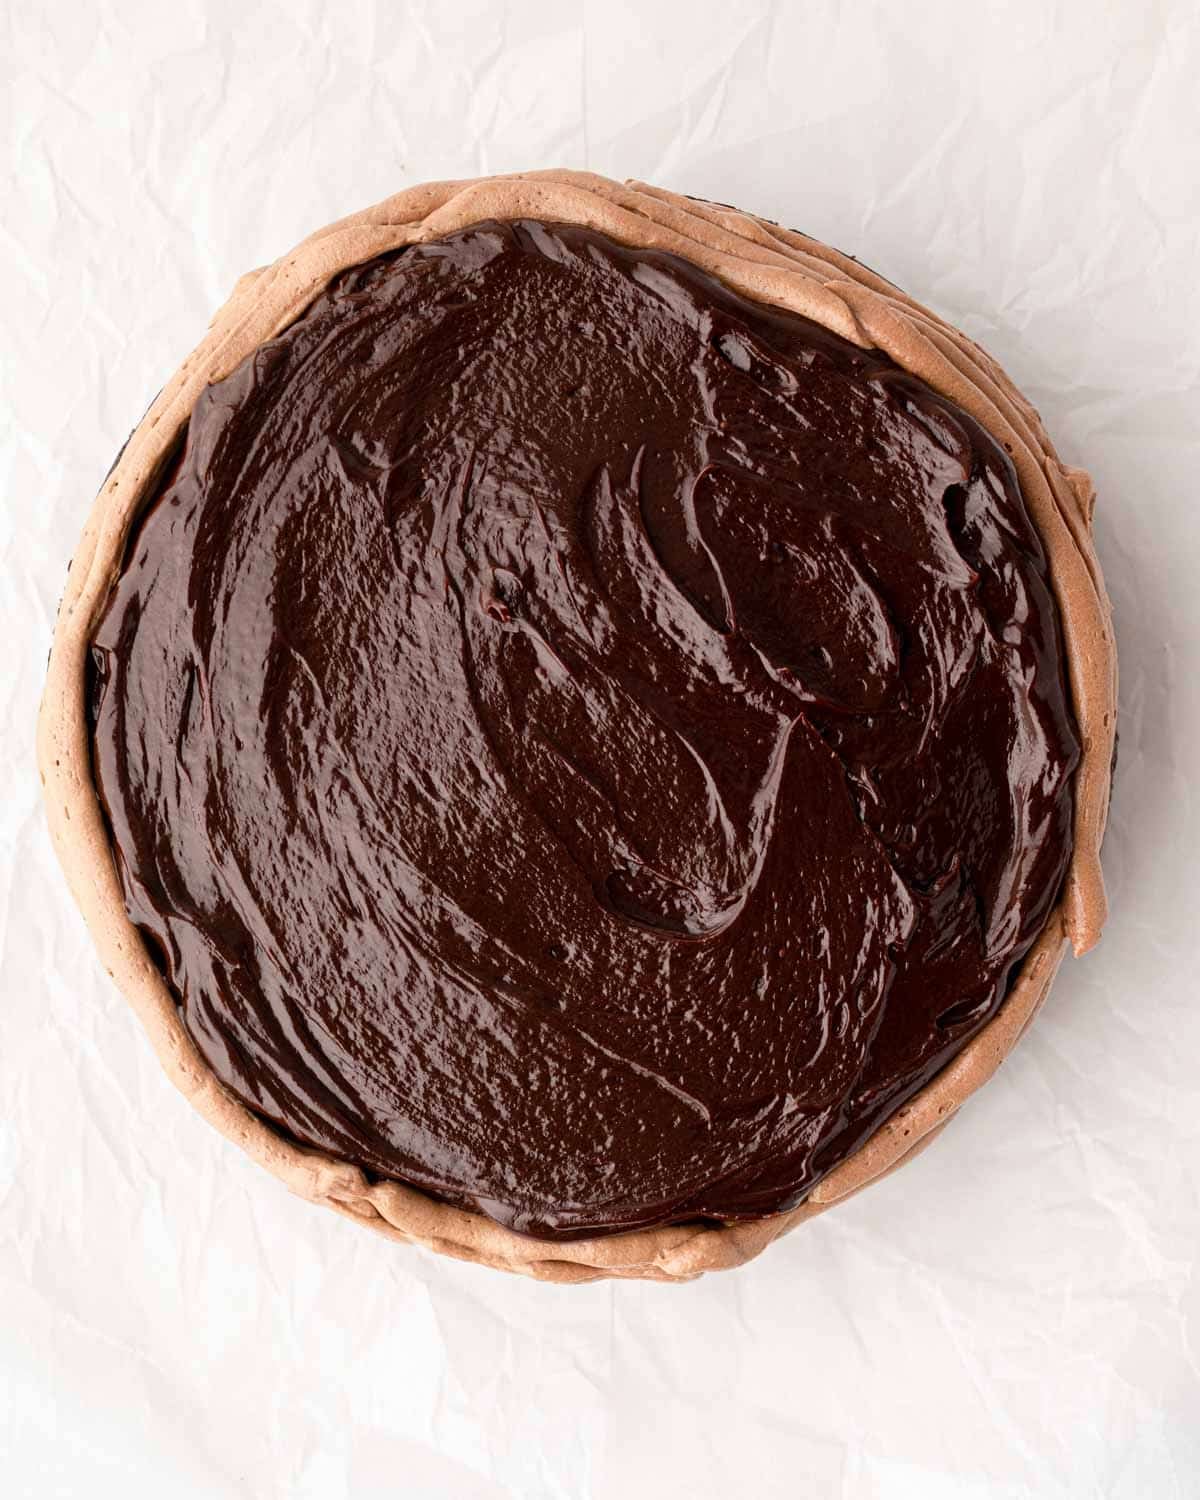
- Pipe a buttercream dam around the edge of the cake.
- Spoon ganache onto the center, spreading it gently up to the dam. Be careful not to press down!
- Add the second cake layer, and chill the cake to set the filling.


- Place a straight edge or ruler on the cake, and mark a straight line from the bottom upward along one side. Repeat this process, creating a line on the opposite side.
- Cut along the lines to remove two rounded pieces of cake. You don’t have to be super precise here! The buttercream will hide any imperfections.
- Attach the cut cake pieces to form the rounded top of the heart, using buttercream as a “glue”. Chill the cake again to help it set.
- Cut a small V-shape for the heart’s valley.
- Crumb coat the cake, and chill it again to set the top layer.

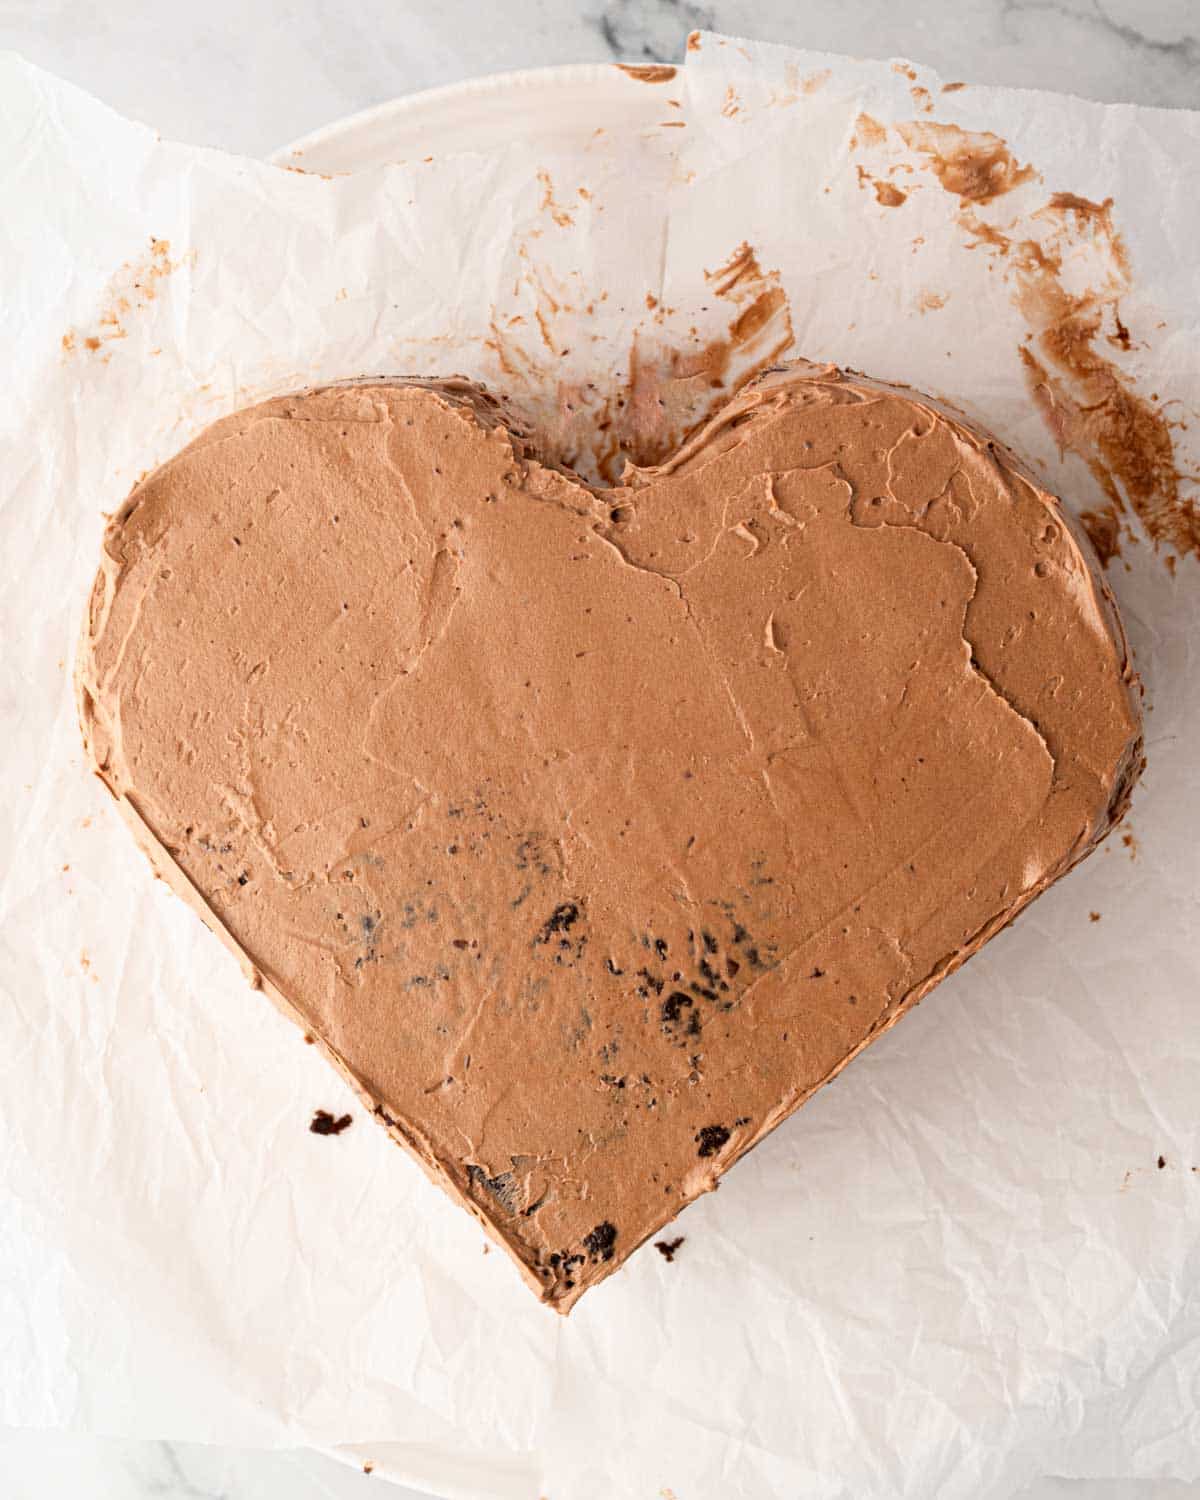
- Spread buttercream over the cake, smoothing the sides and top. Add decorative piping or details as desired.
- Remove the parchment strips, chill the cake, and enjoy!

Don’t skip cooling the cake
This allows the layers to set and solidify, ensuring the cake holds its shape once sliced.
Tips for Success
- Use room-temperature eggs for a smoother batter. Cold eggs can cause the batter to mix unevenly. Let them sit out for about 20-30 minutes before baking for the best texture.
- Prevent lumpy ganache. If the ganache thickens while cooling, gently warm it over a double boiler and whisk until smooth before adding it to the cake.
- Create clean slices. Once assembled, chill your chocolate heart cake briefly. Then, allow it to rest at room temperature, and use a sharp, clean knife to slice, wiping it clean after each cut.
- Level the cakes. If the cake layers dome during baking, level the top of the cake, taking off only what is necessary, after it has been chilled or frozen to reduce crumbs and tearing. Or, if the dome is slight, allow the buttercream dam and the ganache to level the layers.

Make Ahead Tips
Cake – Bake the cakes as instructed in the recipe card, and let them cool completely. Then, wrap them tightly in plastic wrap, and store them in the fridge for up to 2 days. Or, freeze them for up to 2 months.
Ganache – Prepare the ganache up to 3 days in advance, storing it in an airtight container in the fridge. To use, let it come to room temperature, or gently warm it over medium heat until it achieves a soft, spreadable consistency.
Buttercream – Store the buttercream covered in the fridge for up to 2 weeks or in a freezer-safe container in the freezer for up to 3 months. Thaw it at room temperature, and re-whip it until light and fluffy before using.
Storing Tips
Once assembled, you can transfer leftover cake to an airtight container or wrap it tightly with plastic wrap, followed by aluminum foil. It will keep fresh in the fridge for up to 3 days or in the freezer for up to 1 month.
Thaw frozen chocolate heart cake in the fridge overnight, and enjoy it cold. Or, bring the cake to room temperature before serving.

FAQs
Yes. While the silky chocolate ganache adds a rich, smooth layer, this cake is very flexible. You can swap in strawberry jam, strawberry preserves, chocolate French buttercream, chocolate Russian buttercream, cream cheese frosting, or even a whipped chocolate mousse filling. Just make sure the filling is thick enough to hold its shape and not ooze out between the layers.
If you have them on hand, heart-shaped cake pans can help make this recipe even easier, but they aren’t necessary! Cutting and assembling round cakes into a heart-shape is a fairly easy process.
Make sure to pipe a buttercream dam around the edge of the cake layer before adding the ganache. This creates a barrier that holds the filling in place and prevents it from seeping out the sides. Chilling the cake briefly after filling also helps the ganache set and stay put.
More Chocolate Cake Recipes

Chocolate Heart Cake with Ganache Filling
Ingredients
Chocolate Buttermilk Cake
- ¾ cup (75 g) Dutch-process cocoa powder
- 1 cup (240 ml) hot water
- 1¾ cups (220 g) all-purpose flour
- 1 cup (200 g) granulated sugar
- ½ cup (100 g) packed brown sugar
- 1 teaspoon baking soda
- 1 teaspoon baking powder
- 1 teaspoon fine sea salt
- 1 cup (240 ml) buttermilk
- ½ cup (120 ml) neutral oil
- 2 large eggs at room temperature, beaten
- 2 teaspoons vanilla extract
Silky Ganache Layer
- ¾ cup (180 ml) heavy cream
- 8 ounces (225 g) dark chocolate, finely chopped
- 1 tablespoon (14 g) unsalted butter
- ½ teaspoon espresso powder
- 1 teaspoon vanilla extract
- Pinch of fine sea salt
Chocolate Swiss Meringue Buttercream
- 6 egg whites
- 1½ cups (300 g) granulated sugar Note 1
- ½ teaspoon coarse kosher salt
- 1½ cups (340 g) unsalted butter at room temperature
- 8 oz semi-sweet chocolate Note 2
Instructions
To bake the cake
- Preheat the oven to 350°F. Lightly grease two 8-inch round cake pans and line the bottoms with parchment paper.
- In a medium bowl, whisk the cocoa powder and hot water until smooth and glossy. Set aside to bloom while preparing the remaining ingredients.
- In a large mixing bowl, whisk together the flour, granulated sugar, brown sugar, baking soda, baking powder, and salt until fully combined.
- Add the buttermilk, oil, eggs, and vanilla extract, whisking until smooth.
- Pour in the bloomed cocoa mixture and whisk gently until fully incorporated. The batter will be thin.
- Divide the batter evenly between the prepared pans and bake for 30–35 minutes, until a toothpick inserted into the center comes out clean. If using an instant-read thermometer, the internal temperature should register about 200°F.
- Cool the cakes in the pans for 10 minutes, then turn out onto a wire rack to cool completely. Once fully cooled, wrap the layers in plastic wrap and place in zip-top bags. Freeze for easier frosting, or proceed once completely cooled.
To make the ganache filling
- Place the chopped chocolate in a heatproof bowl.
- Heat the heavy cream in a small saucepan over medium heat until just steaming. Do not boil.
- Remove from the heat and immediately stir in the espresso powder until fully dissolved.
- Pour the hot cream over the chocolate. Cover and let stand for 2 minutes, then stir gently from the center outward until smooth and glossy.
- Add the butter and stir until fully emulsified.
- Stir in the vanilla extract and salt. The ganache should look fluid, shiny, and cohesive.
- Let the ganache cool at room temperature until thickened to a spreadable consistency, about 20 minutes. For cake assembly, it should be soft but not runny, similar to warm Nutella.
Prepare the Chocolate Swiss Meringue Buttercream
- In a small saucepan, bring a small amount of water to a boil. Reduce the heat to simmer.
- In medium heat-proof bowl (I used my stand mixer bowl), whisk together egg whites and sugar and place it over the saucepan with simmering water. (This is a make-shift double boiler. Make sure the bottom of the top bowl doesn't touch the water.)
- Cook the egg white mixture until sugar is completely melted and it reaches 160°F (70°C) stirring continuously, about 5 minutes. (This is my favorite thermometer!)
- Now, remove the bowl with egg white mixture from heat. Then whisk it on medium speed for a minute, then slowly increase the speed to medium high and beat until stiff peaks form and the mixture is cool to touch, about 10 minutes. (It may take longer with a hand-mixer.)
- Meanwhile, melt the chocolate in a microwave according to package directions. Let it cool.
- Once the meringue reached stiff peaks, scrape the side of the bowl with a spatula and add salt.
- Turn on the mixer on medium speed and start adding butter, one tablespoon at a time. Make sure the butter is fully incorporated before adding the next piece. (NOTE: It's normal if buttercream starts to curlde half way. Keep adding the butter!)
- Keep whisking the buttercream until smooth, light and fluffy, about 10 minutes.
- Now, switch to a paddle attachment and add cooled melted chocolate. Beat the buttercream until well combined, about a minute.
To assemble the cake
- If not using a cake board, place two overlapping strips of parchment on your serving plate. Place one cake layer on top.
- Pipe a buttercream dam around the edge of the cake. Spoon the ganache into the center, spreading gently up to the dam without pressing down. Top with the second cake layer and chill for 15 minutes to set the filling.
- To shape the heart, place a ruler or straight edge on the cake and mark a straight 5-inch line from the bottom point upward along one side. Repeat on the opposite side. Cut along the lines to remove two rounded pieces. Precision isn’t critical here, as the buttercream will hide small imperfections.
- Using buttercream as glue, attach the cut pieces to form the rounded top of the heart. Chill for 15 minutes to set. Cut a small v-shape for the heart’s valley and remove.
- Crumb-coat the cake and chill briefly to set the layer. Apply the final coat of buttercream, smoothing the sides and top. Add decorative piping or details as desired. Remove the parchment strips and chill briefly before slicing to ensure clean, defined layers.
⭐️ Did you make this recipe?
Please leave a review and let us know how you liked it!
Tips & Notes
Nutrition