
How to Make Easy Strawberry Jam (No Pectin)
This post may contain affiliate links. Read full disclosure.
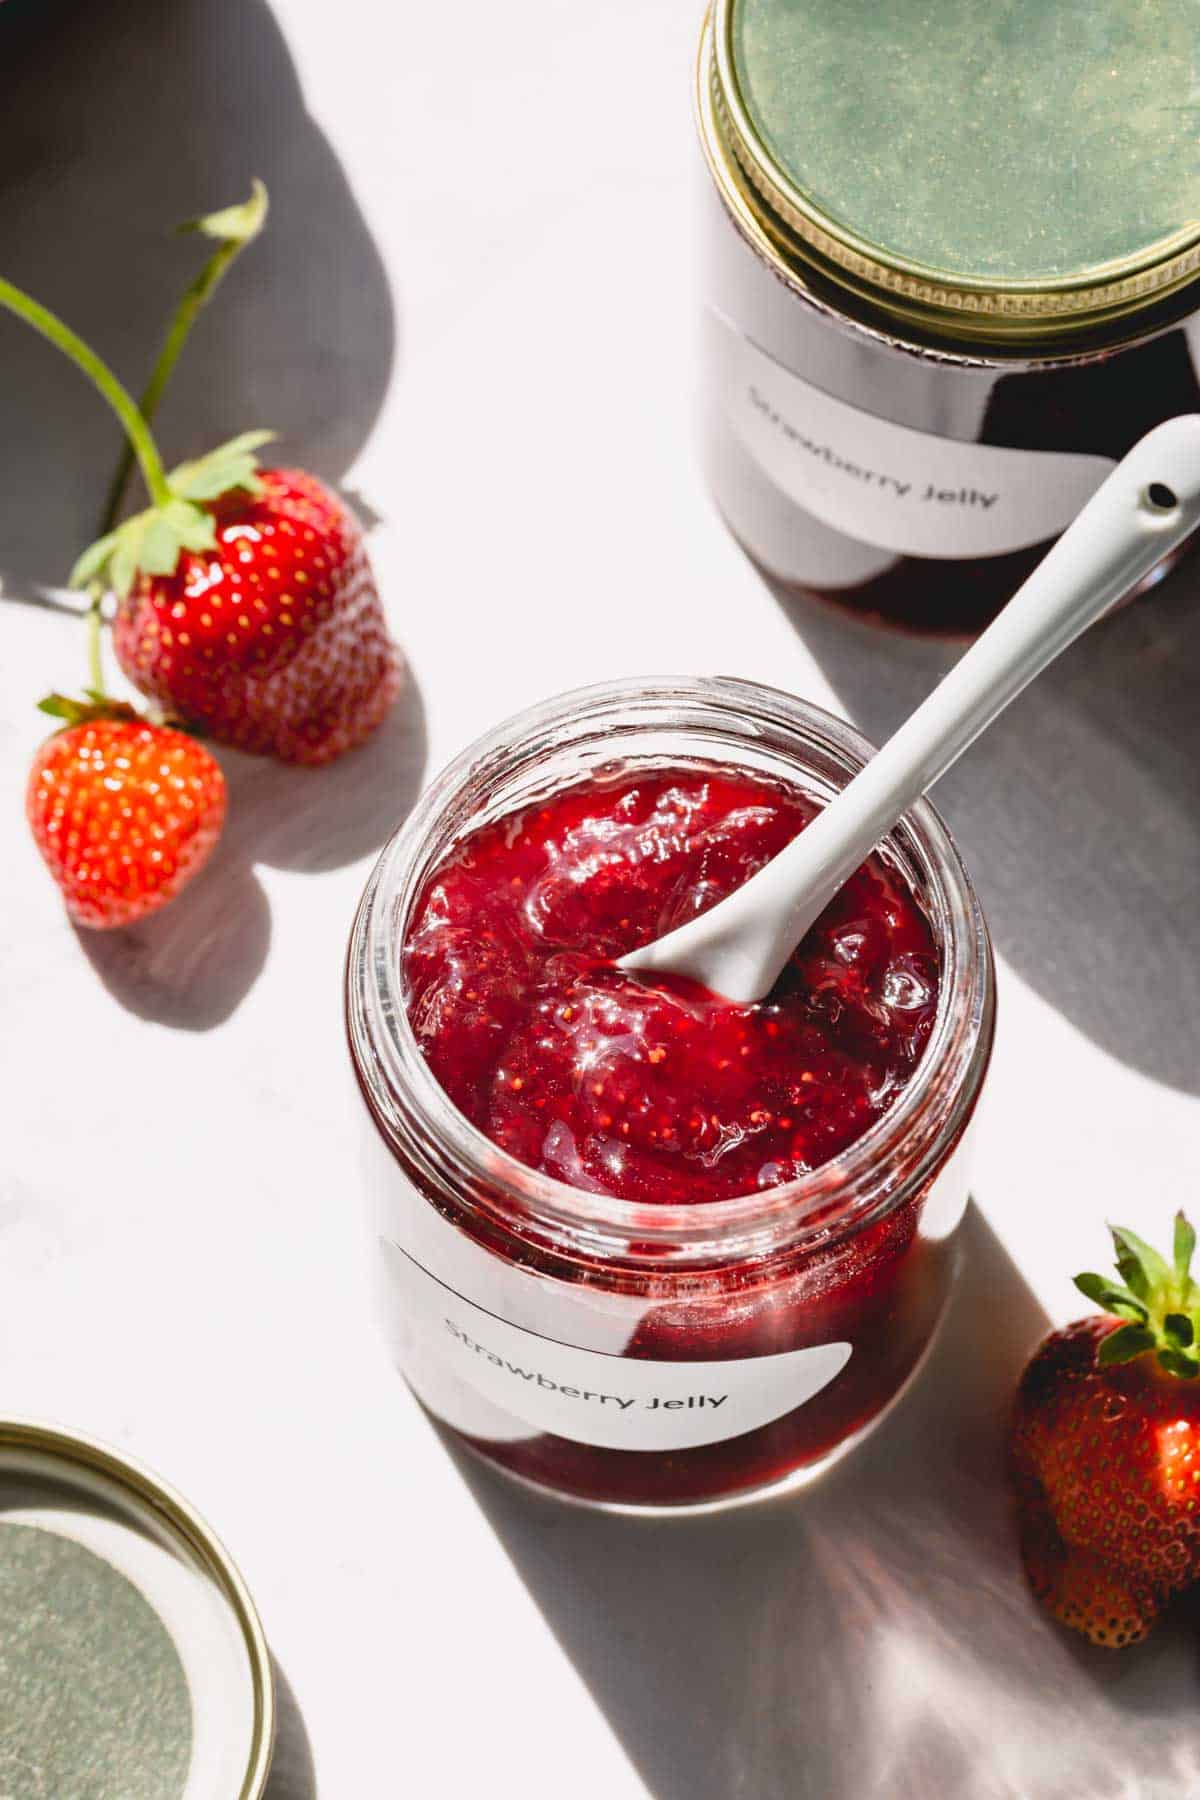
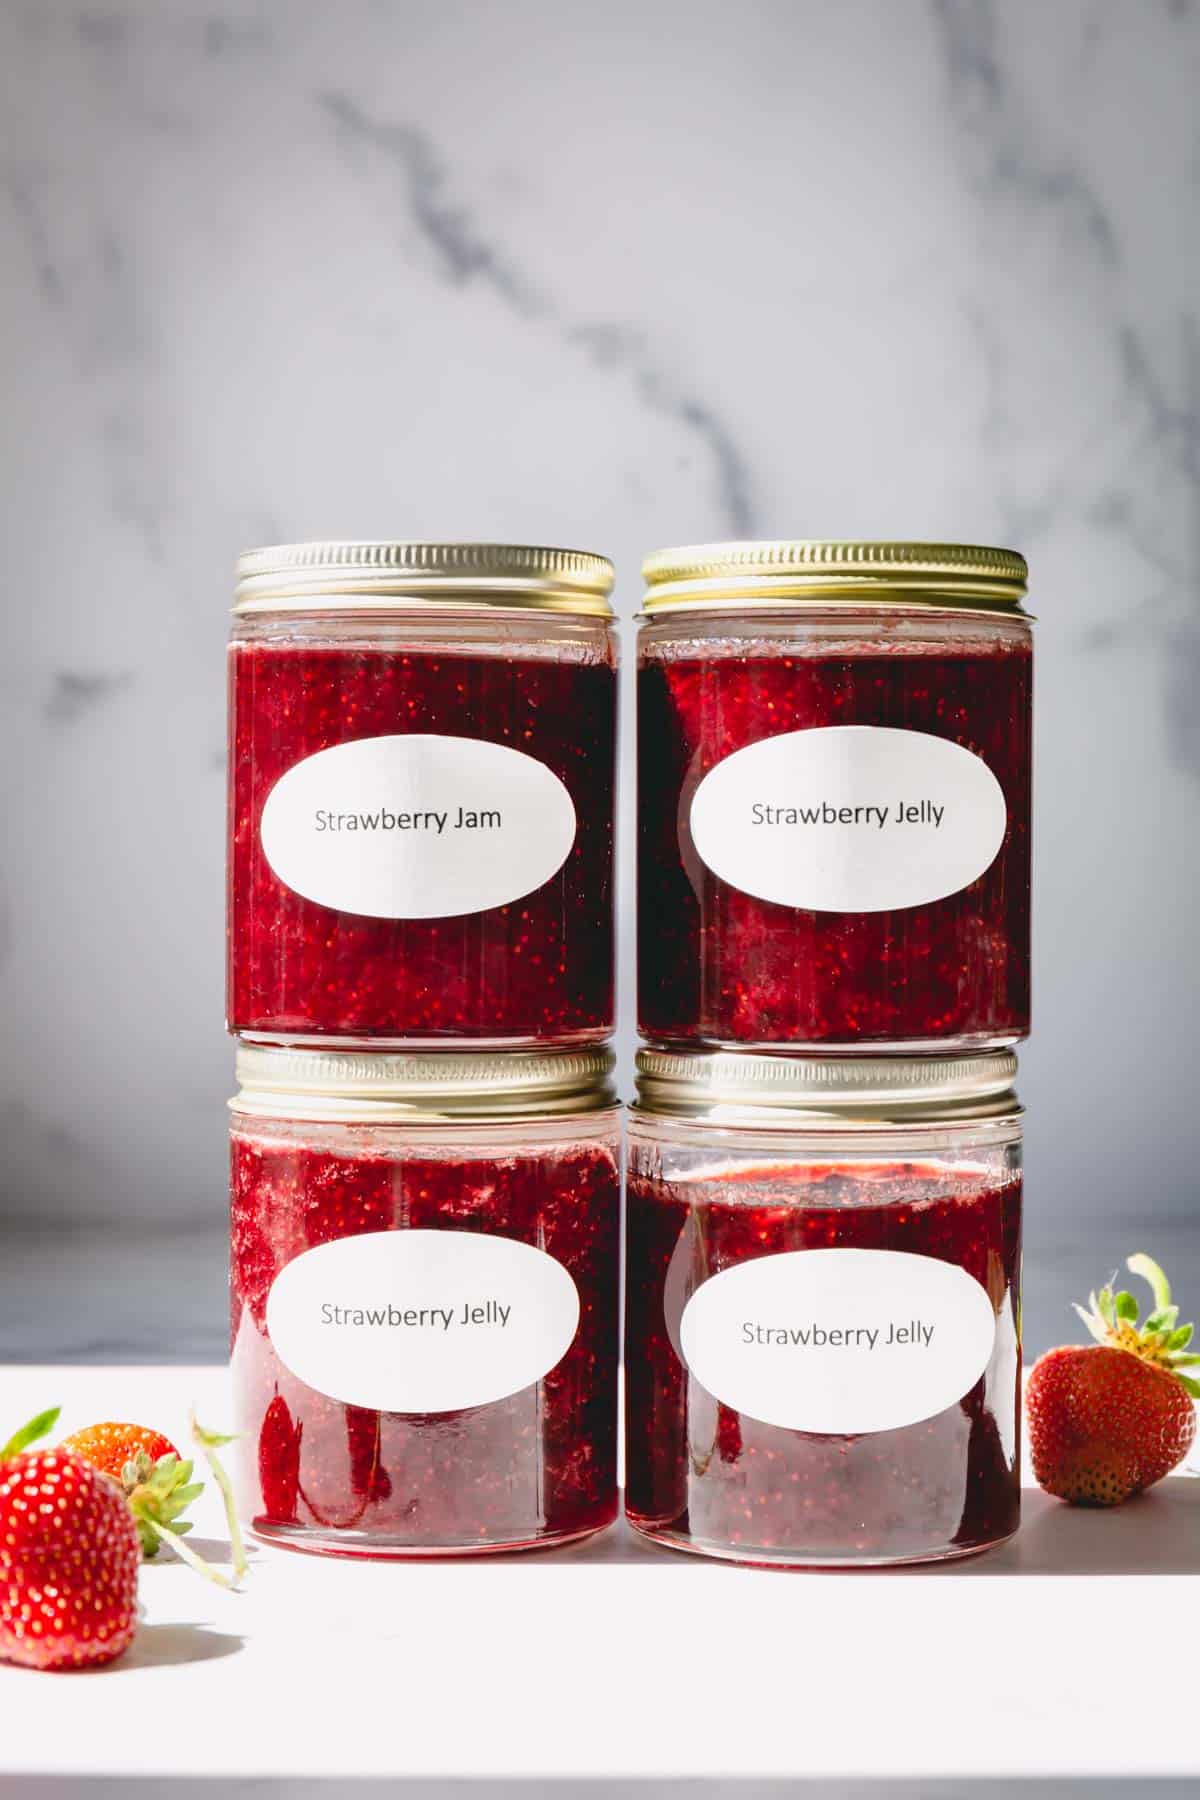
Learn how to make small batch strawberry jam without pectin! It’s sweet, jammy, and spreadable, with no special equipment or canning required. Step-by-step photos included.
Why you’ll love this recipe:
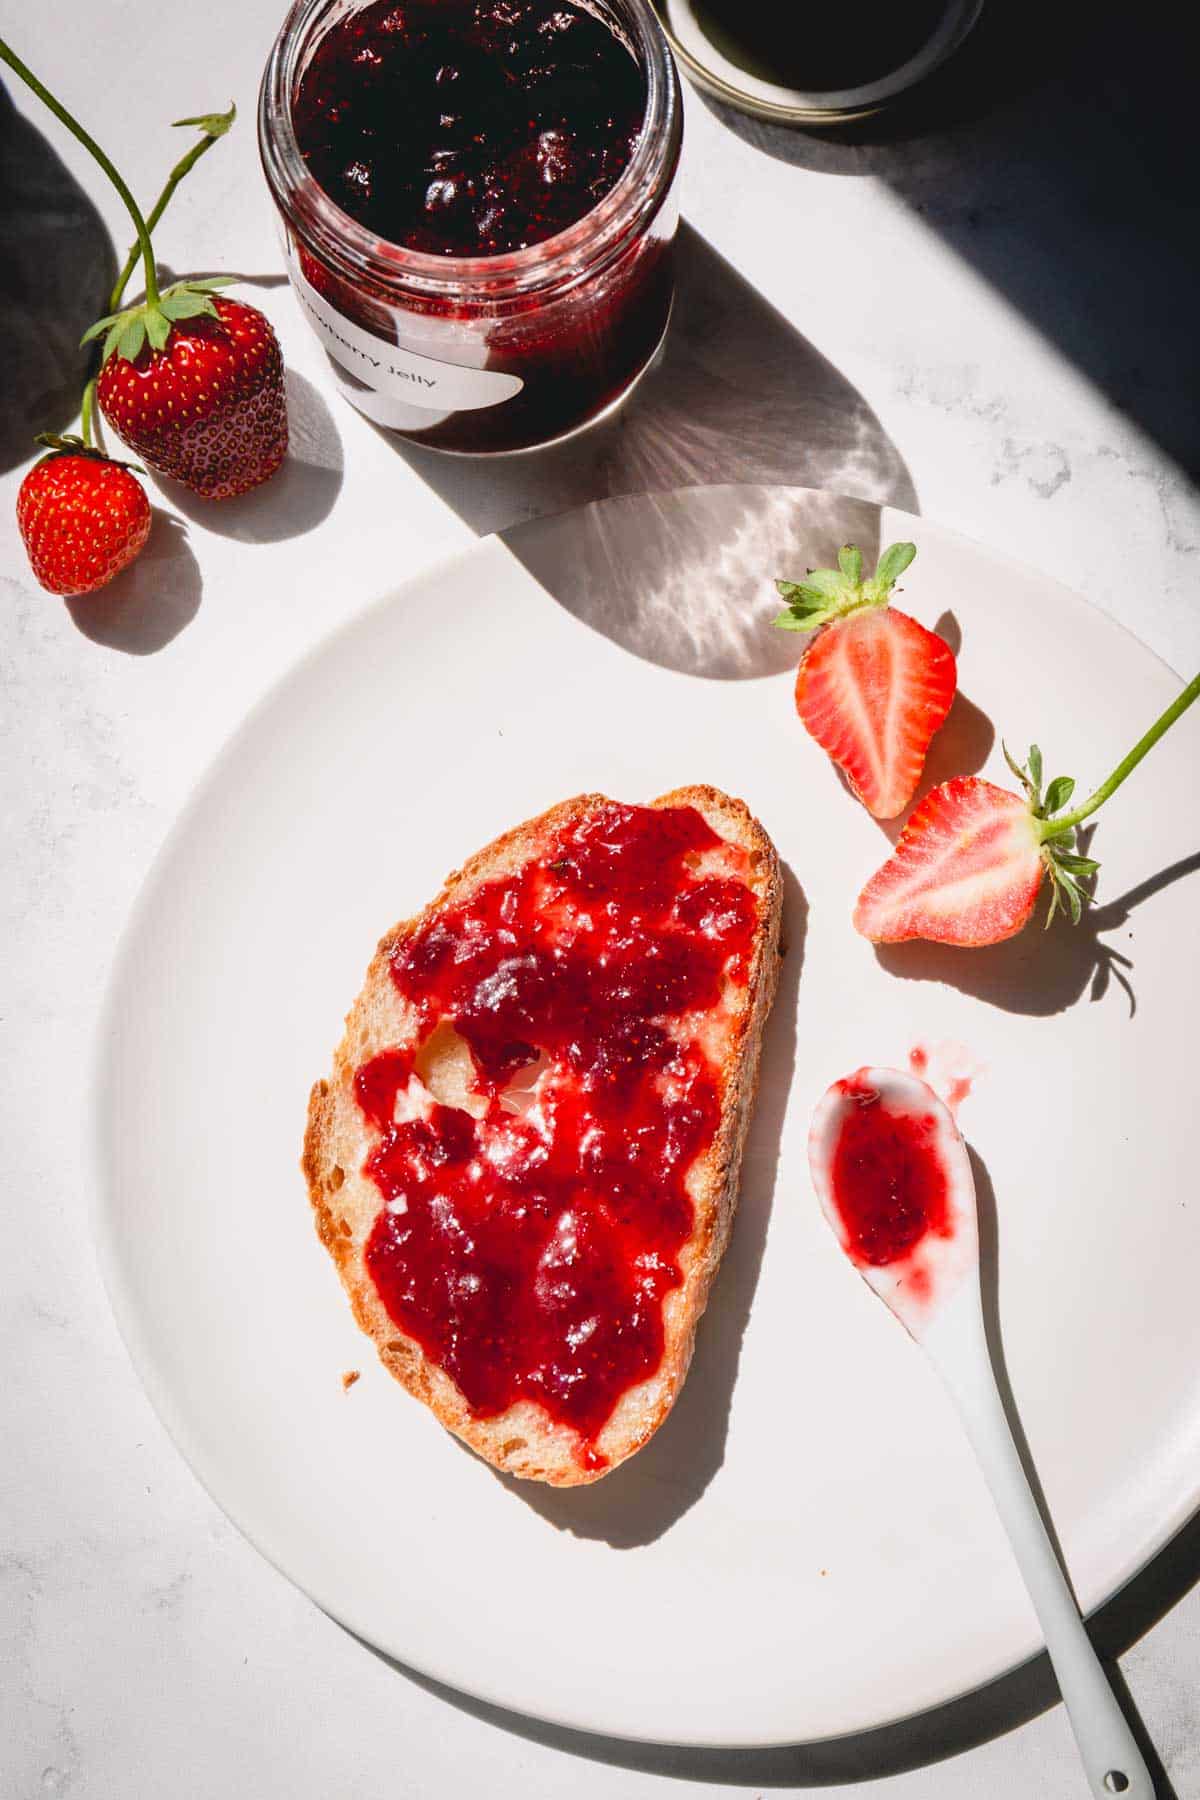
Homemade jam is the best, especially on Sunday mornings with pancakes, crepes, or a humble slice of buttered toast! It’s surprisingly easy too! If you’re new to canning, strawberry jam without pectin is a good place to start.
- Easy strawberry jam recipe
- Canning in a water bath is optional!
- Soft, spreadable, & not too thick
While I could devour homemade jam by the spoonful, there are a million ways to enjoy it! Mix it into yogurt, smear it on cheesecake, spoon onto French toast, or spread it between cake layers!
What is pectin?
Pectin is a complex starch used to thicken and gel food, specifically jams, jellies, and preserves. It occurs naturally in fruit and vegetables, with some fruits containing substantially more than others. It’s also commercially produced, typically from citrus peels, and can be found in the baking aisle near the pudding.
While commercial pectin helps thicken jam, it’s not necessary to make it. Cooking the strawberries with lemon juice and sugar helps release their natural pectin and evaporates the excess liquid.
Key Ingredient Notes:
- Strawberries – For best results, use ripe, deep-red strawberries that are in season! Trust me on this one, sweet peak-season strawberries make the BEST jam! I stock up every year when the grocery store shelves are overflowing with strawberries and the prices are low.
- Sugar does more than sweeten the jam. It encourages the pectin to work its magic and thicken the jam. It acts as a preservative too!
- Lemon juice – Don’t skip lemon juice! Acid brightens the strawberry flavor, and is crucial for a proper set. If possible, avoid bottled lemon juice and snag fresh lemons. Fresh lemon juice is far better!
How to make this recipe:
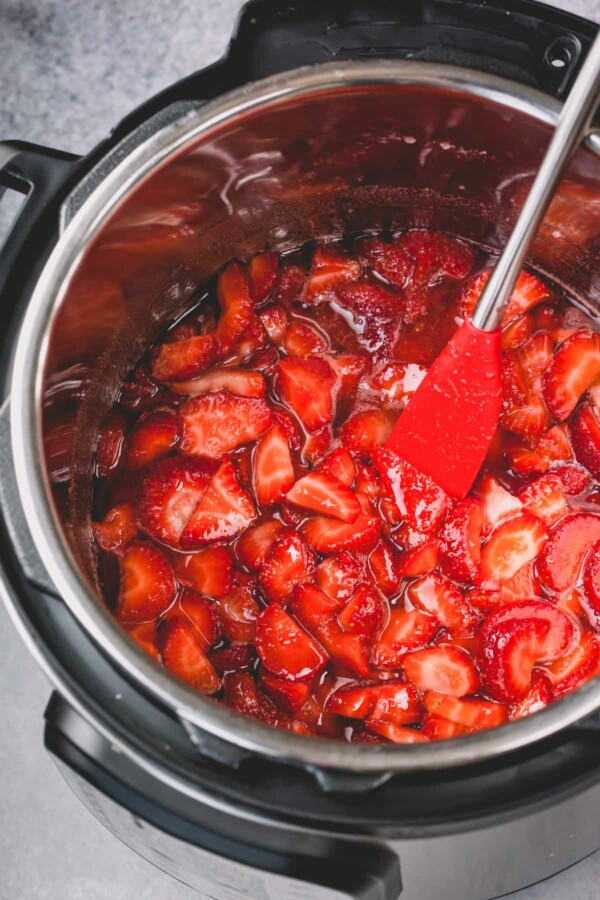
No pectin strawberry jam is simple to make on the stovetop OR in your Instant Pot! Canning is optional, but recommended if you want to store it longer than a month.
How to make strawberry jam:
- Rinse and cut up the strawberries. Don’t worry about how uniform they look. They’re going to be jam in the end.
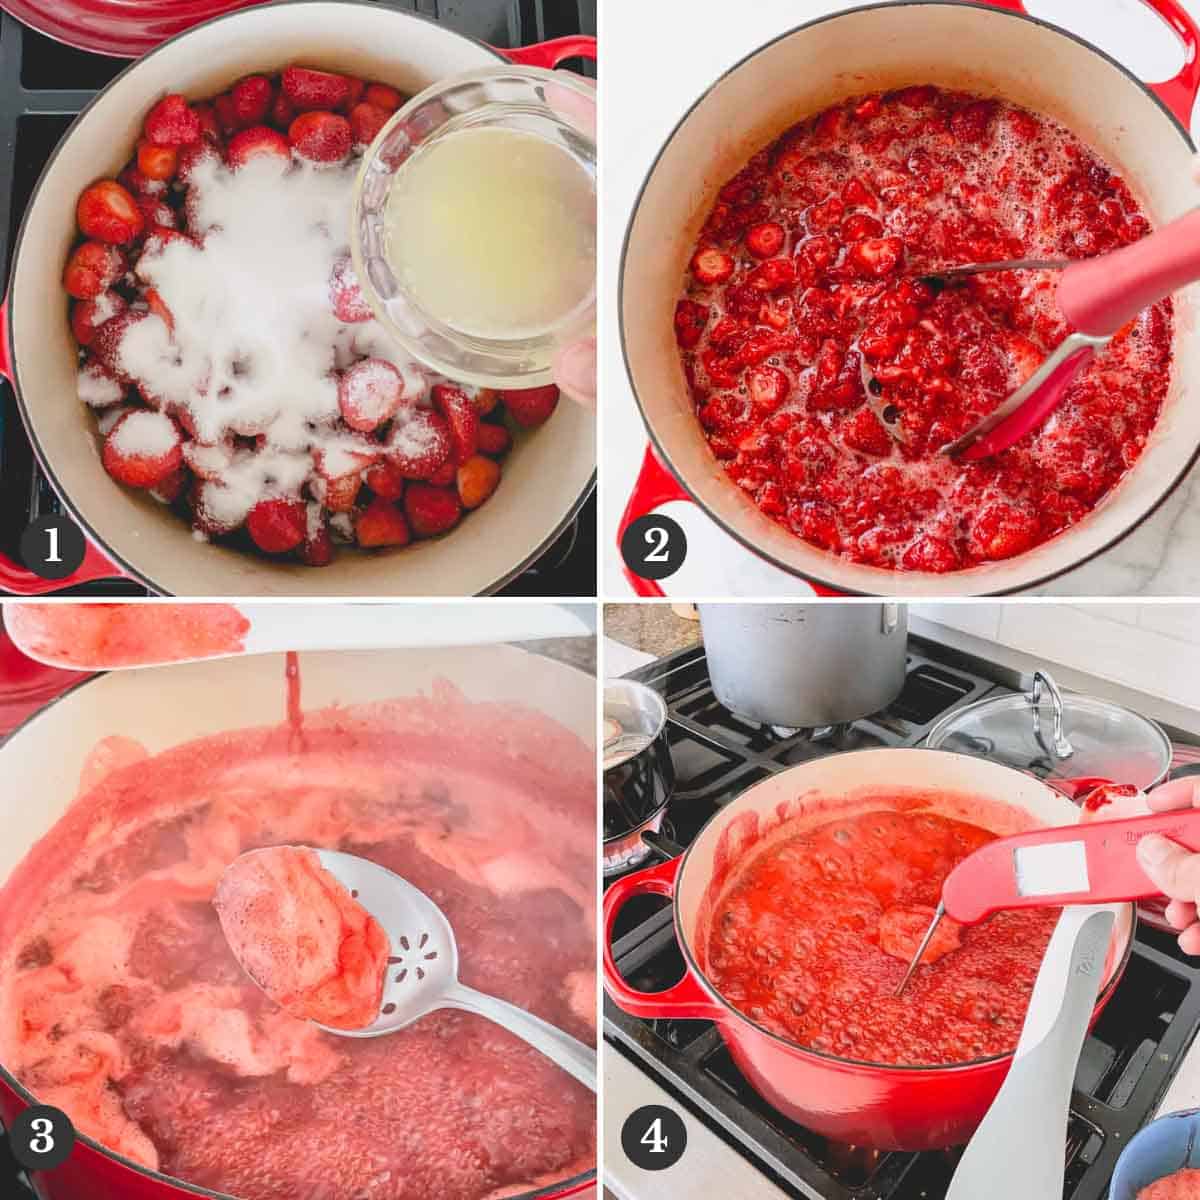
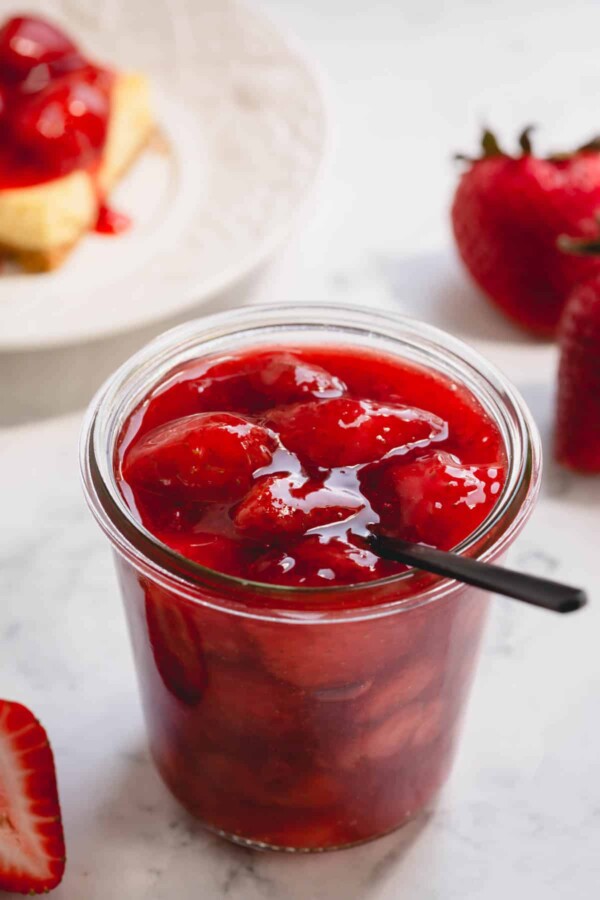
- In a heavy-bottomed pot, like a Dutch oven, combine the strawberries, sugar, and lemon juice. Use a potato masher to mash the strawberries. If you like a chunky jam, be sure to leave some strawberry chunks.
- Stir the mixture over medium heat until the sugar dissolves, then increase the heat to medium-high and bring to a rolling boil.
- Use a candy thermometer to temp the strawberry mixture. Cook, stirring frequently, until it reaches 220 degrees Fahrenheit. Turn off the heat and use a slotted spoon to remove the bubbly foam on top. Temping the jam ensures it will set up correctly.
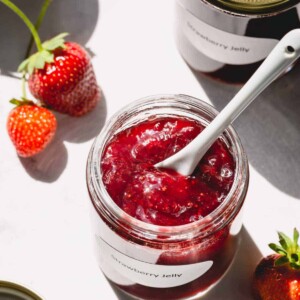
- Pour the fruit jam into clean jars, cover, and cool to room temperature.
- Store the cooled jam in the refrigerator for up to one month.
Tip
Mashing the strawberries upfront helps release their natural pectin! Mash the strawberries to the consistency you like.
How to can strawberry jam:
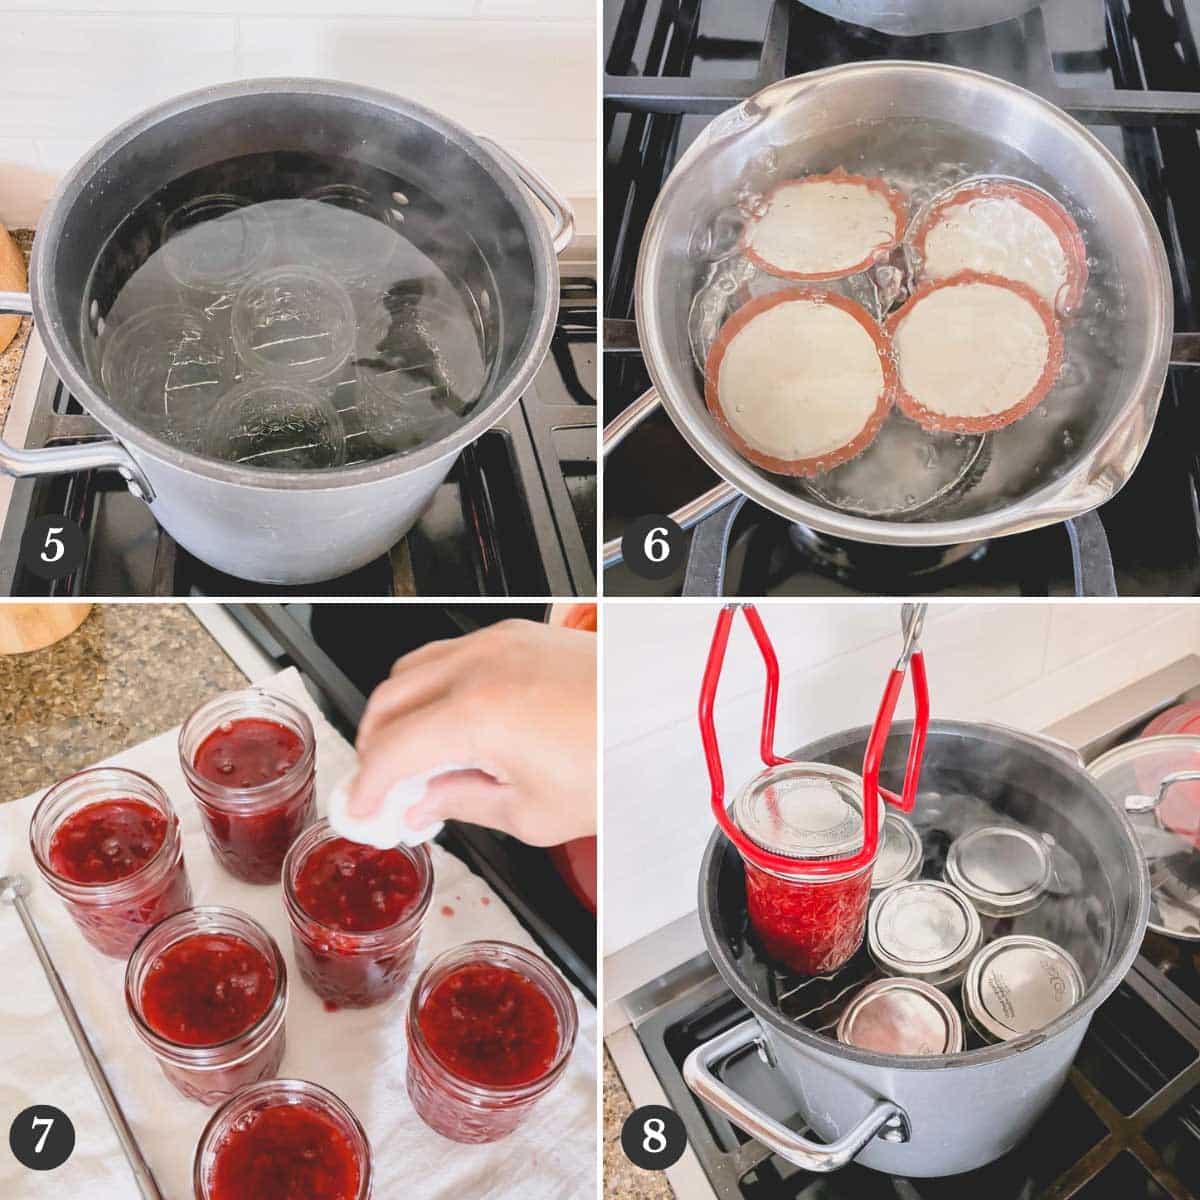
- It’s important to sterilize your canning jars. Washing them with soapy water, then boiling them removes any bacteria inside the jar. Use a large stock pot or canning pot, so you have plenty of room!
- Place the rings and lids into boiling water, then turn off the heat. If you leave the water boiling, it can reduce the quality of the sealing rubber. Use a magnetic wand to fish out the lids when you’re ready to seal the jars.
- Carefully pour the jam into the jars, leaving a 1/4 inch gap at the top of the jar.
- Run a clean knife along the inside edges of the jar to remove any air bubbles. Be careful not to touch the bottom of the jar. If you scratch the glass, it can break.
- Clean the edges of the jar with a paper towel, then top with the lids and tighten the rings around them.
- Boil the jars for 10 minutes in a canning pot with a rack on the bottom. This keeps the jars from sitting directly on the heat source. Make sure the jars are covered by at least 4 inches of water. Turn the heat off, and let the jars sit 5 more minutes before transferring to a cooling rack.
- You will know the jars are properly sealed if the center of the lid is firmly in place. It shouldn’t spring back when you touch it.
Tip
If you don’t have a canning rack, put a kitchen towel rag on the bottom of the pot. If the jars sit directly on the bottom of the pot, the heat can cause them to break.
Tips for Success:
- Don’t reduce the amount of sugar. The sugar is necessary for the consistency and preservation of the jam.
- You won’t get a solid, marmalade-like jam with this recipe. This recipe produces a thick yet soft jam that’s easy to smear on toast, croissants, or crepes. See picture below for reference.
- I have nothing against commercial pectin, but this recipe doesn’t need it! The texture of this jam is perfect without it. It’s soft, thick, and spreadable!
- If you’re new to canning, you can buy a canning tool set for less than 25 bucks on Amazon. Look for one that includes a jar lifter, a magnetic wand, and a set of sturdy tongs. The right tools making canning simple and seamless.
Storing Tips:
- Store jam jars that haven’t been canned in a water bath in the refrigerator for up to 1 month. I will say, I’ve enjoyed mine much longer than this. Just be sure to always use clean utensils and open the jar infrequently if possible.
- Store sealed jars at room temperature for up to one year. After a year, the quality begins to suffer.
FAQs:
No! Strawberries and fruit in general contain pectin naturally. When combined with sugar and lemon juice then cooked long enough, the strawberries thicken into jam! The excess liquid evaporates as the jam cooks.
The best way to thicken jam without commercial pectin is to cook it long enough. As you cook the jam, the excess liquid evaporates, creating a thicker jam! It’s crucial to add enough sugar as well. The sugar helps the natural pectin set.
Easy Strawberry Jam (No Pectin)
Ingredients
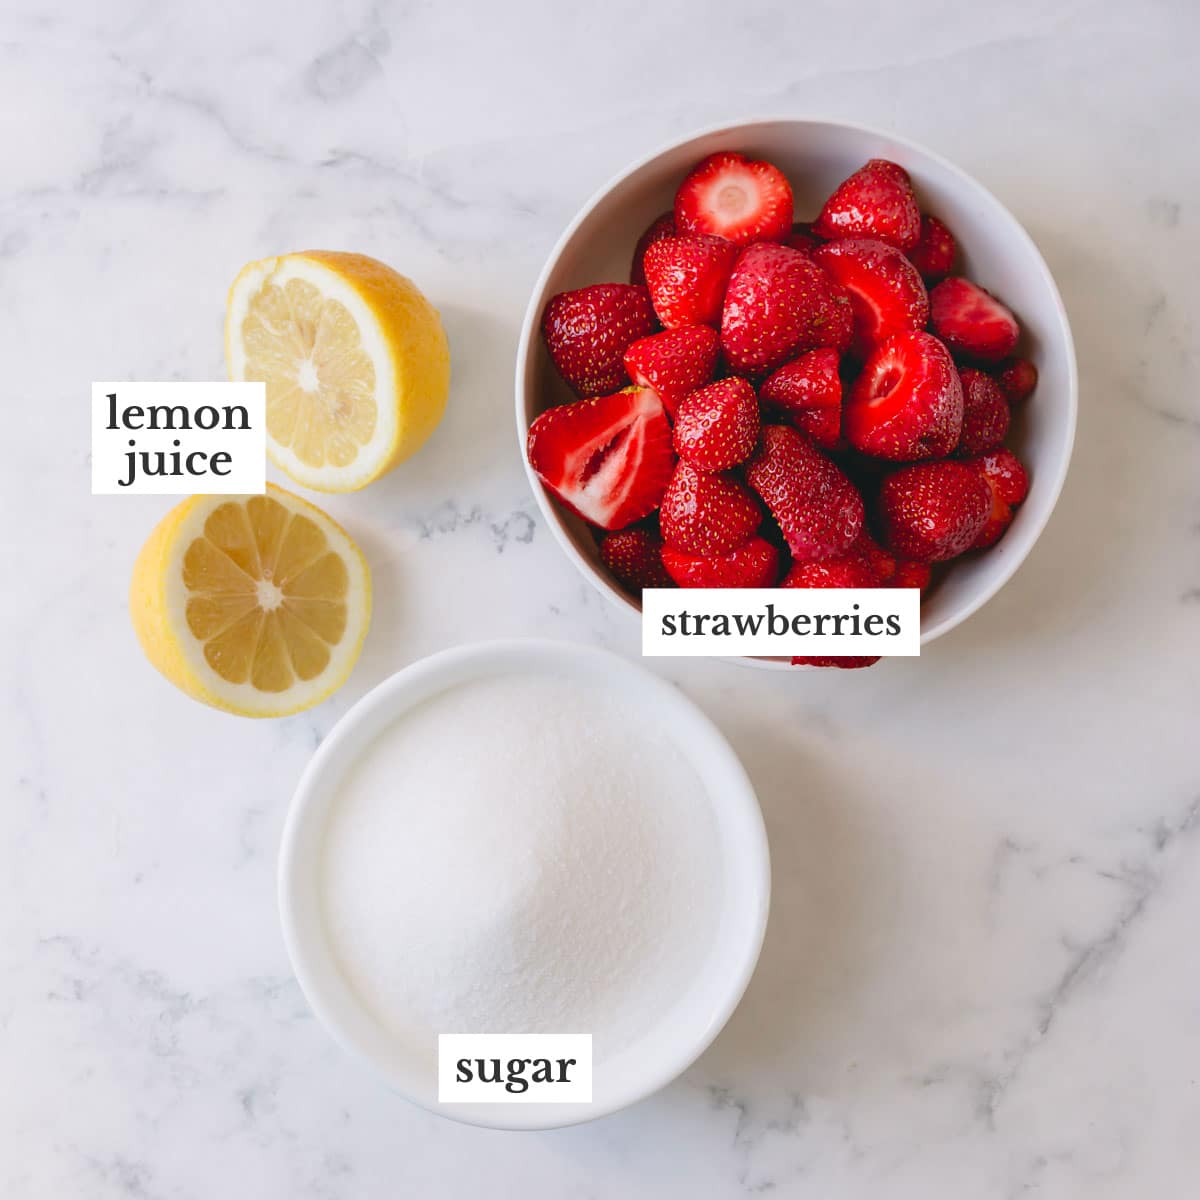
- 2 lbs fresh strawberries
- 2 cups granulated sugar Note 1
- ¼ cup fresh lemon juice
Equipment
- Large, heavy-bottomed pot
- Glass jars with lids
Instructions
- Wash and hull the strawberries. Quarter or slice the strawberries.
- In a heavy-bottomed pot, combine the strawberries, sugar and lemon juice. Using a potato masher, mash the strawberries to the consistency you like. (As I like bigger fruit pieces in my jam, I leave some fruit slices in the mixture.)
- Stir the mixture over medium heat until the sugar is dissolved. Then increase the heat and bring it to a rolling boil.
- Cook the mixture until it reaches 220°F, stirring frequently, about 25-30 minutes. Turn the heat off, and using a slotted spoon, skim off the foam.
- Pour the jam into clean jars, cover and cool to room temperature. Store the cooled jams in the fridge for up to 1 month.
- Canning instructions: Sterilize the jars by washing them in soapy water and then dropping them in boiling water in a canning pot. (I don’t have a canning pot, so I use my deepest stock pot.) Make sure you use a canning rack on the bottom.
- Place the lids and rings in a boiling water and turn the heat off. Don’t boil the water with the lids, as it reduces the quality of sealing rubber.
- Pour the jam into sterile jars, leaving about ¼ in left from the top.
- Run a knife along the inside edges of the jar to remove any air bubbles, trapped in the jam. Be careful not to touch the bottom of the jar if using metal utensils.
- Clean the edges of the jars with a wet towel, or paper towel. Place the lids on and tighten the ring around them, but not too tight.
- Place the jars into a boiling water in a canning pot with a rack on the bottom. Make sure the jars are covered with at least 4 inches of water. Boil for 10 minutes, then turn the heat off and let the jars sit for 5 minutes before transferring them to a cooling rack.
- As the jars cool down, you should hear popping sounds. It’s a sign that the jars are being sealed.
⭐️ Did you make this recipe?
Please leave a review and let us know how you liked it!
Tips & Notes
– Store uncanned jams in the fridge for up to 1 month.
– Sealed (canned) jars can be stored at room temperature for up to 1 year for best quality.
Nutrition

This post was originally published on April 8, 2013 and updated on October 25th, 2019.


I picked a few buckets of strawberries today and decided to make jam out of some of them. After looking at a few recipes, trying to find one without a ton of added sugar, I decided on this one – and am so glad I did. It’s super delicious and easy to make. For me, skimming the foam of the top was the trickiest, because I felt like I was getting a lot of jam with it. Does it make a difference if you don’t get it all? Thanks for sharing your yummy recipes.
If I double the recipe for canning do I need to double the lemon juice amount?
Tried this today, but only had 1 1/2 pounds of berries so I adjusted accordingly. A bit sweet for me but oh so delicious and it set up perfectly. Thank you.
First of all, I appreciate your recipe. I was looking for a natural jam recipe with low sugar that gives canning instructions too. I am new to canning and am planning on trying this recipe, however we very rarely use sugar. Has anyone made this with Truvia blend or Sweet Complete? Or something similar?
Hi, Rhonda. I’ve never tried making jam with anything other than granulated sugar.
This recipe is perfect! I like that I do not have to buy so many strawberries to make delicious homemade jam. I also appreciate not having to buy pectin, which seems to be getting more expensive these days. Thank you for sharing this recipe!
Hi, Katie! So glad you found and tried my recipe. Thank you so much for your feedback!
Can this be made with frozen fruit?
Hi, Stacy. Yes, you can!
This is hands down the best and easiest recipe I’ve ever used. My whole family loves it! Thank you for sharing.
So glad you tried and loved my recipe!!!
Is it possible to lower the sugar content to about 1 cup?
Sure, but note it’ll be more like a sauce and not suitable for long shelf life. My recipe already uses less sugar than most jam recipes, which makes the jam not as firm.
Thank you!
If mine won’t get up to 220 is it garbage? I followed the directions exactly and I can’t get it past 212.
No, it won’t be garbage. It just won’t set. It’ll still be delicious!
Can the jam be frozen.. that is how I usually store my jam..