
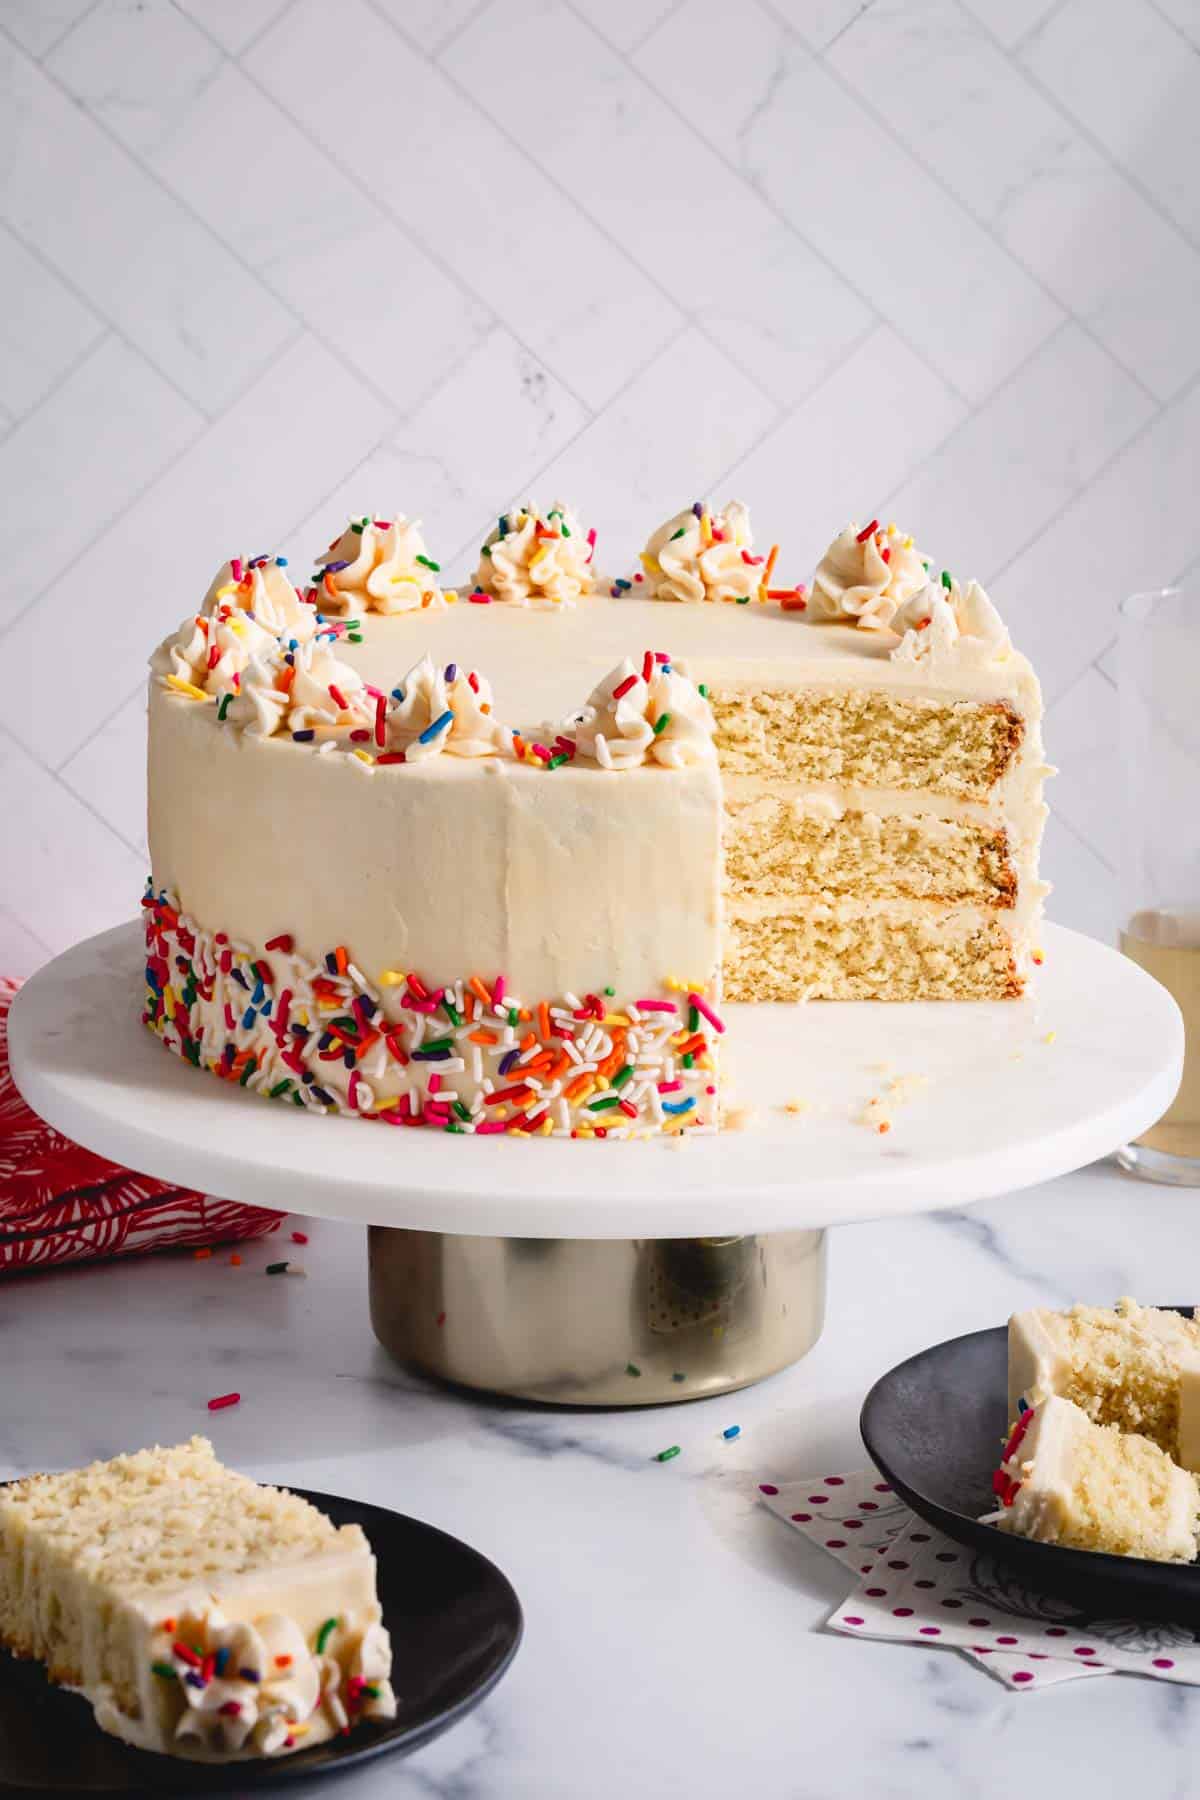
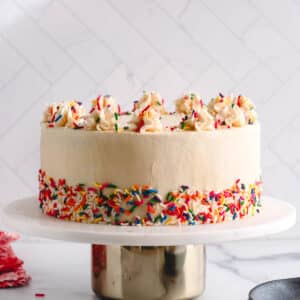
This is the best vanilla cake recipe that I’ve ever had, I can’t tell you how many times I’ve made it! It’s moist, rich, and sturdy enough for frostings, fillings and decorations. My secret ingredient is vanilla bean paste for the richest flavor!
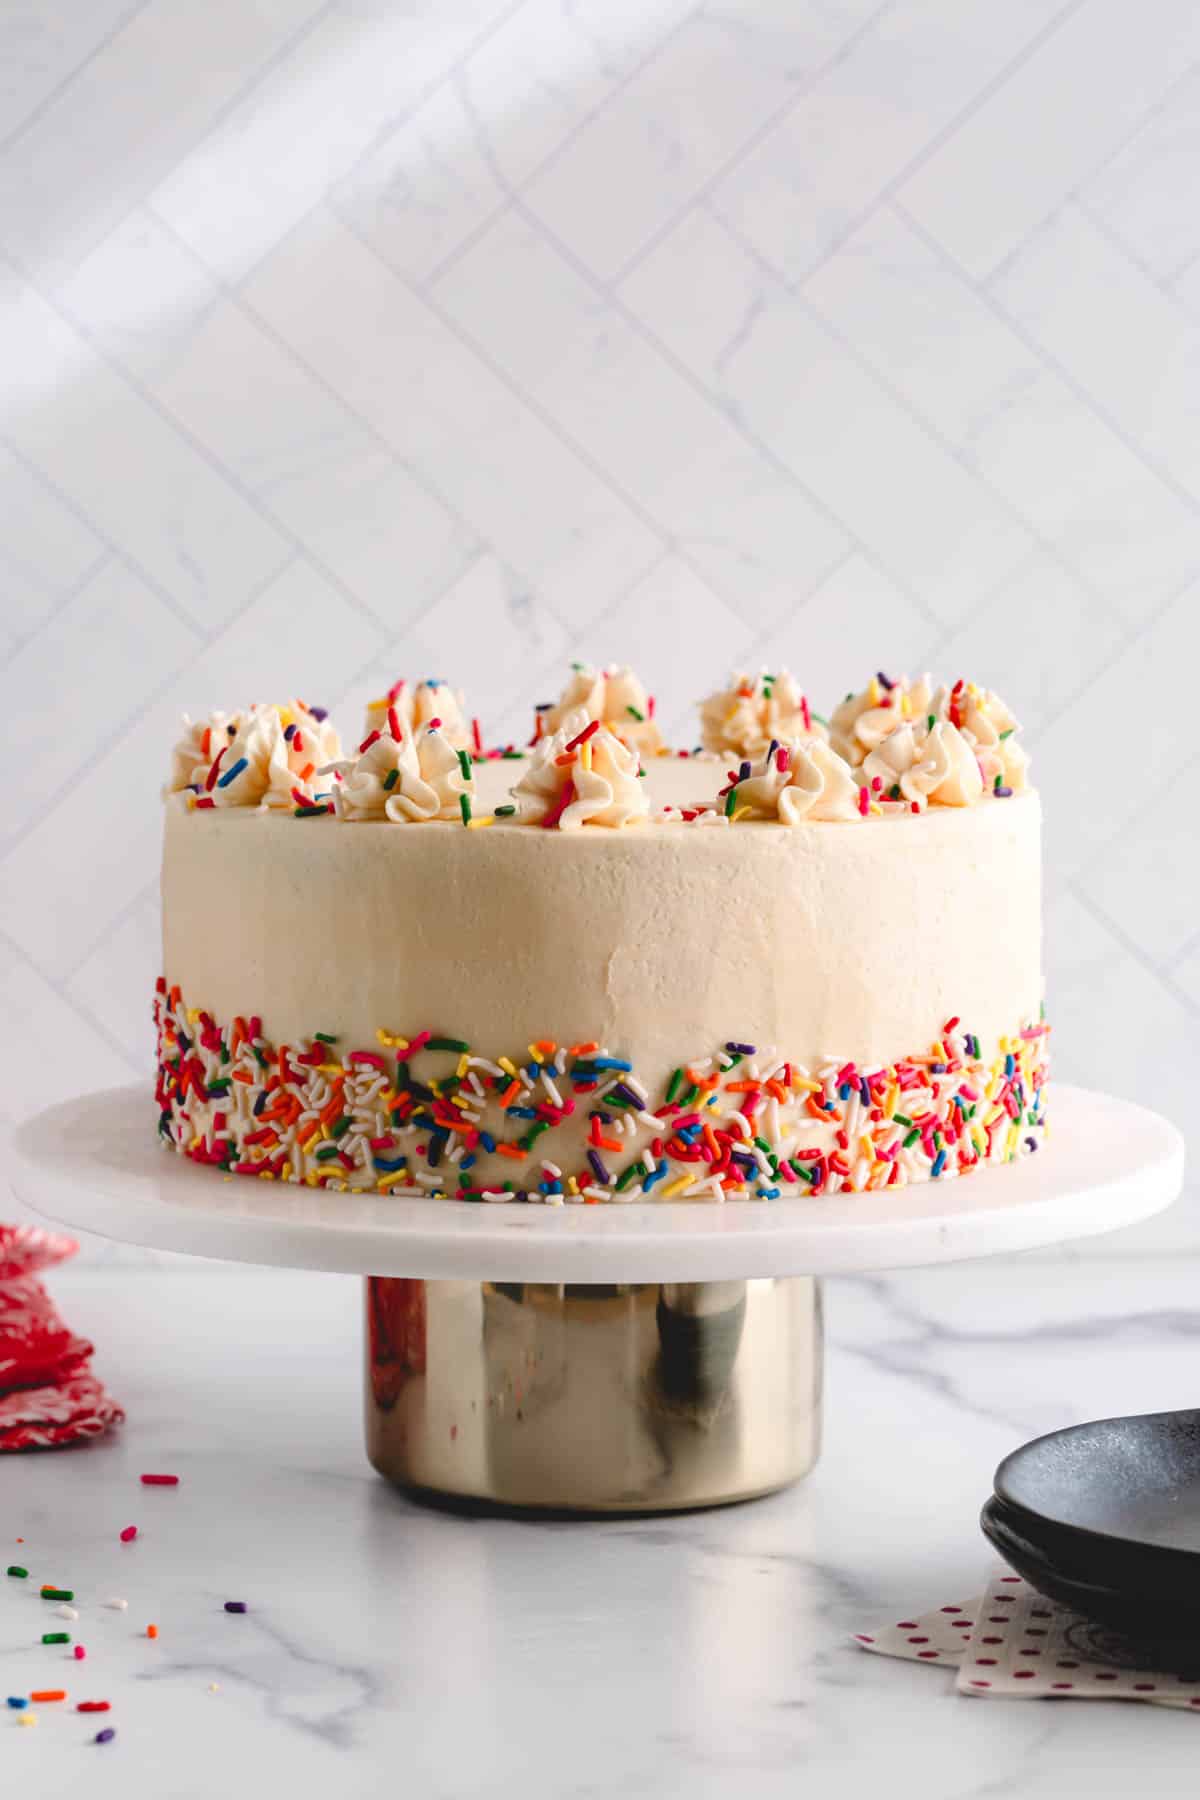
This is THE best vanilla cake recipe you need in your back pocket for birthdays, holidays, and every special event in between. I tested this cake over and over to make sure it was the perfect texture and flavor, I can’t wait to share all of my tips for making it professional quality every time!
You know I love outrageously delicious cakes and have a good collection of options, including classic options like white cake, yellow cake, and a simple chocolate cake. That’s why I couldn’t be more excited to add this vanilla bean cake to my recipe line-up!
Cover it in vanilla buttercream, or pick your favorite frosting. The pairing options are endless with this recipe!
Thank you for this recipe! I made it last year for a birthday party and got tons of compliments. The cake was fluffy and delicious and your Vanilla Buttercream complemented it perfectly. -Erica
Pin this now to find it later
Pin ItWhy you’ll love this recipe
- Best flavor of any vanilla cake recipe – Ours is unique thanks to using vanilla bean paste.
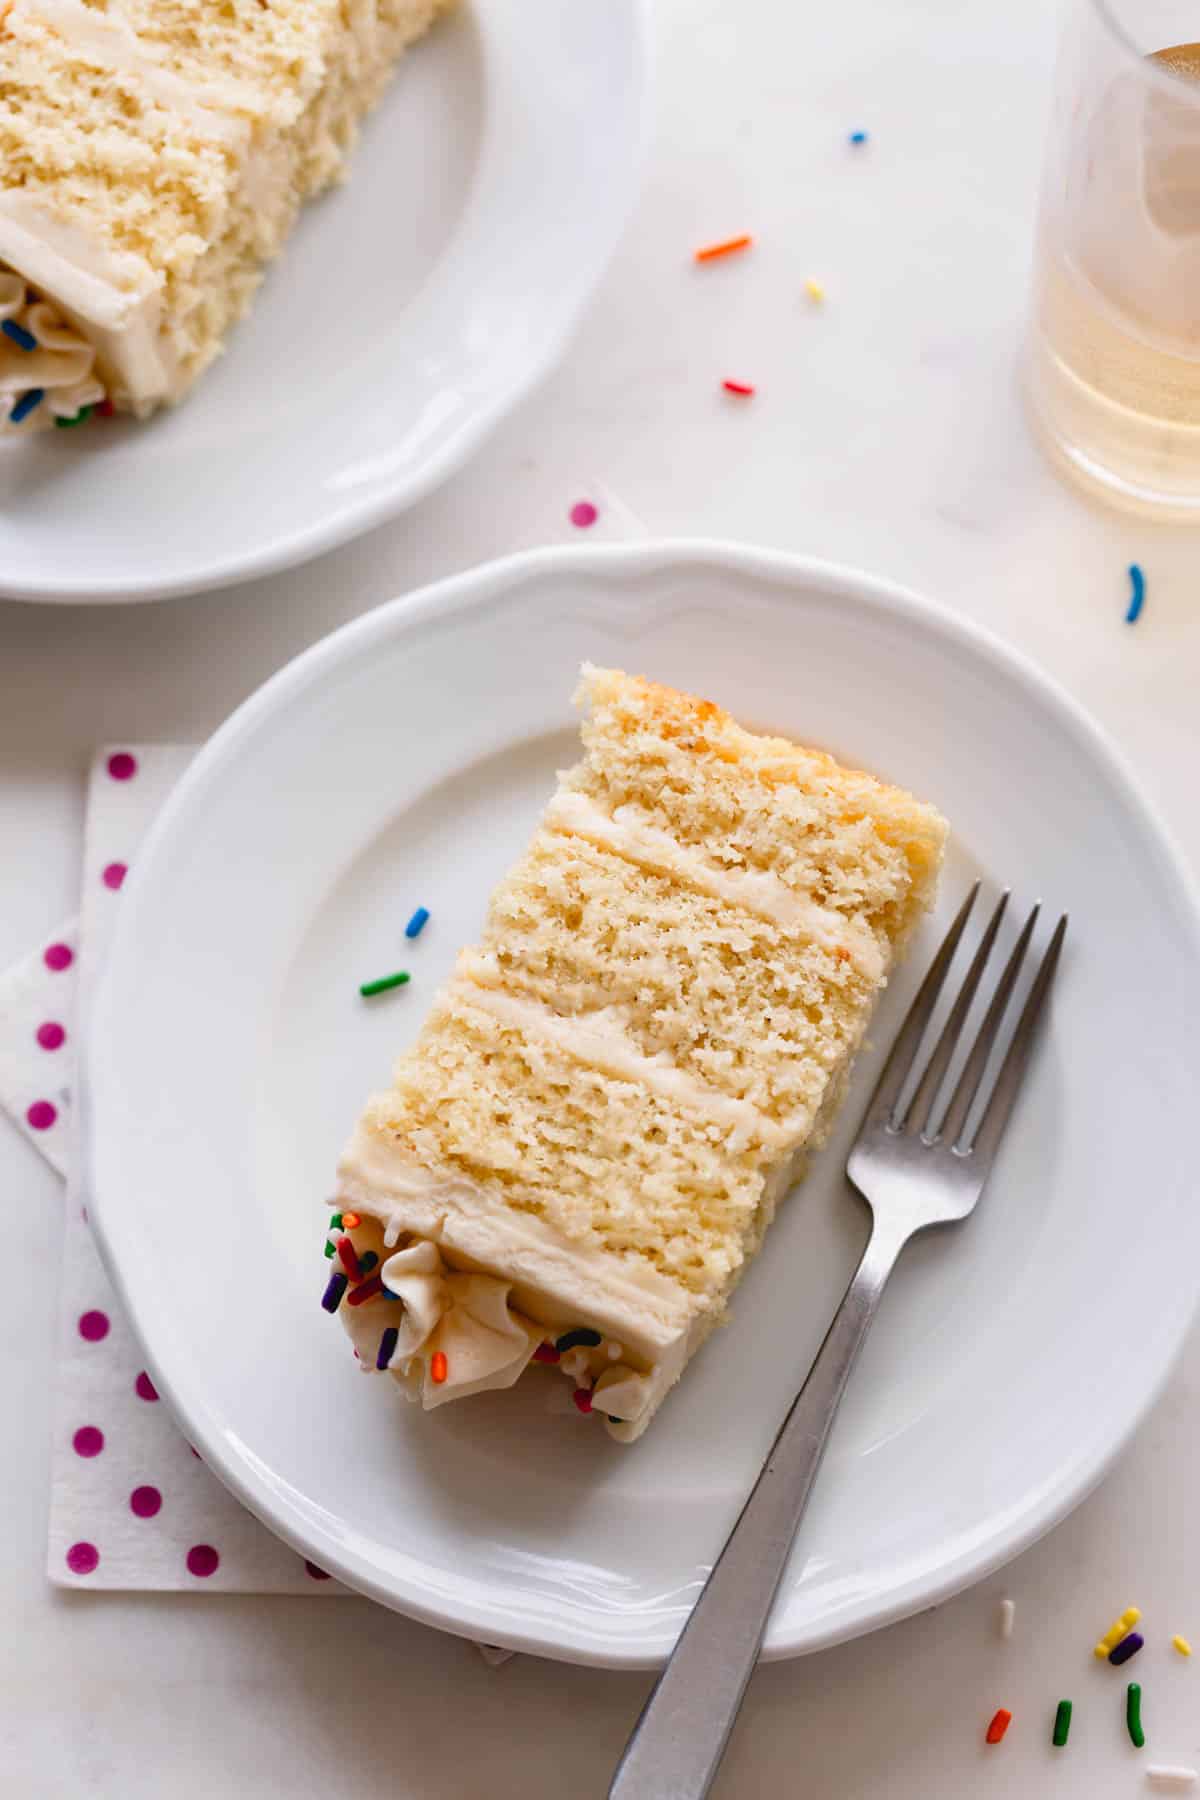
- Melt-in-your-mouth Texture – Soft, tender, and moist, this is thanks to using buttermilk in the batter.
- Easy to assemble – I promise it’s a simple and straightforward method, perfect for beginners!
- Impressive to serve a crowd – This is one of those cakes I love to make for a party or celebration, everyone is sure to say “wow!”
Make the cake in advance
If you’re entertaining for a crowd, you can make the cake layers in a day in advance as well as the vanilla buttercream. The day of the party just frost and serve!
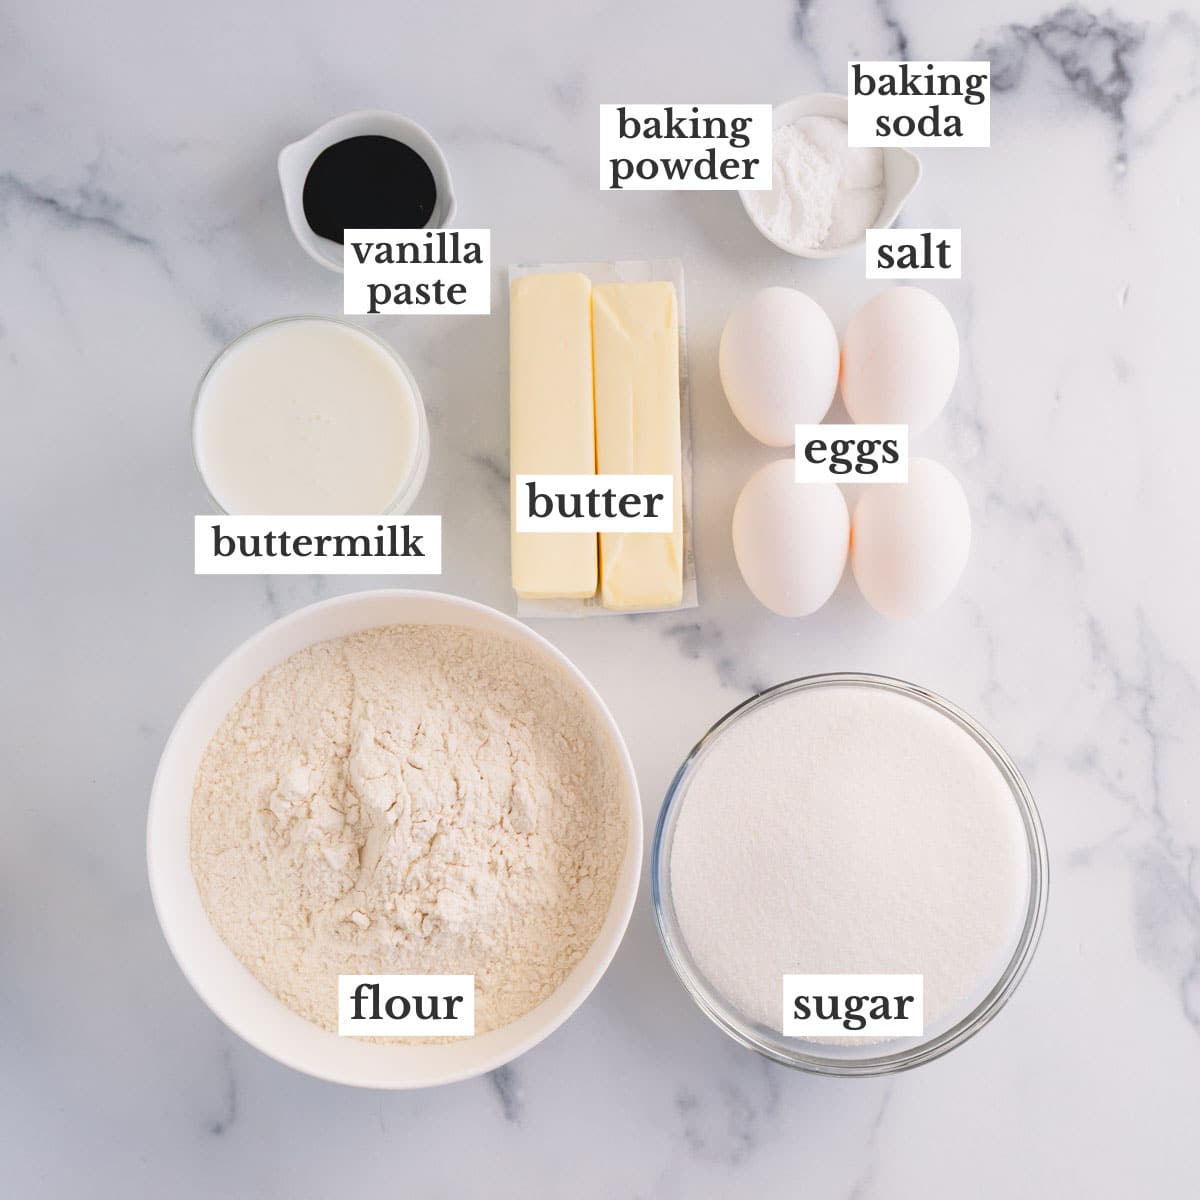
Key Ingredient Notes
- All-purpose flour – My go-to flour for cakes and cupcakes. The best way to measure flour is with a kitchen scale or the spoon and level method. Both techniques ensure accurate results!
- Unsalted butter – You’ll need about 1-2 hours to let your butter come to room temperature. If you don’t have that kind of time, you can soften butter quickly using my 30-second microwave method.
- Granulated sugar contributes to the tender, moist texture and adds sweetness.
- Eggs – It’s best to use room-temperature eggs rather than eggs straight from the fridge. They’ll incorporate into the batter more easily, giving the vanilla bean cake a lighter and fluffier texture.
- Buttermilk – This fermented dairy product has a tangy flavor and extra-thick consistency. The acid in buttermilk reacts with baking soda, resulting in a soft and tender crumb. If you don’t have buttermilk on hand, there are two easy ways to make a buttermilk substitute.
- Vanilla bean paste gives the cake an intense vanilla flavor and studs the batter with tiny vanilla seeds. You may substitute an equal amount of pure vanilla extract for the vanilla paste. Or, use 1 tablespoon of vanilla extract plus 1 vanilla bean pod. You’ll need to split the vanilla bean pod lengthwise and scrape the seeds out.
- Vanilla Russian buttercream – While any frosting will work, vanilla Russian buttercream is perfect for frosting layered cakes and contains condensed milk, giving it a hint of delicious caramel flavor.
How to make the best vanilla cake
Before you get started, line three, 8-inch round cake pans with parchment paper. Then, spray the pans with nonstick cooking spray. You’ll also need to preheat your oven to 350°F.
Cut parchment paper
Learn how to cut parchment rounds using the square-to-triangle method. You’ll get perfectly sized rounds in less than a minute!
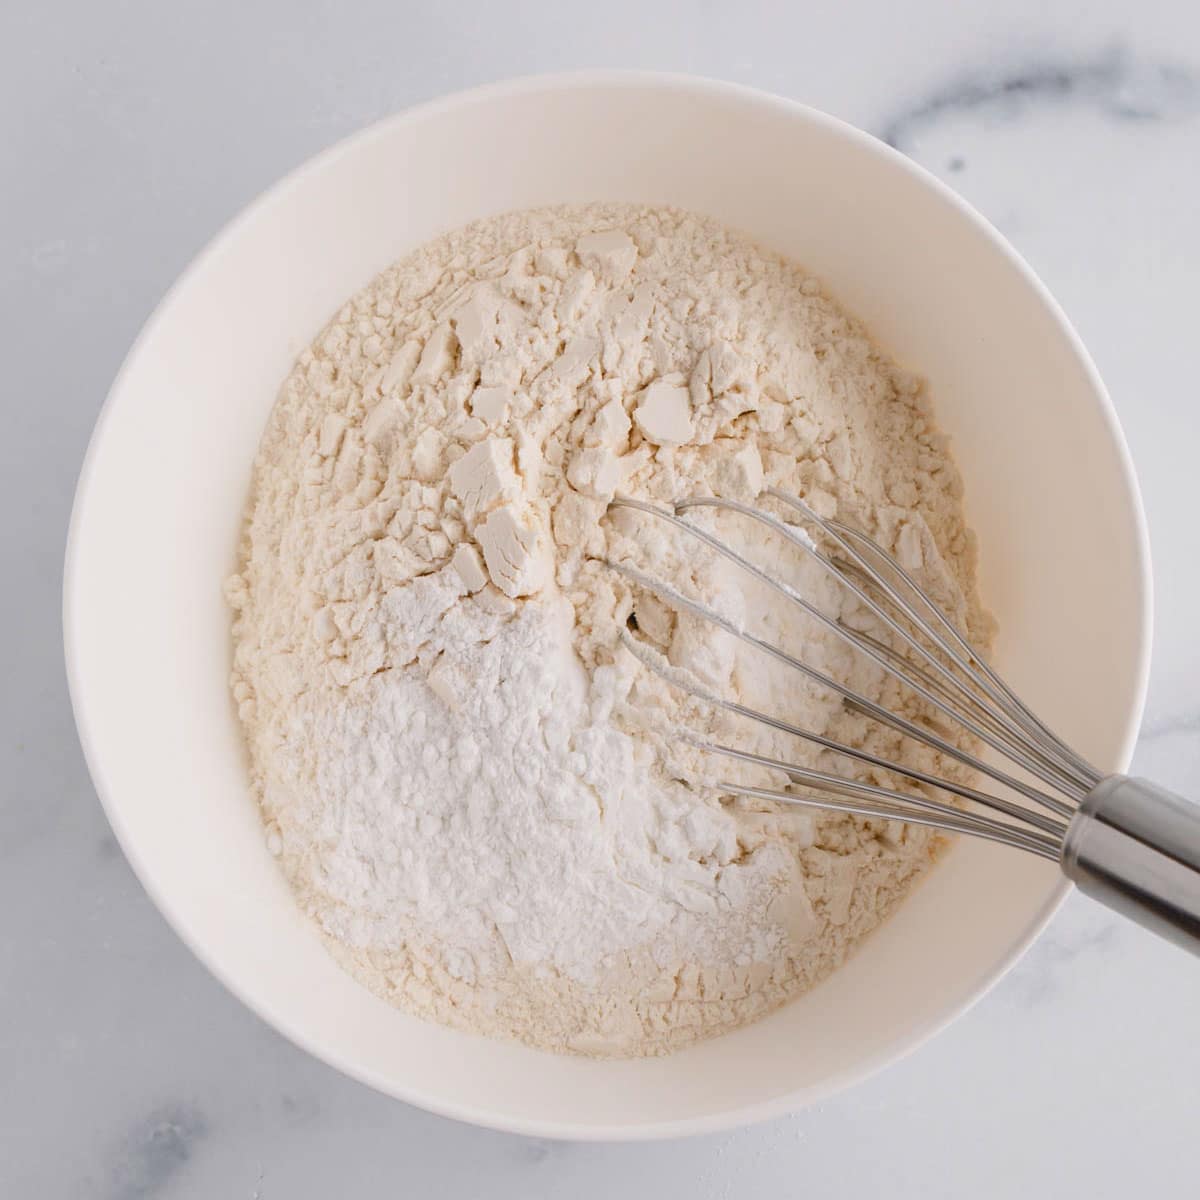
1. Whisk the dry ingredients
- Whisk the flour, baking powder, baking soda, and salt together in a small mixing bowl, and set it aside.
2. Mix the wet ingredients
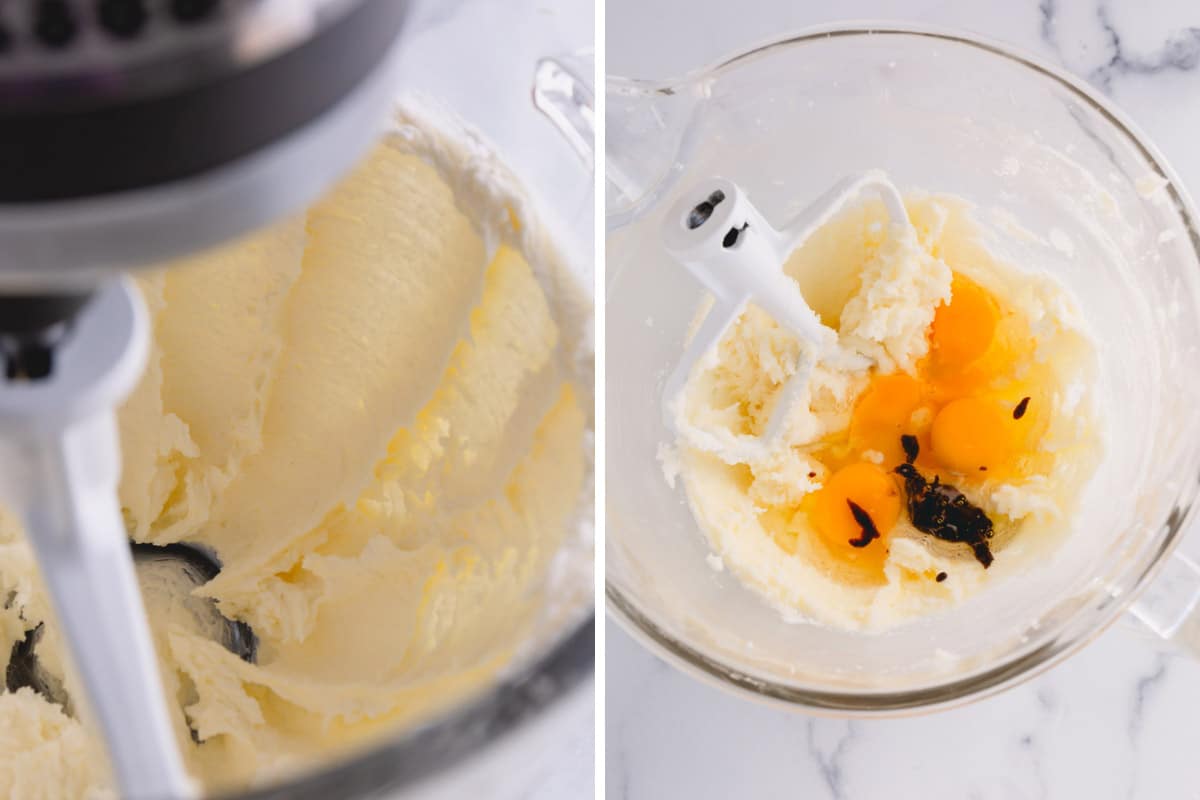
- Beat the butter and sugar until fluffy, about 3-5 minutes, scraping the sides of the bowl halfway. You can use a handheld electric mixer or a mixing bowl fitted with the paddle attachment.
- Add the eggs and vanilla bean paste, and mix on medium-high speed until fluffy and smooth. Scrape the sides of the bowl halfway.
3. Mix the cake batter
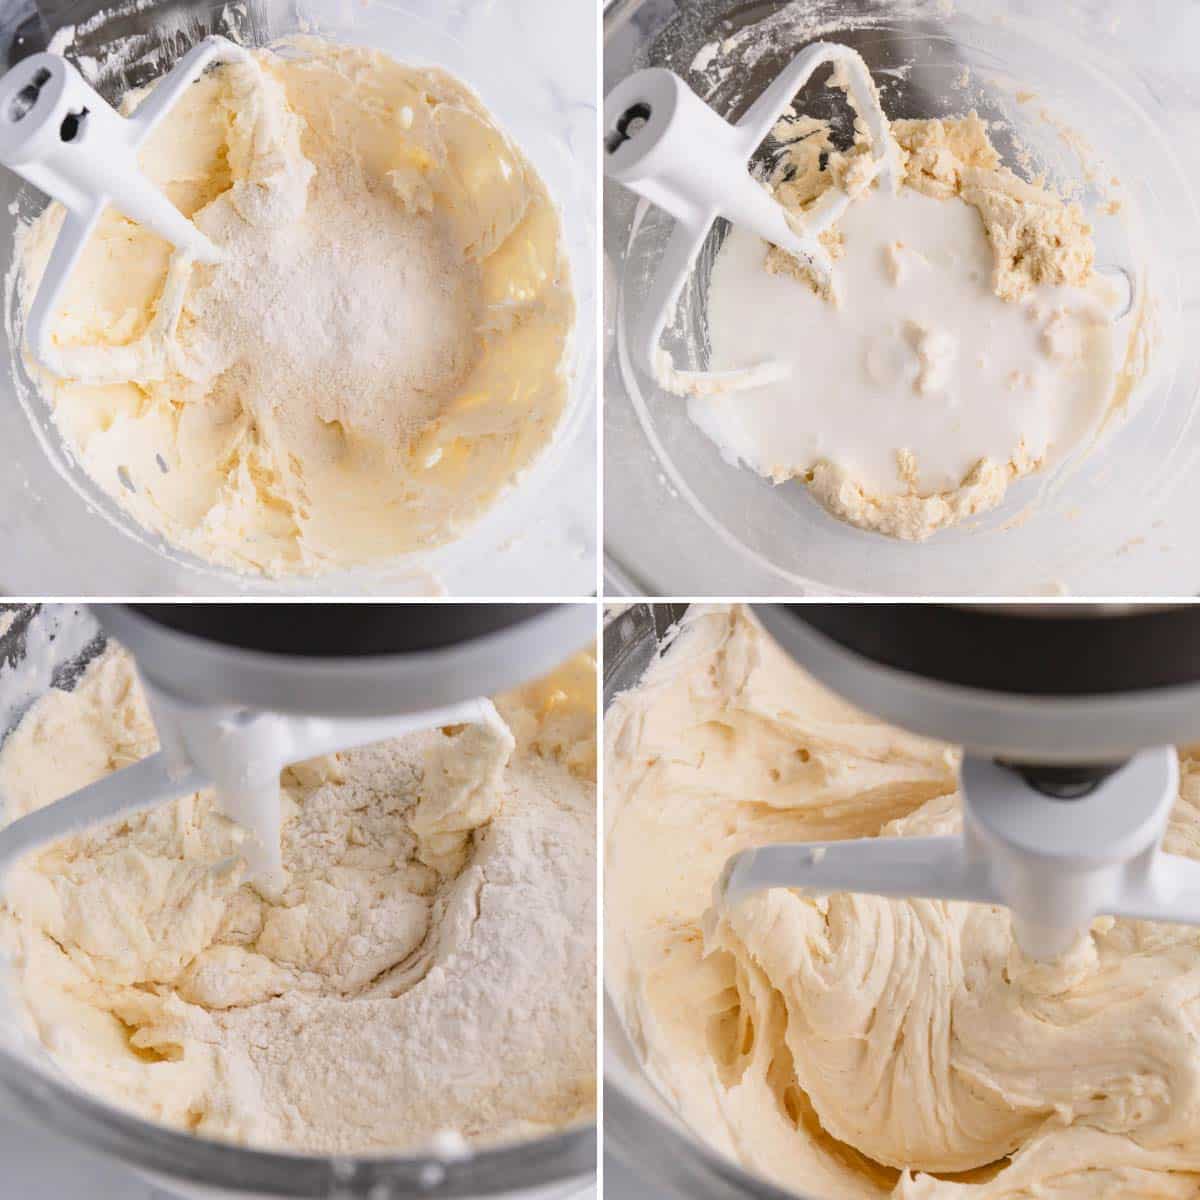
- Add half of the flour mixture, and mix on low speed until just combined.
- Add the buttermilk, and mix on low speed. Then, add the remaining flour mixture. Mix until just combined, about 30 seconds. Be careful not to over-mix!
4. Bake the cakes
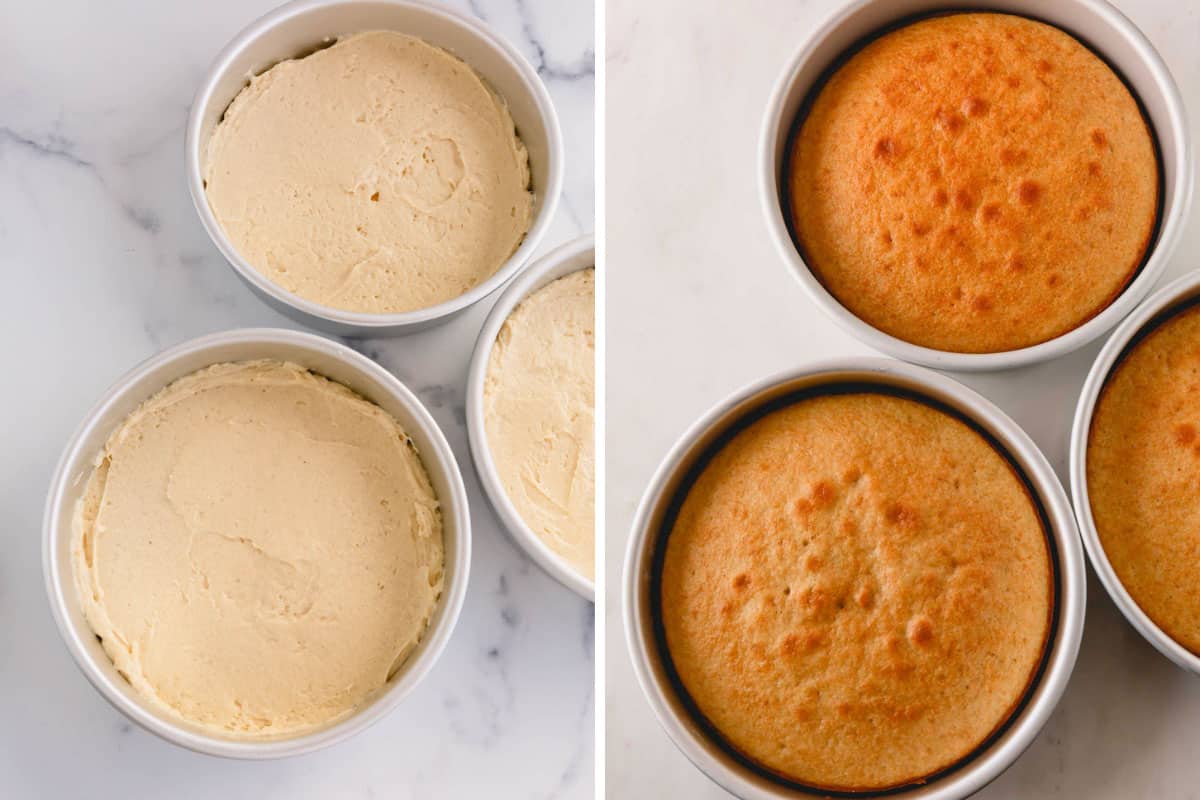
- Pour the batter into the prepared cake pans, dividing them evenly between the 3 pans. Smooth the tops.
- Bake the cakes for 25-27 minutes or until the cakes are golden and a toothpick inserted into the center comes out clean.
- Rest the cakes in the pans for 3 minutes. Loosen the edges with a knife (if needed). Then, invert the cakes onto a wire rack to cool completely.
- At this point, you can wrap and store the layers at room temperature for up to 1 day. Or, move on to assembling and frosting!
5. Assemble, frost, and decorate
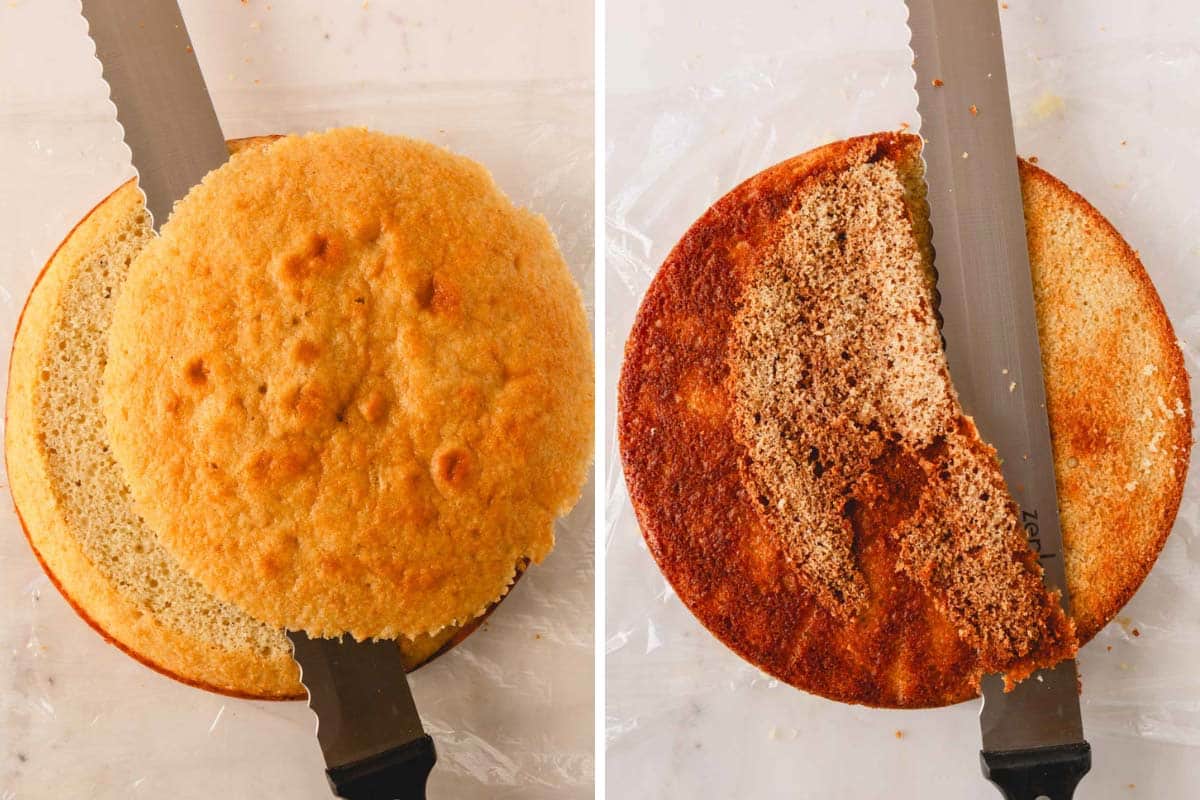
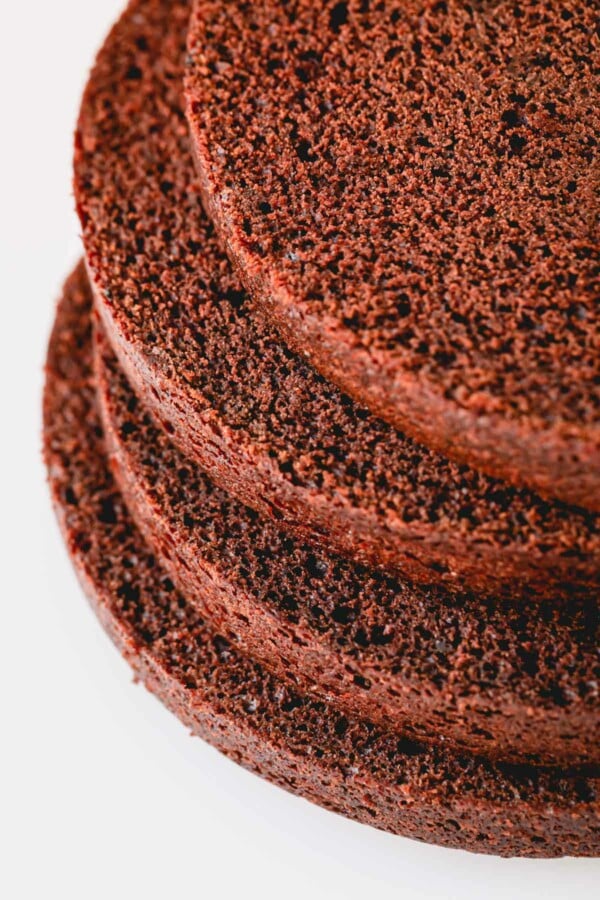
- Level the cake layers with a serrated knife, and trim the brown edges on the bottom and sides. While the cake layers usually don’t develop much of a dome, I still like to level and trim them.
Cool the cake
The cake layers are easier to handle after they have fully cooled and/or chilled in the fridge. Never try to trim or frost a warm cake! The cake will crumble, and the frosting will melt right off.
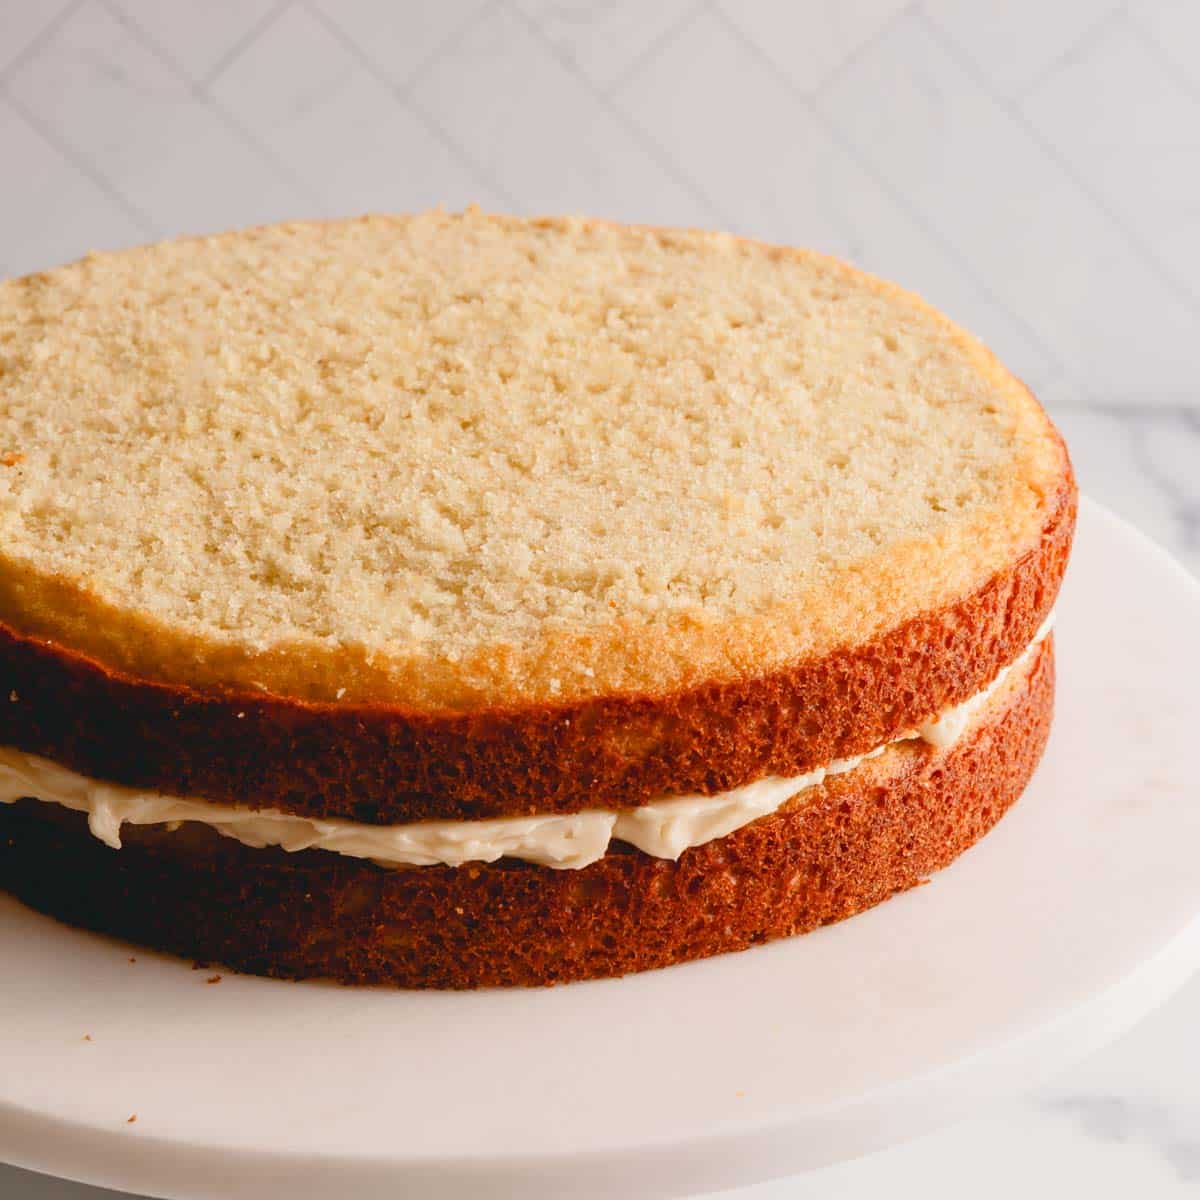
- Smear ¼ of the frosting in an even layer on top of the first cake. Stack the second cake layer on top of the first, and repeat with the remaining layers.
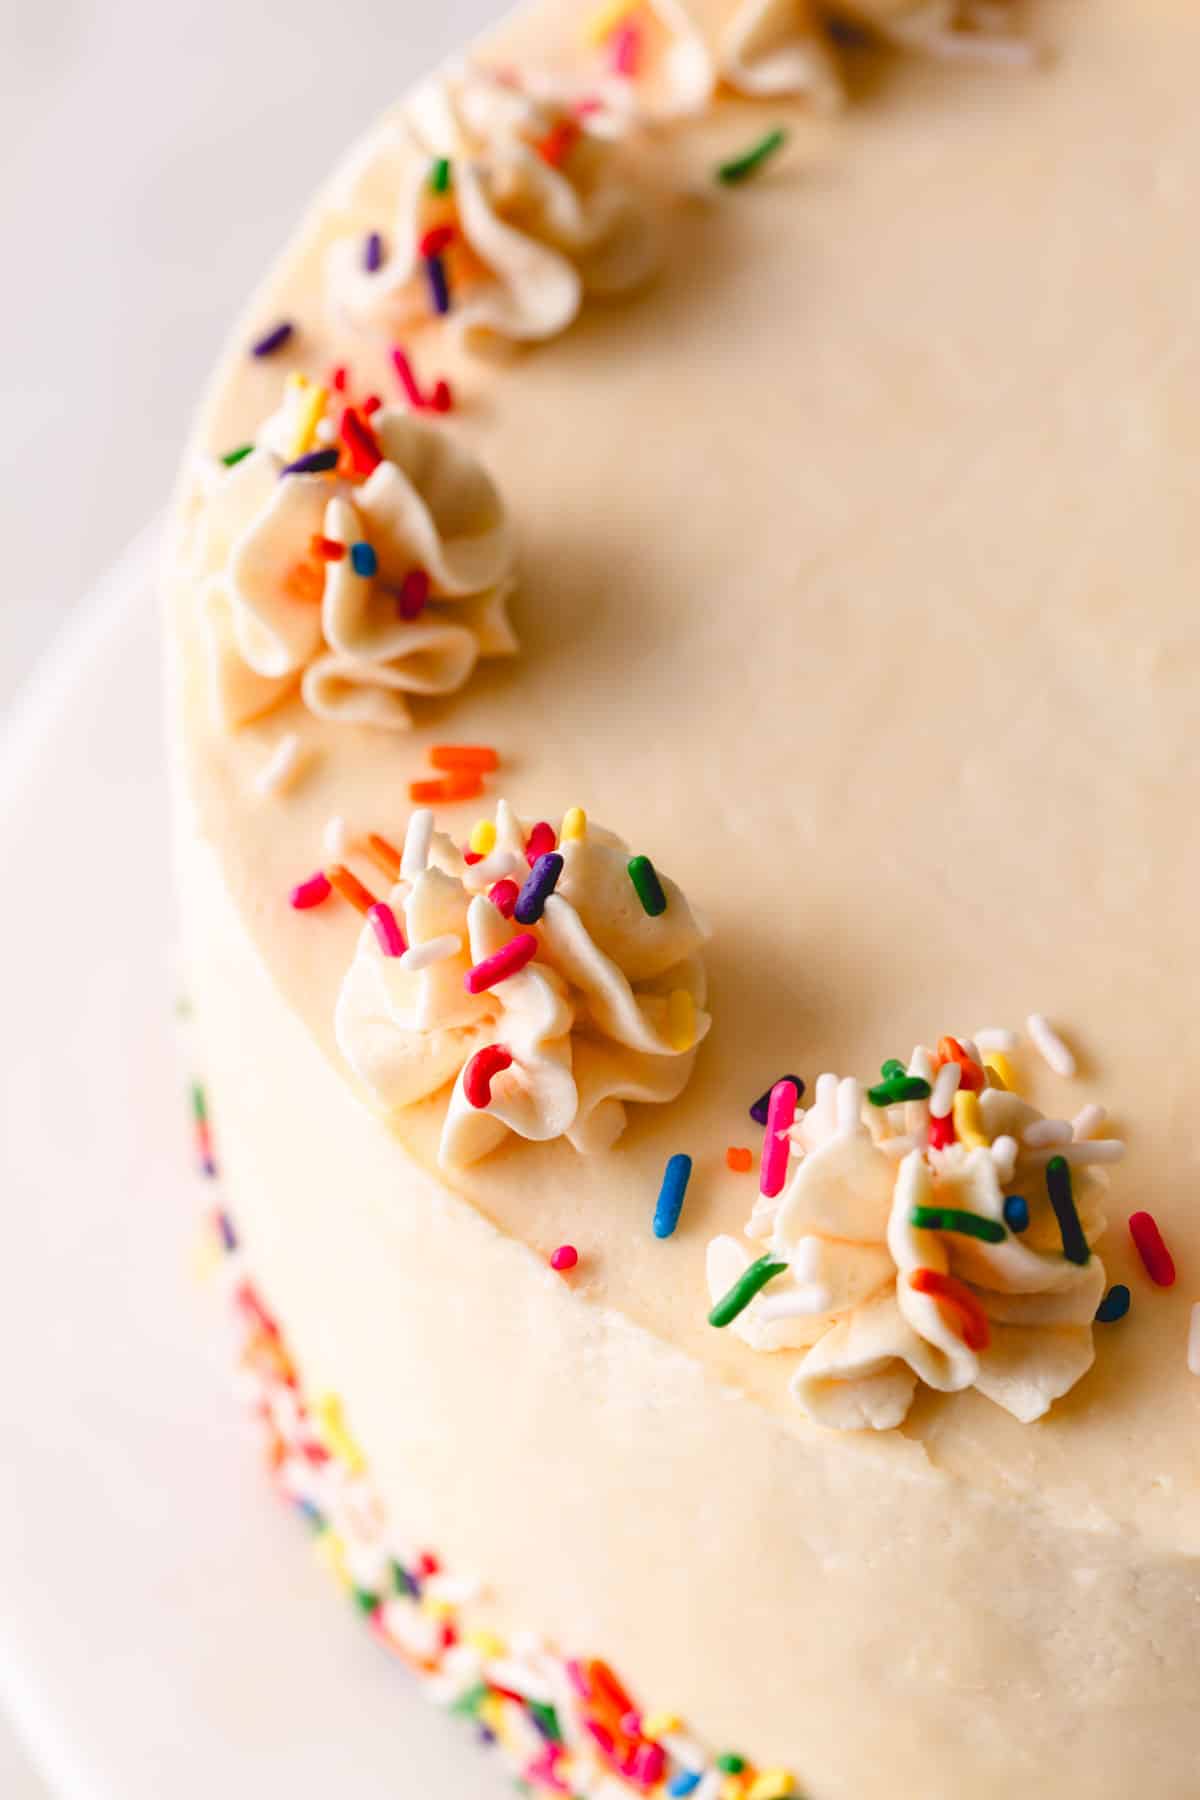
- Frost the entire vanilla bean cake with the remaining frosting and decorate as desired.
Best Frosting for Vanilla Bean Cake
I can’t get enough of this vanilla bean cake recipe, because it pairs perfectly with so many different frostings. Vanilla Russian buttercream is my top choice, but I certainly won’t say no to chocolate buttercream, cream cheese frosting, or strawberry Swiss buttercream!
Here are a few of my favorite options:
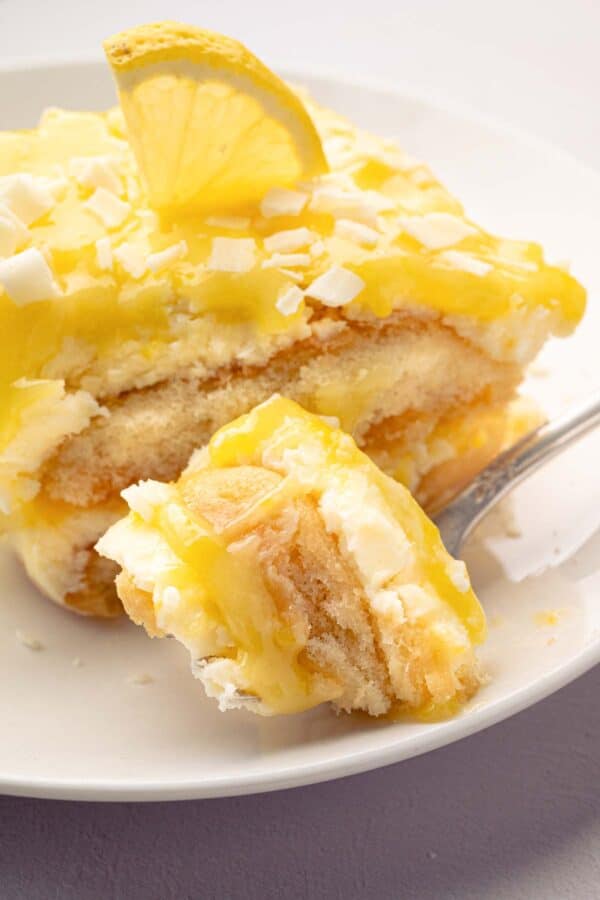
- Lemon cream cheese frosting – Tangy, not overly sweet, and perfect for spring and summer desserts!
- Chocolate Russian buttercream – Subtly sweet and oh-so-chocolaty!
- Vanilla Swiss Meringue buttercream – Light, fluffy, and bright white in color.
- Strawberry whipped cream frosting – Fruity flavor, beautiful reddish-pink color, and has a light and airy texture.
Tips for Success
- Use room temperature ingredients. When making this recipe for vanilla bean cake, plan on the extra time needed to bring the butter, eggs, and buttermilk to room temperature. They’ll incorporate into the cake batter more evenly, giving the cake a lighter and fluffier texture.
- Don’t over-mix. Over-mixing leads to a tough, dense batter, and we don’t want that! Mix until the batter is just combined. This means you should only mix until you no longer see any streaks of flour.
- Allow the cakes to cool completely before frosting them. This might take a few hours, but it’s definitely worth the wait! Frosting a warm cake will lead to a big mess, as the frosting will melt right off.
- Prepare enough frosting. Since this is a triple-layer cake, you’ll need an extra-large batch of frosting! Plan on at least 4 cups, or 900-1000 grams.
Make-Ahead
For the vanilla bean cake
- Fully cooled cake layers can be wrapped tightly in plastic wrap and stored at room temperature for up to 1 day.
For the Vanilla buttercream frosting
- If you decide to use Russian buttercream frosting, you can make it ahead of time, and store it in the refrigerator for up to 2 weeks. Or, freeze it for up to 3 months.
- Thaw overnight at room temperature. Then, re-whip until smooth and creamy.
Storage
Store the frosted vanilla bean cake in the refrigerator for up to 3 days. Cover it loosely in plastic wrap, or place it in a cake container with a lid.
Freeze the unfrosted cakes for up to 1 month. Wrap each layer tightly in plastic wrap, and place them in a plastic freezer bag for an extra layer of protection.
FAQs
While all 3 cakes are similar, they each have distinct differences that affect their appearance, texture, and flavor. A vanilla bean cake has a robust vanilla flavor from vanilla paste, while yellow and white cakes only contain vanilla extract and, therefore, have a subtle vanilla taste. Yellow cake is a dark yellow color from the addition of egg yolks, while white cake contains just egg whites. Vanilla bean cake sticks with whole eggs only, imparting a creamy color to the batter.
Vanilla bean paste is a thick, syrupy mixture made from vanilla extract, vanilla bean seeds, and sugar. It adds an intense vanilla flavor to baked goods and tiny specks of vanilla bean seeds. Vanilla extract is made by soaking whole vanilla beans in alcohol and water. The result is a mildly flavored, concentrated liquid. Vanilla bean pods are whole vanilla beans that contain vanilla bean seeds.
If your cake isn’t light and fluffy, you might have overmixed the batter. This increases the gluten content and leads to a dense and tough texture. Room-temperature ingredients are also crucial for a fluffy cake!
Since the baking time will vary, I recommend using this vanilla cupcake recipe. It calls for vanilla seeds or vanilla paste, so you’ll get the same intense vanilla flavor as in this vanilla bean cake recipe.
More Delicious Cake Recipes
Best Vanilla Cake Recipe (using vanilla bean)
Ingredients
- 3 cups (375 g) all-purpose flour (Measured by spoon & level method, or on a scale)
- 2 ½ teaspoons baking powder
- 1 teaspoon baking soda
- ½ teaspoon coarse kosher salt
- 2 sticks (226 g) unsalted butter at room temperature
- 1 ½ cups (300 g) granulated sugar
- 4 large eggs at room temperature
- ½ tablespoon vanilla bean paste Note 1
- 1 cup (240 ml) buttermilk, at room temperature
- 4 batches vanilla Russian buttercream Note 2
Equipment
- 3 (8-inch or 21cm) round cake pans
Instructions
To make the cake:
- Line three 8-inch (21cm) round cake pans with parchment paper and spray the pans with cooking spray as well.
- Preheat the oven to 350°F (175°C).
- In a small bowl, whisk together flour, baking powder, baking soda and salt. Set aside.3 cups all-purpose flour, 2 ½ teaspoons baking powder, 1 teaspoon baking soda, ½ teaspoon coarse kosher salt
- In a mixing bowl with paddle attachment, or using a handheld electric mixer, beat butter and sugar until fluffy, 3-5 minutes. Scrape the sides of the bowl halfway.2 sticks unsalted butter, 1 ½ cups granulated sugar
- Add the eggs and vanilla bean paste. Mix on medium high speed until fluffy and smooth, scraping the sides of the bowl halfway, 2-3 minutes.4 large eggs, ½ tablespoon vanilla bean paste
- Add half of the flour mixture and mix on low speed until just combined.
- Add the buttermilk and mix on low speed. Then add the remaining flour mixture and mix until just combined, about 30 seconds. Don’t overmix!1 cup buttermilk, at room temperature
- Divide the batter evenly into the prepared pans and smooth the tops. Bake the cake for 25-27 minutes, or until the cakes are golden and inserted toothpick comes out clean.
- Let the cakes rest in the pans for 3 minutes. If needed, loosen the edges with a knife and invert the cakes onto a wire rack to cool completely. (At this point, cake layers can be wrapped and stored at room temperature for up to 1 day.)
To assemble the cake:
- While this cake doesn’t tend to develop much of a dome, I still like to level the cake layers with a serrated knife. You can also trim off the brown edges on bottom and sides, if desired. (TIP: The cake layers are easier to handle once they are completely cooled and/or chilled in the fridge.)
- Smear ¼ of the frosting on the first cake layer into an even layer. Place the second cake layer and repeat with the remaining layers. Then cover the entire cake with the remaining frosting. Decorate as desired.4 batches vanilla Russian buttercream
- Store the frosted cake for up to 3 days in the refrigerator.
⭐️ Did you make this recipe?
Please leave a review and let us know how you liked it!
Tips & Notes
– Store the frosted vanilla bean cake in the refrigerator for up to 3 days. Cover it loosely in plastic wrap, or place it in a cake container with a lid.
– Freeze the unfrosted cakes for up to 1 month. Wrap each layer tightly in plastic wrap, and place them in a plastic freezer bag for an extra layer of protection.
Nutrition


Hi Shinee, thank you for this recipe! I made it last year for a birthday party and got tons of compliments. The cake was fluffy and delicious and your Vanilla Russian Buttercream complemented it perfectly.
I am planning to do this again, but this time I am looking to do a 2-tiered cake (my first!) – 8″ layered cake at the bottom and a 6″ one on top. Any suggestions on how to convert this recipe to a 6″ inch layered cake?
Hi, Erica! I’m so glad you tried and loved the cake and the frosting!! Thanks so much for your feedback.
I haven’t tested this recipe in 6-inch pans. But here’s how you can calculate. I recommend making the recipe as is. Then weigh the batter and multiply it by 0.57, which will give you how much batter to use for your cake. For example, say the whole batter is 1000g. 1000g x 0.57 = 570g. So, you’ll take 570g of batter and divide it into three 6-inch pans. You can make cupcakes with the extra batter. Hope this helps.
Thank you for your response, Shinee! I had seen the advice of multiplying each ingredient by 0.57 and got a headache just thinking how that would apply to ingredients like eggs. Your way to go about it makes SO much more sense AND I will have leftover cupcakes – win win. I appreciate you sharing your knowledge with us home bakers!
Yay, I’m so glad my advice was helpful! Hope it turned out great.