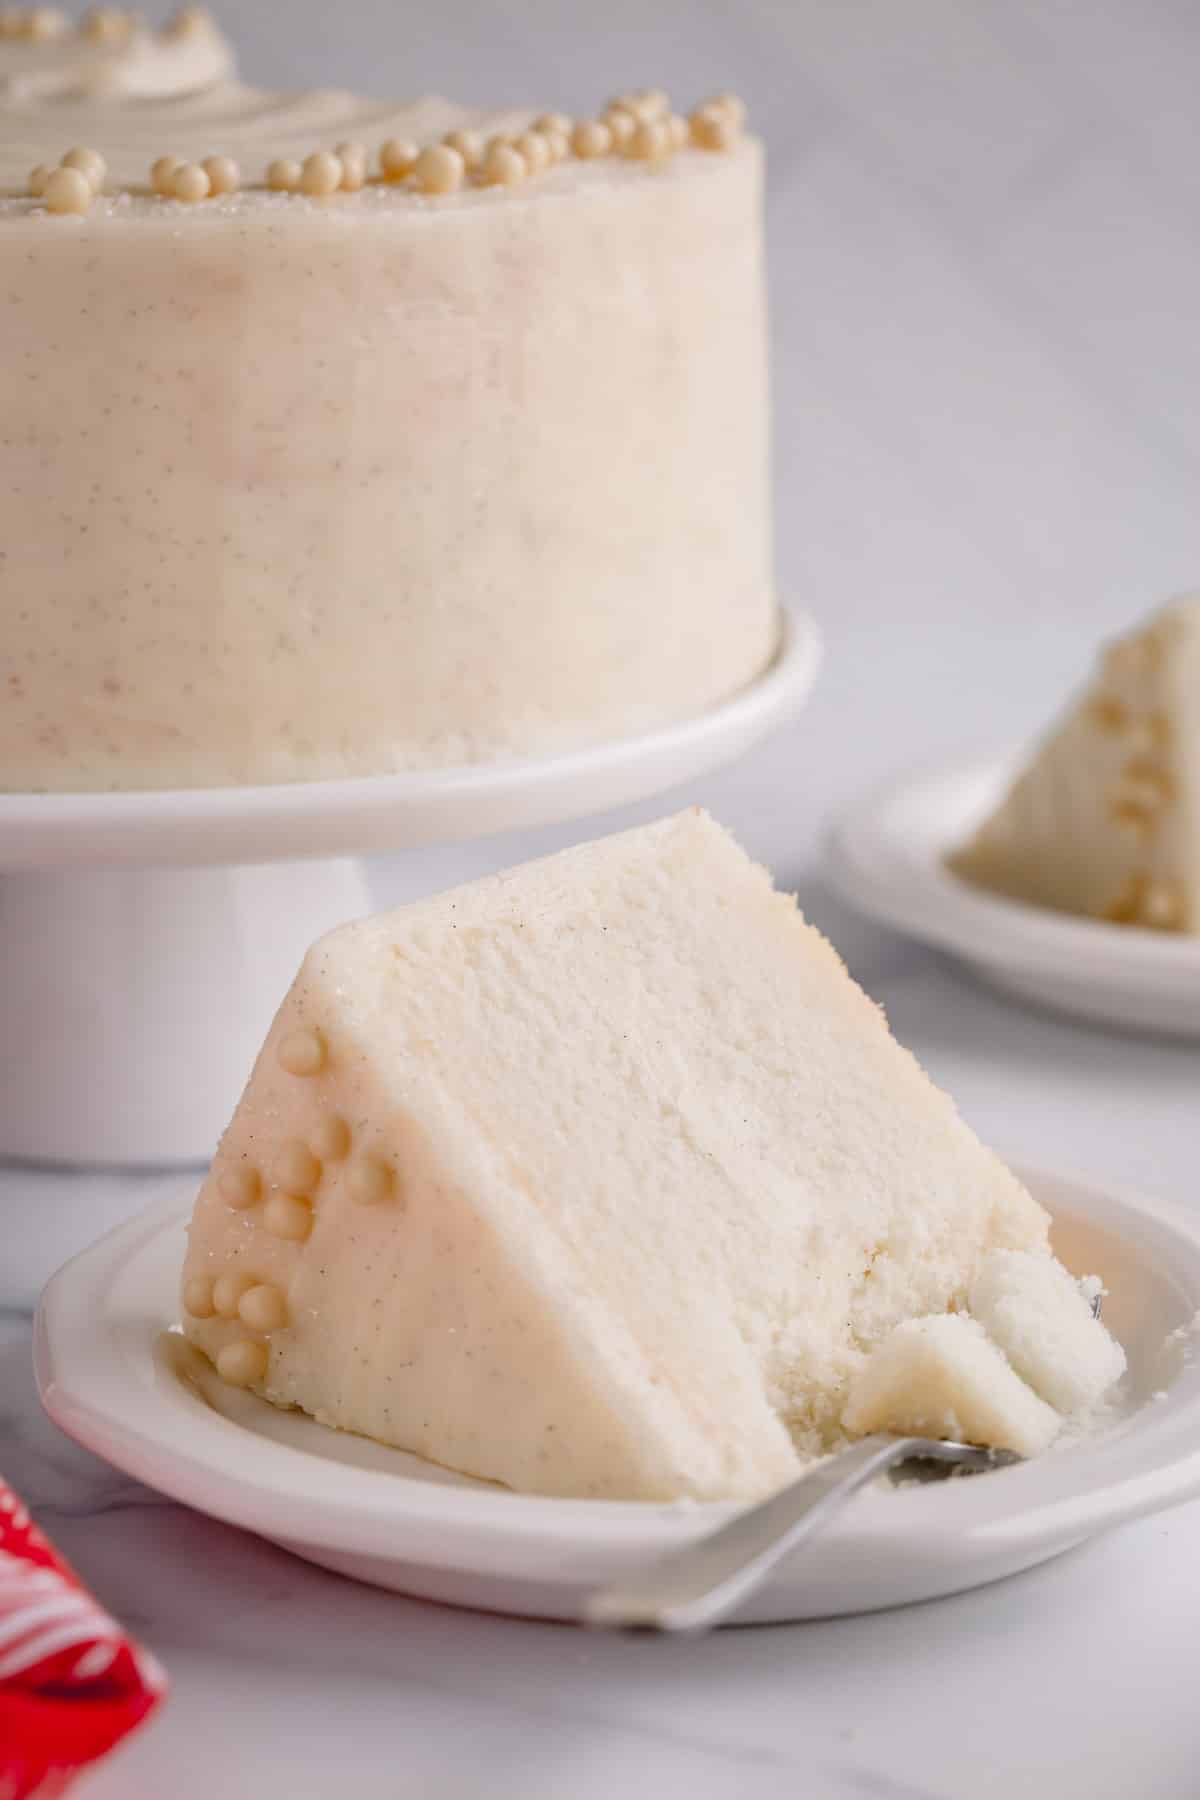
This classic white cake recipe is a flawless white dessert with tight, even crumbs, a soft and moist texture, and a sturdy base perfect for layering. Covered in silky smooth vanilla Swiss buttercream, it’s a showstopping centerpiece!
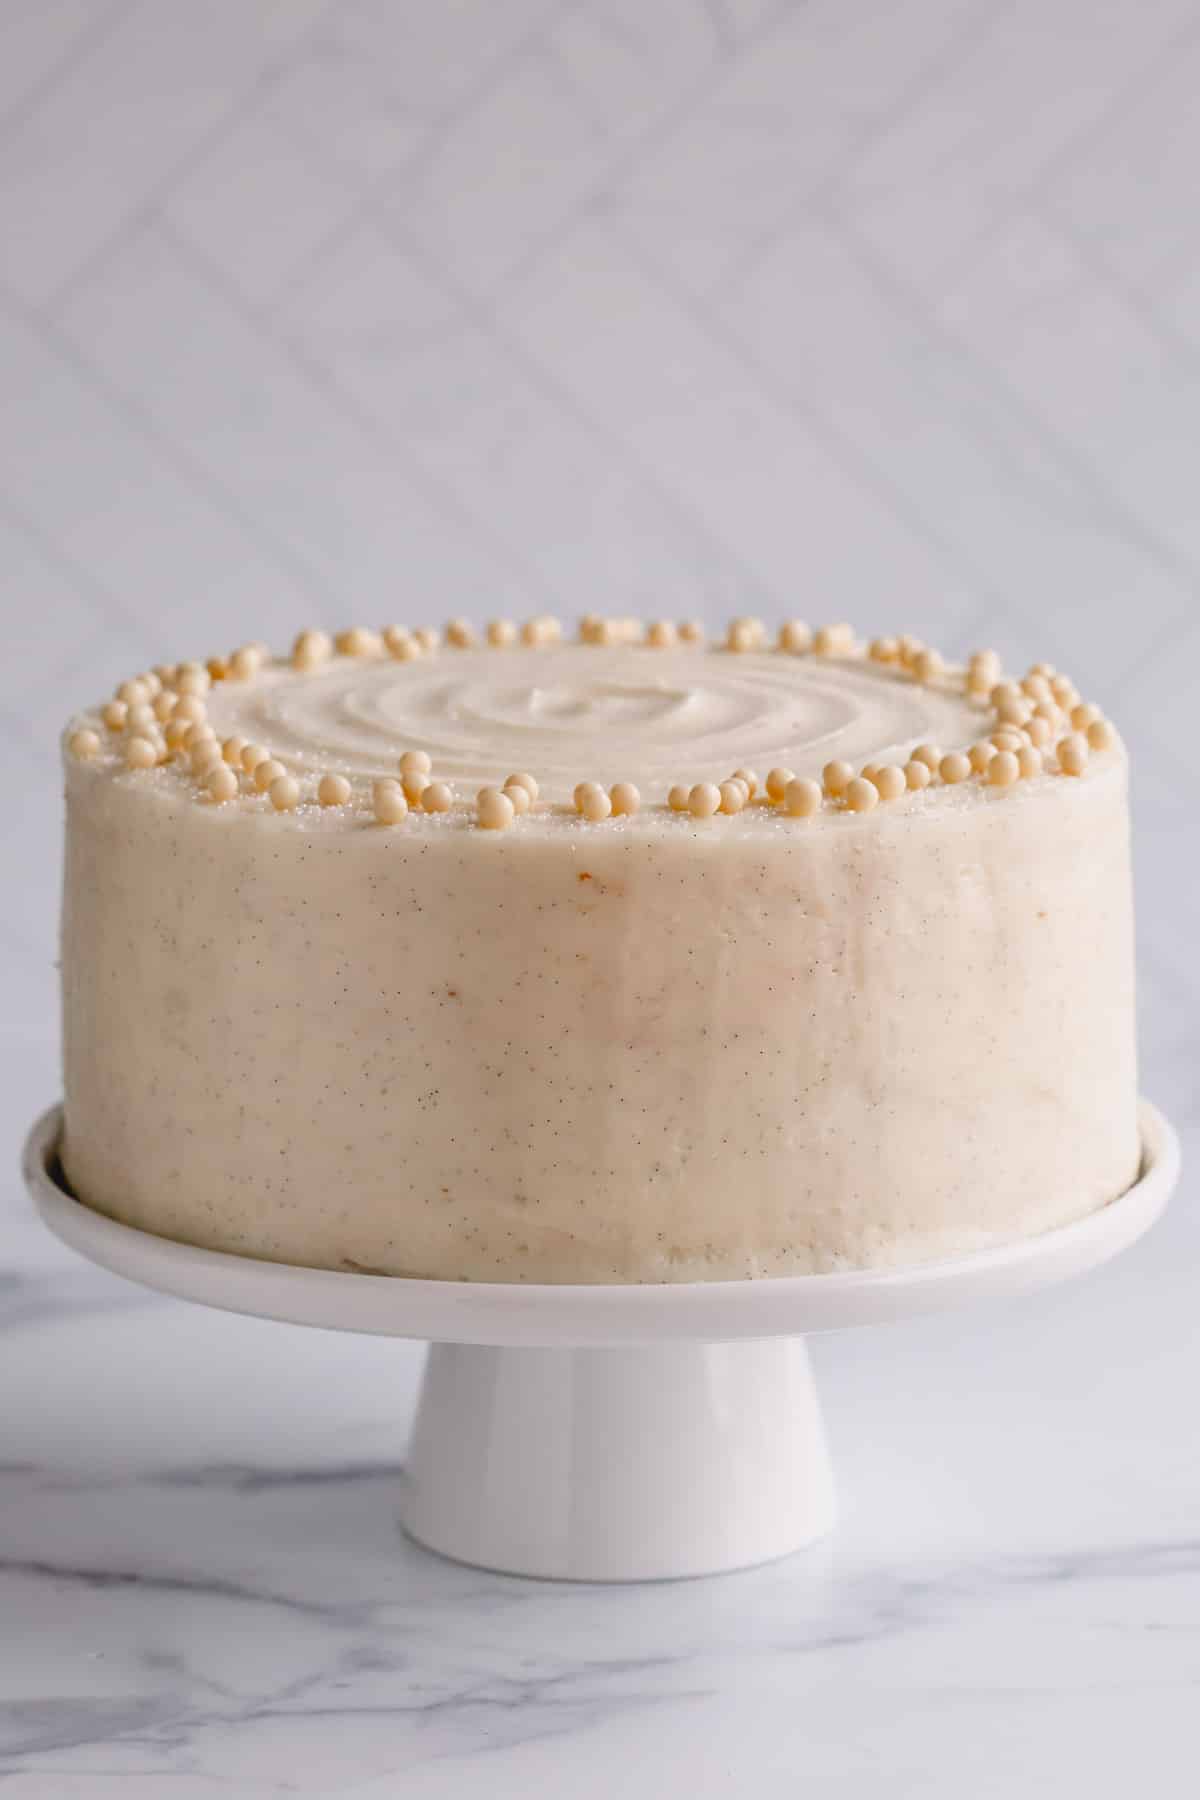
Table of Contents
- Yellow cake vs. Vanilla cake vs. White cake
- Why you’ll love this white cake recipe:
- What is the reverse creaming method?
- Key Ingredient Notes:
- DIY Cake Flour:
- How to make this white cake recipe:
- Tips for Success:
- Make-Ahead Tips:
- Storing Tips:
- White Cake FAQs:
- More Cake Recipes:
- Classic White Cake Recipe Recipe
Pin this now to find it later
Pin ItYellow cake vs. Vanilla cake vs. White cake
All 3 cakes are made using the same basic ingredients: flour, sugar, vanilla, eggs, and butter. The key factor that sets them apart is the eggs.
- Yellow cake is made using egg yolks, which gives them a deep yellow color.
- Vanilla cake contains whole eggs, making the cake a creamy yellow/white color.
- Finally, a classic white cake, like this recipe, is prepared with egg whites only, resulting in a stark white cake and a subtle, sweet flavor.
Why you’ll love this white cake recipe:
A classic white cake is perfect for weddings, bridal showers, and special holidays. It’s elegant, pristine, and everything you could possibly want in a homemade cake!
- Flavor: This white cake has a mild vanilla flavor with a hint of almond without being overly sweet.
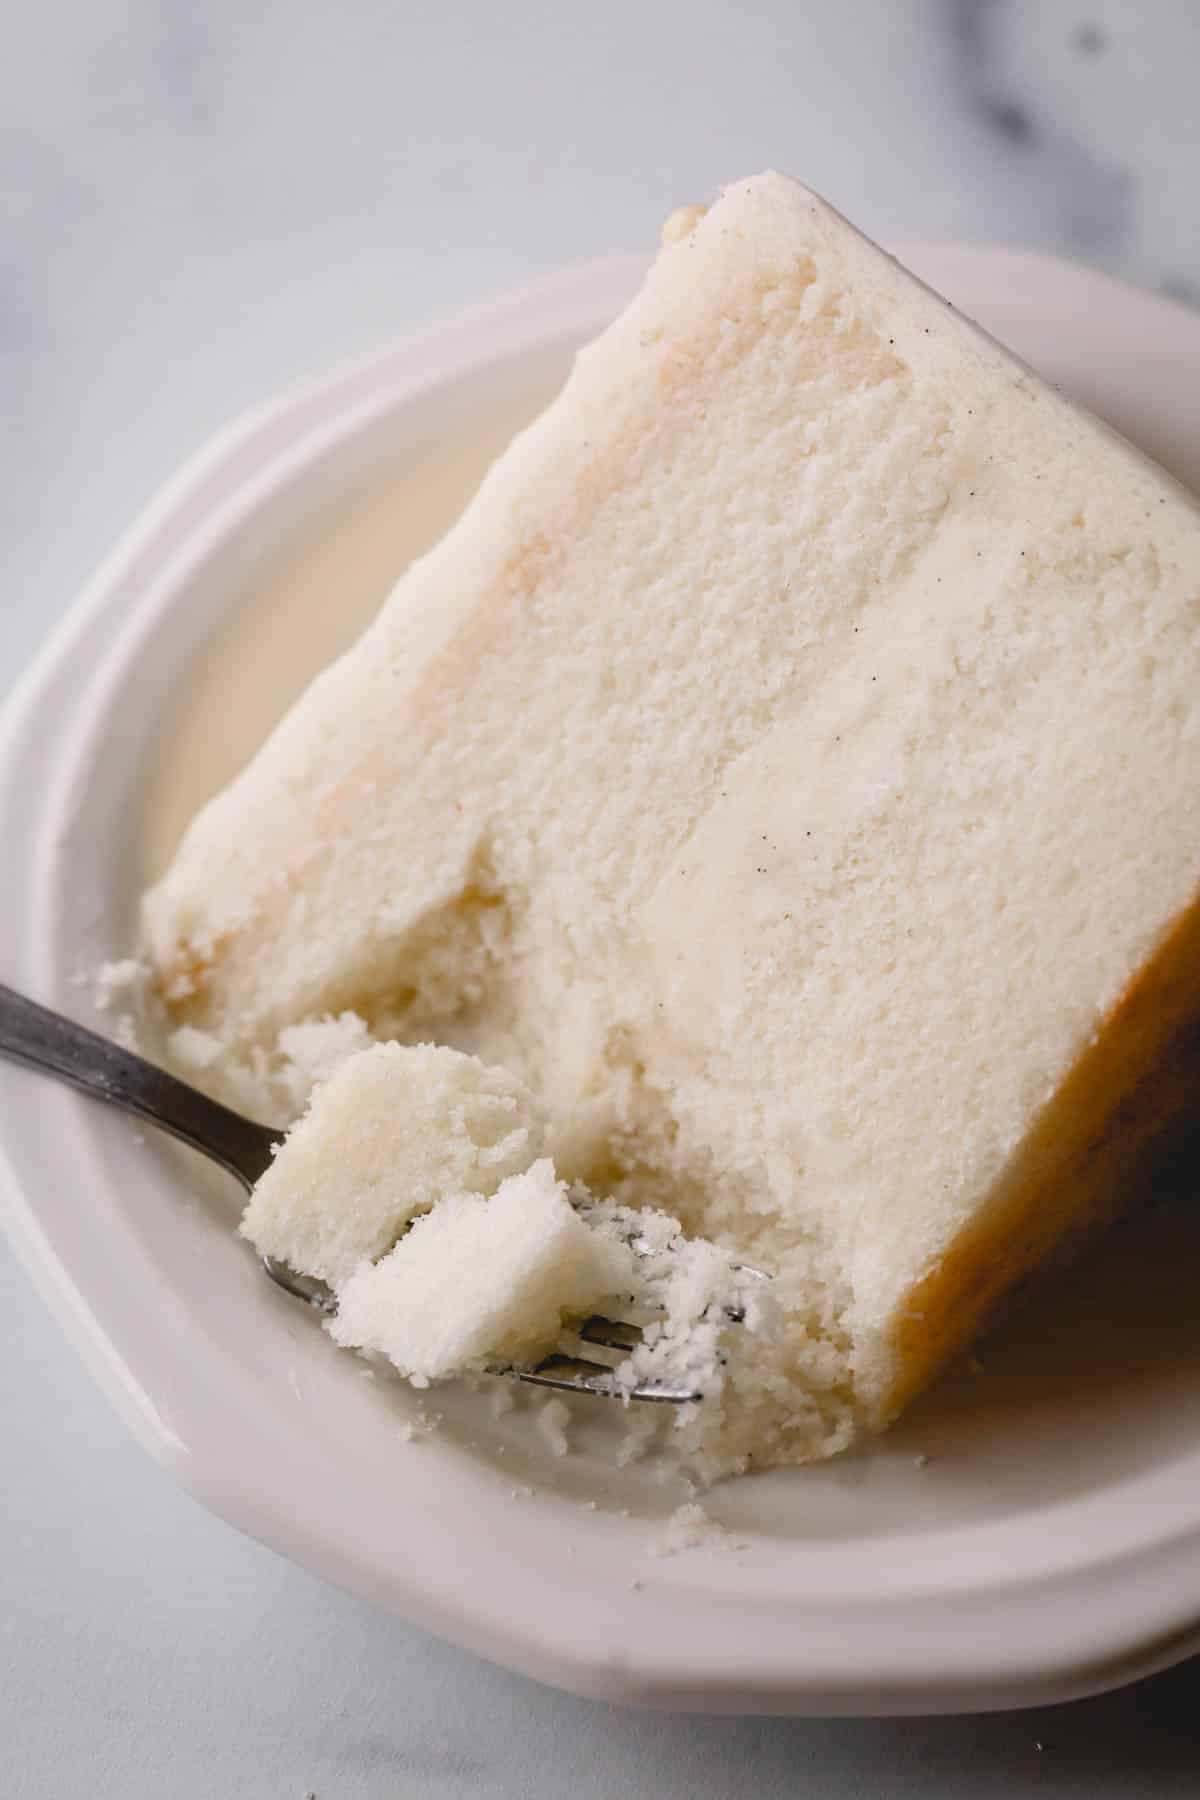
- Texture: The cake layers are moist and tender with tight even crumb.
- Ease: Reverse-creaming method makes this cake easy and foolproof.
My assistant and I have meticulously tested and re-tested this white cake recipe. And I’m sharing everything we’ve learned in this post so you can bake a flawless cake in your own kitchen.
What is the reverse creaming method?
The reverse-creaming method is a mixing technique used for making cakes and cookies. In this method, you add the fat (usually butter) to the dry ingredients before adding the liquid ingredients.
The fat coats the flour particles early in the mixing process, leading to less gluten development. Therefore you don’t need to worry about over-mixing the batter.
Plus, this mixing method ensures an even fat distribution throughout the batter. This results in a much more tender, evenly textured cake.
Key Ingredient Notes:
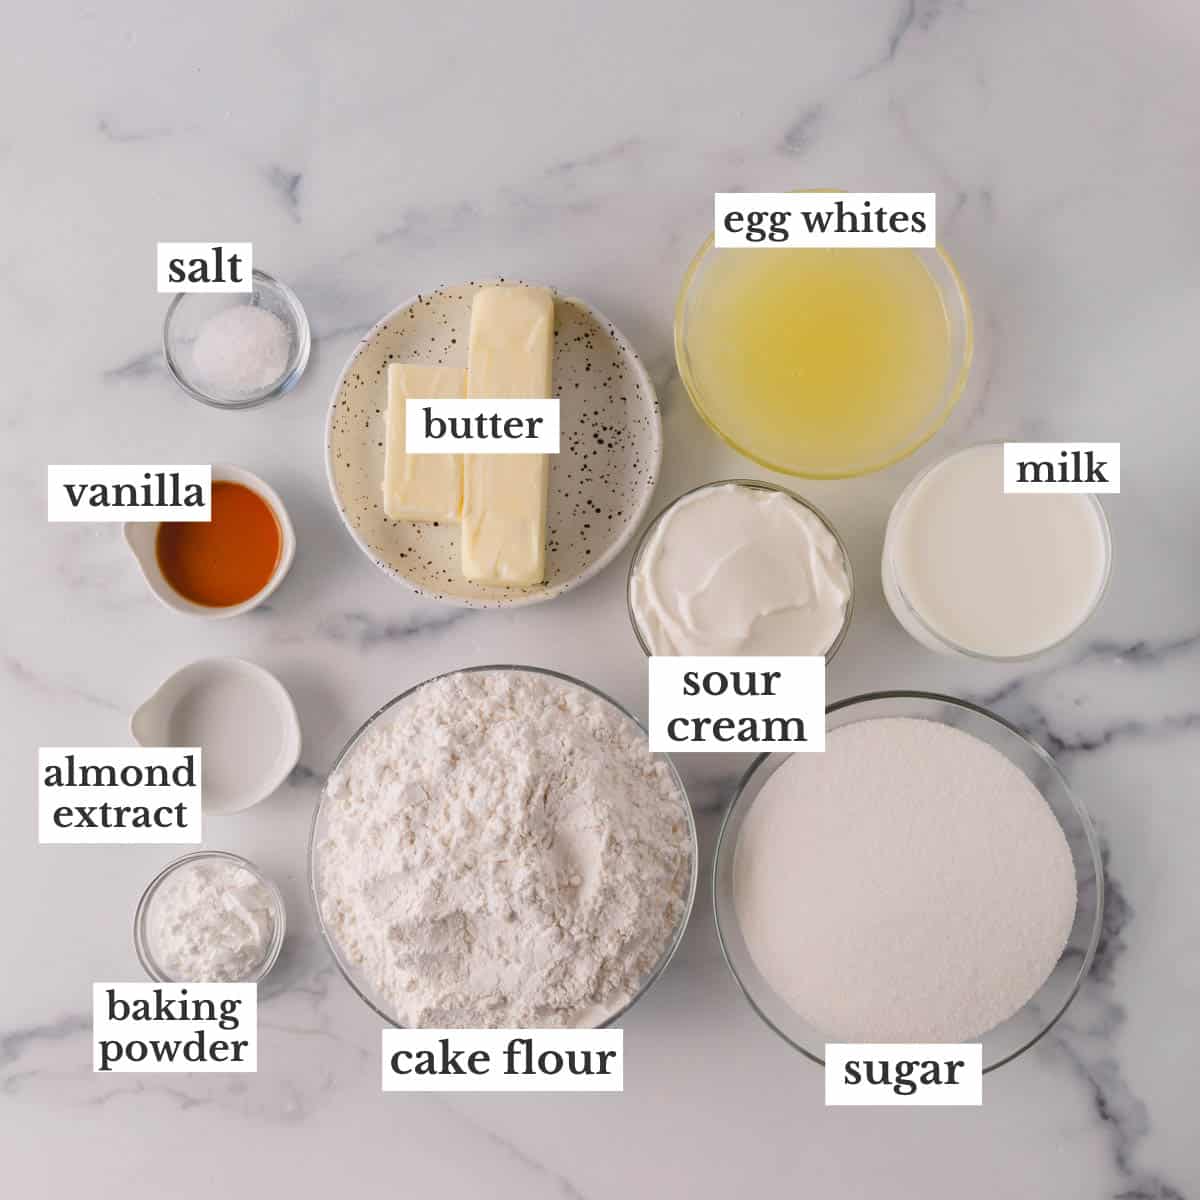
Before you get started, let your milk, sour cream, and egg whites sit at room temperature for about 30 minutes.
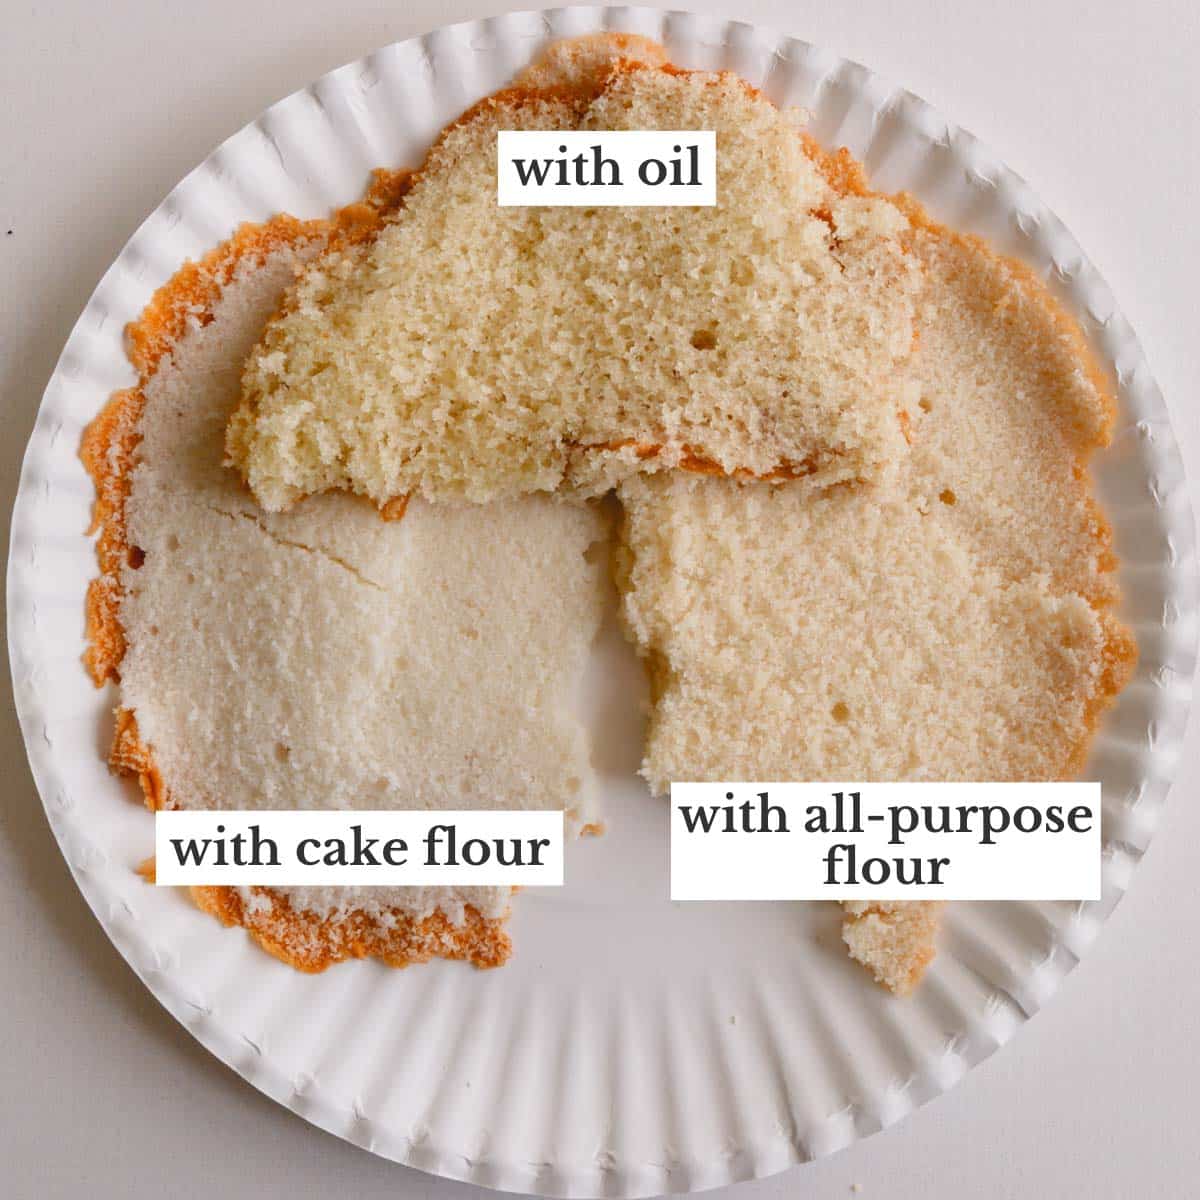
- Cake flour is a game-changer for producing a tender cake with a fine crumb and prestine white look! If you try to substitute with all-purpose flour, you’ll notice your cake has a coarser texture and yellowish tint.
- Sour cream – We’ve tested this cake with sour cream, buttermilk, oil, etc. And using sour cream made all the difference in the cake’s texture, resulting in tight, even crumbs. I found that buttermilk resulted in a crumbly cake, and vegetable oil made the cake too heavy and oily-tasting.
- Milk adds moisture to the cake batter. Use whole milk for the richest flavor.
- Butter– I recommend unsalted butter for baking because you can control the salt in your baked goods. Each brand has different amount of salt. If you using salted butter, omit the salt.
- Egg whites give the cake structure without turning the cake yellow. You can substitute the 6 egg whites with ¾ cup of carton egg whites if desired.
- Pure vanilla extract for warm vanilla flavor. Even though vanilla extract has a yellow hue, it doesn’t affect the final cake color.
- Almond extract – This is an optional ingredient, but I highly recommend adding it if you have it. The subtle nutty flavor complements the vanilla extract without adding an overpowering almond taste.
- Baking powder – A leavening agent, this helps the cake rise, contributing to its light and fluffy texture. Make sure it’s fresh, or it won’t work well.
how to Soften Butter Quickly
The best way to soften butter is to let it sit at room temperature for about 2 hours. If you don’t have that kind of time, here’s a quick trick:
- Fill a tall glass with hot water, and let it sit for a few minutes.
- Then, pour out the water, and immediately invert the warm glass over the stick of butter.
- After about 5 minutes, you’ll have perfectly soft butter that’s ready to use!
DIY Cake Flour:
While I highly recommend using cake flour for this recipe, you may substitute homemade cake flour in a pinch.
For 1 cup DYI Cake Flour: Measure 1 cup (125g) of bleached all-purpose flour, remove 2 tablespoons (15g) of flour and add 2 tablespoons (16g) of cornstarch. Whisk to combine.
For the prestine white cake, it’s important to use bleached all-purpose flour.
How to make this white cake recipe:
Before you get started, preheat your oven to 350°F.
Next, line the bottom of two 8-inch round cake pans with parchment paper. Then, spray the pans with cooking spray to prevent the cake from sticking.
1. Make the batter
- Whisk the milk, sour cream, vanilla, and almond extract together in a medium-sized mixing bowl.
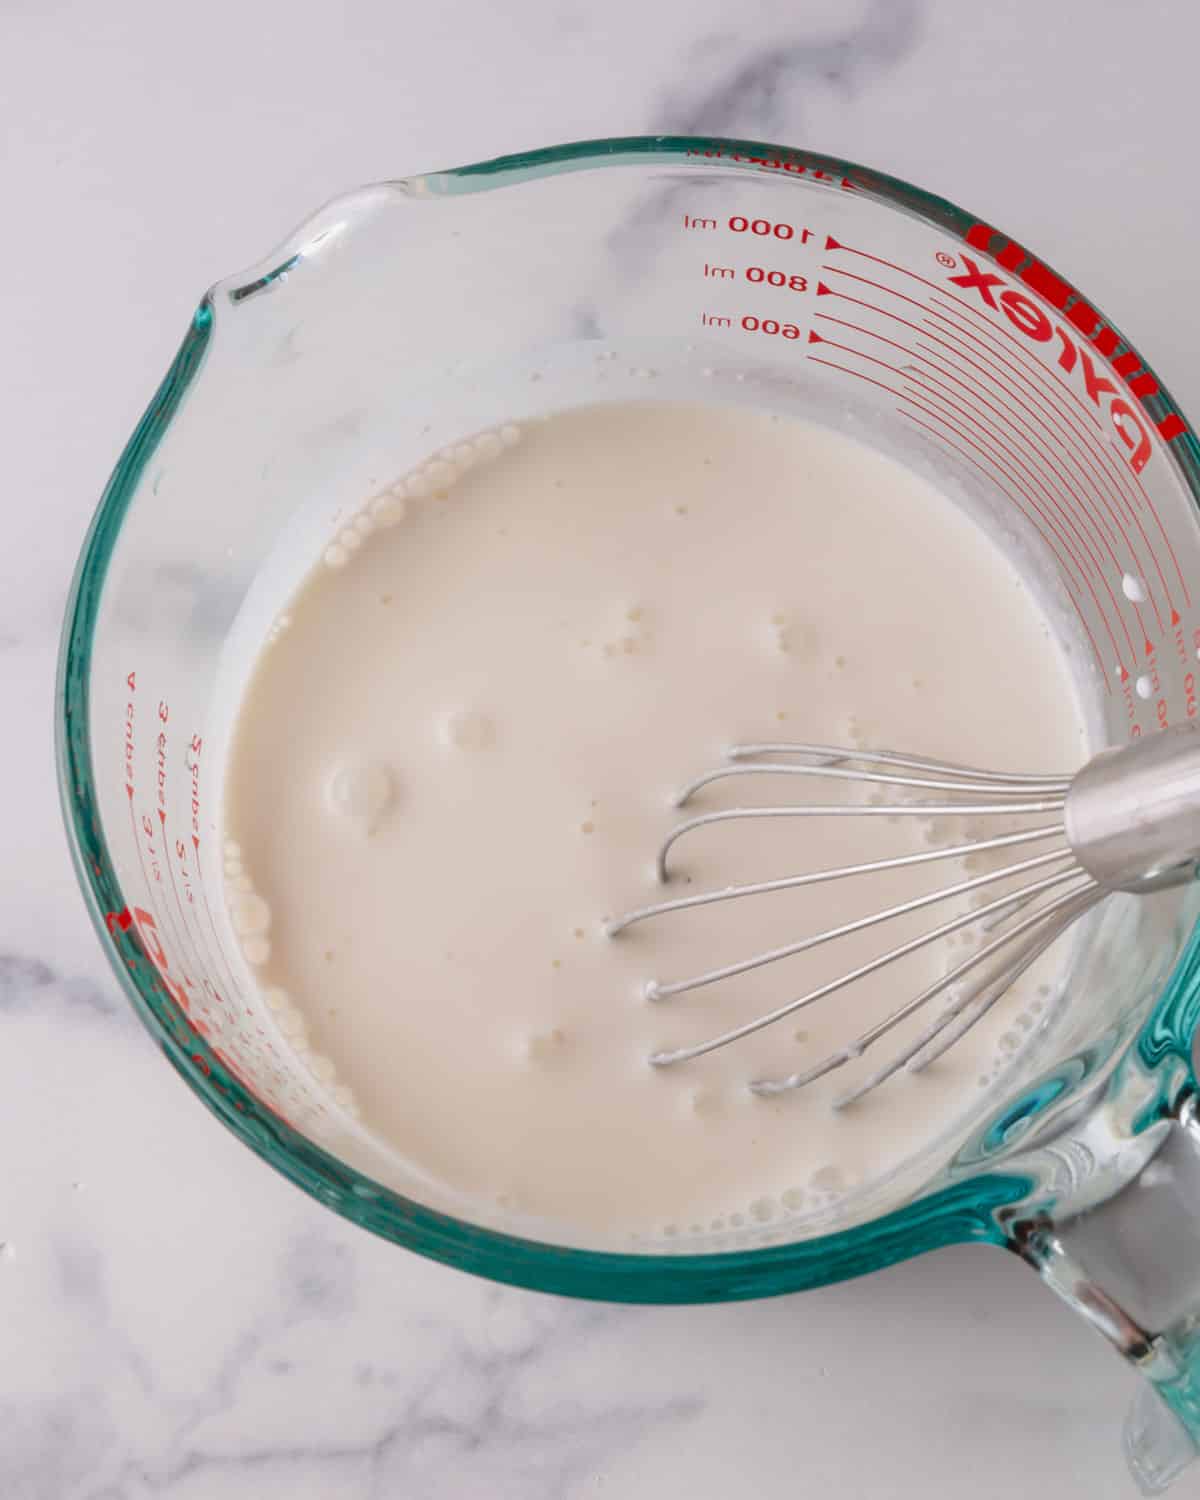
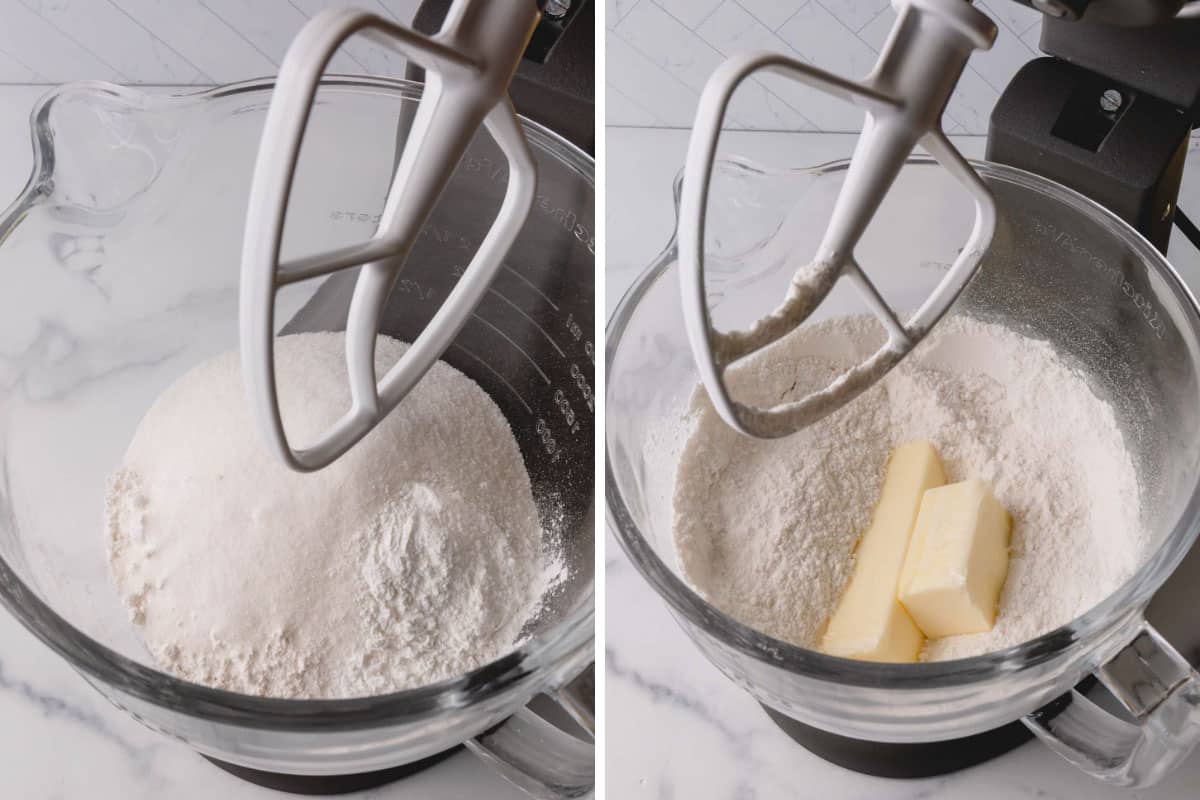
- Mix the flour, sugar, baking powder, and salt on low speed in an electric mixing bowl fitted with a paddle attachment.
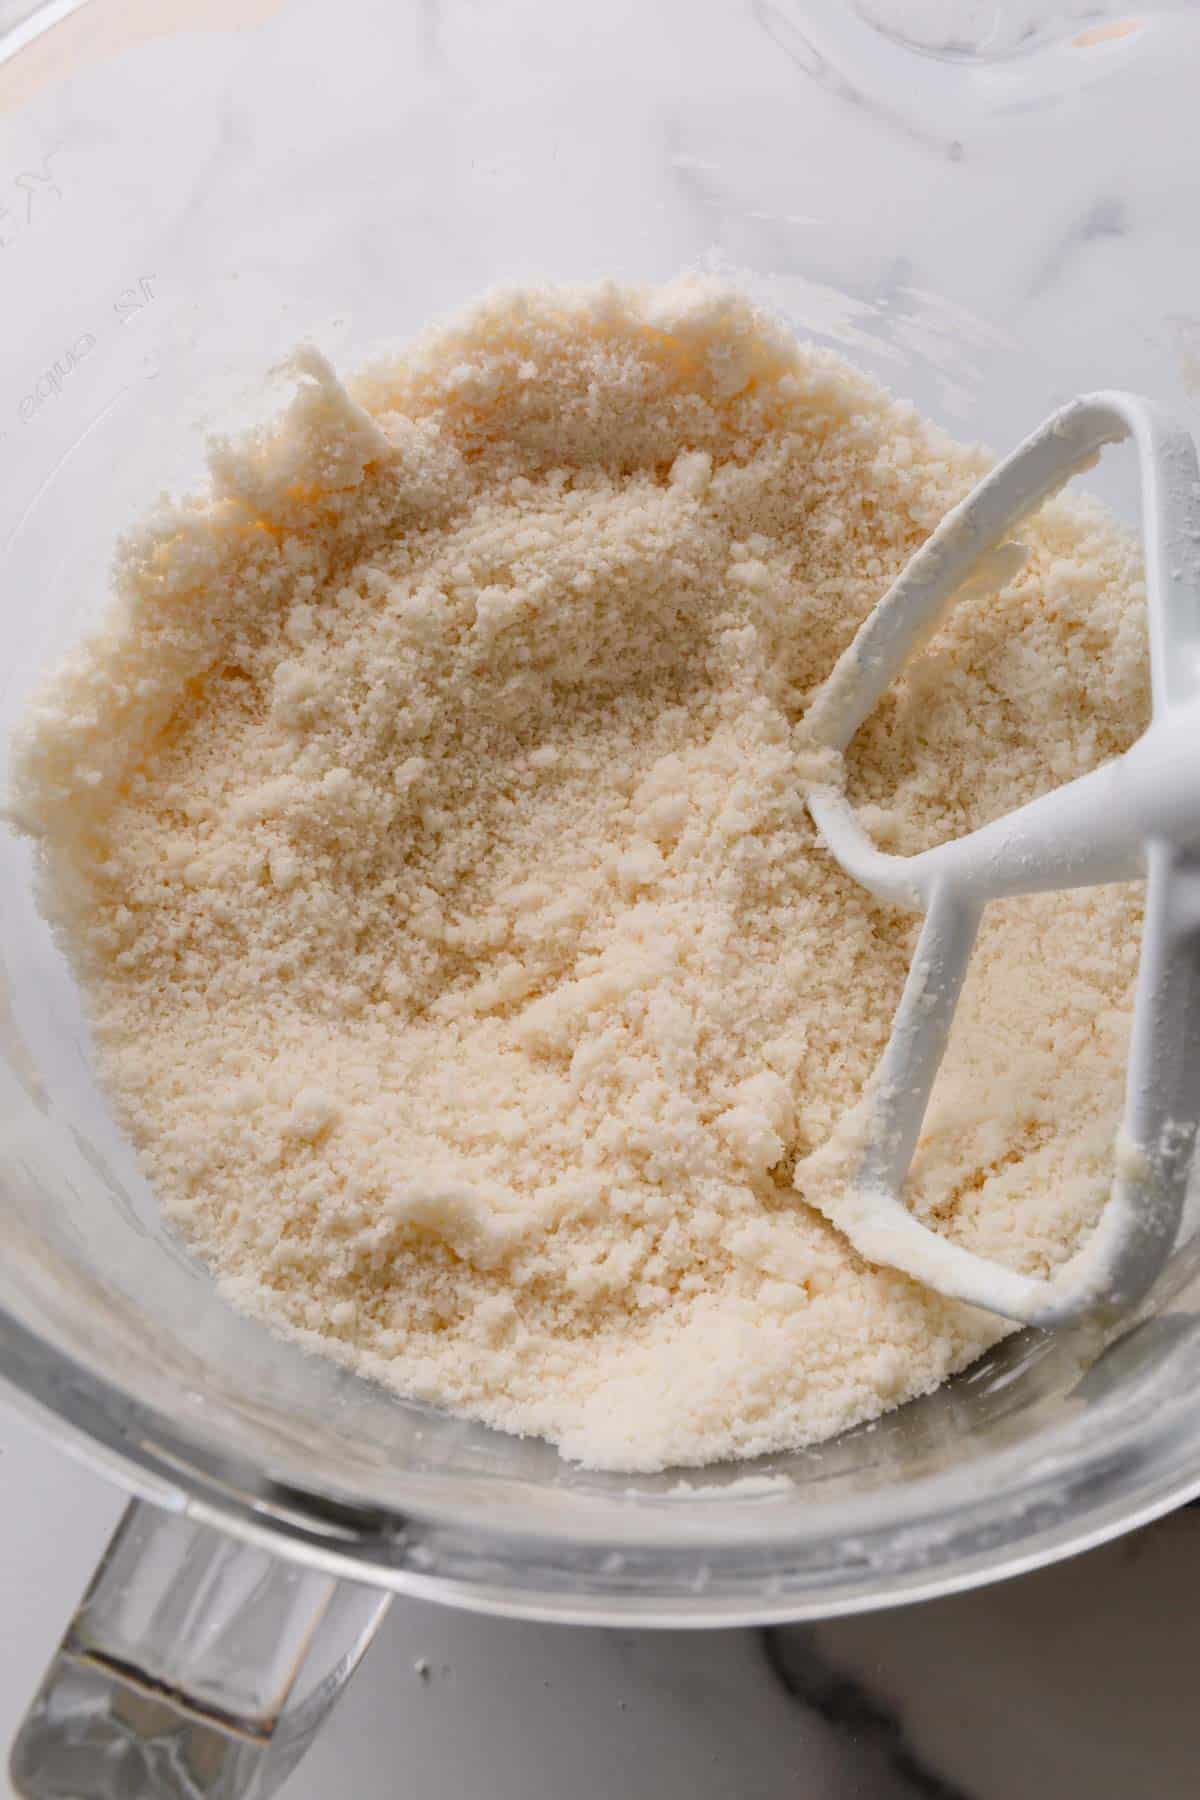
- Add the butter to the flour mixture, and continue to mix on low until the dry ingredients are fully moistened.
The mixture should resemble wet sand without any chunks of butter.
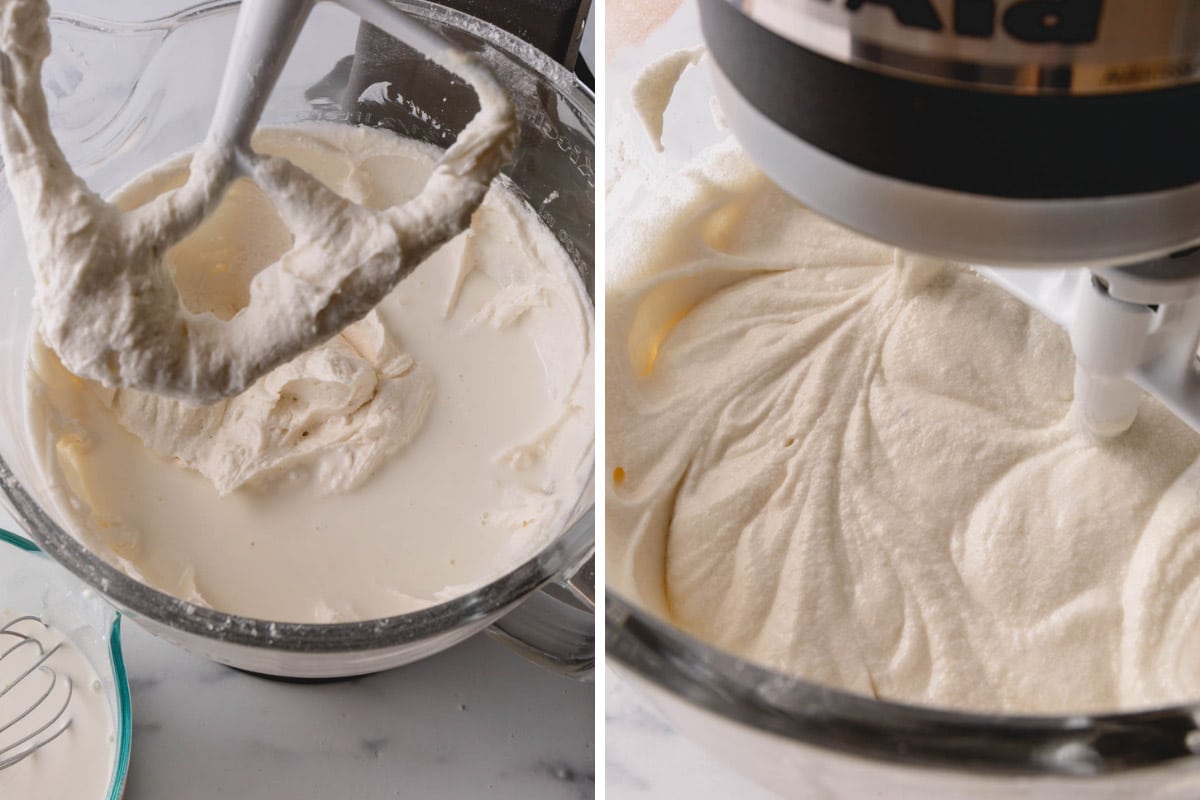
- Add the egg whites to the butter and flour mixture, and mix on medium speed for about 1 minute or until well combined.
- Pour half of the milk mixture into the electric mixing bowl, and beat on medium speed for 1 ½ minutes.
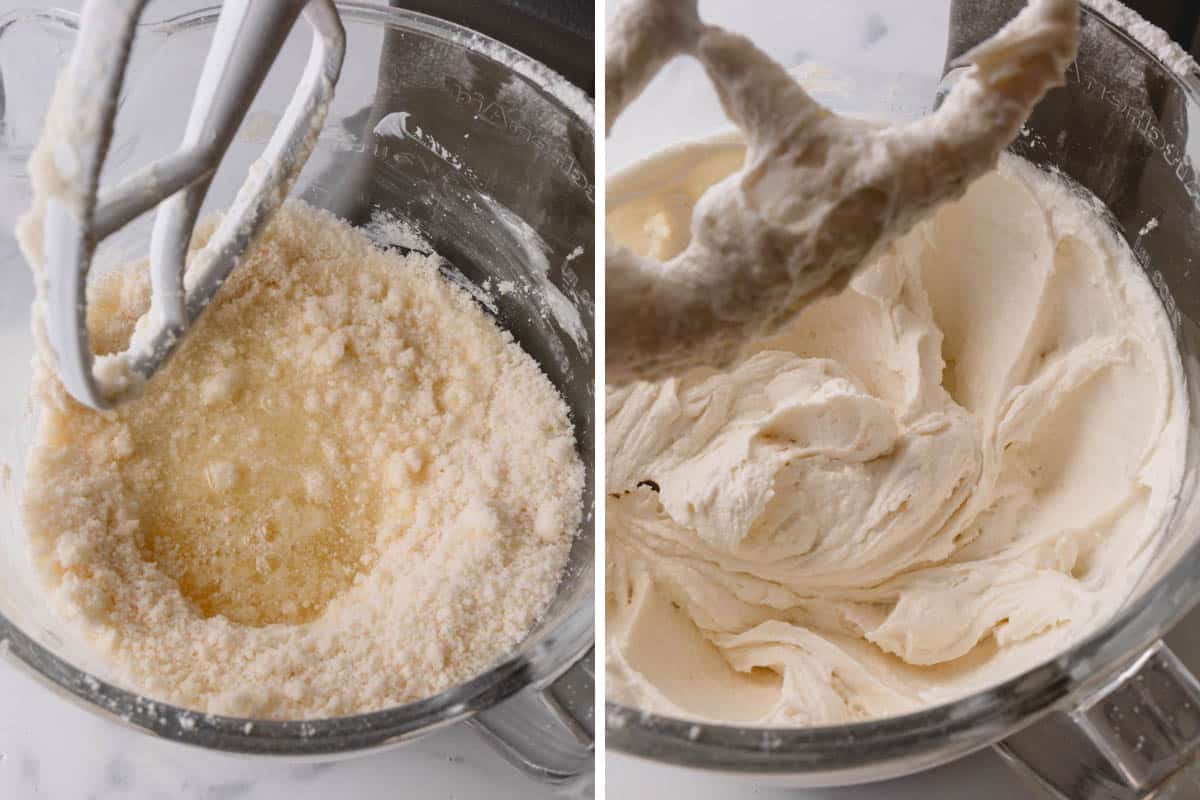
- Pour the remaining milk mixture in, and continue to beat for another minute. Scrape the sides of the bowl with a rubber spatula halfway through mixing to ensure all the ingredients are well incorporated.
2. Bake the cake
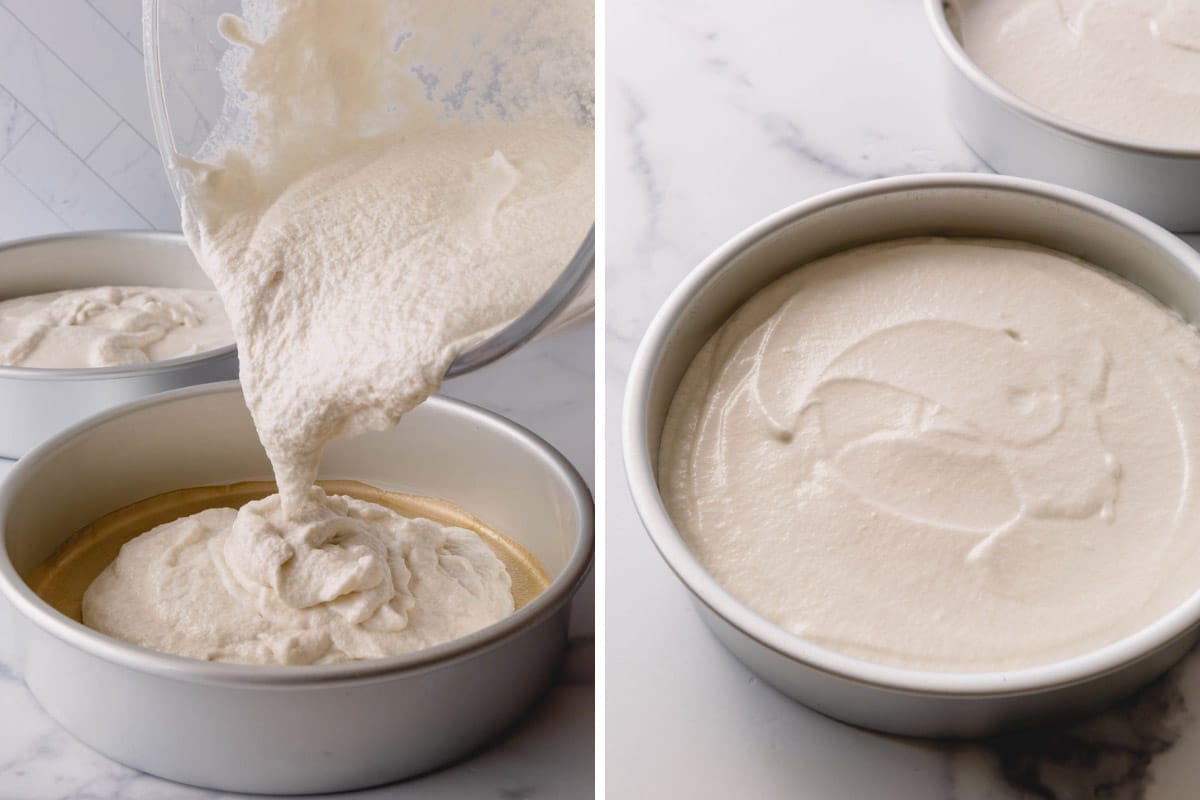
- Transfer the batter to the parchment-lined baking pans, dividing it evenly between the two pans.
for even cake layers
To ensure even cake layers, weigh the batter when dividing into the cake pans.
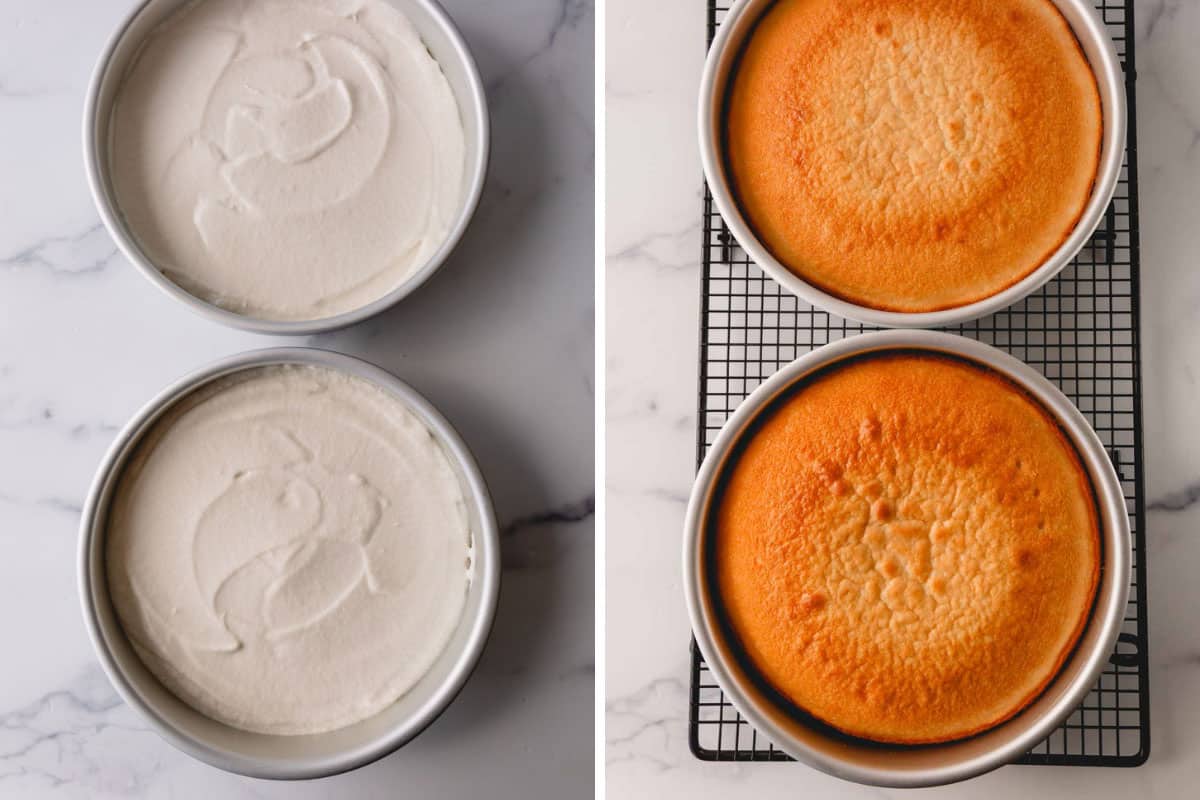
- Bake for 23-28 minutes or until the cakes are light golden brown and a toothpick inserted into the center comes out clean.
- Allow the cakes to rest in the pans for 3 minutes.
- Loosen the edges with a knife, and invert the cakes onto a wire rack to cool completely.
3. Frost and assemble
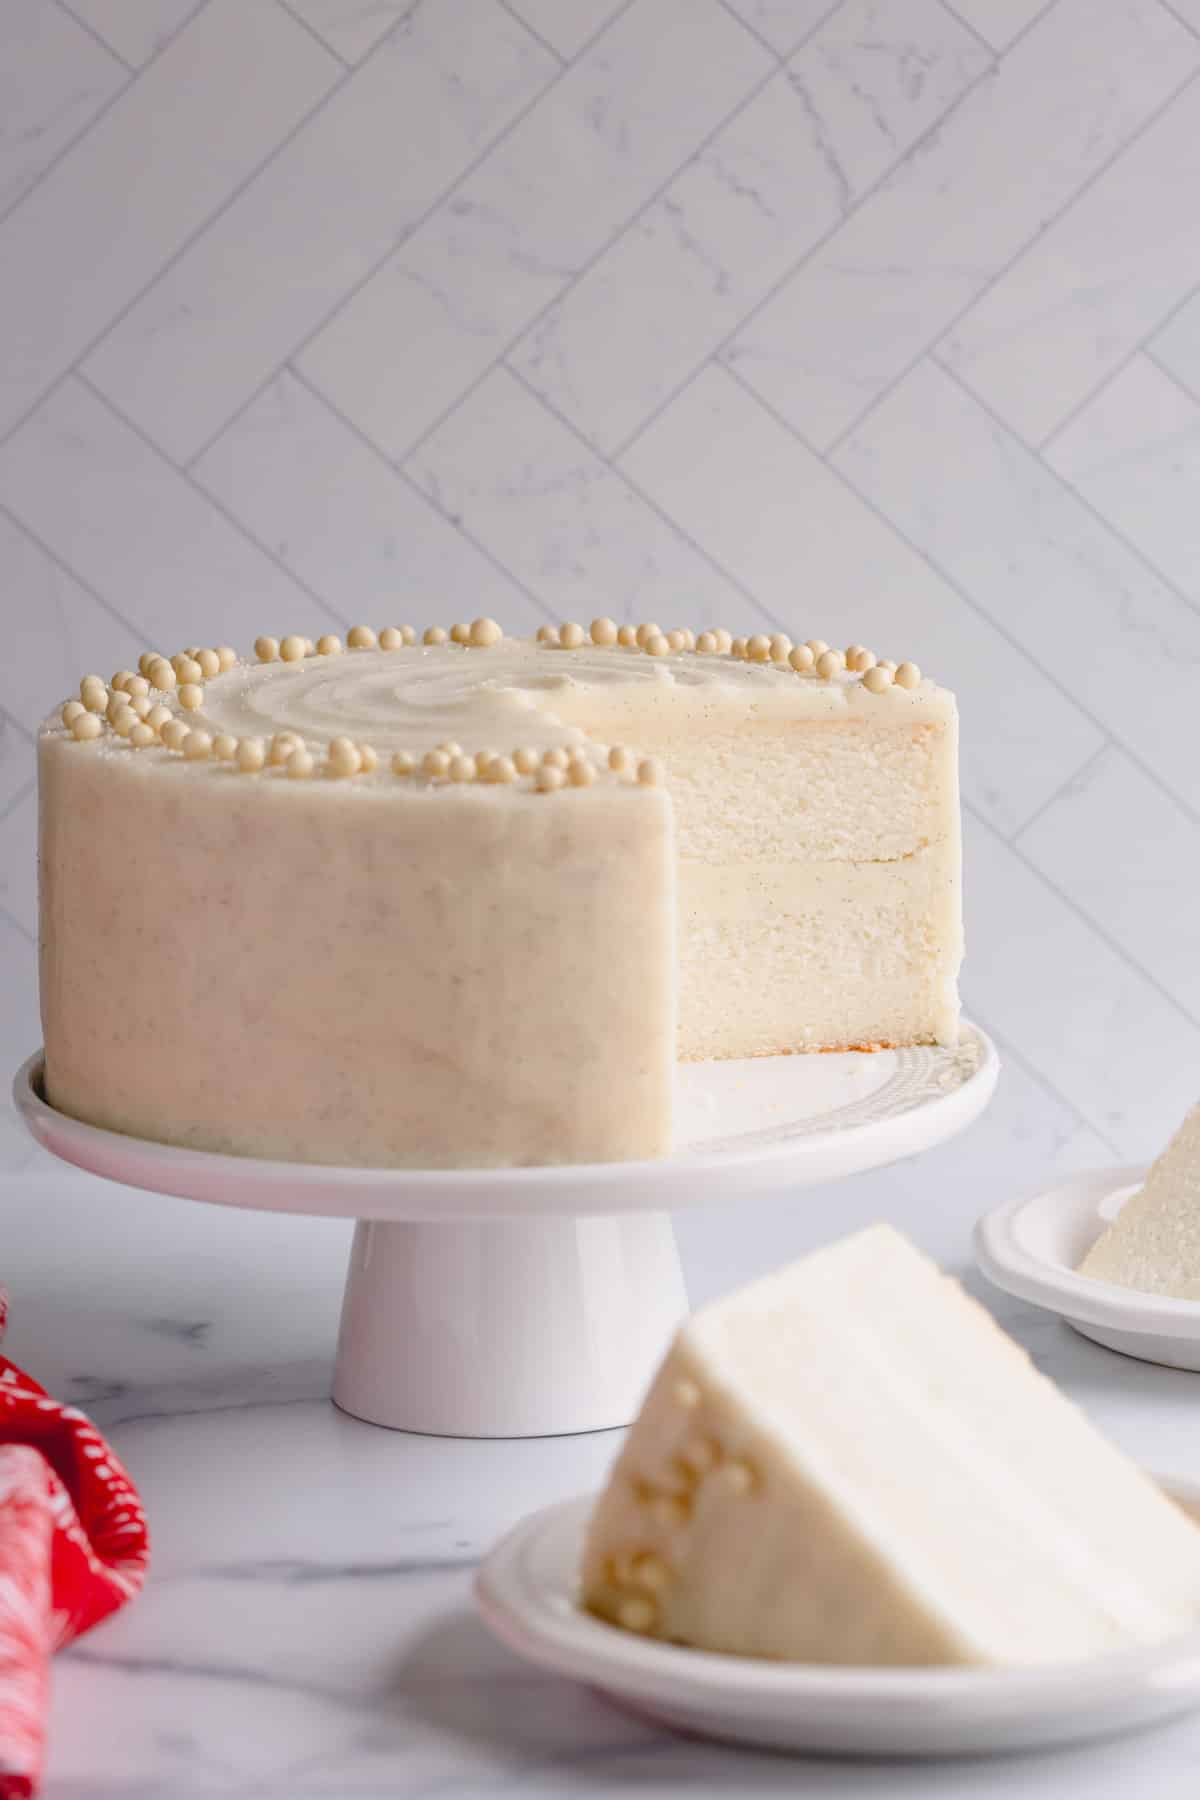
- For a flawlessly white cake, use a serrated knife to trim the golden-brown exterior on all sides.
- Spread an even layer of frosting on the first cake layer, using about one-third of the frosting.
- Place the second cake layer on top, and cover the entire cake with the remaining frosting.
- Add any additional decorations if desired, slice into even servings, and enjoy!
for easy frosting
Completely cooled or chilled cakes are much sturdier and easier to handle. I actually prefer to make my cakes 1-2 days in advance for this reason. And remember, never frost a warm cake! The frosting will melt right off.
Tips for Success:
- Use the spoon and level method to measure the flour. Or, for even better accuracy, weigh the flour with a kitchen scale. For the spoon and level method, use a spoon to scoop the flour into the measuring cup until the cup is overflowing with flour. Then, level it off with the back of a butter knife.
- Don’t over-bake the cake. As you can guess, over-baking results in a dry cake. Test for doneness by inserting a toothpick into the center of the cake to see if it comes out clean.
- For prestine white cake, trim off the brown edges, top and bottom with a serrated knife before frosting.
- Never frost a warm cake! If your cake is warm to the touch, the frosting will melt right off.
- 8-inch round cake pans are best! If you opt for a smaller pan, you’ll need to increase the baking time.
Make-Ahead Tips:
- Cakes are best when they’re made in advance! The layers are easier to frost and slice once completely cooled or chilled in the fridge.
- Allow the cakes to cool completely. Then, wrap each layer tightly in plastic wrap.
- Store the wrapped cake at room temperature for up to 1 day, or freeze for up to 1 month.
Storing Tips:
- Store your frosted cake on the counter at room temperature for 1-2 days or refrigerated for up to 5 days. Cover the cake with an airtight cake container, or loosely wrap it in foil.
- Frosted cakes freeze well, too! Wrap the cake tightly in plastic wrap followed by a layer of aluminum foil. Freeze for up to 3 months.
White Cake FAQs:
A white forest cake, similar to a black forest cake, is made with layers of vanilla cake, cherry sauce, and white chocolate ganache. Vanilla and white cakes simply let the cake shine! They only contain layers of cake and frosting.
White cake is slightly sweet with a mild vanilla flavor. It’s less rich than vanilla cake, due to the absence of egg yolk in the batter.
I prefer vanilla Swiss meringue buttercream because it’s not overly sweet and has a light, fluffy consistency. However, strawberry Swiss buttercream or chocolate Swiss buttercream would also be divine!
More Cake Recipes:
Classic White Cake Recipe
Ingredients
- 1 cup (240 ml) milk at room temperature
- ½ cup (120 g) sour cream at room temperature
- 2 teaspoons pure vanilla extract
- 1 teaspoon almond extract optional
- 2 ½ cups (310 g) cake flour Note 1
- 1 ½ cups (300 g) granulated sugar
- 4 teaspoons baking powder
- 1 teaspoon salt
- 12 tablespoons (170 g) (1 ½ sticks) unsalted butter softened
- 6 (210 g) large egg whites at room temperature, Note 2
Frosting:
- 1 ½ batches Vanilla Swiss Buttercream
Equipment
- 2 8-inch (21 cm) round cake pans
- 1 Mixer fitted with a paddle attachment
- 1 Serrated knife
Instructions
- Preheat the oven to 350°F (175°C).
- Line the bottom of two 8-inch round cake pans with parchment paper. Then, spray the pans with cooking spray to prevent the cake from sticking.
- In a medium bowl, whisk together milk, sour cream, vanilla, and almond extracts.
- In a mixing bowl with paddle attachment, mix flour, sugar, baking powder and salt on low speed.
- Add butter and continue to mix on low speed until no dry ingredients are left.
- Add the egg whites and mix on medium speed until combined, about 1 minute.
- Add half of the milk mixture and beat on medium speed for 1 ½ minutes.
- Then add the remaining milk mixture and continue to beat for another minute, scraping the sides of the bowl halfway.
- Pour the batter evenly into the prepared pans and smooth the tops. Bake the cake for 23-28 minutes, or until the cakes are light golden and the inserted toothpick comes out clean.
- Let the cakes rest in the pans for 3 minutes. If needed, loosen the edges with a knife and invert the cakes onto a wire rack to cool completely. (At this point, cake layers can be wrapped and stored at room temperature for up to 1 day or frozen for up to 1 month.)
To assemble the cake:
- For flawlessly white cake, trim off the brown edges, top and bottom with a serrated knife. (TIP: The cake layers are easier to handle once they are completely cooled and/or chilled in the fridge.)
- Smear 1/3 of the frosting on the first cake layer into an even layer. Place the second cake layer and cover the entire cake with the remaining frosting.
- Store the frosted cake for up to 5 days in the refrigerator.
Tips & Notes
– Store your frosted cake on the counter at room temperature for 1-2 days or in the fridge for up to 5 days. Cover the cake with an airtight cake container, or loosely wrap it in foil.
– Frosted cakes freeze well, too! Wrap the cake tightly in plastic wrap followed by a layer of aluminum foil. Freeze for up to 3 months.


I made this wonderful cake with almond-flavored Swiss meringue buttercream for a friend’s birthday last night. It was moist and so delicious. I sent the birthday girl home with the leftover cake and she called this morning to say she was having a big slice of it for breakfast!!! Absolutely make sure to cut off the brown crumb as described in the directions and photos. It makes all the difference in the appearance of the cake.
Hi, Lisa! I’m so glad you tried and loved this recipe!!! And your friend is absolutely lucky to have you as a friend. Thank you so much for you feedback!