
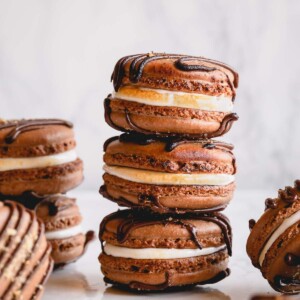
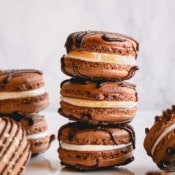
Chocolate macarons, drizzled with chocolate and filled with toasted marshmallows – ultimate summer dessert in an elegant French pastry form!!! (1-ingredient filling!!!)

Why you’ll love this macaron recipe:
Once you master chocolate macarons, you’ll want to try this ultimate summer flavor! With these s’mores macarons, you’ll get everything you love in classic s’mores:
- Crispy cookies
- Rich chocolate
- And of course, toasted marshmallows
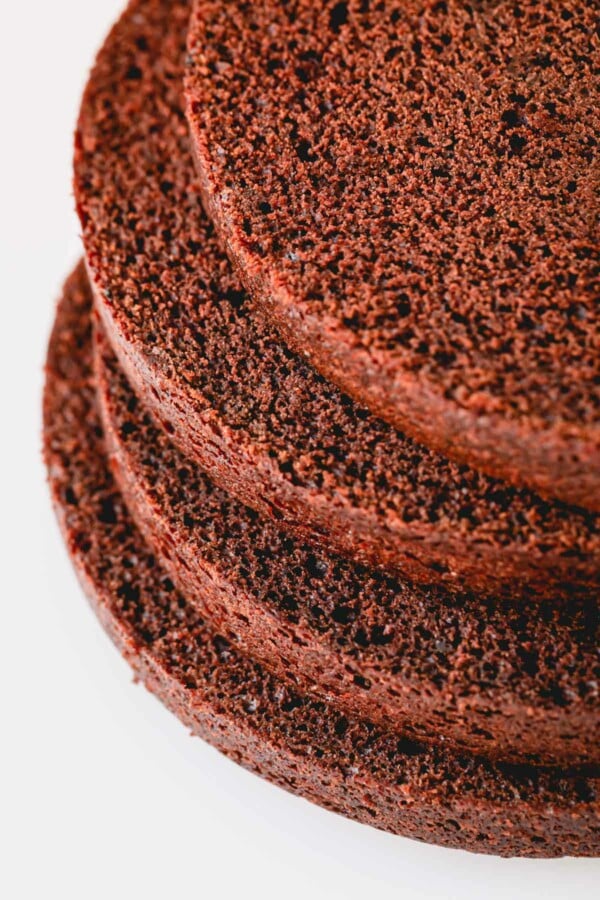
You’ll get the chocolate and graham cracker taste and texture from the macaron shells.
And the best part of this recipe is the MARSHMALLOW filling!
Forget about messing with homemade marshmallow, or marshmallow fluff frosting, etc!
We’re straight up using regular marshmallows, melted!! And it works like a charm!
By the way, a sprinkle of graham crackers is simply for looks here. But I adore it!

How to make these s’mores macarons:
Prepare the macaron shells:
- Start with making the chocolate macaron shells. You can make them days (or even weeks) in advance! They store well in the fridge for a few days, or freezer for a few months.
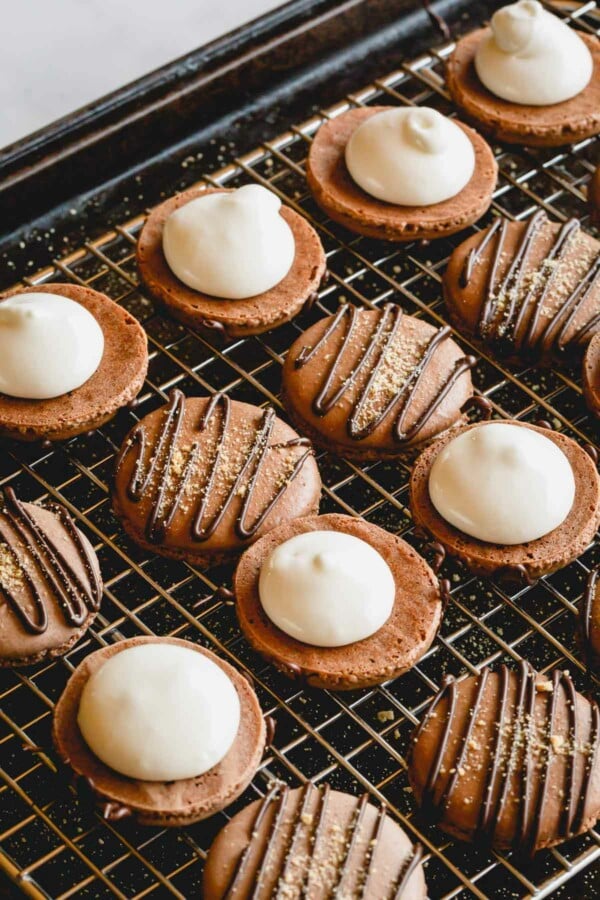
- Then pair the shells and arrange them on a tray. Drizzle melted chocolate and sprinkle crushed graham crackers. And let the chocolate set. You can pop them in the fridge to expedite the process.
- Once the shells are all ready, melt the marshmallows.

How to melt marshmallows:
- Place the marshmallows with a touch water in a double-boiler. Make sure the top bowl with marshmallows doesn’t touch the simmering water.
- Melt the marshmallows, stirring frequently with a silicone spatula.
- Once it’s completely melted and smooth, remove from heat and let it cool slightly, about 3 minutes, stirring occasionally.
- Then transfer the melted marshmallow into a piping bag with a round tip.
- Immediately, pipe the filling on macaron shells. The marshmallow filling is very stringy and it may seem it’s impossible to detach it. Here’s what I do: Once you piped enough filling, lift the piping bag without squeezing the filling, then swirl it around the top of the filling and lift.
work quickly
You’ll have a small window of time to fill macarons after you melt the marshmallows. The melted marshmallows are a bit runny right off the heat, but they quickly set as they cool.
That’s why it’s important to have your shells ready for filling before you start melting the marshmallows.
Assembling and maturing macarons:
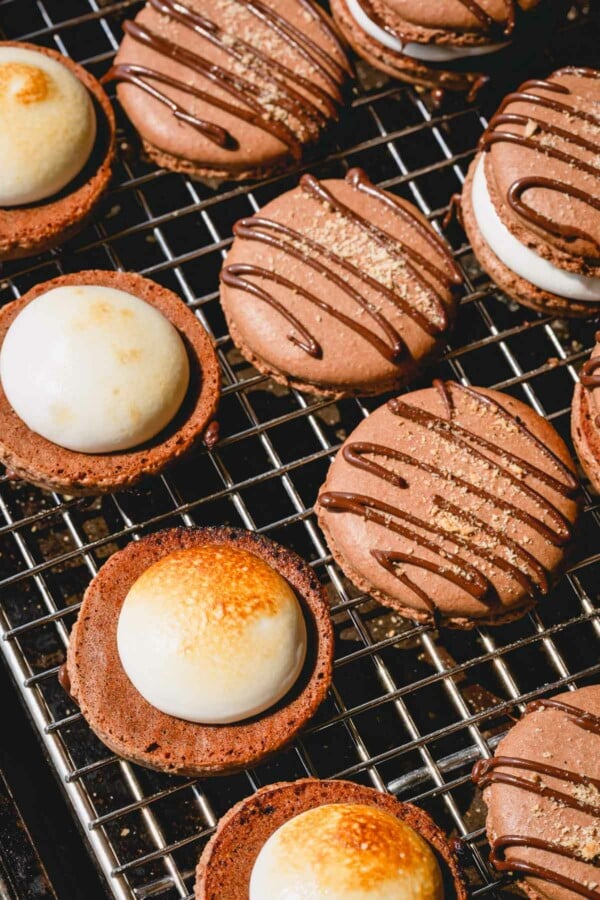
- Once you pipe all the fillings, toast it with a torch. I highly recommend toasting the marshmallows, as it gives the filling amazing texture! Then place the top shell to assemble the macarons.
- Now, it’s really important to let the filled macarons mature in the fridge for about 48 hours. That’s right, these macarons require a bit longer time to mature, as the filling isn’t very wet! If you need the macarons sooner, you can brush on some milk on the bottom of the macaron shells. This will help the shells soften sooner. But I personally love slightly crispy shells to imitate the graham crackers.

If this is your first time making macarons, please read my basic macarons for beginners for a much more in-depth tutorial on making macarons. I promise it’s not that difficult to make perfect macarons.

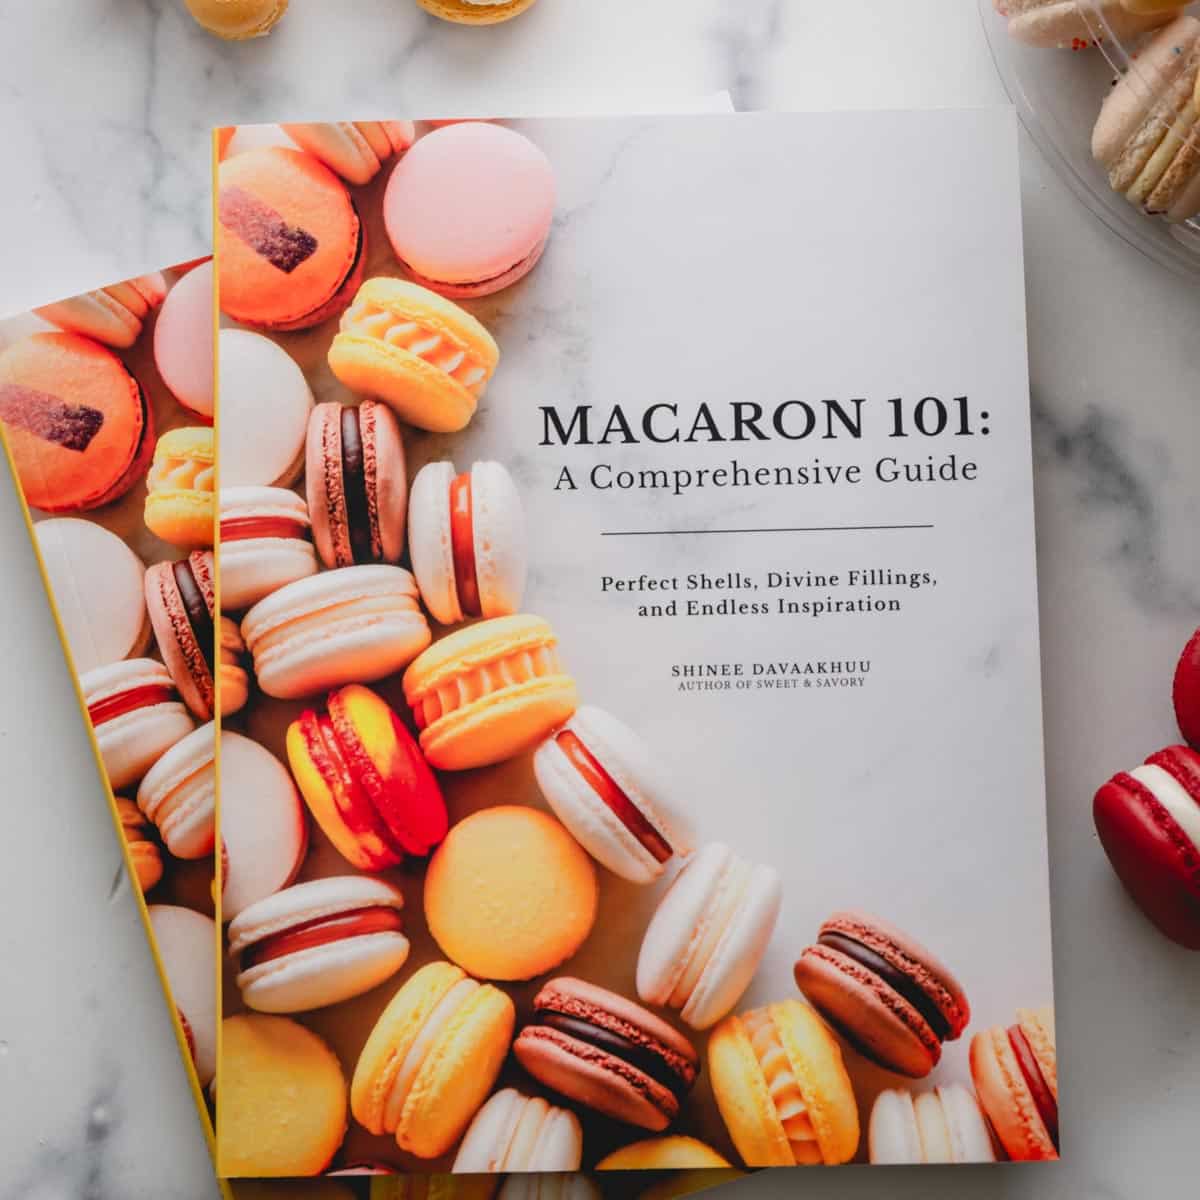
Macaron 101: A Comprehensive Guide
Master the art of French macarons and create your signature flavors!
S’mores Macarons
Ingredients
For macaron shells:
- 100 g super fine almond flour Note 1
- 65 g powdered sugar Note 2
- 10 g unsweetened cocoa powder Note 3
- 70 g egg whites at room temperature
- ¼ teaspoon cream of tartar Note 4
- ¼ teaspoon coarse kosher salt
- 75 g granulated sugar Note 5
- ½ teaspoon pure vanilla extract
For marshmallow filling:
- 85 g marshmallows Note 6
- 1 tablespoon water
For decoration:
- 55 g semi-sweet chocolate
- 1 graham cracker
Helpful Equipment:
- Pastry bag with Wilton Extra Large Round Tip #1
Instructions
To make macaron shells:
- Preheat the oven to 300°F (150°C). Line 2 baking sheets with parchment paper, or teflon sheet, or silicone mat.
- To prepare dry ingredients, sift together almond flour, powdered sugar and cocoa powder twice. (Note: If you have up to 2 tablespoons of chunky dry ingredients left in the sifter, you don't have to replace it. Simply discard those chunky bits.)
- To make meringue, in a clean mixing bowl with a whisk attachment, combine egg whites, granulated sugar, cream of tartar and salt and beat the mixture on medium speed until soft peaks form. (I set it to speed 4 on my KitchenAid stand mixer. It takes 30-40 minutes to whip the meringue, but it's well worth it for nice and full shells.)
- Continue beating the egg whites on the same medium low speed until hard peaks form. Visual cues: Meringue should ball up inside the whisk, and when you lift the whisk, the meringue should hold a pointy end and have sharp ribs.
- To make batter, sift almond flour mixture into the meringue. Using a silicone spatula, fold the dry ingredients into the meringue until fully incorporated. Then continue to fold the batter until it’s runny enough to draw a figure eight. To test, take a small amount of batter and drop it into the bowl. If the small peaks dissolve into the batter on its own in about 10 seconds, the batter is ready. If not, fold couple more times and test again. Be careful not to over-fold the batter. (TIP: Making french macarons is all about the technique. This is one of the most crucial step. Let me try to describe the folding motion as best as I can: run the spatula clockwise from the bottom, up around the sides and cut the batter in half. If you’re beginner macaron-baker, I suggest to count every fold. It takes roughly about 50 folds to reach the proper consistency. After 50 folds, start testing the batter, and continue testing after every couple folds.)
- To pipe macaron shells, transfer the batter into a pastry bag, fitted with a round tip. (I used this Wilton 2A tip.)Hold the pastry bag at straight 90° angle and pipe about 1.5-inch rounds about an inch apart on prepared baking sheets. (TIP: I made a perfect macaron template for you. Simply pipe the batter to fill inner circle.)
- Tap the baking sheets firmly on the counter (or using your hand) a few times to get rid of any air bubbles. You can also use a toothpick to burst some large air bubbles. This step ensures smooth tops.
- Let the macarons rest on the counter for 15 minutes before baking.
- To bake, working one baking sheet at a time, place one tray with macarons on the middle rack. Bake for about 15-18 minutes. It’ll take longer for larger macarons. To test for doneness, touch a macaron lightly and try to move it. If it slides and wobbles, bake a minute or so longer. The cooked macarons should be firm to touch and the base shouldn’t move. (TIP: It’s always better to slightly over-bake macarons than under-bake them!)
- Cool the macarons completely on the baking sheets. Then gently peel them off the parchment paper, or baking mats.
To decorate the shells:
- Pair the macaron shells by size and arrange them on a baking sheet lined with wire rack.
- Melt the chocolate in a microwave according to package directions. Transfer the melted chocolate into a pastry bag with a small round tip.
- Drizzle the chocolate all over the shells in desired pattern. Then sprinkle the graham cracker crumbs. Let the chocolate set completely. You can pop it in the fridge to expedite the process.
To make the marshmallow filling
- Place the marshmallows with a tablespoon of water in a double-boiler. Make sure the top bowl with marshmallows doesn't touch the simmering water.
- Melt the marshmallows, stirring frequently with a silicone spatula.
- Once it's completely melted and smooth, remove from heat and let it cool slightly, about 3 minutes, stirring occasionally. (Note: You'll have a small window of time to fill macarons after you melt the marshmallows. The melted marshmallows is a bit runny right off the heat, but it quickly sets as it cools.)
- Then transfer the melted marshmallow into a piping bag with a round tip.
- Immediately, pipe the filling on macaron shells. The marshmallow filling is very stringy and it may seem it's impossible to detach it. Here's what I do: Once you piped enough filling, lift the piping bag without squeezing the filling, then swirl it around the top of the filling and lift.
- Once you pipe all the fillings, toast it with a torch. I highly recommend toasting the marshmallows, as it gives the filling amazing texture! Then place the top shell to assemble the macarons.
- Now, it's really important to let the filled macarons mature in the fridge for about 48 hours. That's right, these macarons require a bit longer time to mature, as the filling isn't very wet! If you need the macarons sooner, you can brush on some milk on the bottom of the macaron shells. This will help the shells soften sooner. But I personally love slightly crispy shells to imitate the graham crackers.
- Store the filled macarons in airtight container in the fridge for up to 5 days. You can also freeze the filled macarons in airtight container for up to 3 months.
- To serve, bring the macarons out about 30 minutes prior to serving. Macarons are the best when served at room temperature!
⭐️ Did you make this recipe?
Please leave a review and let us know how you liked it!
Tips & Notes
Nutrition
This recipe was originally published on August 4th, 2016, and updated on September 5th, 2021.


I am making these s’mores macaroons however it calls for a 1/2 tsp of vanilla, but it doesn’t say where to mix it in?
So sorry for confusion. You actually don’t need to add vanilla. If you want to add it, you can add it in step 3 along with salt and cream of tartar. Let us know how they turn out, Rosa.
This was so tasty and loved the ease of the filling. Thank you!
So glad you loved this macaron recipe. Thank you for your feedback, Christy!