
No-Discard Sourdough Starter Maintenance
This post may contain affiliate links. Read full disclosure.
No more daily feedings to maintain a sourdough starter! Here’s your ultimate guide to no-discard sourdough starter, including how to feed, maintain, and store it!
Sourdough bread baking is the ultimate mashup of art and science. No two bread look identical, but they’re delicious all the same. That’s the beauty of natural fermentation.
Maintaining a sourdough starter can feel daunting, and there’s no room for another “to-do” on your already long list.
That’s why I was on the hunt for an easy way to maintain a sourdough starter that requires no daily feedings, no discards, and no fuss! Just feed it once 8 to 12 hours before you plan to bake with it.
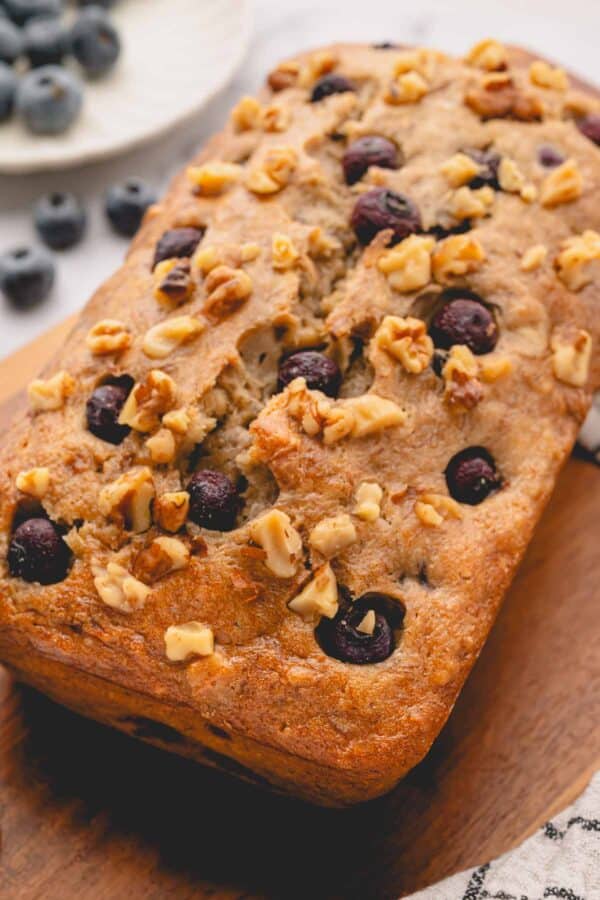
It creates a crusty, tangy loaf that makes an epic avocado toast or breakfast sandwich!
What is a sourdough starter?
Sourdough starter is a mixture of water and flour that’s allowed to sit and ferment. Wild yeast and bacteria feed on the hydrated flour to create a natural leavening agent for bread dough.
Sourdough starter doesn’t contain commercialized yeast like most bread doughs. The natural fermentation is what gives sourdough its quintessential tang.
Where do I find sourdough starter?
You can make your own sourdough starter, buy it online, or ask a friend or neighbor.
I got my starter from a friend, and I highly recommend to get an aged starter from someone, so you can jump to baking right away!
Making a strong and active sourdough starter from scratch takes at least a week and up to two, and LOTS of patience!
No-Discard vs. Discard:
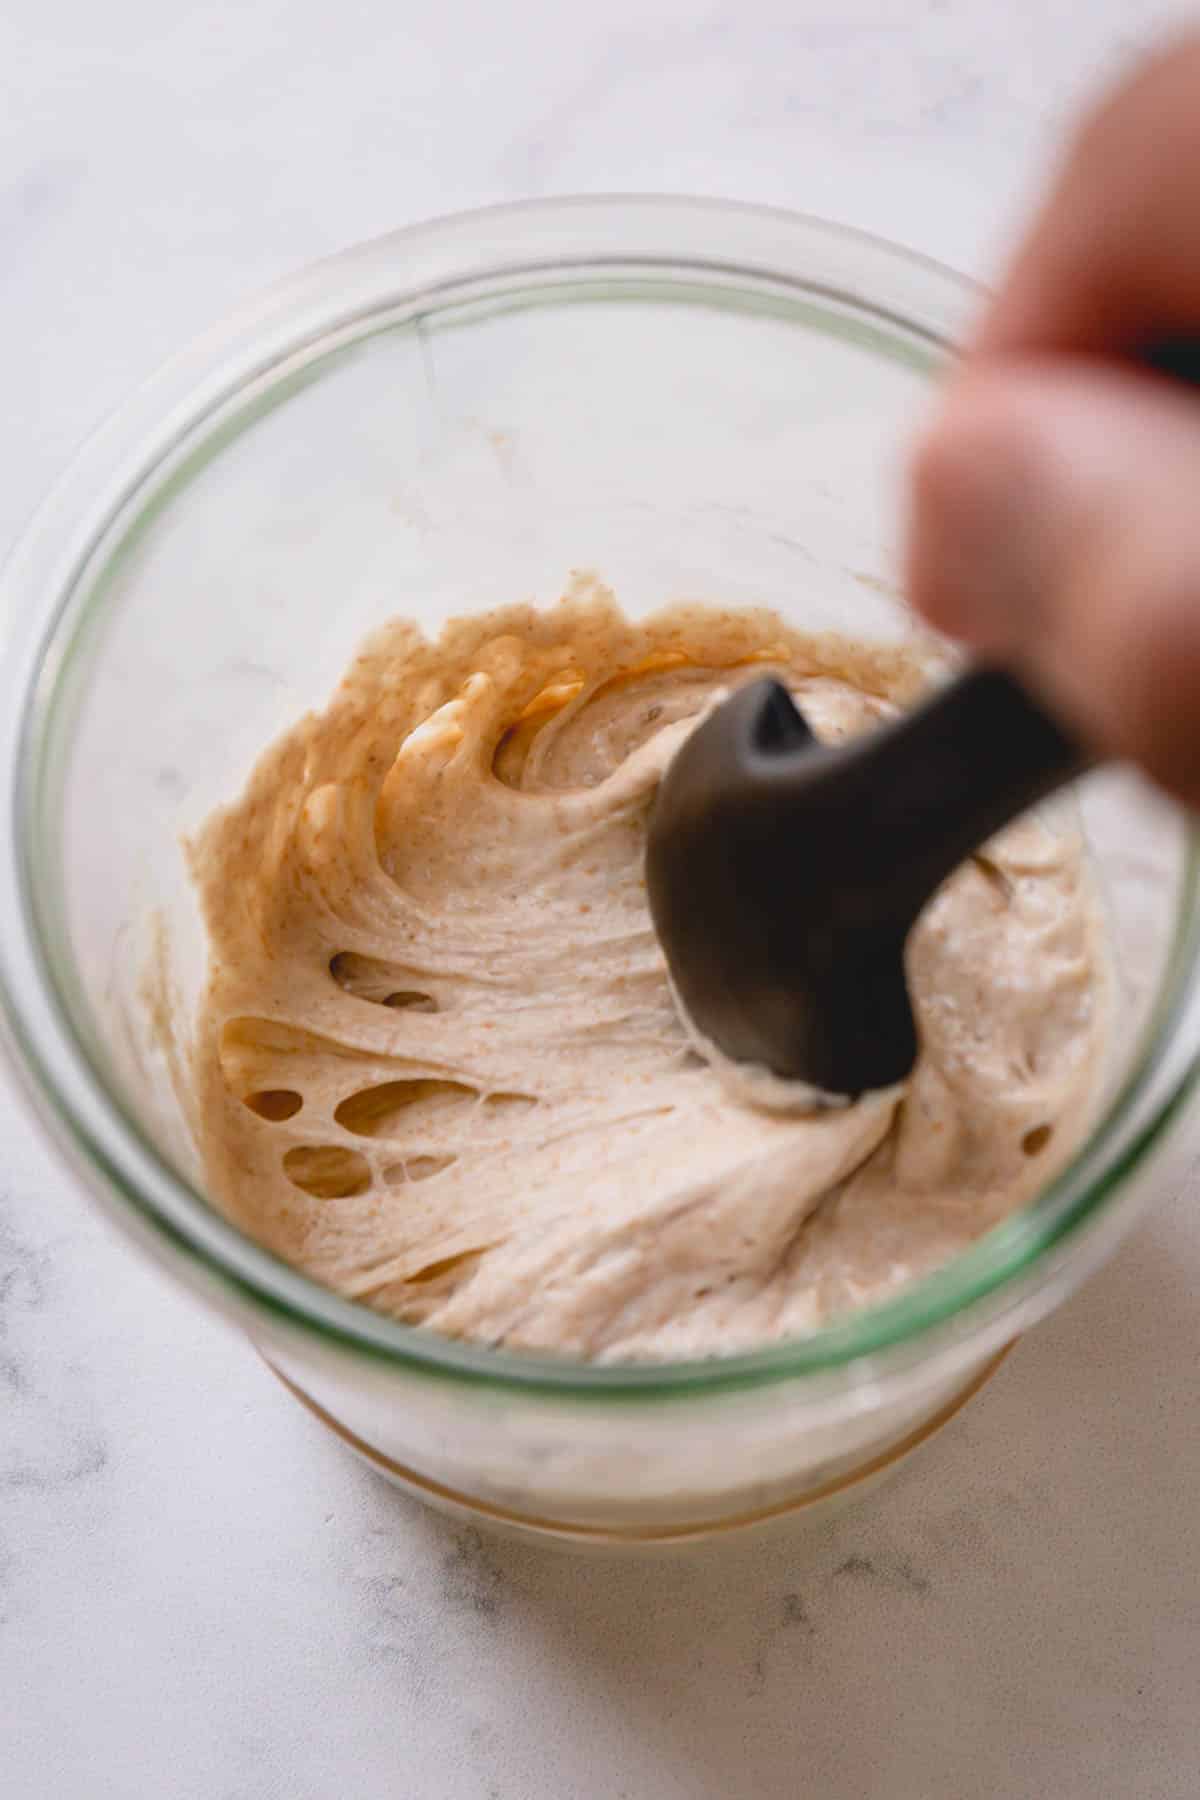
A no-discard sourdough starter is simply a starter where you don’t discard a portion of the starter every time you feed it! You only feed the starter when you plan to bake with it, then you save the rest for next time.
Not only is it less wasteful, it’s easy and you don’t have to babysit it constantly!
How to store no-discard sourdough starter:
If you don’t want to bake a sourdough bread with it, take a small amount of starter (usually leftover starter) and then mix in flour.
It will be very dry, but that’s how it’s supposed to be. Loosely cover it and refrigerate until ready to bake a loaf of bread.
Now, 8-12 hours prior to making a bread dough, you’ll need to reactivate your starter.
To do that, simply add some room temperature water, loosely cover, and leave it at room temperature for 8-12 hours.
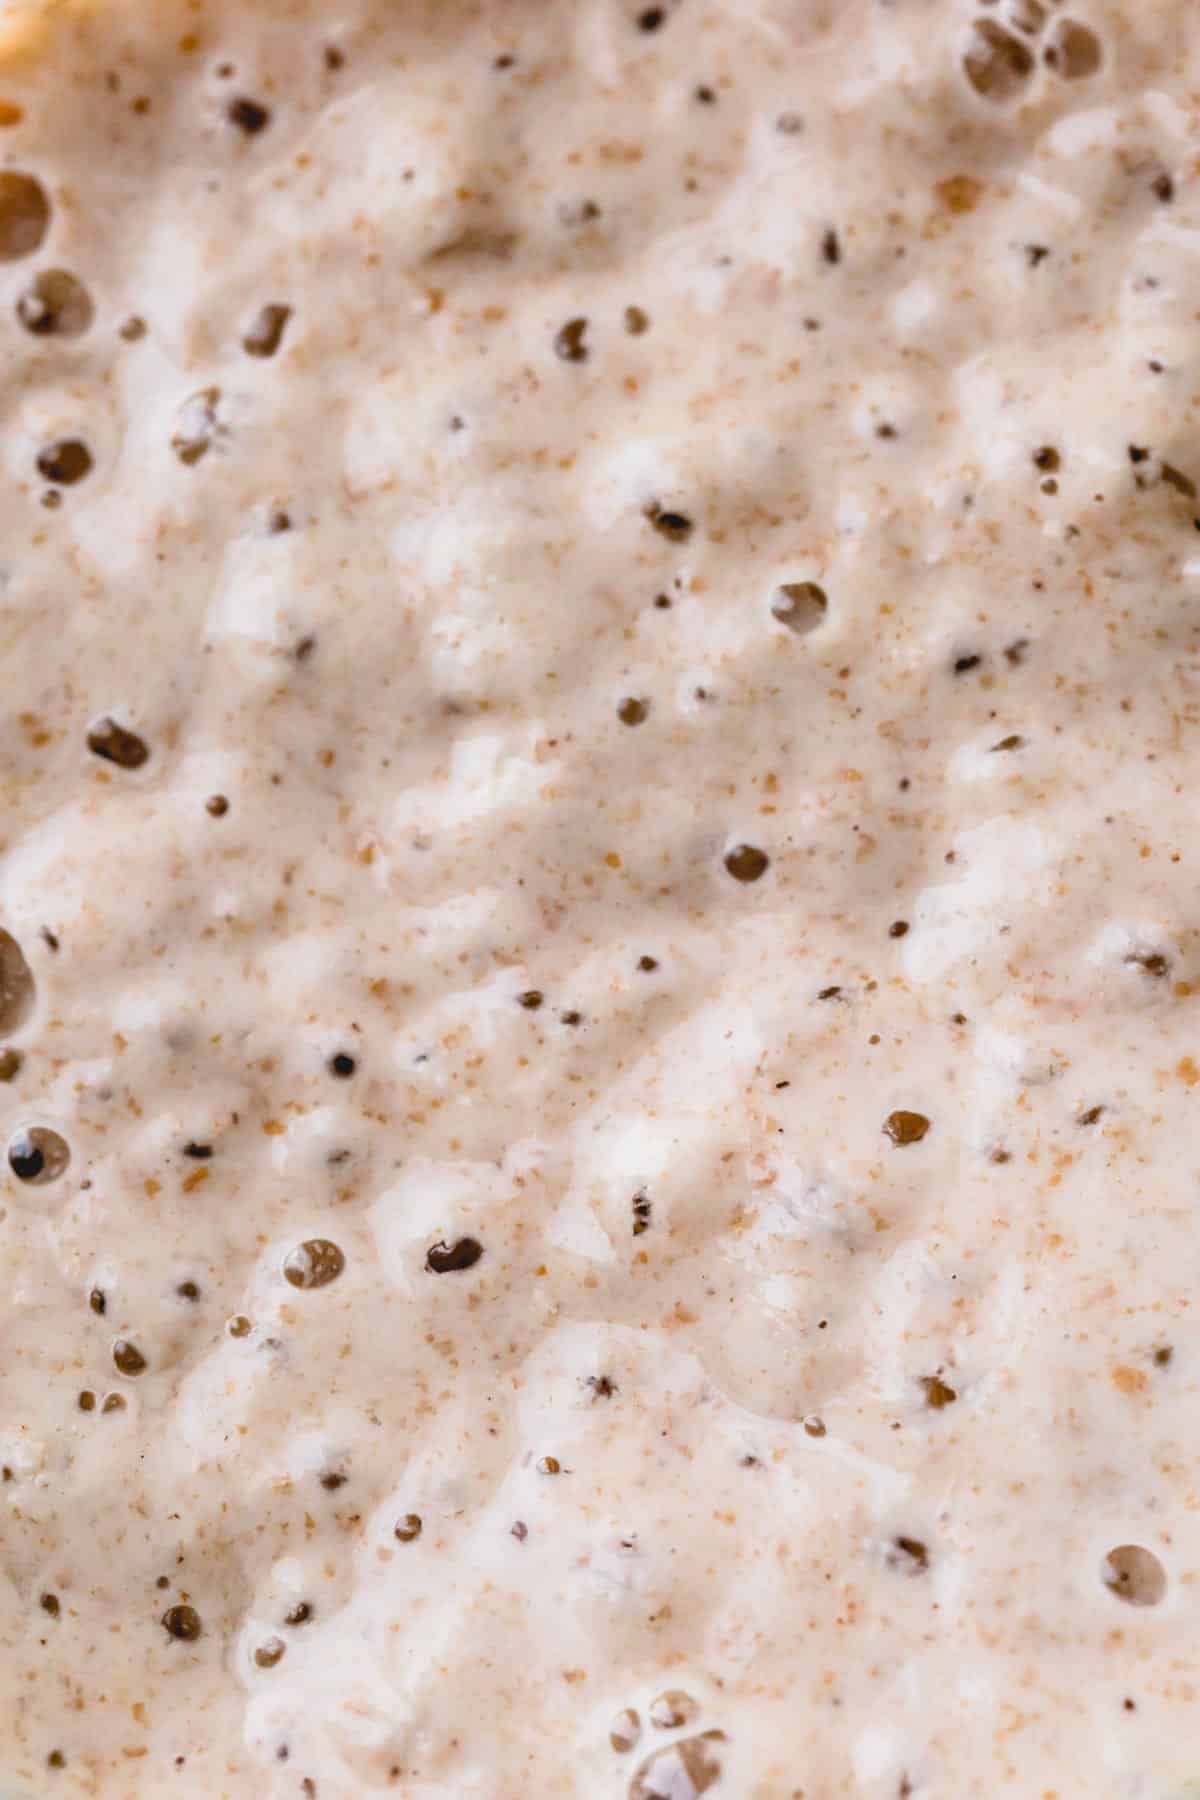
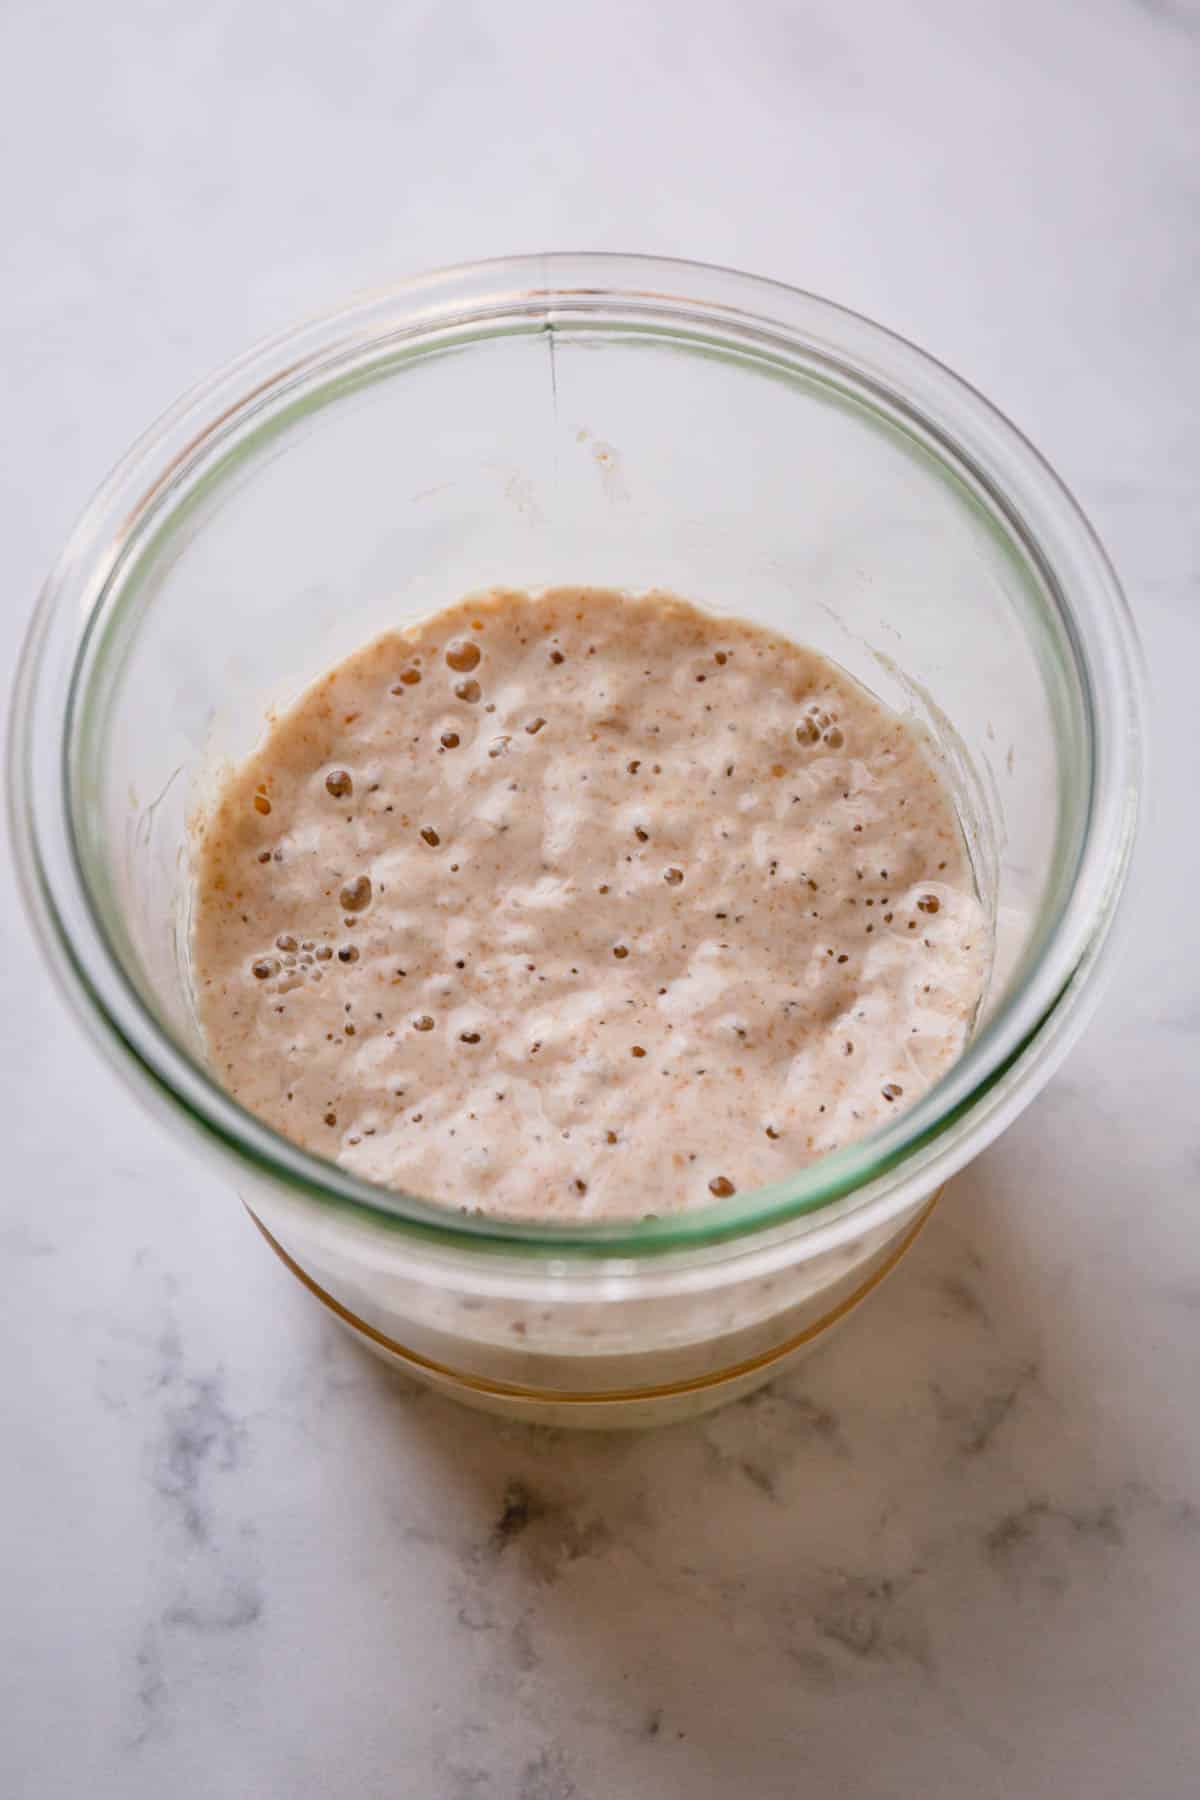
It should at least double in size and have lots of bubbles. And you’re now ready to bake with it! It’s that easy!
Tip
Don’t be alarmed if your starter is lumpy when you add water! The dried up bits of starter will rehydrate and activate with no problem!
Feeding Ratio:
I use two parts bread flour to one part whole wheat flour to feed my no-discard sourdough starter. Here is my simple feeding ratio for one loaf of sourdough bread.
My basic sourdough recipe calls for 100 grams of ripe starter. Ripe starter is a sourdough starter that’s fed, risen, and ready to bake with! It should be tripled in height, foamy, and bubbly.
To get 100 grams of ripe starter plus enough leftovers for your next batch, weigh out 20 grams of starter.
My go-to feeding ratio is 1:3:3.
For every 1 part of starter, add 3 parts of water and 3 parts
of flour. So that means for 20 grams of starter I add 60 grams of flour and 60 grams of water.
This will give you 140 grams of starter, enough for a loaf of bread plus extra for your next batch.
If I’m doubling my recipe and need 200g of starter, I take 35g of starter and mix it with 105g water and 105g of flour.
Sourdough Backup:
If you don’t plan to make sourdough bread for months or even a year, don’t just toss your starter in the trash! It can be preserved until you wish to rehydrate it.
How to dehydrate sourdough starter:
- First, feed your starter until it’s active, bubbly, and ready to use in your favorite recipe.
- Place a piece of parchment paper onto a sheet pan and use a bowl scraper to spread the ripe starter thinly onto the paper. Try to make it as thin as possible.
- Let the sourdough starter sit at room temperature until dry and brittle. This can take 1 day or up to 4 days depending on where you live. Be patient!
- Break the dried starter into pieces, then transfer to a sealed jar or container. Just be sure it’s airtight!
- Store the jar of starter in a dry, dark, and cool place like a pantry or cabinet far away from the stove.
How to reactivate dried sourdough starter:
- To reactivate the dehydrated starter, measure out an ounce of it and place it in a jar. Add two ounces of lukewarm water.
- Stir occasionally until the chips are completely dissolved. Let the mixture sit for 3 to 4 hours until bubbly.
- Now that it’s hydrated, it’s time to feed and revive the starter. You will need to feed the starter three times before it’s ready to go!
- It should take about 2 to 3 days to do this.
Tips for maintaining a sourdough starter:
Here are some of my best tips to simplify the process!
- Use a tall glass container for your starter so you can see how it’s rising. Checking on your starter couldn’t be easier!
- Mark your starter level to easily see the progress. This way you know exactly how much its risen. A rubber band around your glass works nicely.
- Prepare a special flour mix for your starter that is a mixture of all-purpose flour and wheat flour. I learned this tip from my sourdough guru friend, Baker Bettie! All-purpose and bread flour take longer to ferment.
- Do a float test before making your bread dough. Take a small piece of starter and drop it into a glass of water. If it floats, it’s ready to bake with!
- For best results, use filtered water. Chlorine can prevent fermentation.
- Use a kitchen scale so you know exactly how much starter you’re using. The right tools makes things so much easier!


Hi. So I have a no discard starter that was given to me. It’s been in the fridge for a week. It is pretty hydrated, pancake consistency. Do I just stir it and let it sit until it bubbles before taking out my one part? Or do I need to feed it before taking out one part? Also, if I want to add different ingredients to the dough before baking, when in the process would I do this? What temp and time do I bake it? Sorry for all the questions. Thank you for your help.
Hi, Tanya. Thanks so much for reaching out! You’ll need to take out the amount of starter you need and feed it before you make your bread. For example, my easy sourdough bread recipe calls for 100g of ripe starter. So you take 20g of your starter in the fridge, add 60g of flour and 60g of water. You can read more about it in Feeding Ratio section of the above post.
this article doesn’t say how to make the no-discard starter. It says “If you don’t want to bake a sourdough bread with it, take a small amount of starter (usually leftover starter) and then mix in flour.” but it never gives amounts. What ratio of ripe starter to flour? And then how do you store this thick no-discard starter? In a jar in the refrigerator?
It’s a great idea but it needs more detail to be useful.
Hi, Jim. Thank you so much for your feedback. I’ll update the post soon to expand based on your questions. But just to asnwer your questions…
1. This post is not about how to make a starter, it’s a whole separate process. I wrote this post to share how to maintain a starter without feeding it all the time.
2. The amount of flour to mix in the starter depends on the amount of starter you have. So, I typically save and keep only 20-30g of ripe starter. And my feeding ratio is 1:3:3. So that means, I’ll mix 20g of ripe starter with 60g of flour.
3. Yes, you’ll keep it in a jar, loosely covered, and refrigerate until you’re ready to bake with it.
Hope this helps.
point 1: I didn’t ask how to make a starter but rather what water/flour ratio is used in the non-discard starter. The typical starter is 100% hydration and has to be fed, so I assume the non-discard starter has a lower hydration percentage.
Point 2: The formula 1:3:3 implies 3 parts but you only mention 2, the starter and flour. Are you saying that the non-discard starter is made by combining 20g of 100% hydration starter with 60 g of flour (1:3)? That would result in a hydration of 14%. Is that the formula for your non-discard starter? Or were you saying something else?
Bottom line, what is the hydration percentage of your non-discard starter?
1. Use whatever discard you have.
2. We’re not making a discard starter. This is how I store my starter and don’t have to feed it all the time. So, mix 20g of 100% hydration starter with 60g of flour. Keep it in the refrigerator until ready you want to bake a bread. Then when you’re ready to bake with it, add 60g of water and leave it at room temp for 8-12 hours to reactivate the starter.
Hi. I just started making my own starter. It is growing beautifully. But I have the discard recipe. So, after day 7, when u make my first bread: 1. Do I keep the ripe starter in the fridge? 2. Let’s say I will make 2 breads weekly, so, i will take 20g starter twice per week, when and how do I feed it? 3. Your explanation is wonderful, but I am stuck on the part after 7 days. How to use it and how to store it 😊🍞