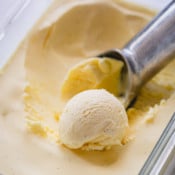
Nothing beats custard-based homemade vanilla ice cream!! Ultra creamy and rich, this time-tested recipe is so easy to make with just 5 basic ingredients.
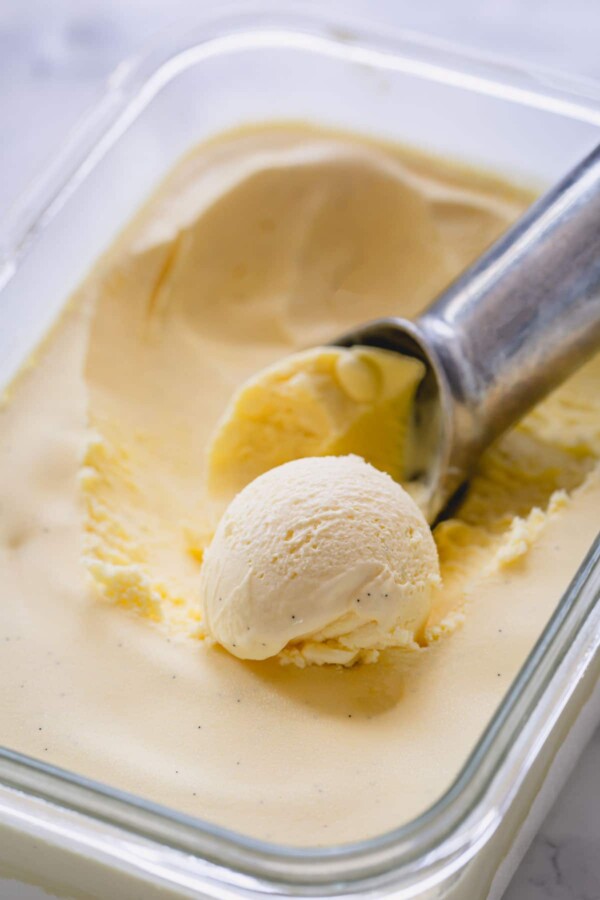
Table of Contents
Is making homemade ice cream worth it?
After a few trials of making ice cream from scratch, I had given up on the idea. I secretly thought nothing beats Haagen-Dazs! Hehe
And that was until I tried this unbelievably rich ice cream made by my former co-worker, Matt. As it turns out he’s an ice cream connoisseur and his specials are chocolate and pistachio ice creams!
I’m so grateful that he’s so generously shared his base recipe with all of us. I can now confidently claim homemade ice cream is the best!
Ingredient Notes:
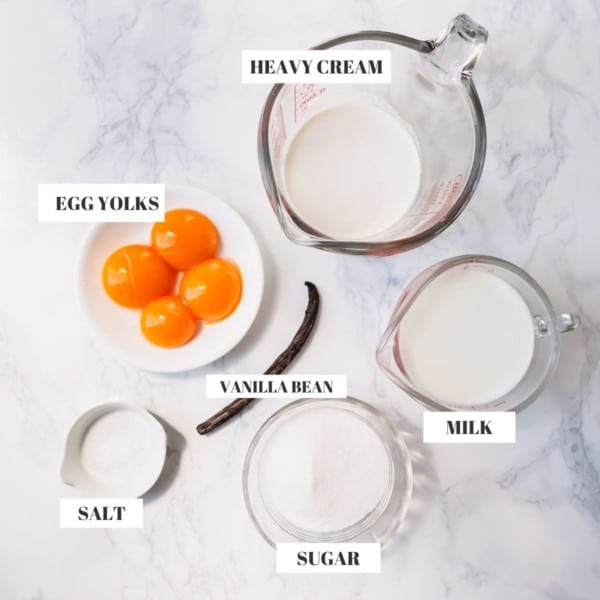
- Milk – I highly recommend whole milk for richer texture.
- Vanilla bean – I love using vanilla beans as it gives those beautiful vanilla specks and better vanilla flavor. This brand of vanilla bean is my go-to. But you can substitute vanilla bean paste, if you prefer.
- Sugar – Sugar plays an important role in this recipe. Sugar not only adds sweetness, it also helps to prevent crystallization. I don’t recommend reducing sugar anymore than this, or you’ll get hard, icy ice cream.
- Heavy whipping cream – It’s a crucial ingredient in this recipe, as it provides the majority of butterfat to make the creamiest and richest ice cream.
- Egg yolk – If you’ve got leftover yolks from making meringue-based desserts, like Pavlova or meringue cookies, then this is a perfect way to use them up! Note: farm fresh egg yolks are richer and make the ice cream yellow as pictured above.
- Salt – A tiny bit of salt enhances the vanilla flavor and balances out the sweetness! Don’t skip it!
How to make this ice cream recipe:
Step 1. Heat milk
- We’ll start with making a custard. I use 2.5qt saucepan to heat the milk with half of the sugar, salt and vanilla.
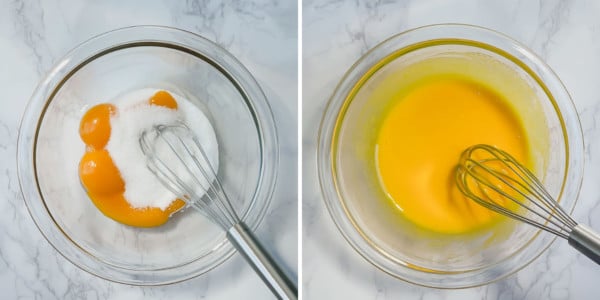
- Meanwhile, whisk egg yolks with remaining sugar in another bowl until nice and pale yellow.
Step 2. Temper egg yolks
- Then, add half of the warmed milk into the egg yolk mixture, while whisking non-stop.
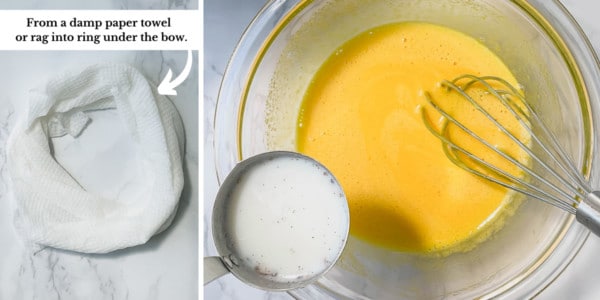
Tip
This process is called “tempering” which basically means slowly heating the egg yolks before adding it into the hot milk. That way yolks won’t scramble.
Step 3. Cook the custard
- Now, put the tempered egg yolk mixture back into the saucepan with milk. Cook the custard over medium heat, stirring continuously with a wooden spoon, about 10 minutes. Make sure to cook the mixture gently!
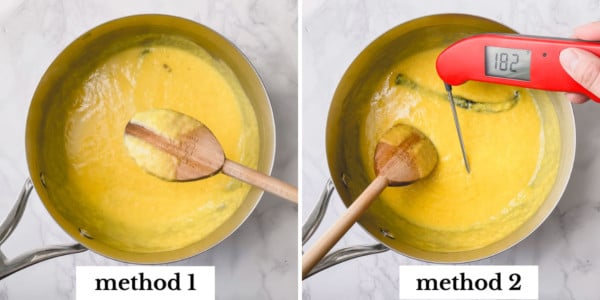
Tip
2 ways to check if the custard is ready:
- Check with an instant thermometer. The mixture should reach 180°F.
- Or, coat a back of spoon with custard and run a finger through. If the trail stays, then it’s ready. If the mixture immediately closes, it needs more cooking.
Step 4. Chill
- Pour heavy cream into a medium bowl and place a sieve over it. And pour the custard mixture into heavy cream and strain it through a sieve. Whisk the mixture until well combined.
- Cover the custard with a plastic wrap, making sure plastic touches the custard to prevent skin to form. Refrigerate it for at least 3 hours, or overnight.
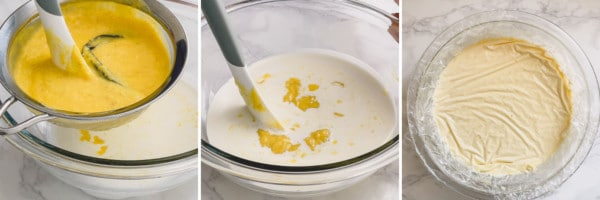
Tip
Pouring hot custard into a cold heavy cream stops further cooking and expedites the chilling. No ice bath necessary!
Step 5. Churn
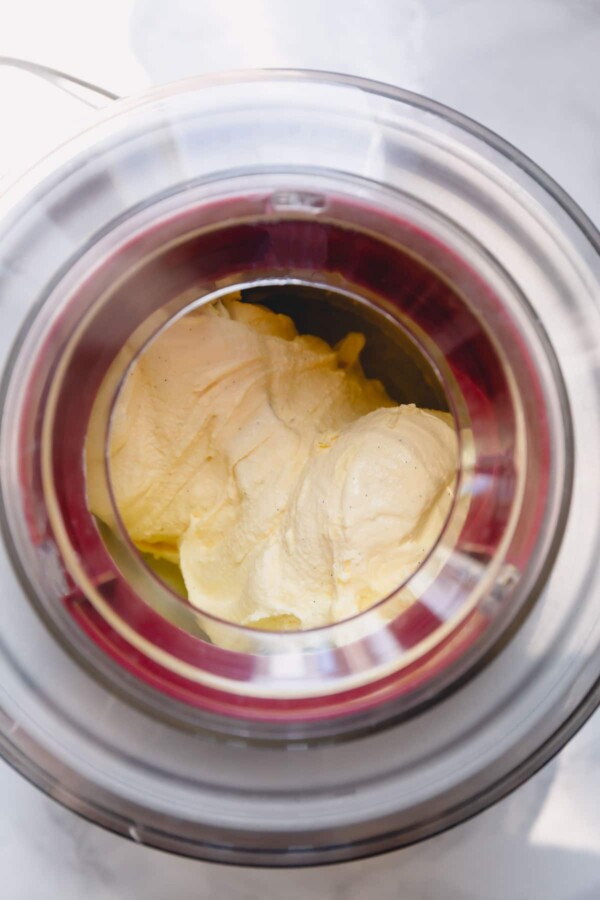
- To churn the ice cream, pour the chilled custard into the frozen ice cream maker and churn according to your specific ice cream maker’s instructions.
- At this stage, you’ll get soft-serve ice cream.
- Transfer the ice cream into an airtight container and freeze for a few hours.
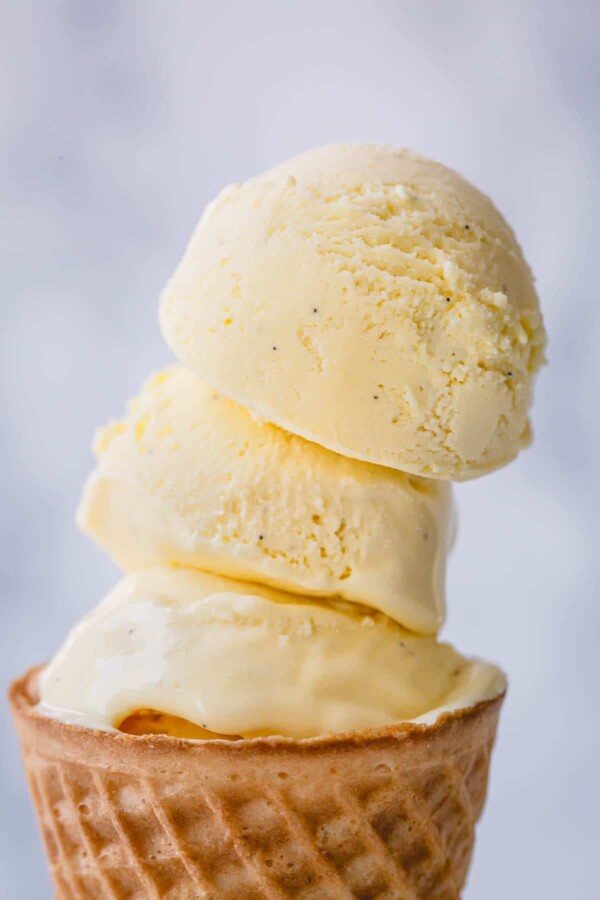
FAQ:
“Philadelphia-style” ice cream is made without eggs. However, ice cream made with egg yolks are creamier and richer.
If you don’t have any eggs or are following an egg-free diet, then my 2-ingredient strawberry banana ice cream recipe is an easy delicious alternative.
No. Half and half doesn’t have enough butterfat to produce rich and creamy ice cream.
This vanilla ice cream is custard-based ice cream, which means it’s thickened with cooked egg yolks and milk mixture.
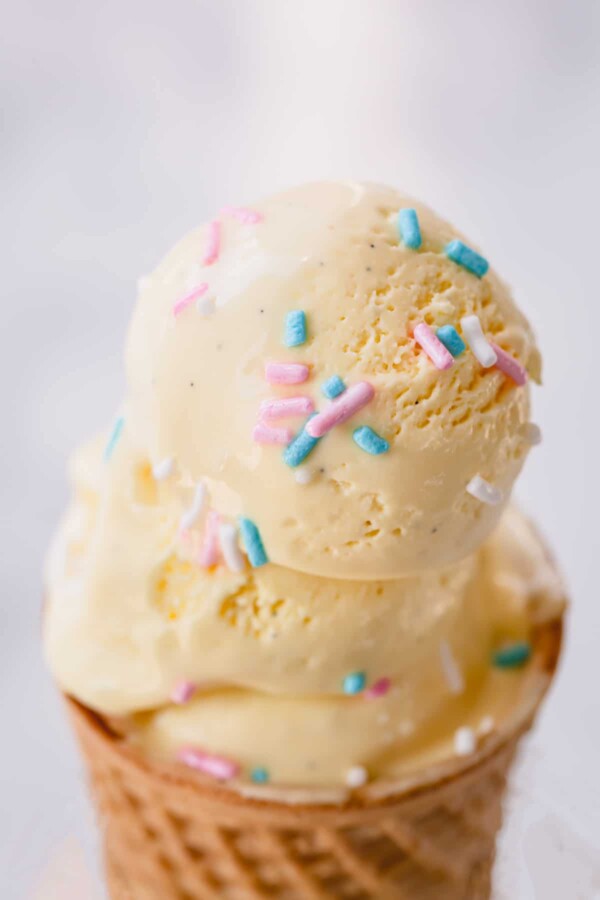
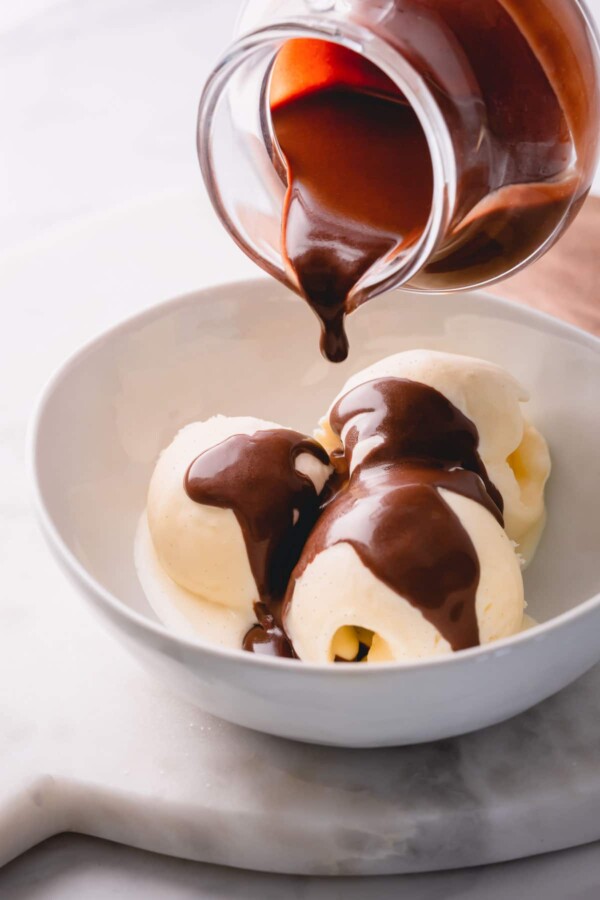
The sky is the limit when it comes to serving this yummy ice cream. Serve vanilla bean ice cream in a crispy wafer cone or in a bowl topped with ganache or salted caramel sauce.
You can also serve brownies, waffles and cakes with a dollop of ice cream!
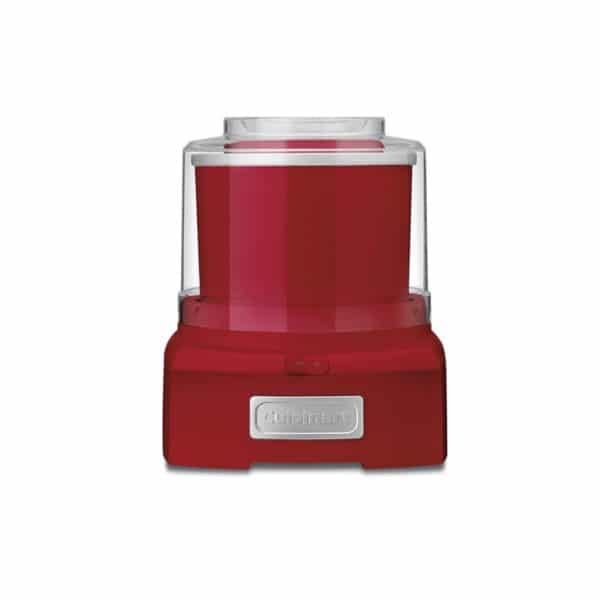
MY FAVORITE ICE CREAM MAKER!
I’ve been using this Cuisinart ice cream maker for 8+ years and I love it! It’s compact and easy to use.
Homemade Vanilla Ice Cream
Ingredients
- 1 cup (240ml) whole milk
- 1 vanilla bean Note 1
- ½ cup (100g) granulated sugar
- ¼ teaspoon salt
- 4 egg yolks
- 1 ½ cups (360ml) heavy whipping cream
Instructions
The night before:
- Place freezer bowl of the ice cream maker in freezer for at least 16 hours.
To make custard:
- In a 2.5qt saucepan, place milk, scraped vanilla beans and its pod, half of the sugar and salt. Heat the mixture over medium low heat until scalding, about 5 minutes. Do NOT boil the milk.
- Meanwhile, in another bowl, combine egg yolks with remaining sugar and whisk it until nice and pale yellow.
- To temper the yolks, pour in half of the warmed milk into the egg yolk mixture, while whisking non-stop.
- Now, put the tempered egg yolk mixture back into the saucepan with milk. Cook the custard over medium heat, stirring continuously with a wooden spoon, about 10 minutes. Make sure the mixture doesn't boil, it should cook gently. (TIP: 2 ways to check if custard is done: 1. The mixture should reach about 180°F. 2. Or, coat a back of spoon with custard and run a finger through. If the trail stays, then it's ready. If the mixture immediately closes, it needs more cooking.)
- Pour heavy cream into a medium bowl and place a sieve over it.
- Pour the custard mixture into heavy cream and strain it through a sieve. Whisk the mixture until well combined.
- Cover the custard with a plastic wrap, making sure plastic touches the custard to prevent skin to form. Refrigerate it for at least 3 hours, or overnight.
To churn:
- Pour the chilled custard into the frozen ice cream maker and churn according to your specific ice cream maker manual. You'll get soft serve ice cream at this stage.
- Transfer the ice cream into an airtight container and freeze for a few hours.




Hi,
Do you have to churn the ice cream? I dont have an ice cream maker so I dont know if I can make this recipe?
Thanks!
Hi, Aimee. Yes, you will need to use an ice cream maker for this recipe. Churning the custard is important for proper texture of the ice cream.
I decided to make this recipe last night and boy am I happy I did! DELICIOUS! Rich, creamy, and smooth just how I like it. I asked my son if he wanted any and he said no. Then I asked him to try it. I guess he liked it because he got a bowl and spoon and served himself a few scoops! Glad I tried this recipe. It’s a keeper for sure.
Forgot to give 5 stars!
So happy you tried and loved it, Kelly! Thank you so much for your feedback!
Made this ice cream today and it’s the best homemade ice cream I’ve ever had!! I didn’t have time shop for whole milk and vanilla paste so had to improvise. Used half and half for the whole milk and Madagascar Vanilla.
Thank you for sharing the recipe!!
Glad you loved the recipe, Karen. Thank you for your feedback!
Have you ever added water to make it more “ice creamy”? Haven’t tried this recipe yet, but it is the best I’ve seen so far.
Step 9 says to “Transfer the custard mixture into heavy cream through sieve.” Then the next step is just to cover and put into the fridge to chill. Do you not mix the custard mixture into the heavy cream, or is this just implied?
Hi, Tyler. So sorry for delayed response. Yeah, you do need to mix the custard with the cream before covering with a plastic. I’ll clarify it in the recipe.