
Merry Christmas!
Last year, I came across this beautiful cookie sticks recipe from Martha Stewart. Although I’ve never done anything close to it, I decided to try this. To my surprise, they turned out pretty good.
Because these cookies are so cute and colorful, I had to make it again this year. It’s kind of time-consuming process, but not very difficult. I wished I had second silicone mat. It’d have speed up the process for sure.
As I love the visual guide, I took step-by-step photos.
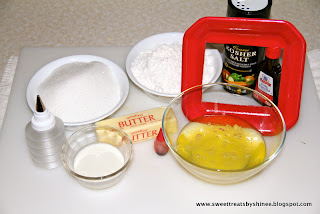
You will need:
I cut out a rectangle in a plastic plate to use as a stencil.
Preheat the oven 400 degrees.
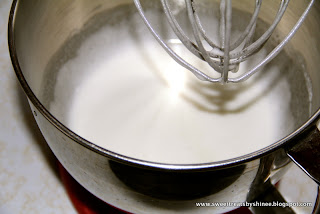
Mix egg whites and sugar on medium until foamy.
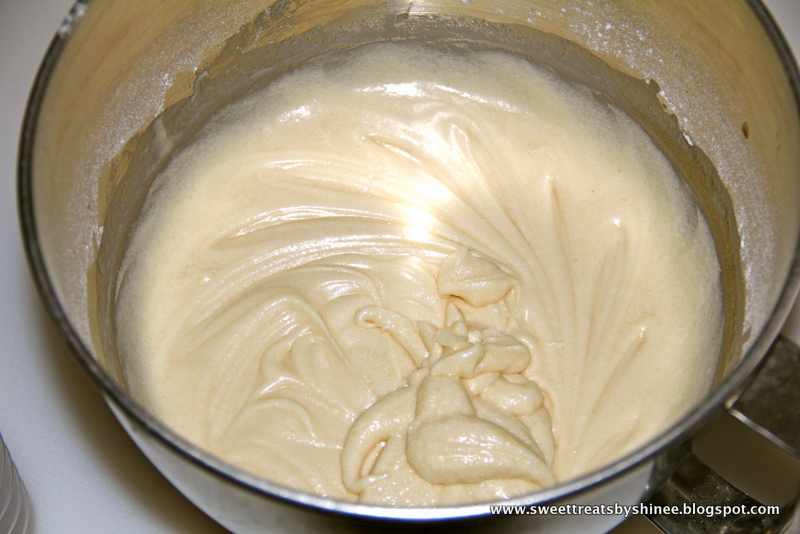 Reduce speed to low. Add salt and flour; mix until just combined.
 Add butter, cream and vanilla, and continue to mix.

Take about 1 cup batter to another bowl and add red coloring.
Transfer it to a pastry bag with a small round tip.
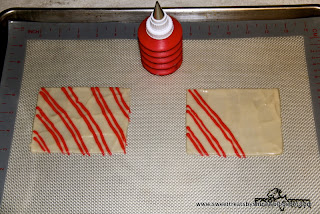
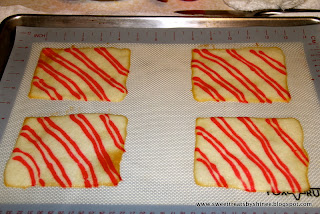
Put the stencil on a baking sheet lined with a silicone mat and spread about 1 tablespoon of plain batter inside the rectangle. Then remove the stencil and draw a diagonal stripes with red batter onto each rectangle.

Bake cookies about 6-8 minutes. You will know when it’s ready; the edges will turn golden. Keep a close eye on it, as it can burn quickly.
Loosen the edges with a spatula right away and flip them over. I found that if they are undercooked, they don’t loosen easily.

Roll the cookie sheets into a stick as fast as you can. Be very careful though, it’s hot! Immediately move on to the next one.
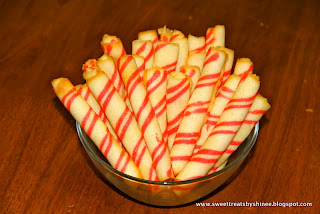
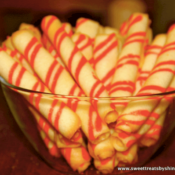
Voila!

Candy-Stripe Cookie Sticks
These beautiful candy-stripe cookies are festive treats for Christmas!
Ingredients
- 8 large egg whites
- 2 cups 400 grams sugar
- 2 cups 250 grams all-purpose flour
- Pinch of coarse salt
- 10 tablespoons 140gr unsalted butter, melted and cooled
- 1/4 cup 60ml plus 2 tablespoons heavy cream
- 1 teaspoon pure vanilla extract
- Red food coloring
Instructions
- Cut out a 3-by-6-inch rectangle from a cardboard, or plastic plate like me.
- Preheat oven 400 degrees.
- Mix the egg whites and sugar with an electric mixer on medium speed until foamy. Reduce the speed to low and stir in flour and salt. Mix until just combined. Then add butter, cream and vanilla and continue to mix until smooth.
- Pour about 1 cup of the batter into a clean bowl and add red coloring. Mix until well combined and transfer it to a pastry bag with a small round tip.
- Put the prepared stencil on a baking sheet lined with a silicone mat and spread about 1 tablespoon of plain batter inside the rectangle. Then remove the stencil and draw a diagonal stripes with colored batter onto each rectangle.
- Bake the cookies about 6-8 minutes. The cookies are ready when the edges turn golden brown. Keep a close eye on it, as it can burn quickly.
- As soon as the cookies are out of the oven, loosen the edges with spatula and flip them over. I found that if they are undercooked, they don’t loosen easily. Roll the cookie sheets into a stick as fast as you can. Be very careful though, it’s hot! Immediately move on to the next one.
⭐️ Did you make this recipe?
Please leave a review and let us know how you liked it!
Tips & Notes
Store in an airtight container at room temperature.
Nutrition
Calories: 127kcal
Carbohydrates: 20g
Protein: 2g
Fat: 5g
Sugar: 13g
Sodium: 15mg
Did you make this?Leave a rating and your feedback. Thank you!


Shinee,
Look at how far you’ve come ever since this first post! 😀 I’m SO PROUD of you! I hope your blog continues to grow everyday!
-K
Haha, very long way indeed! Thanks so much, Kayiu!
Amazing! How does your cookies turn out so perfect? I have been trying to bake perfect cookies for a long time now. Do you think reducing sugar changes the texture of cookies? I try to make it little healthier so I reduce the sugar and stuff. May be that’s my downfall. Would love to see some healthier version of sweet treats on your blog. Thanks for you sharing your experience!
Thank you for visiting my blog! I do believe reducing sugar in this tuile cookie will change its texture. I’d suggest to try half of the recipe without modification and see how they turn out. 🙂 I’ll definitely start sharing healthy recipes soon. I’m actually working on a few healthy recipes right now. 🙂
Awesome Shinee!!! Estoi goyo blog-toi bolson bna. For sure one of my fav 🙂
Your friend UB
Bayarlalaa hon!