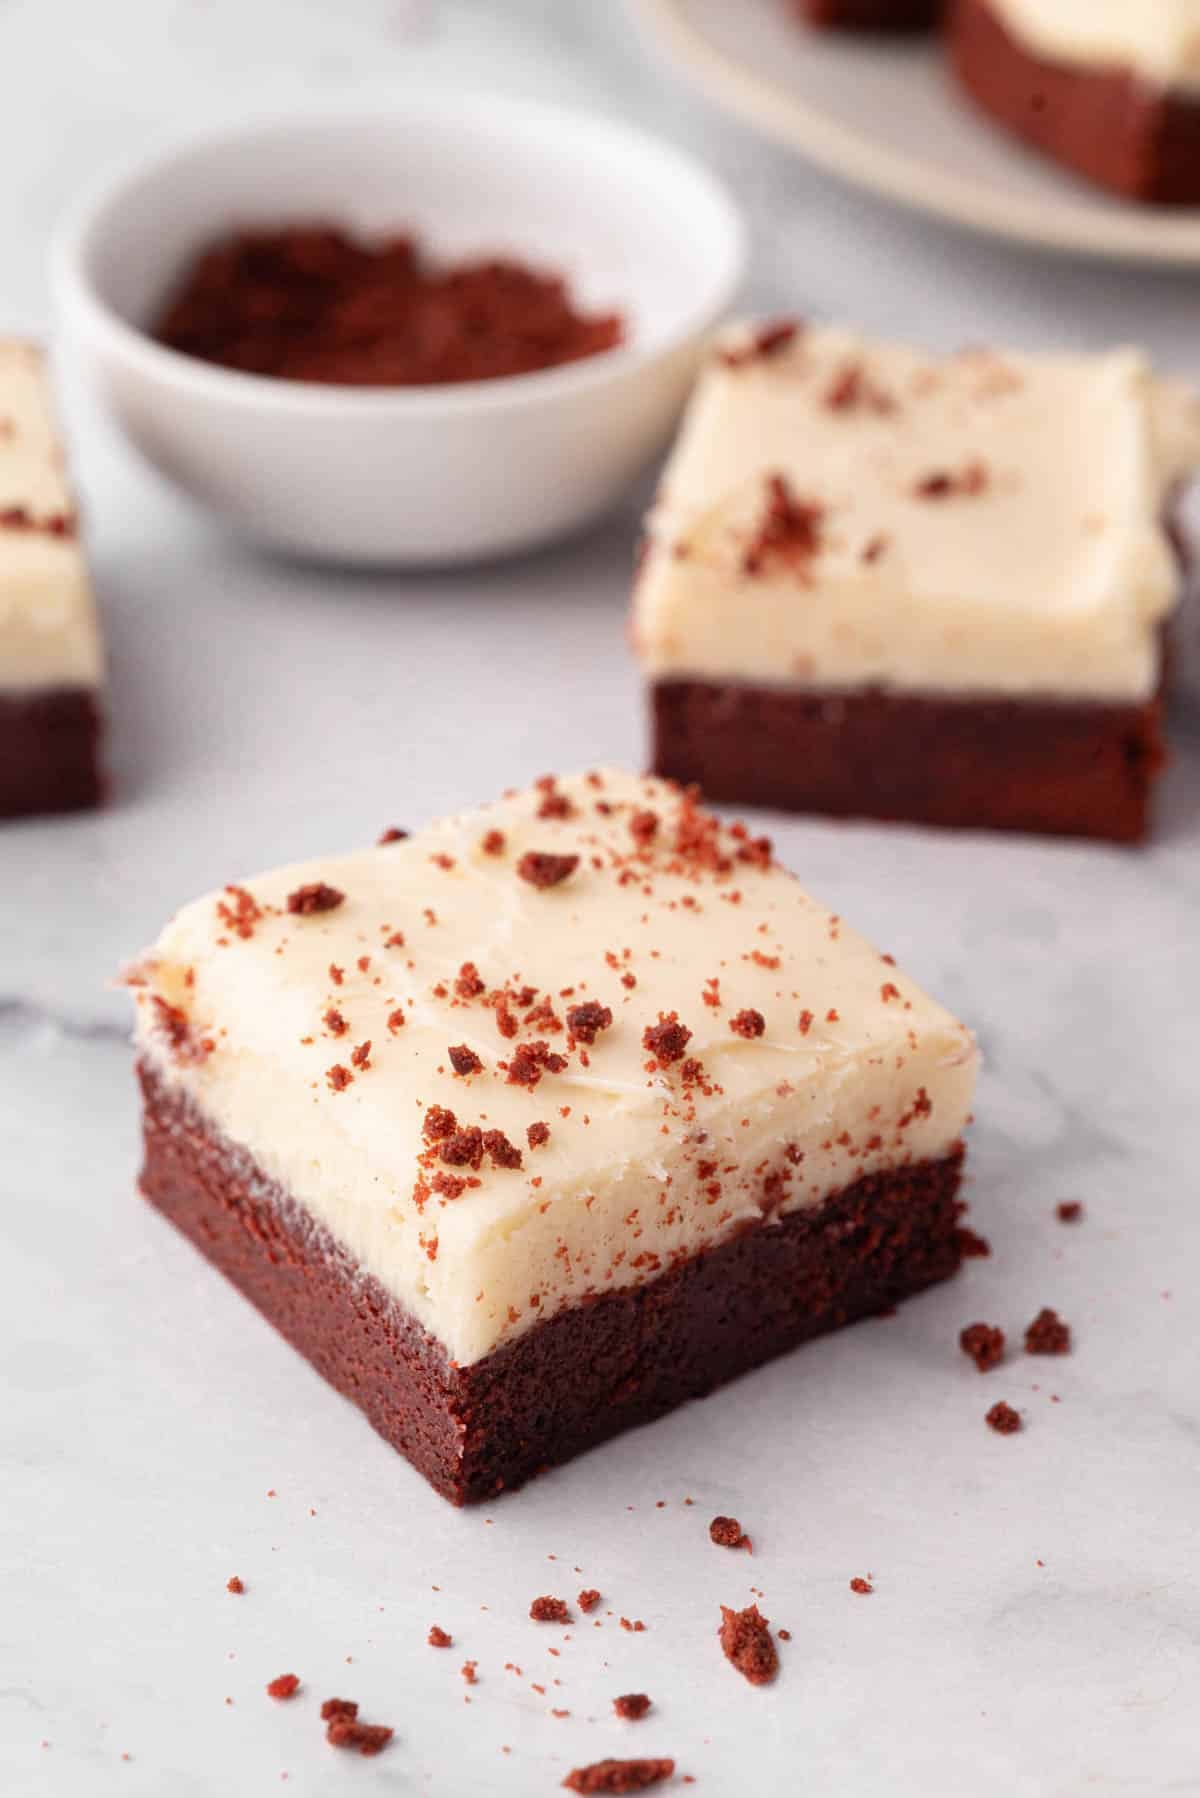
This red velvet brownies recipe features a fudgy, rich base and a thick, tangy cream cheese frosting for a show-stopping dessert no one can resist!
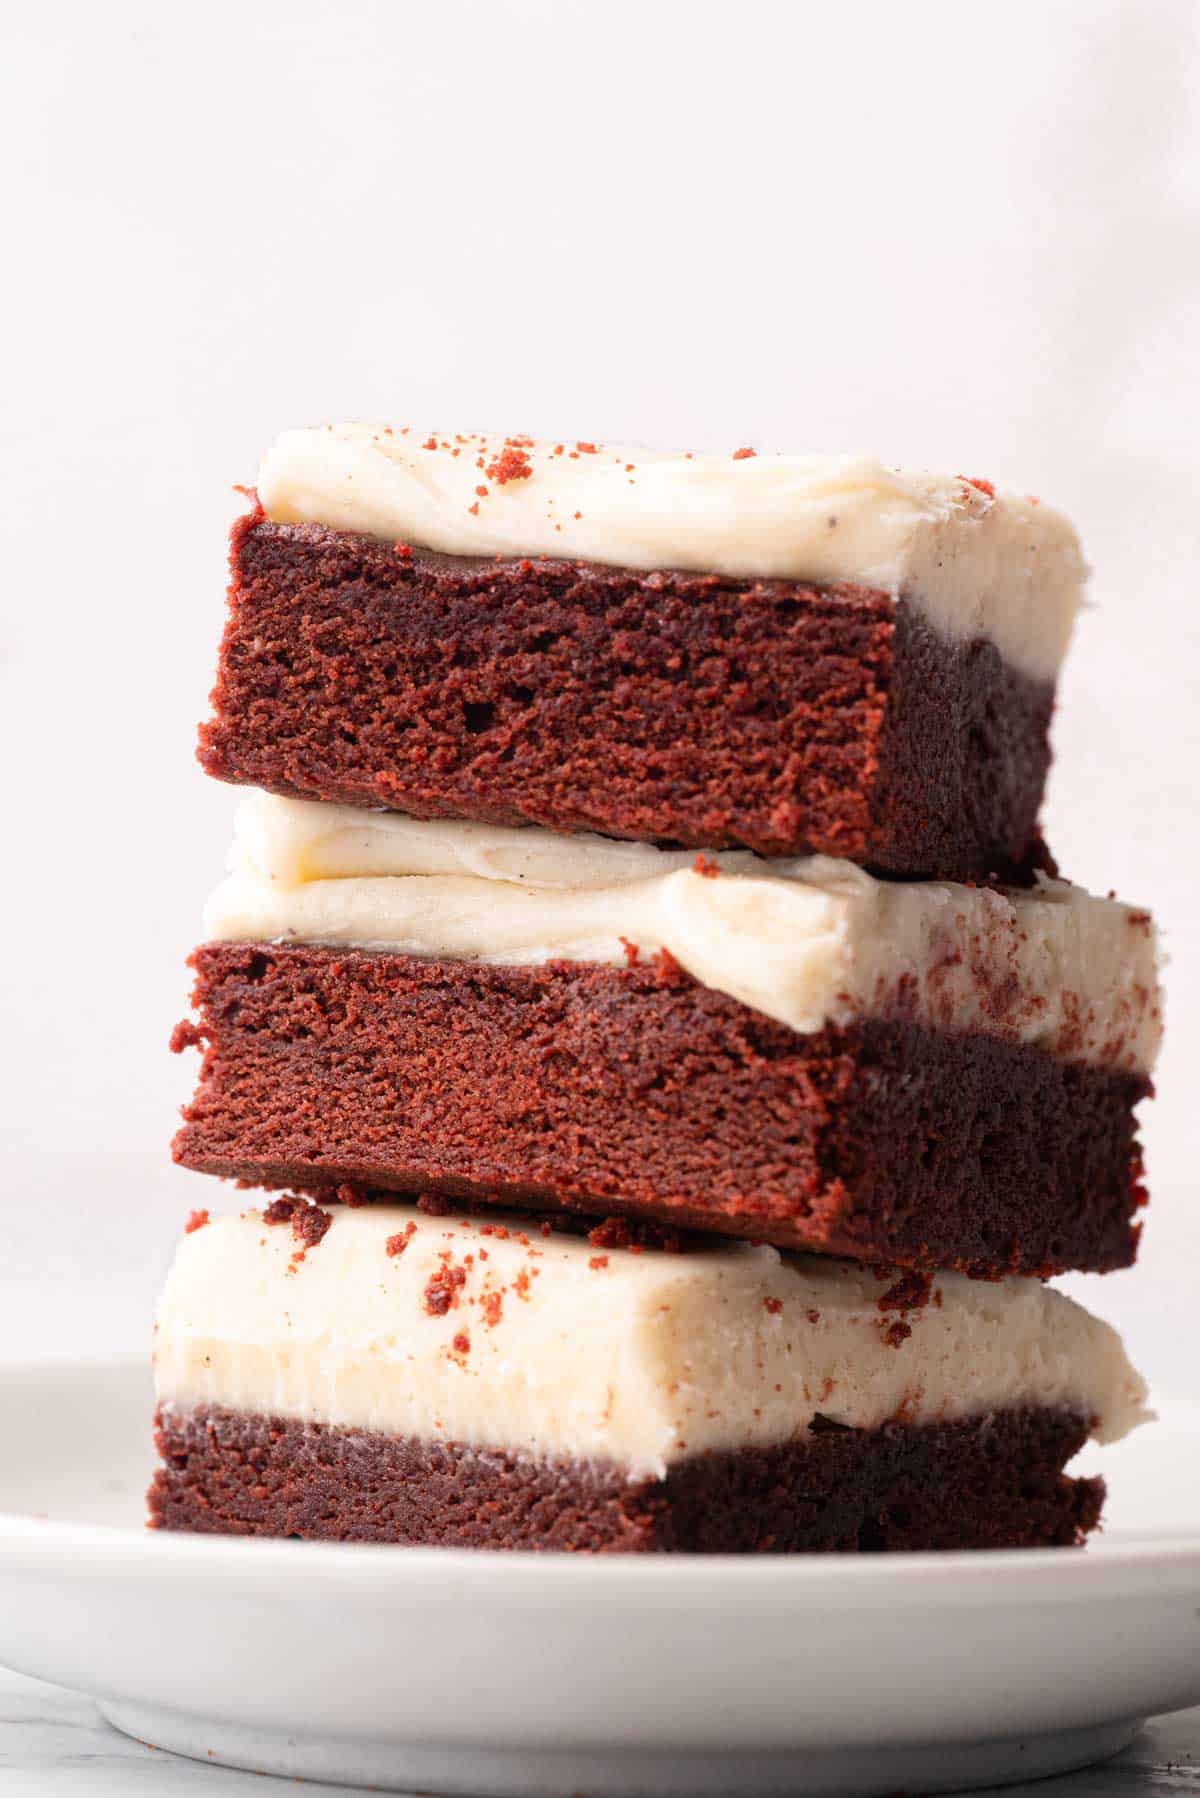
Why choose between red velvet cake and brownies when you can have both, thanks to this red velvet cake brownies recipe? One of my favorite desserts ever, these brownies are perfect for Valentine’s Day, date nights, or when I need a crowd-pleasing option for parties.
The layers make the brownies look impressive, but they’re secretly easy to prepare. Try them out, and I guarantee you’ll never go back to boxed brownie mixes again!
Table of Contents

Pin this now to find it later
Pin ItWhy you’ll love this recipe
- Quick to prepare. With minimal prep time, this recipe comes together and is ready to eat in less than an hour. Plus, the steps are simple and foolproof. My boys love getting to help stir!
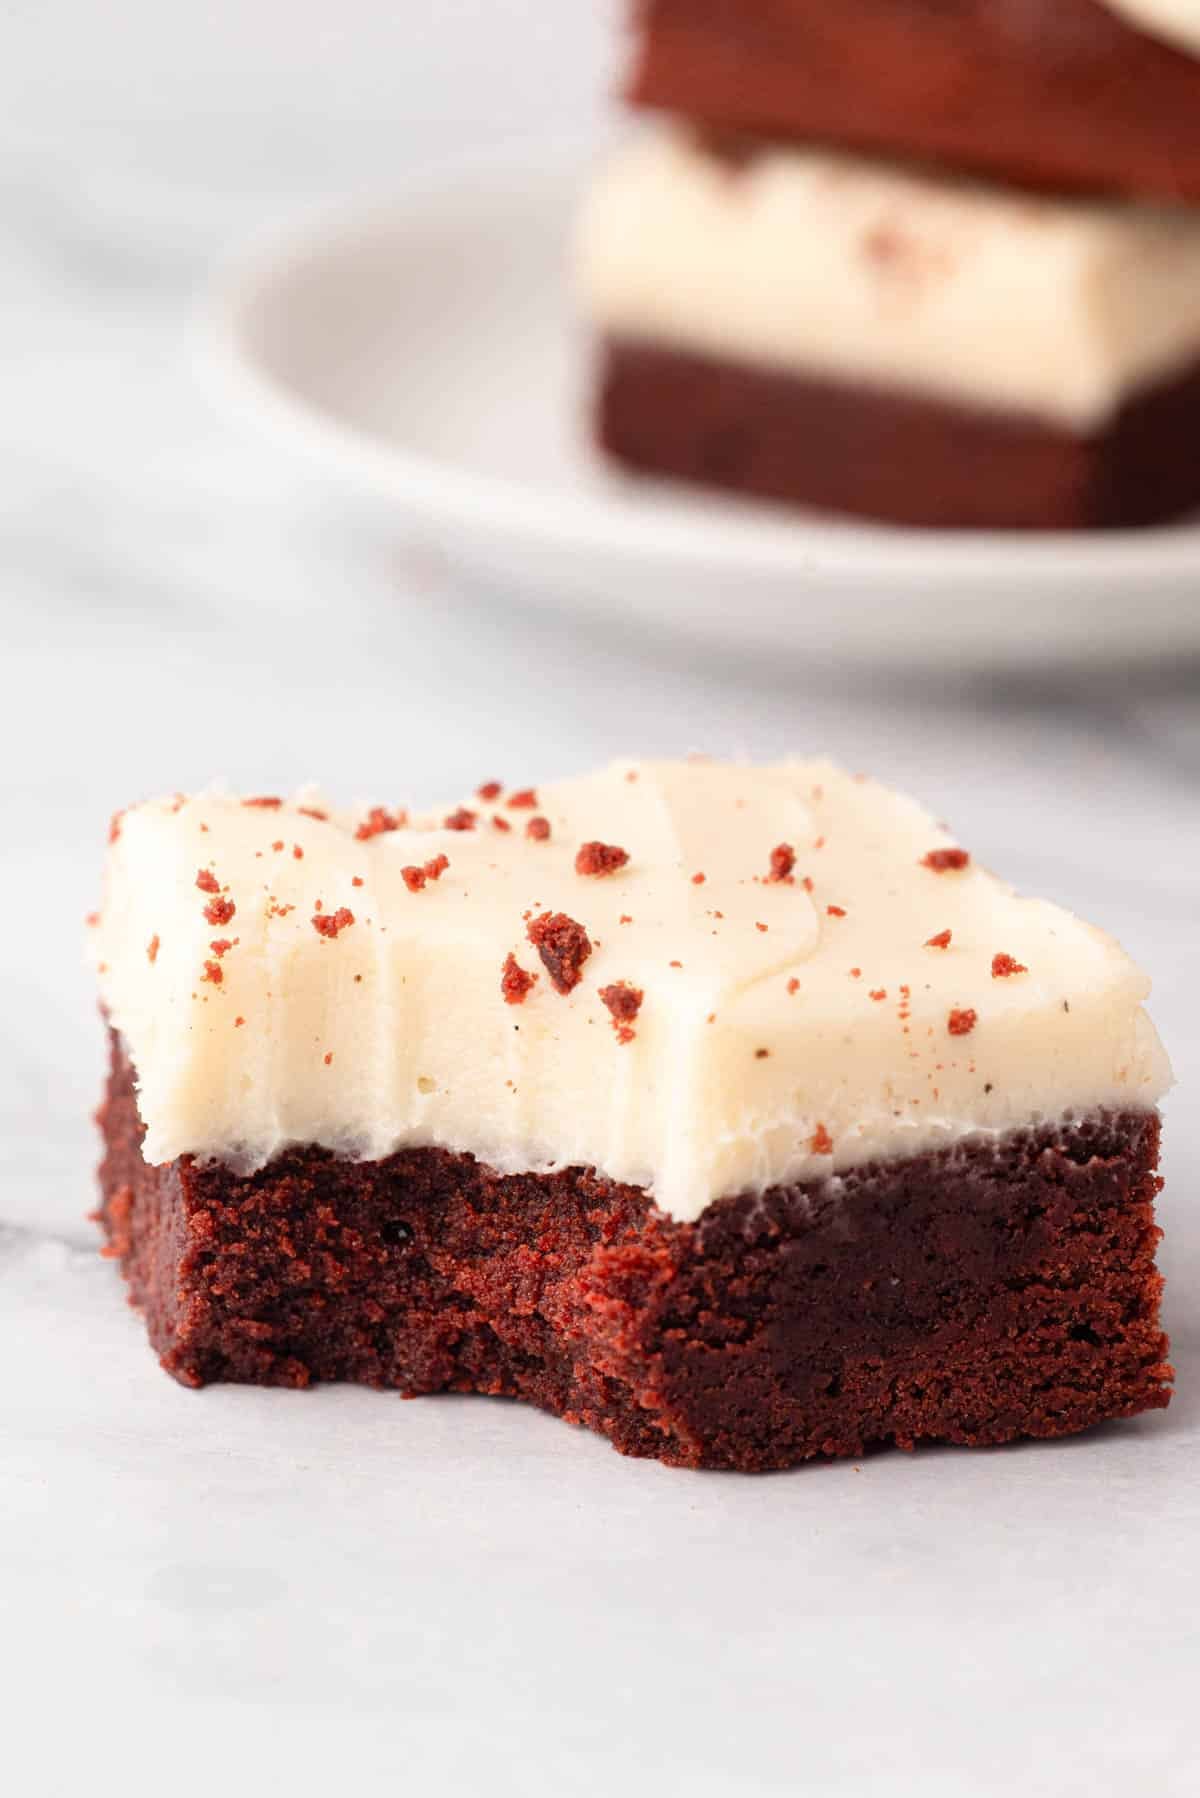
- Satisfying taste and texture. The brownie base is moist and fudgy with a rich chocolate flavor. Then, the cream cheese frosting adds extra creaminess and a sweet, tangy taste that balances the brownies nicely.
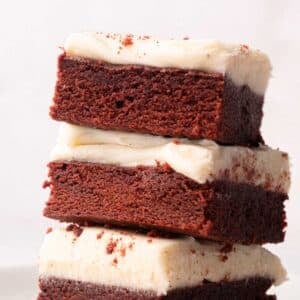
- Great for a crowd. This recipe makes enough for 16-24 generously sized brownies, which is good, because everyone always comes back for seconds!
If making these red velvet cake brownies for holidays, try adding an extra festive touch by topping them with sprinkles! Either way, these will be a huge hit with all your friends and family.
Key Ingredient Notes
- Sugar – I use two types of sugar for the brownie batter. Granulated sugar adds sweetness and structure. Then, light brown sugar contributes a subtle molasses taste and helps keep the brownies moist.
- Neutral vegetable oil – This adds richness and moisture, keeping the brownies soft and fudgy without impacting their flavor. Canola oil also works, if preferred.
- Unsweetened cocoa powder – You can use either unsweetened natural or Dutch-processed cocoa powder. Both work to create a chocolatey base that allows for the red hue to shine through and prevents the brownies from becoming dry.
- Red gel food coloring – This is necessary to achieve the red color we want in red velvet brownies!
- Flour – All-purpose flour forms the base of the brownie batter. I haven’t tested this recipe with any other types of flour and can’t guarantee the results!
- Distilled white vinegar – A classic ingredient in red velvet recipes, this creates the signature tangy flavor and helps enhance the red color.
- Cream cheese – Make sure to use full-fat, brick-style cream cheese for the base of the frosting. Cream cheese from a tub won’t work!
- Powdered sugar – This sweetens the frosting, melting into the ingredients seamlessly.
Adjust the amount of food coloring
If you want redder brownies, double the amount of red gel food coloring.

How to make red velvet brownies
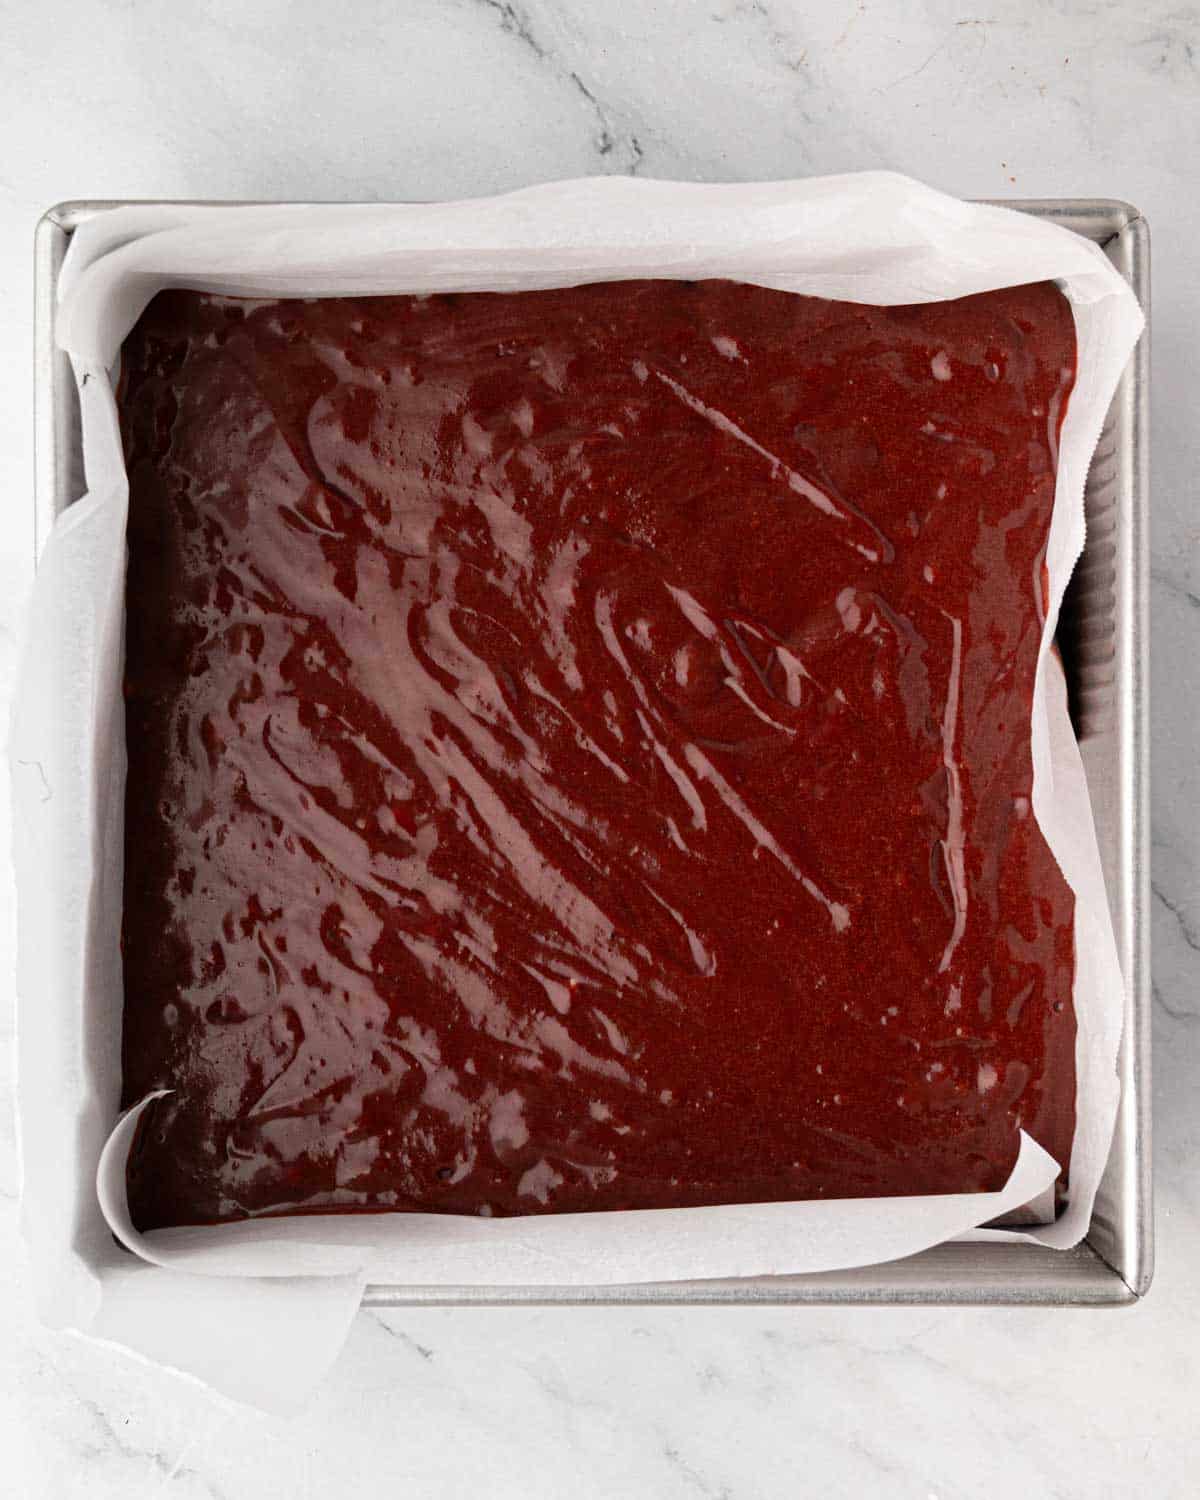
Before you begin, preheat your oven to 335°F, and line a square baking pan with parchment paper. I like to make a parchment paper sling, letting the paper hang over two sides of the pan. This makes it super easy to remove the brownies after baking!
1. Make the red velvet brownies
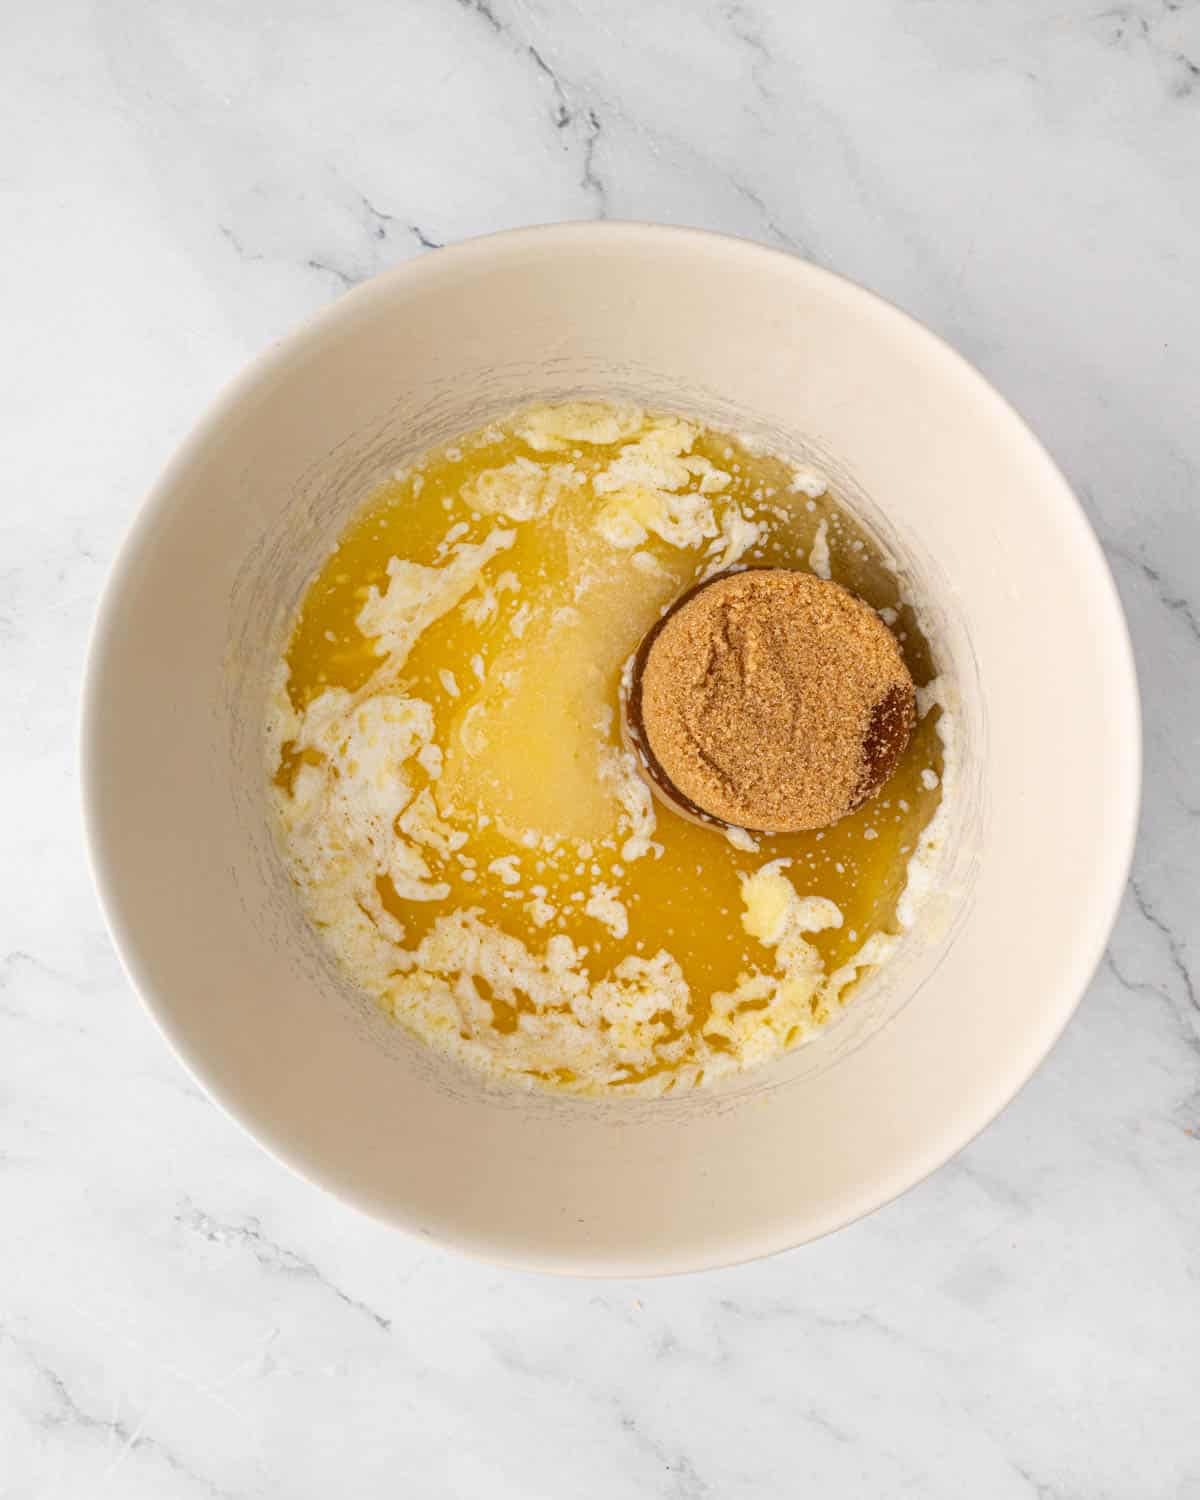
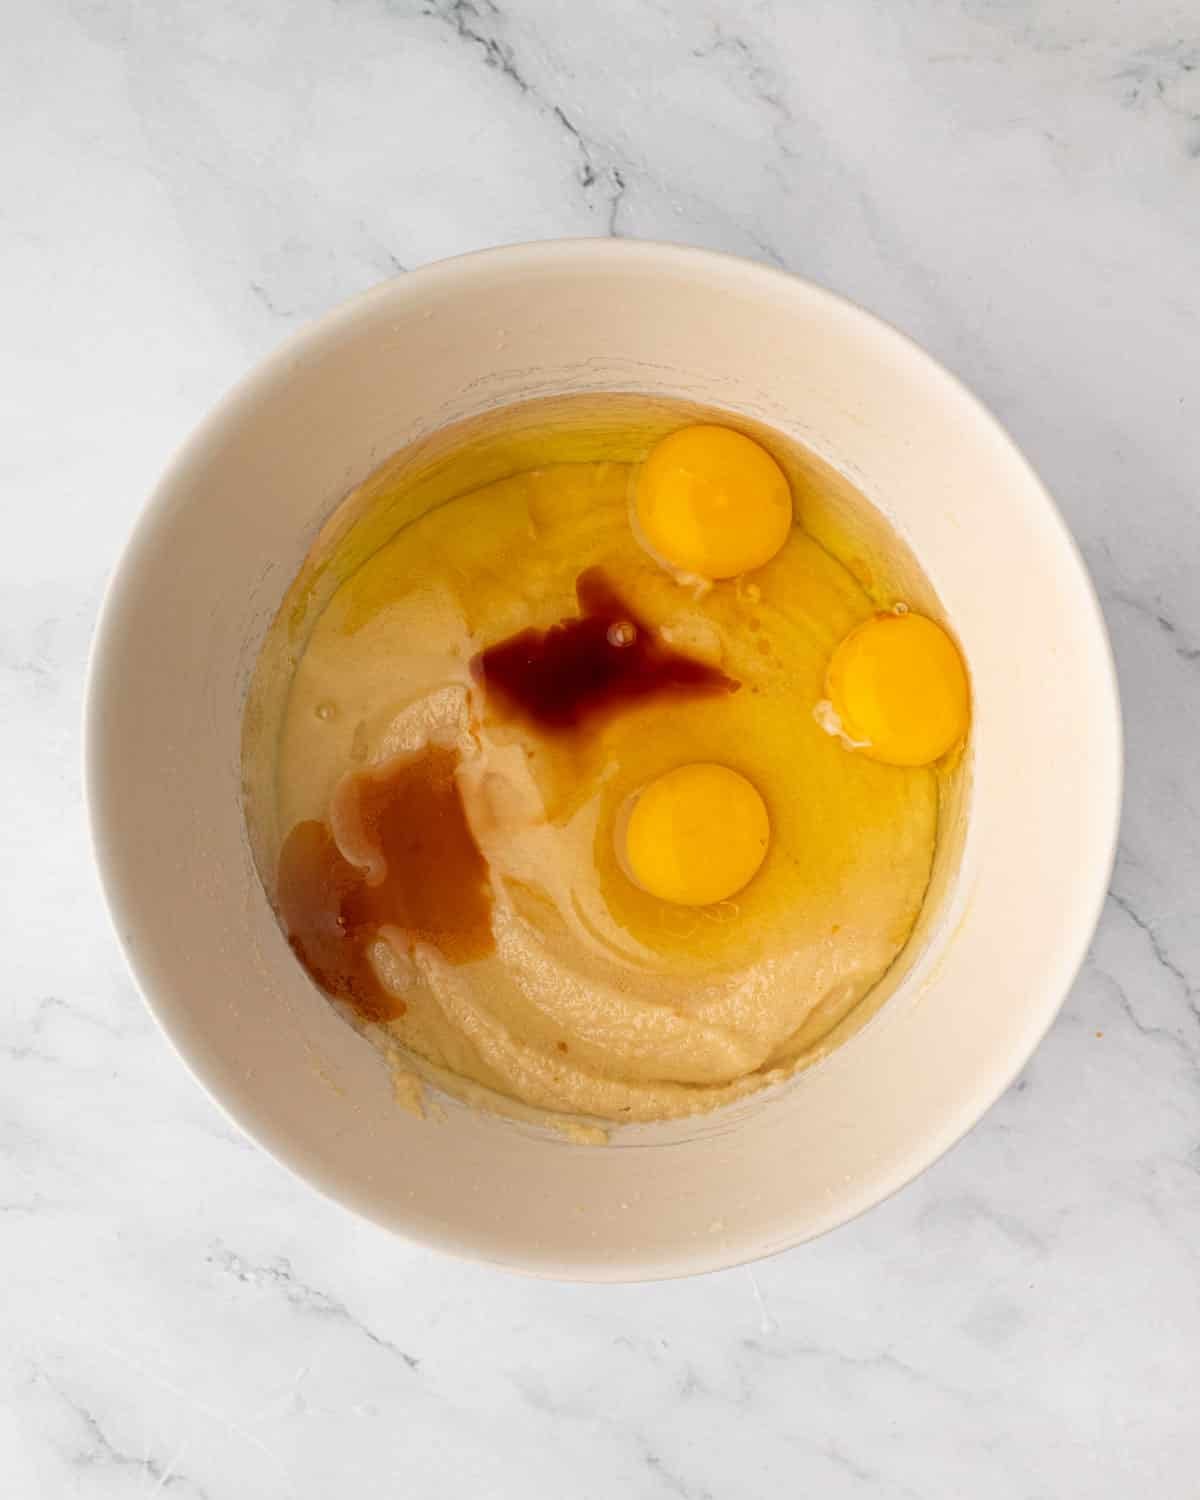
- Whisk the granulated sugar, melted butter, oil, and brown sugar in a large bowl until glossy and cohesive.
- Add the eggs and vanilla extract, and mix again until well combined.
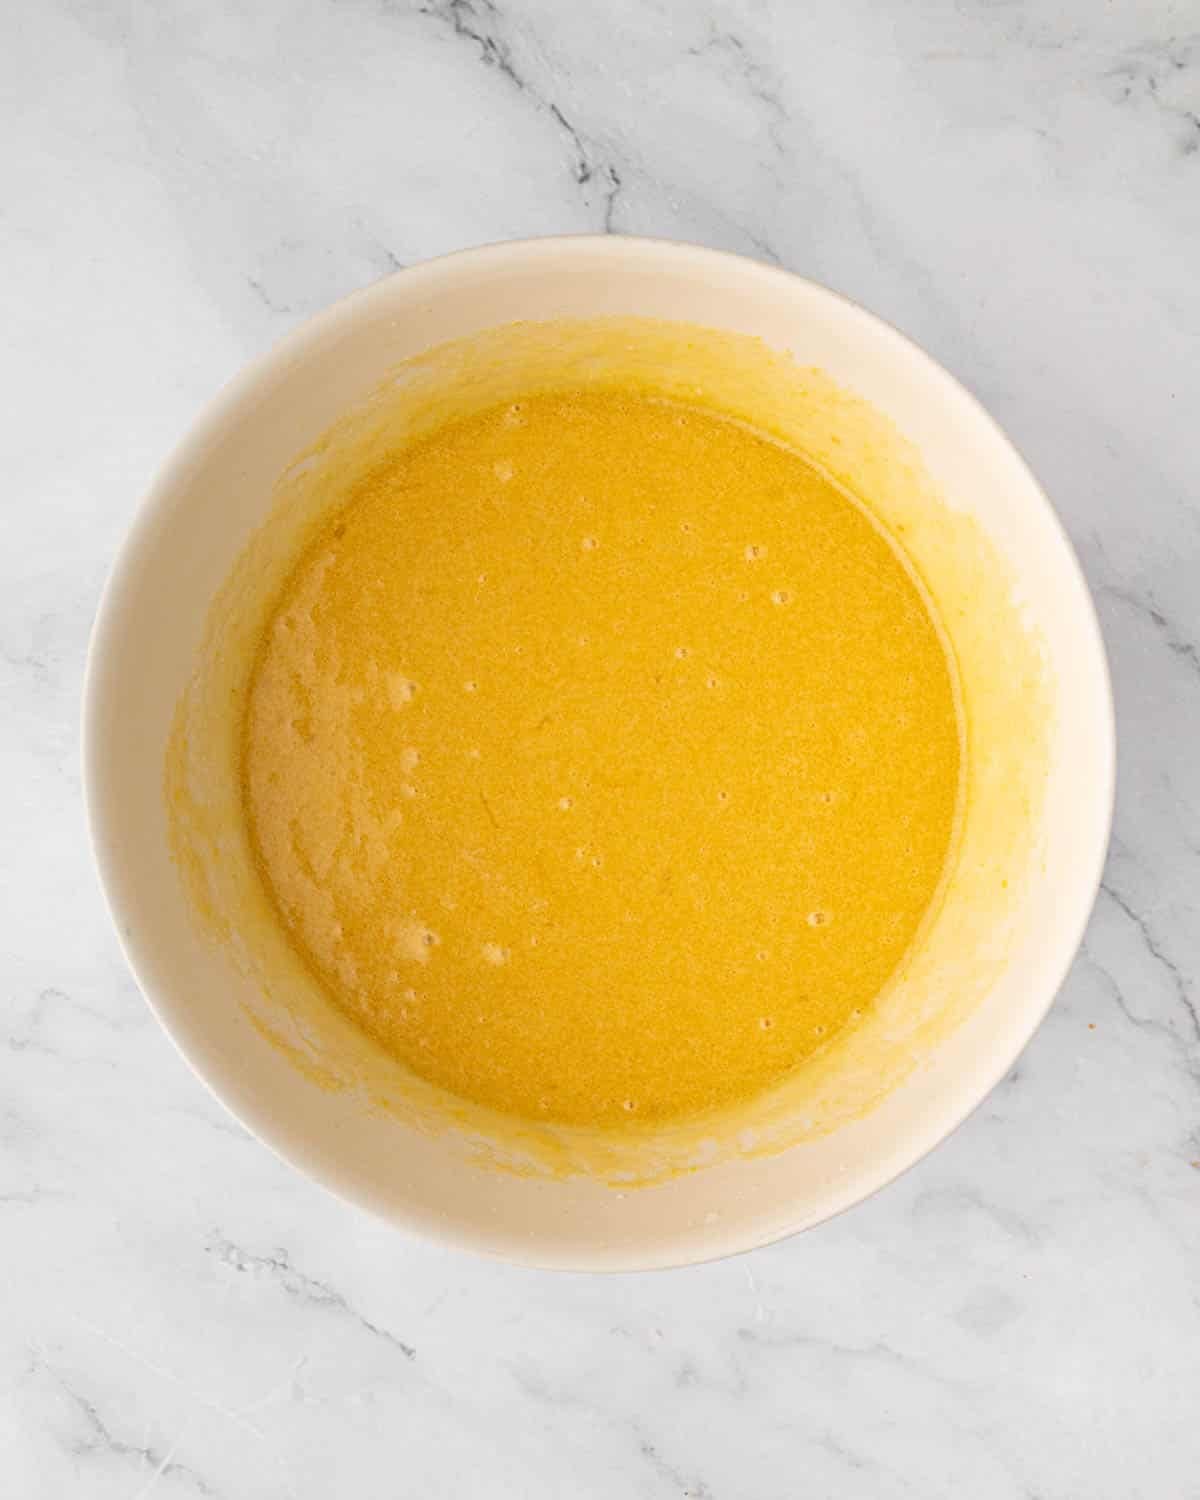
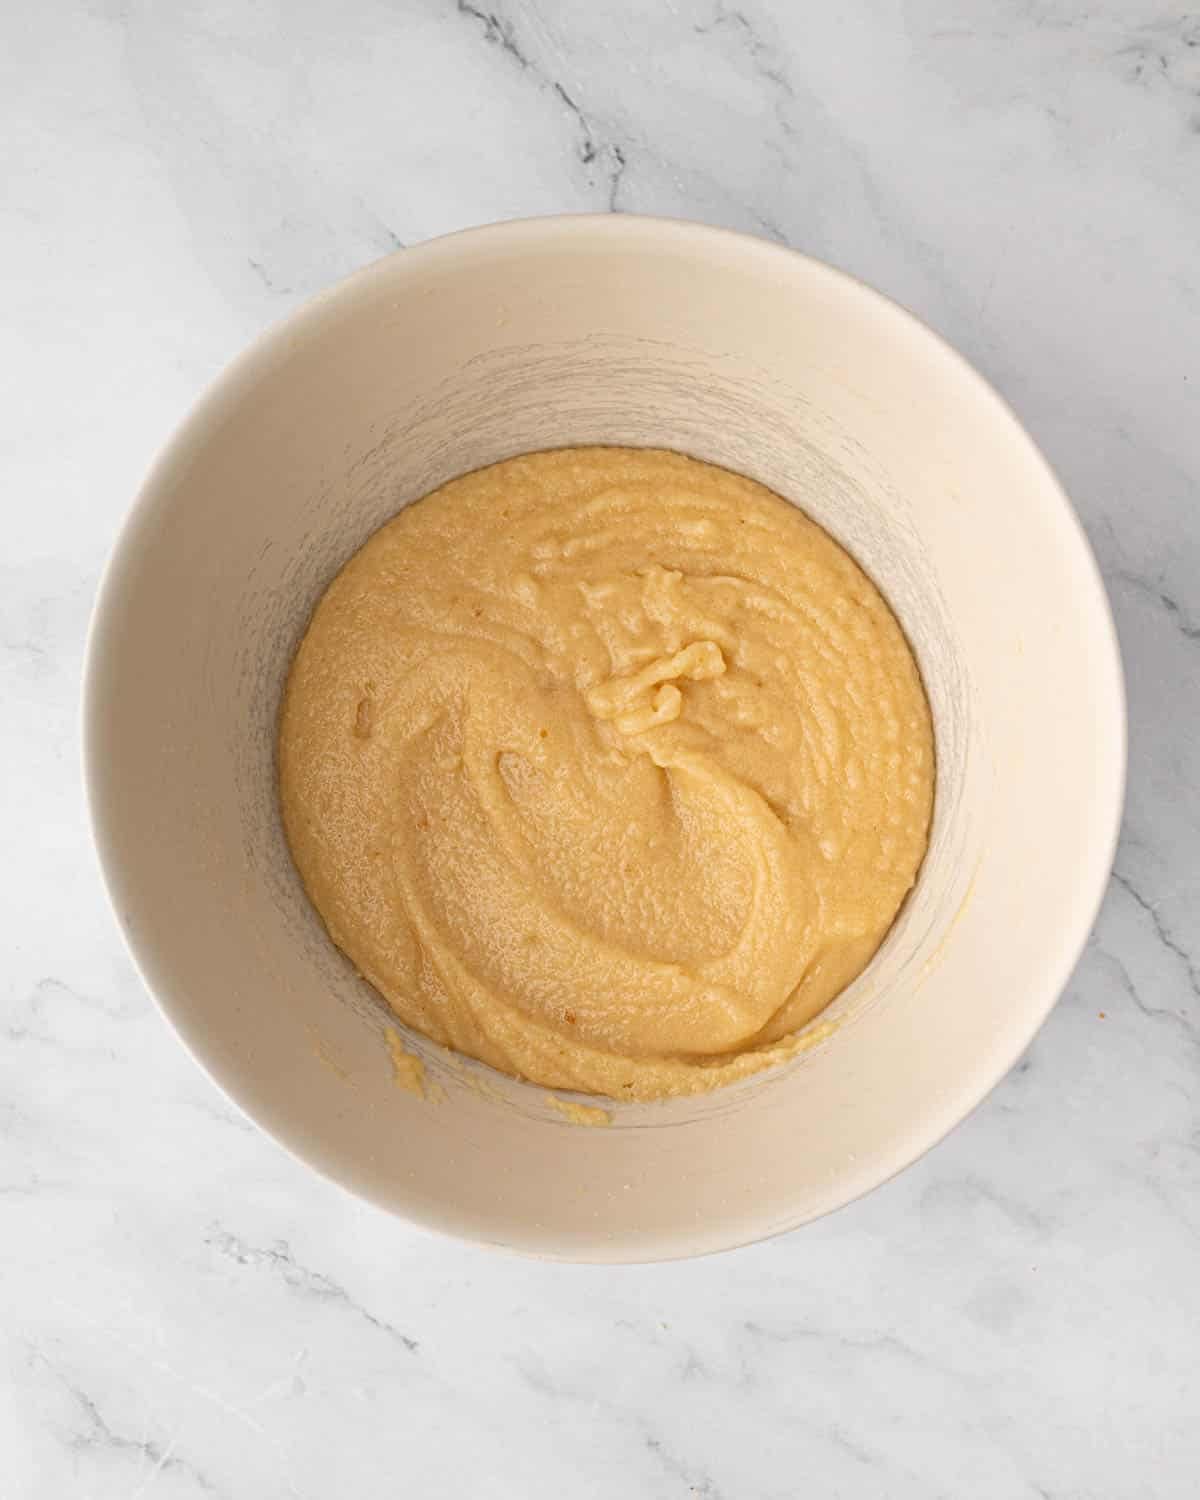
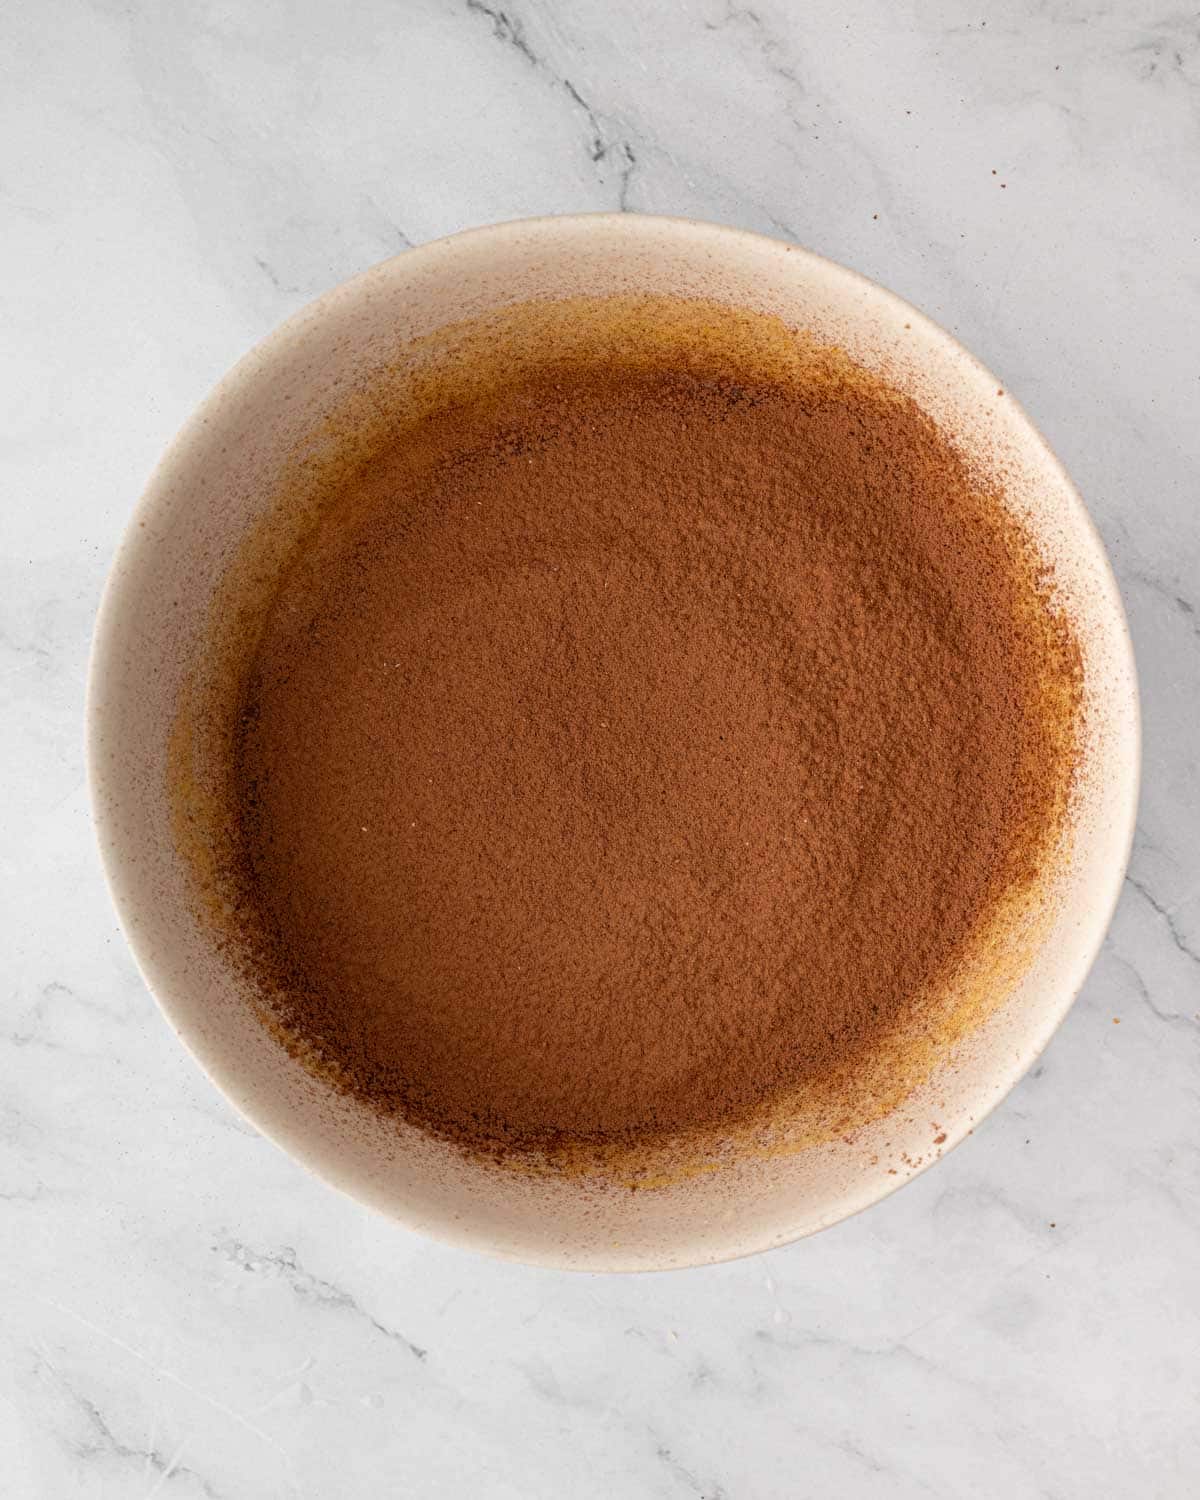
- Whisk in the cocoa powder just until the batter is smooth, evenly colored, and free from dry streaks of cocoa powder. Be careful not to overmix!
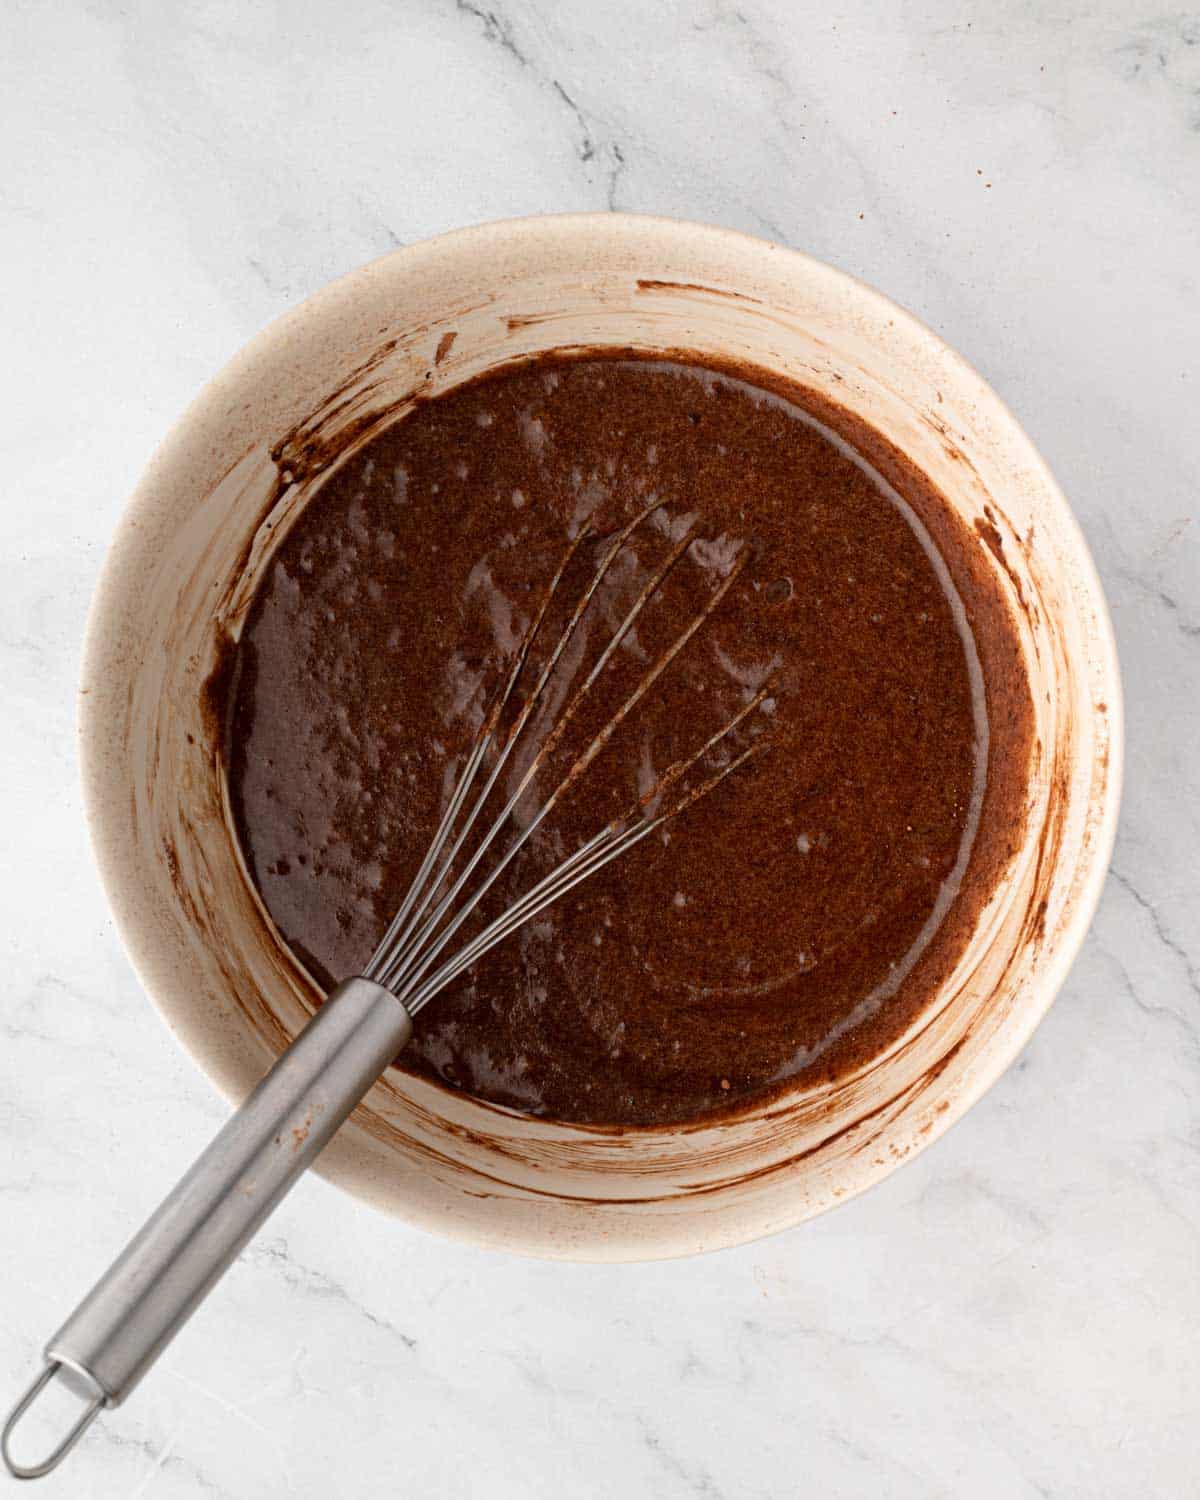
- Add the red gel food coloring, mixing until the color of the brownie batter is uniform.
- Fold the flour and salt into the batter just until no streaks remain. I use a rubber spatula for this!
- Stir in the vinegar.
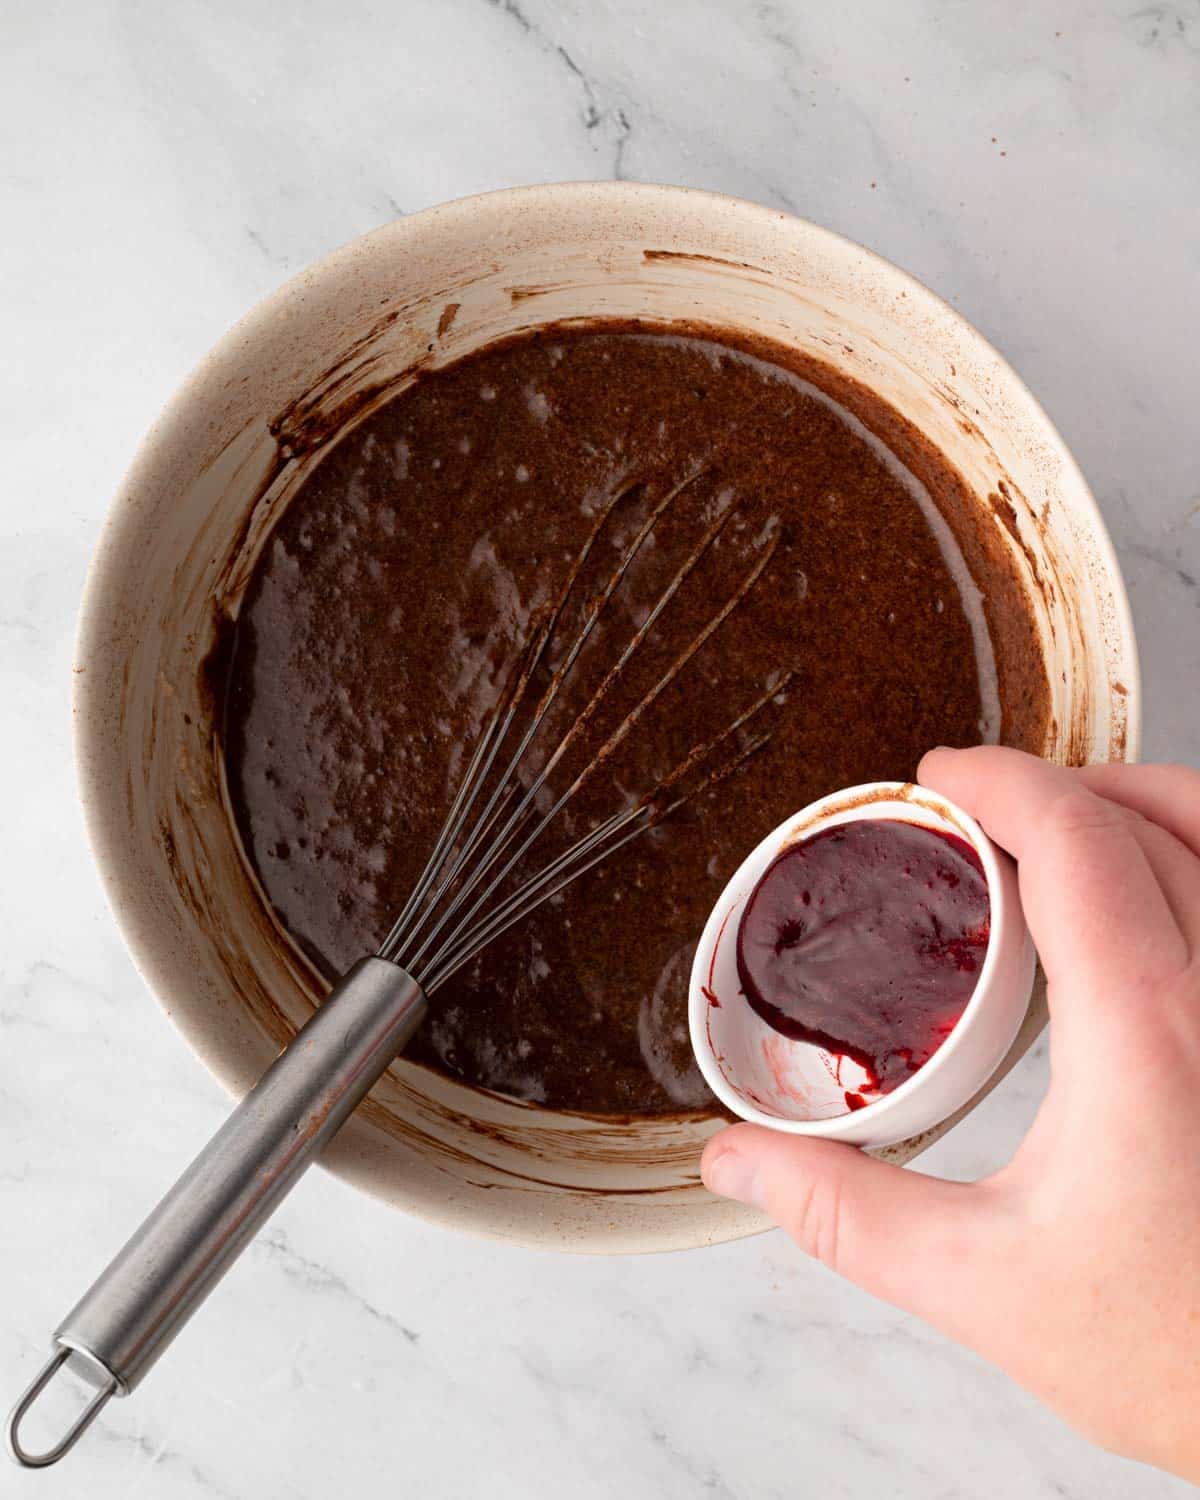

Distribute the food coloring evenly
Transfer a few tablespoons of brownie batter to a small bowl, add the red gel coloring, and mix to combine. Then, fold the tinted mixture back into the rest of the batter to evenly distribute the red hue.
- Pour the batter into the prepared baking pan, spreading it out evenly.
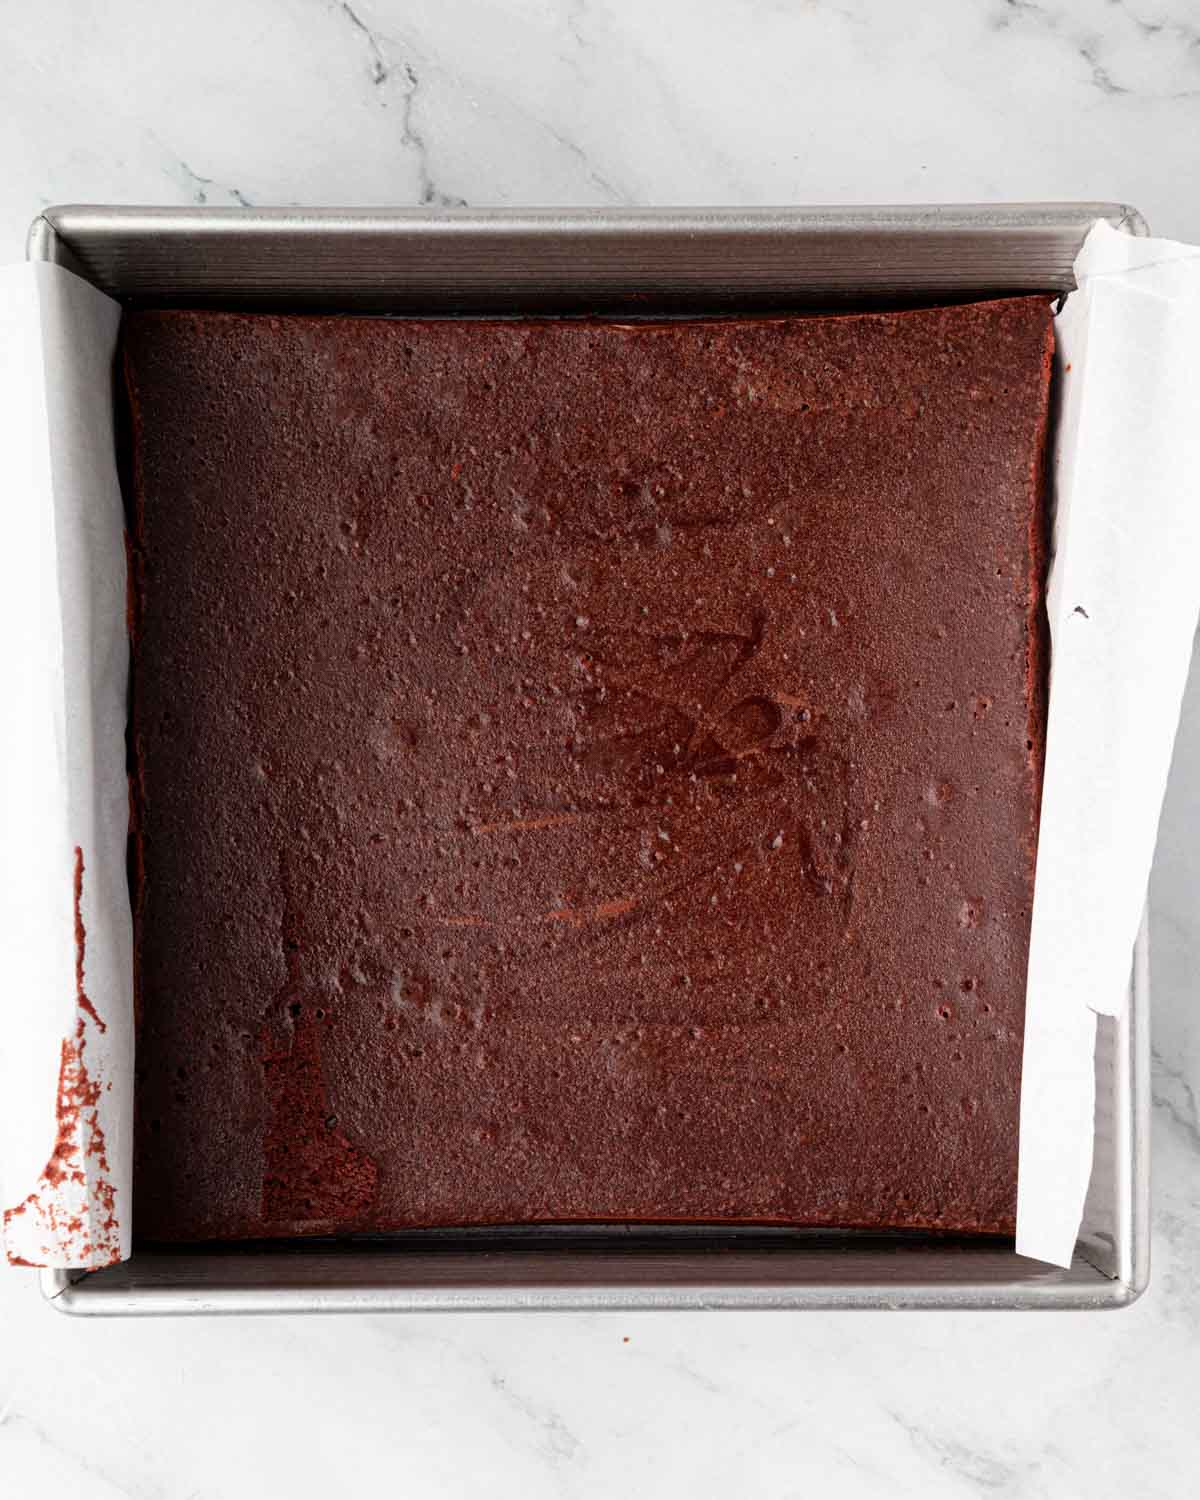
- Bake until the edges are set, the top looks matte, and a toothpick inserted into the center comes out clean or with just a few moist crumbs. The internal temperature should reach somewhere between 188-192°F when measured with an instant-read thermometer!
- Cool the brownies in the pan.
2. Prepare the cream cheese frosting
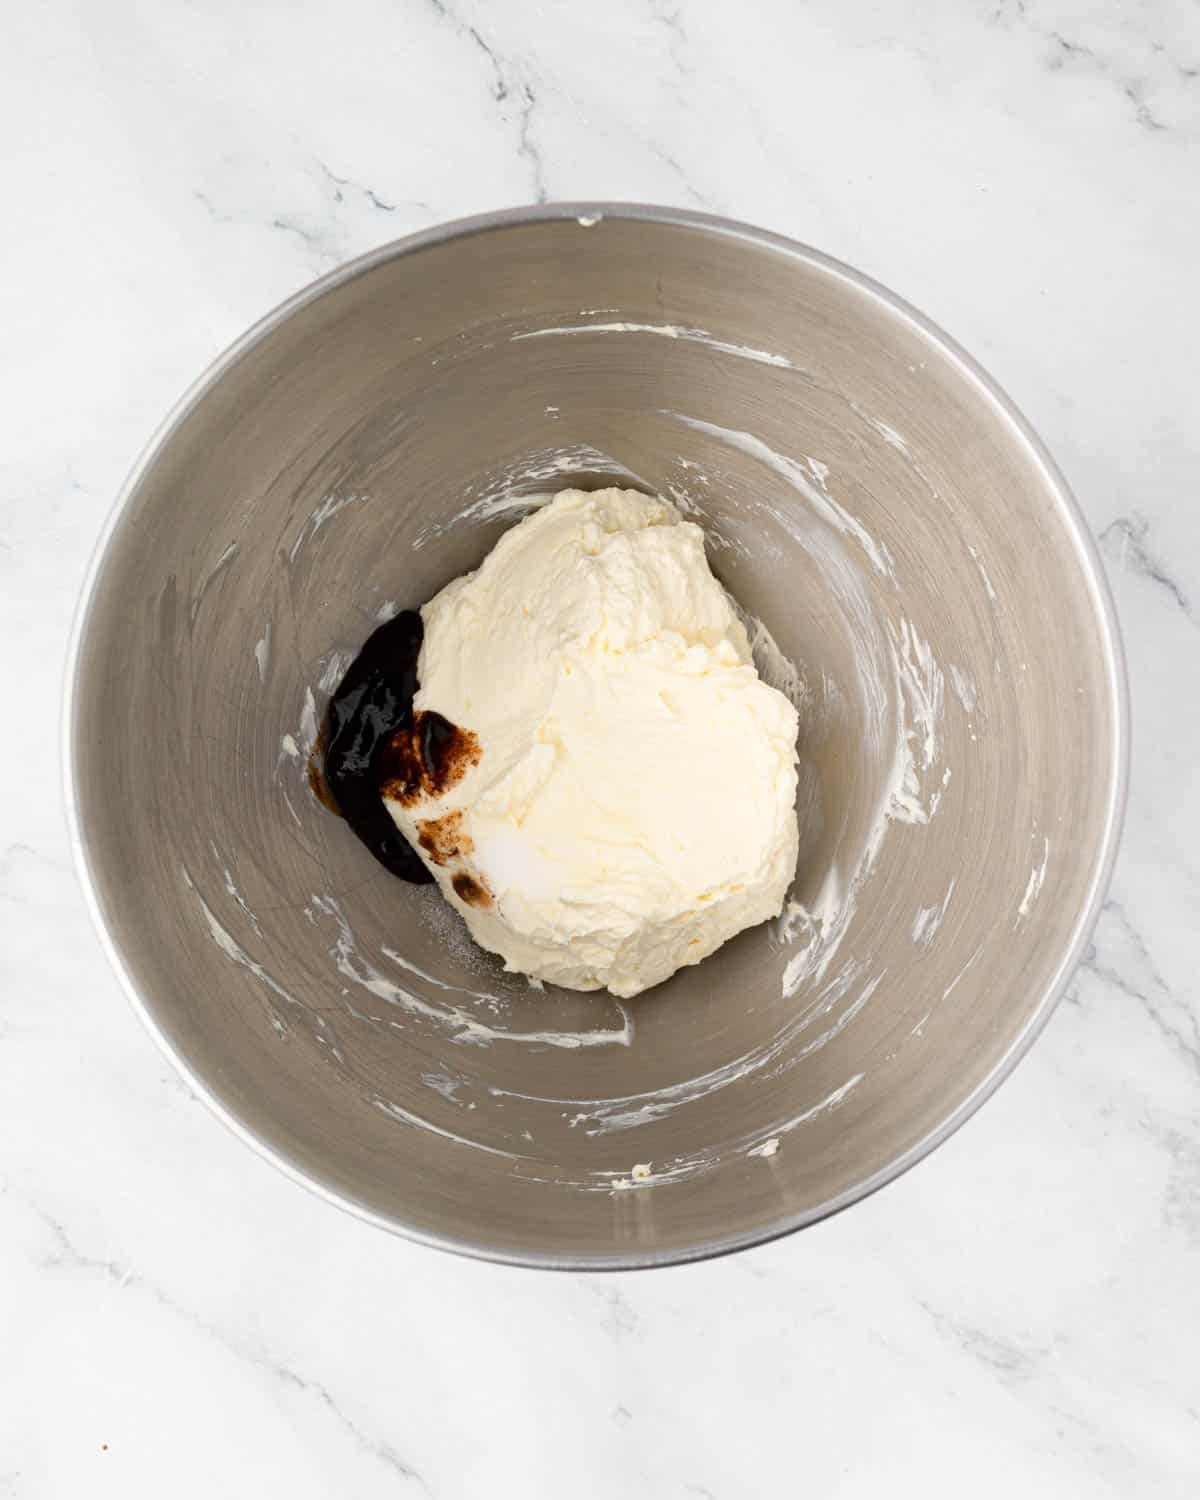
- Beat the cream cheese on medium speed until smooth. I like to use a stand mixer fitted with a paddle attachment, but a hand mixer also works.
- Scrape down the paddle, add the softened butter, and whip until the mixture is well blended and silky.
- Add the vanilla and salt, and blend again.
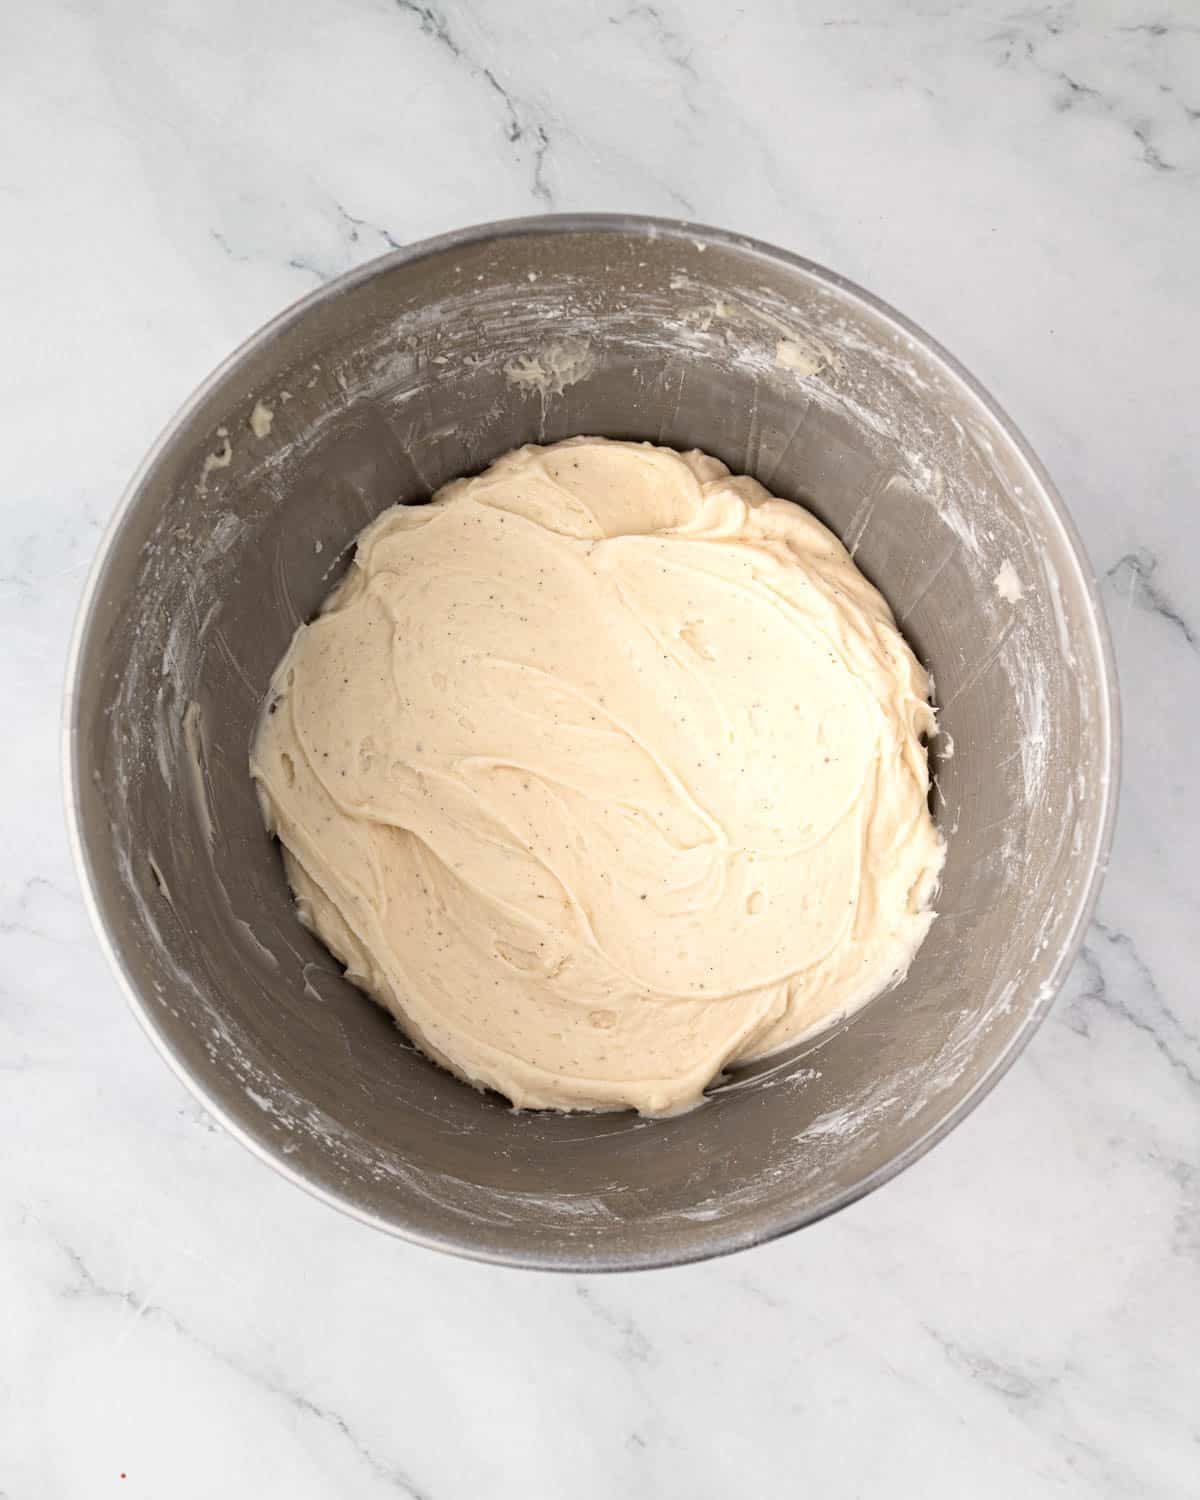
- Add the powdered sugar in two batches, mixing on low to incorporate it evenly. Be careful not to overwhip!
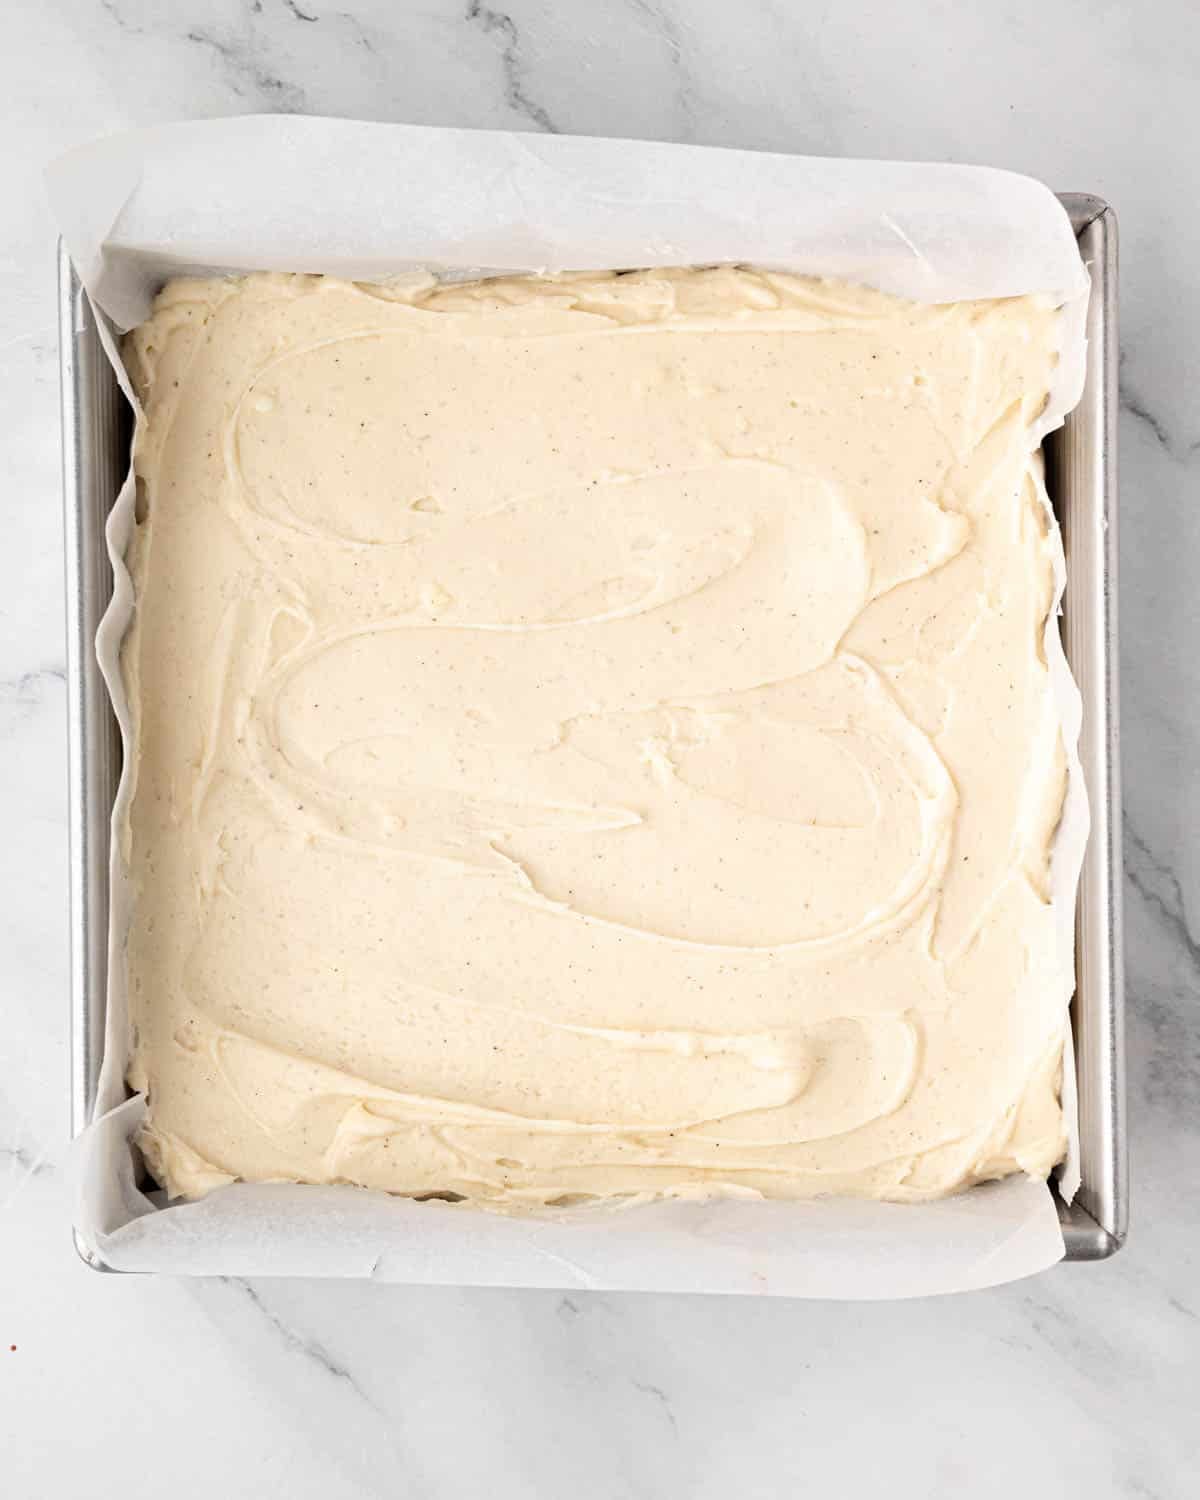
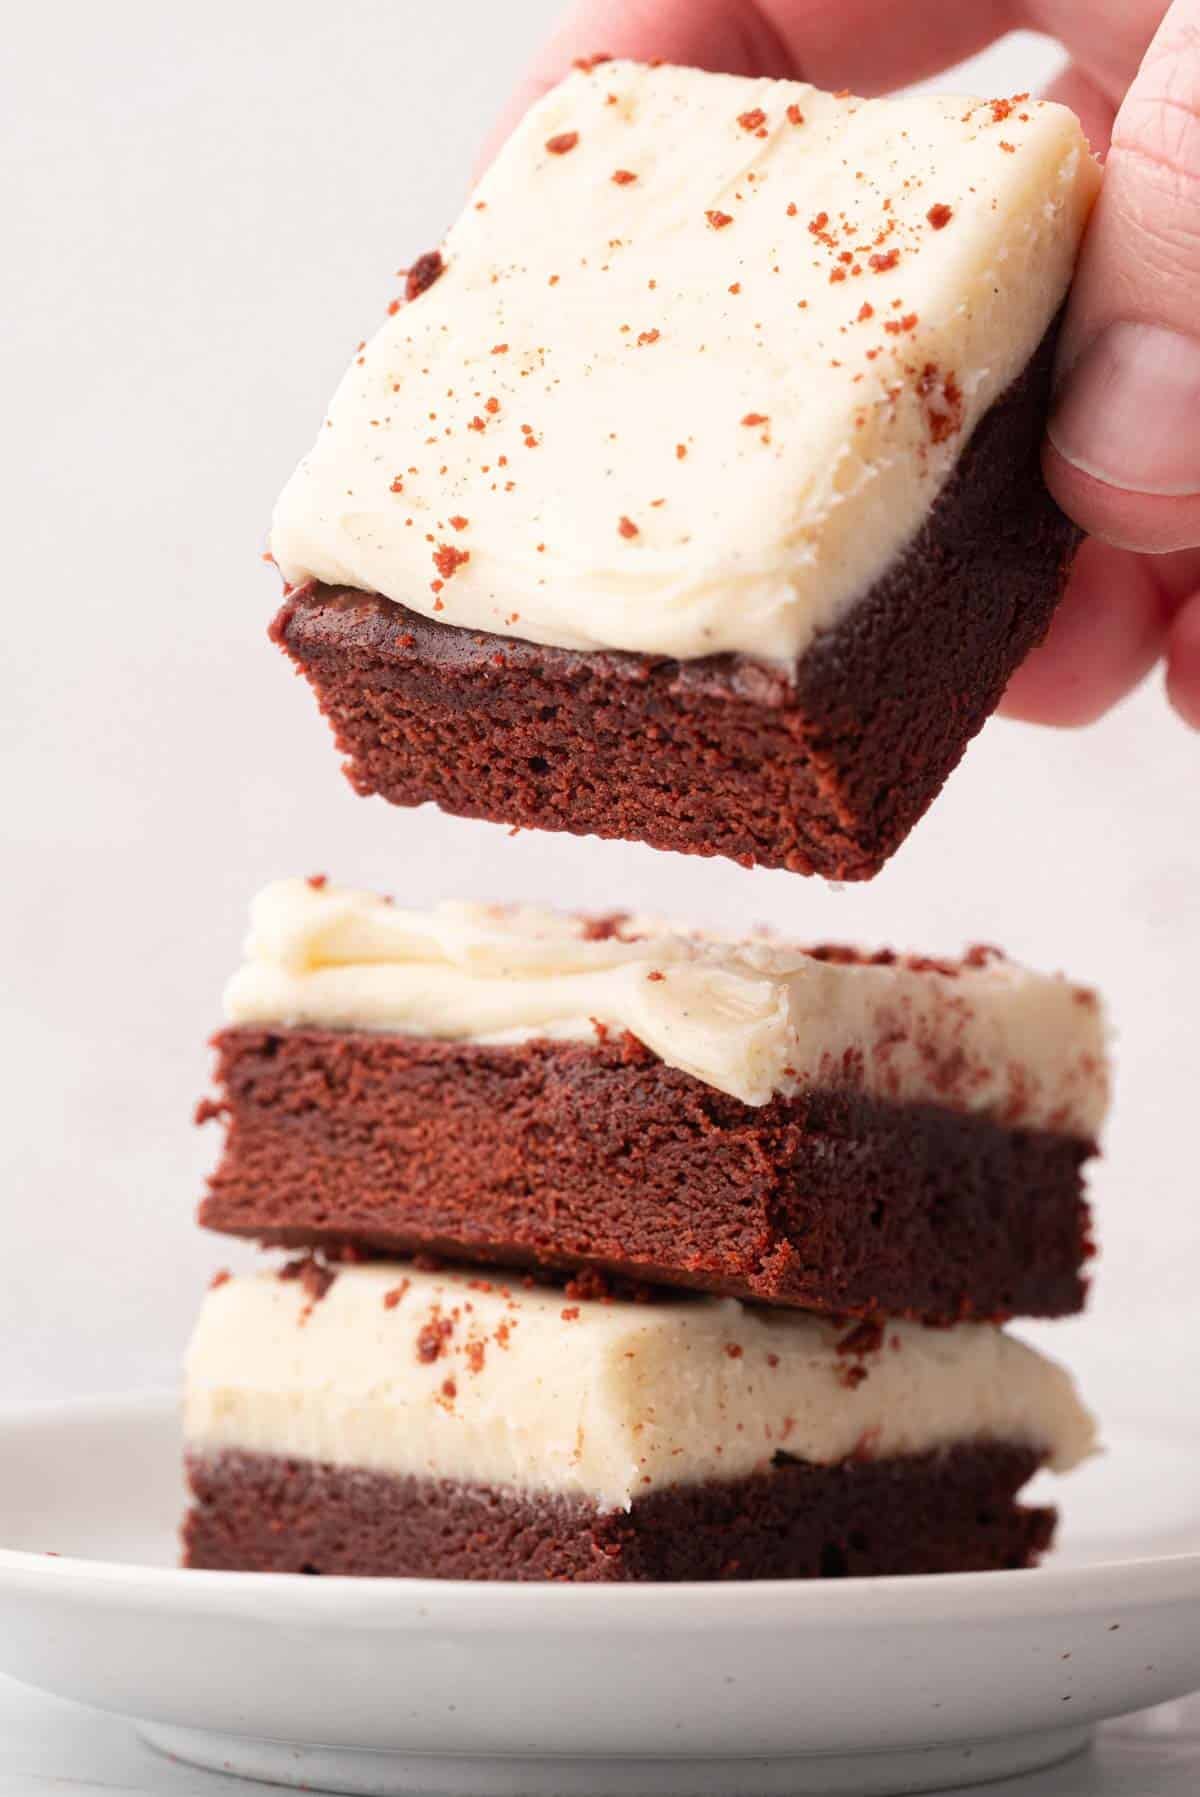
- Spread the frosting evenly over the cooled brownies.
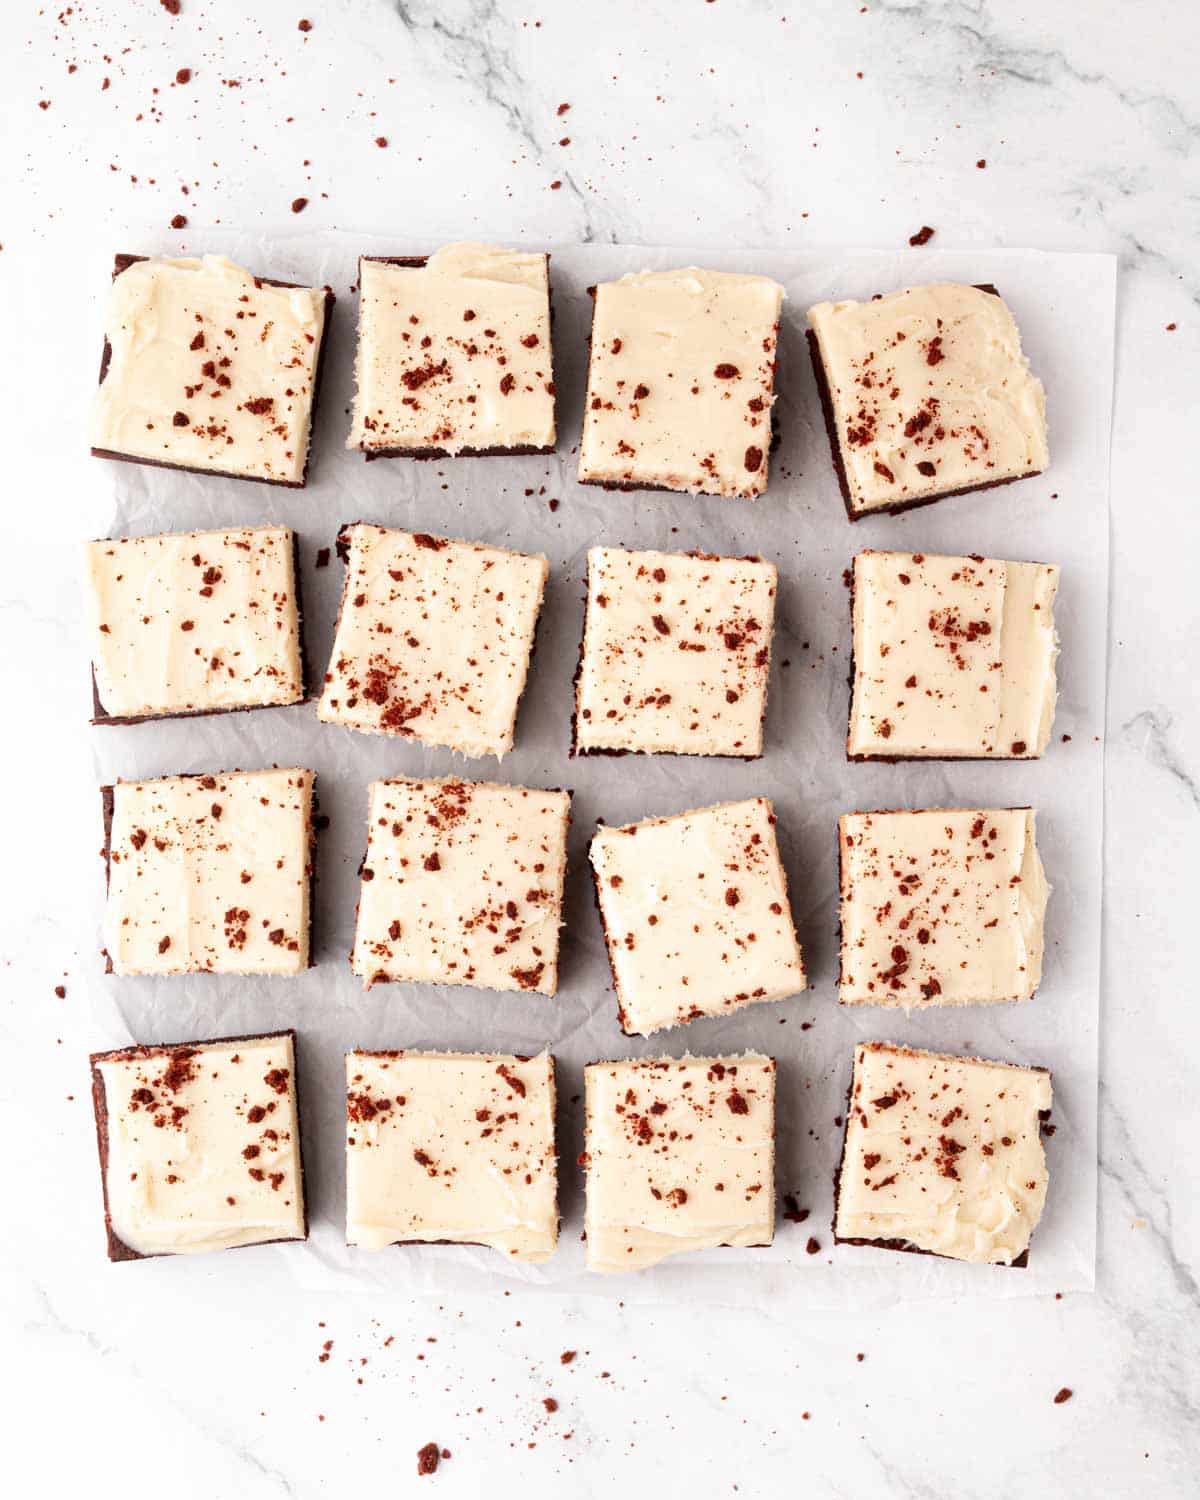
- Sprinkle brownie crumbs over the frosting, if desired.
- Chill the brownies in the fridge.
- Slice, serve, and enjoy!

Tips for Success
- Use gel food coloring, not liquid. Gel coloring gives you a vibrant red without thinning the batter. If you only have liquid food coloring, you’ll need more of it, which can slightly affect texture and bake time.
- Mix by hand for the fudgiest texture. Whisking and folding the ingredients by hand limits air incorporation, which keeps these brownies dense and rich instead of cakey.
- Don’t overmix once the flour is added. Fold just until no dry streaks remain. Overmixing can make the brownies tough instead of soft and fudgy!
- Bake low and slow for the best results. The slightly lower oven temperature (335°F) helps the brownies bake evenly and stay moist without overbrowning.
- Cool completely before frosting. Warm brownies will melt the frosting and cause it to slide right off. Let the brownies fully cool in the pan for clean layers and neat slices.
- Keep the cream cheese cool when mixing. Softened but still cool cream cheese prevents a greasy frosting and helps it set up thick, like a bakery-style topping.
- Avoid over-whipping the frosting. Beat just until smooth and silky. Over-whipping can make the frosting loose and harder to spread neatly over the brownies.
Storing Tips
Store frosted brownies in an airtight container in the fridge for up to 3 days.
Freeze red velvet brownies for up to 3 months! Wrap each brownie in plastic wrap, and arrange them in a freezer-safe container or sealable bag. Thaw in the fridge to serve.
FAQs
I prefer this recipe as is, finding it’s plenty sweet. However, you can add up to ½ cup of white chocolate chips, semi-sweet chocolate chips, or even chopped nuts to the batter, if desired. I find that adding any more than that alters the texture of the brownies, causing them to be a little more cakey.
Too much air in the batter or too much flour can make brownies cakey. To avoid this, mix by hand, avoid overwhisking, and fold in the flour just until combined for a dense, fudgy texture.
This usually happens when the cream cheese or butter is too warm, or the frosting is over-whipped. Use cool-softened cream cheese and avoid beating on high speed for a light, fluffy frosting!
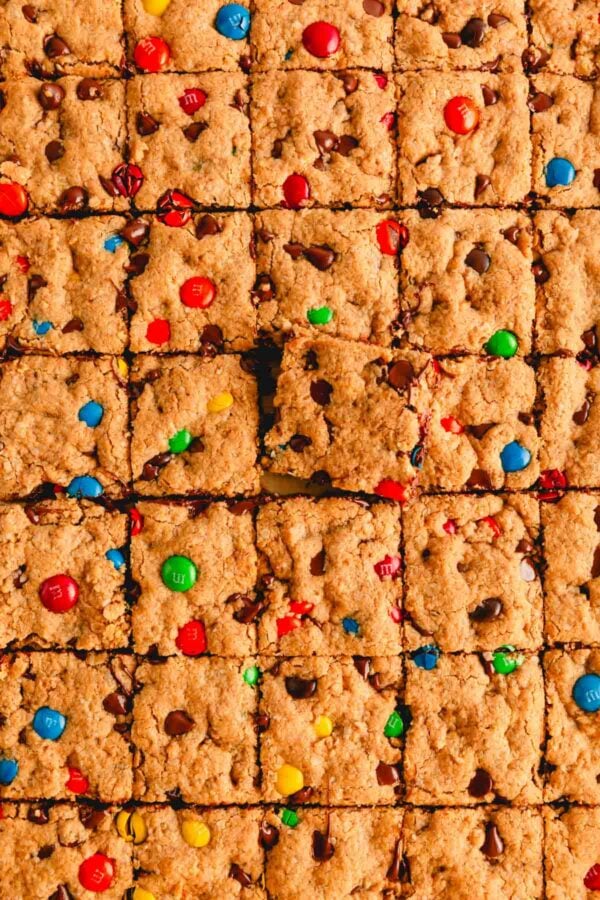
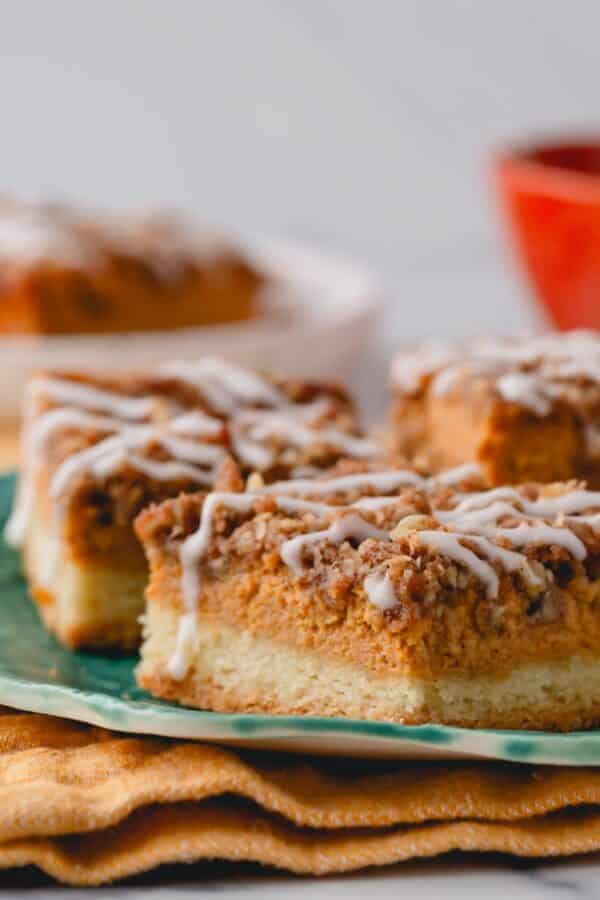
More Brownie Recipes
Red Velvet Cake Brownies
Ingredients
Red Velvet Brownies:
- 1 cup (200 g) granulated sugar
- 6 tablespoons (85 g) unsalted butter melted
- ¼ cup (60 ml) neutral vegetable oil
- ¼ cup (50 g) packed light brown sugar
- 3 large eggs
- 1 ½ teaspoons vanilla extract
- ⅓ cup (40 g) unsweetened cocoa powder
- 1 teaspoon red gel food coloring Note 1
- 1 ¼ cups (156 g) all-purpose flour
- ½ teaspoon salt
- 1 tablespoon distilled white vinegar
Cream Cheese Bakery Style Frosting:
- 8 oz (225 g) full-fat cream cheese cold-but-softened
- 6 tablespoons (85 g) unsalted butter softened (but not warm)
- 1½ teaspoons vanilla bean paste or extract
- ¼ teaspoon fine salt
- 2 cups (260 g) powdered sugar
Instructions
To make the brownies:
- Preheat the oven to 335°F. Line a 9×9-inch square baking pan with parchment paper, leaving an overhang on two sides for easy removal. Set aside.
- In a large mixing bowl, whisk together the granulated sugar, melted butter, vegetable oil, and brown sugar until the mixture is glossy and cohesive.
- Add the eggs and vanilla extract. Mix well until smooth.
- Whisk in the cocoa powder until the batter becomes smooth, evenly colored, and free of dry cocoa streaks.
- Add the red gel coloring, and mix until the color is completely uniform. (TIP: Transfer a few tablespoons of batter to a small bowl, add the red gel coloring, and mix until the color is completely uniform. Fold this tinted mixture back into the main batter to evenly distribute the red hue throughout.)
- Use a spatula to fold in the flour and salt until the batter is uniform and no dry streaks remain. Stir in the vinegar until fully incorporated.
- Spread the batter evenly into the prepared pan, smoothing the top.
- Bake for 32–38 minutes, or until the edges are set, the top is matte, and a toothpick inserted in the center comes out with moist crumbs, not wet batter. An internal temperature of about 188–192°F is ideal.
- Allow the brownies to cool completely in the pan before slicing or frosting.
To make the cream cheese frosting:
- Beat the cream cheese on medium speed until smooth but still cool and firm. (A stand mixer with paddle attachment worked best for me, but a hand mixer will also work.) Scrape down the paddle and bowl to ensure thorough creaming.
- Add the softened butter and whip until completely blended and silky. Again, scrape down the bowl frequently to eliminate lumps and ensure thorough mixing.
- Add the vanilla and salt, blending to combine.
- Add the powdered sugar in two slow additions, mixing on low until incorporated. Increase speed very briefly at the end only if needed for smoothness, but avoid over-whipping. Stop the beaters as needed to scrape down the sides of the bowl.
- Spread the finished frosting over fully cooled brownies in a smooth, even layer about ¼ inch thick.
- Sprinkle with brownie crumbs at this point if you wish to use them. For the cleanest cuts, chill 20 minutes before slicing. Frosting quantity should provide a generous, bakery-style layer about ¼ inch.
⭐️ Did you make this recipe?
Please leave a review and let us know how you liked it!
Tips & Notes
– I highly recommend using an instant-read thermometer to check the temperature of the brownies. It helps avoid second-guessing.
– Cooling completely is essential prior to frosting, for clean slices, and for the crumb to fully set. Brownies could be frozen at this point before frosting.
– The topping of cake crumbs was made by slicing and crumbling a very thin layer of brownie from one side of the baked brownies before frosting. Storage: Store frosted brownies in an airtight container in the fridge for up to 3 days, or freeze for up to 3 months. Thaw in the fridge to serve.
Nutrition