
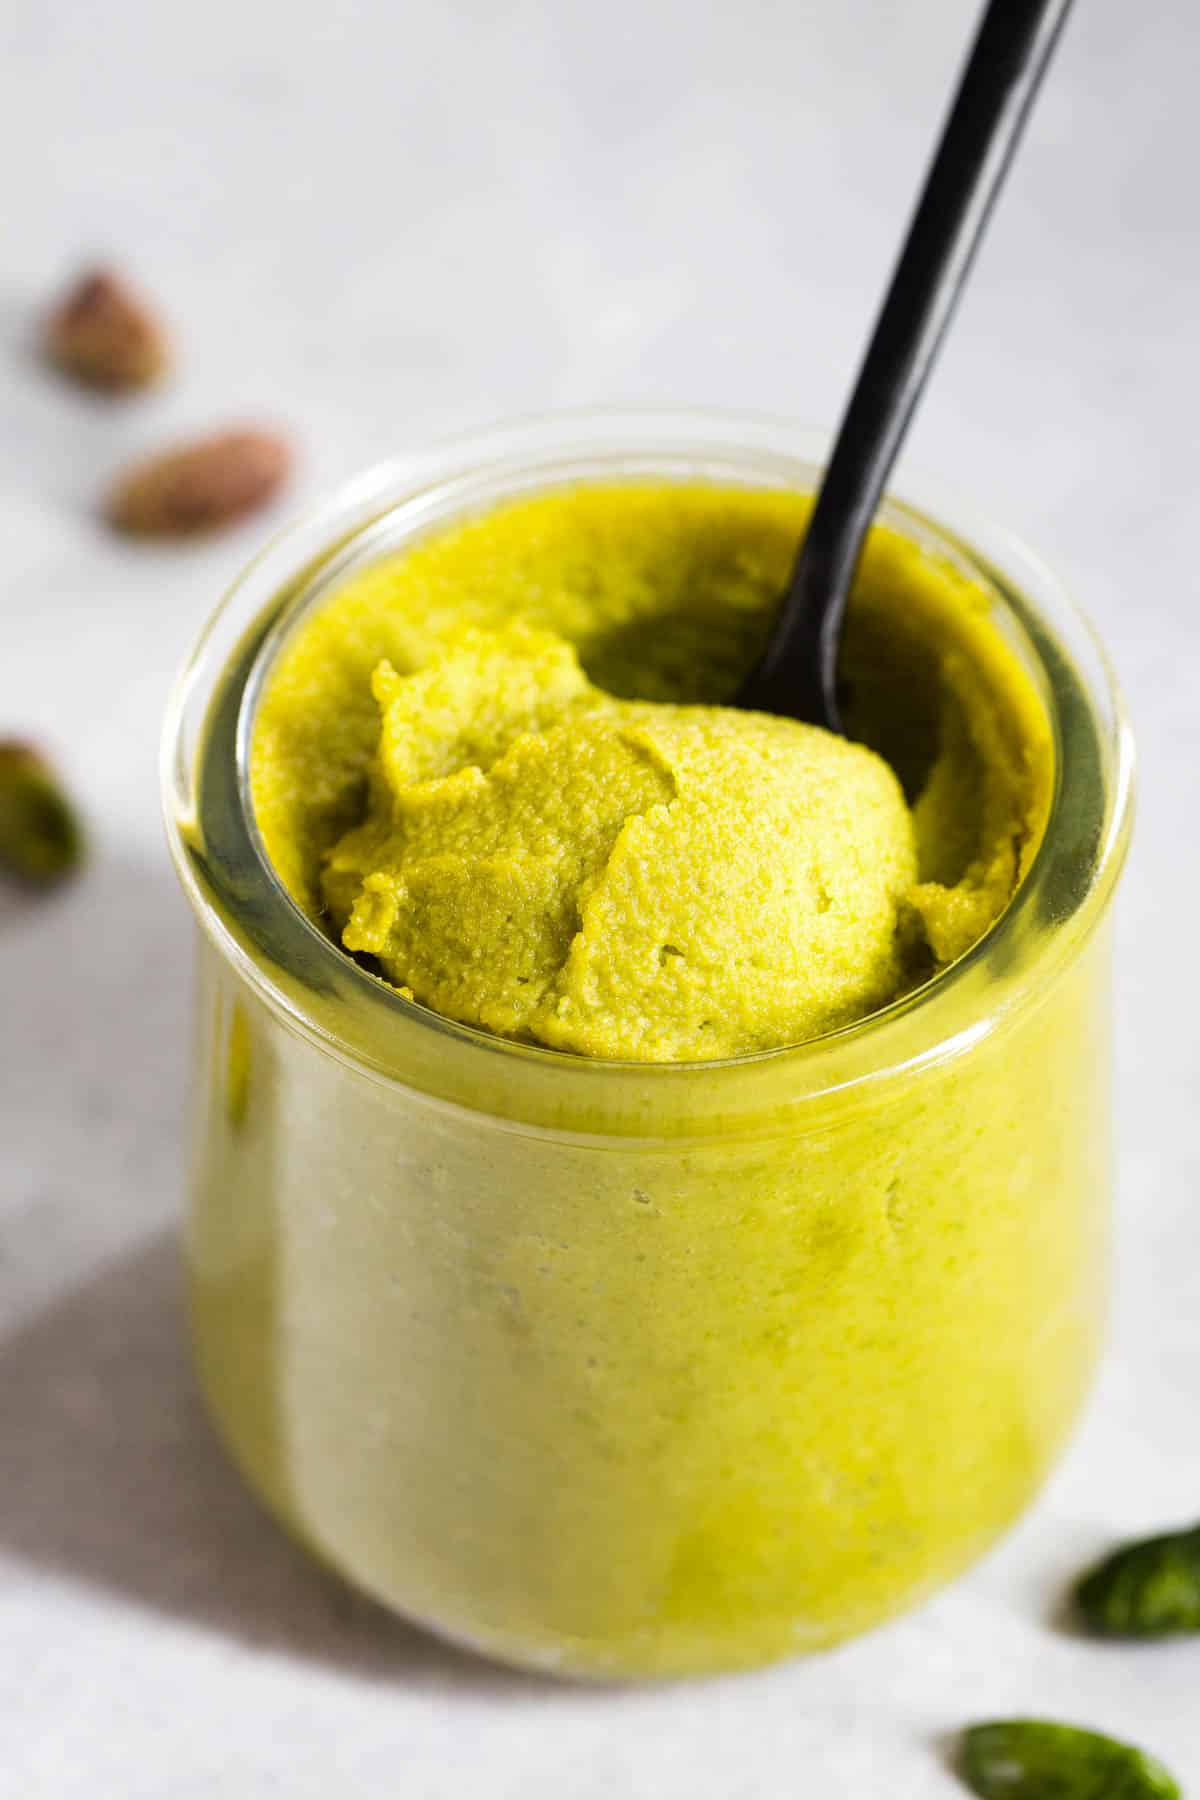
Making your own pistachio paste at home is surprisingly simple and incredibly rewarding! With just one ingredient, you can create a smooth, naturally vibrant green paste that tastes intensely pistachio-rich. I’m sharing my proven tips for a smooth texture and a vibrant green color every time!
Unlike my homemade pistachio butter, you only need ONE ingredient to make the most incredibly gorgeous pistachio paste: pistachios!
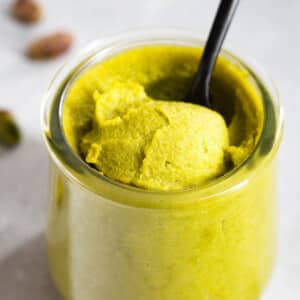
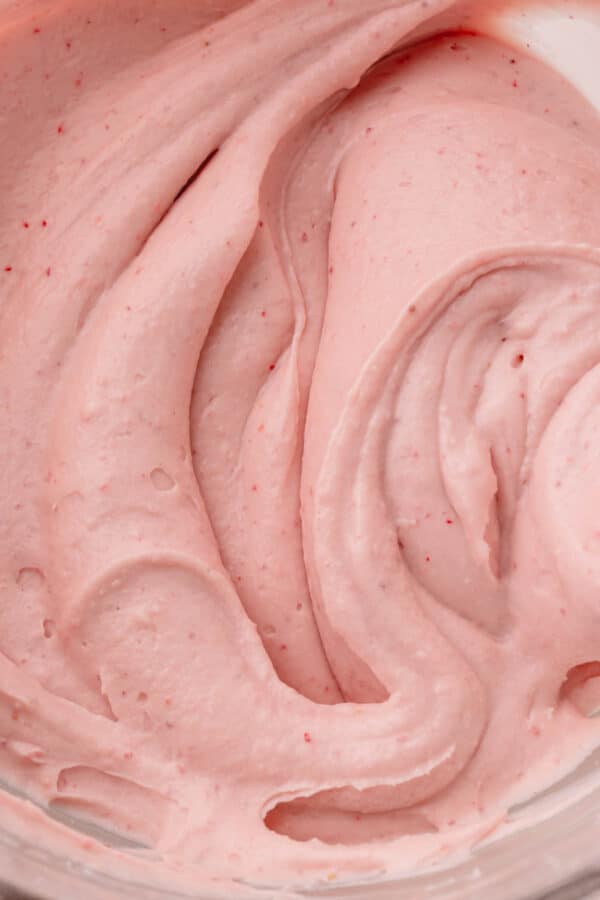
Would you believe this beautiful nut butter has zero food coloring? Yep, the color really is that gorgeous green. No Photoshop tricks here! I promise! And oh my goodness, so deliciously pistachio-y!
Over the years, I’ve made pistachio paste of many different shades, from dark brown (eek!) to bright and green. While a lot depends on the variety of pistachios you’re working with, I have some tips to increase your chances of a nice, green pistachio paste.
Table of Contents
- Why you’ll love this recipe
- Pistachio Paste vs. Pistachio Butter
- Choosing the right pistachios (this matters!)
- The secret to vibrant green pistachio paste
- How to remove brown skin off of pistachios
- How to make easy homemade pistachio paste
- How to use homemade pistachio paste
- Storage
- My Favorite Pistachio Recipes
- Homemade Pistachio Paste Recipe
Why you’ll love this recipe
- Just 1 ingredient – No sugar or additives, just pure pistachios.
- Naturally vibrant & flavorful – Beautiful green color and rich, true pistachio flavor. No food coloring needed!
- Smooth, creamy texture – Blends into a smooth paste in minutes with just a food processor.
- Cost-effective – Much more affordable than store-bought versions.
- Versatile & easy to use – Perfect for desserts and baking.
Pistachio Paste vs. Pistachio Butter
Unlike pistachio butter, which is often made with sweeteners or oils, pistachio paste is basically pistachios blended into a smooth paste! It’s also thicker in consistency.
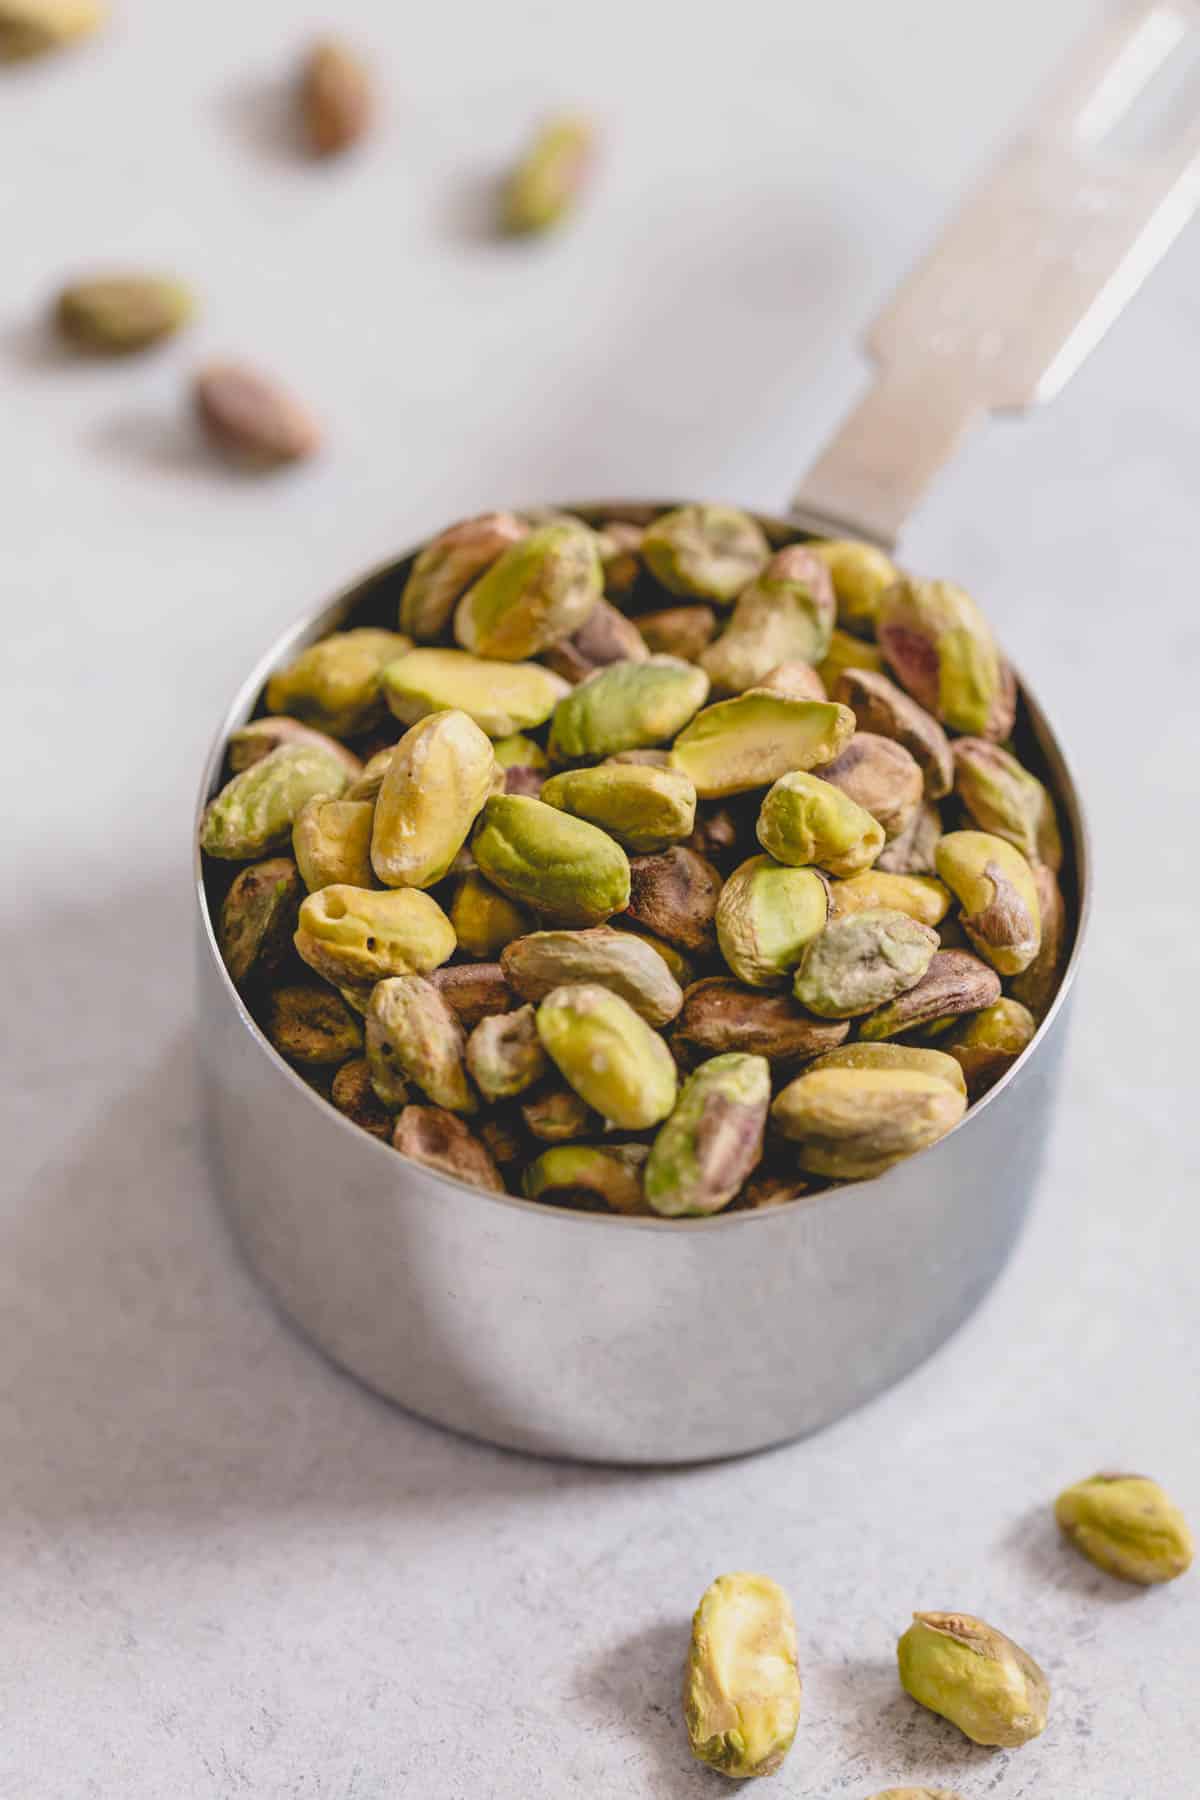
Choosing the right pistachios (this matters!)
Beautiful and delicious pistachio paste starts with the right kind of pistachios!
If you want bright green pistachio paste, choosing the right kind is the key!!
Avoid:
- Roasted pistachios
- Salted pistachios
- Pistachios with skins on
These will give you a dull, brownish paste (still tasty, but not very pretty!).
Use:
- Raw, unsalted pistachios
- Peeled pistachios (no skins) – More on how below…
Your Options:
1. Raw Shelled Pistachios (with skins)
- Budget-friendly
- Require blanching and peeling (how-to tutorial included below)
- Common in the U.S. (California pistachios)
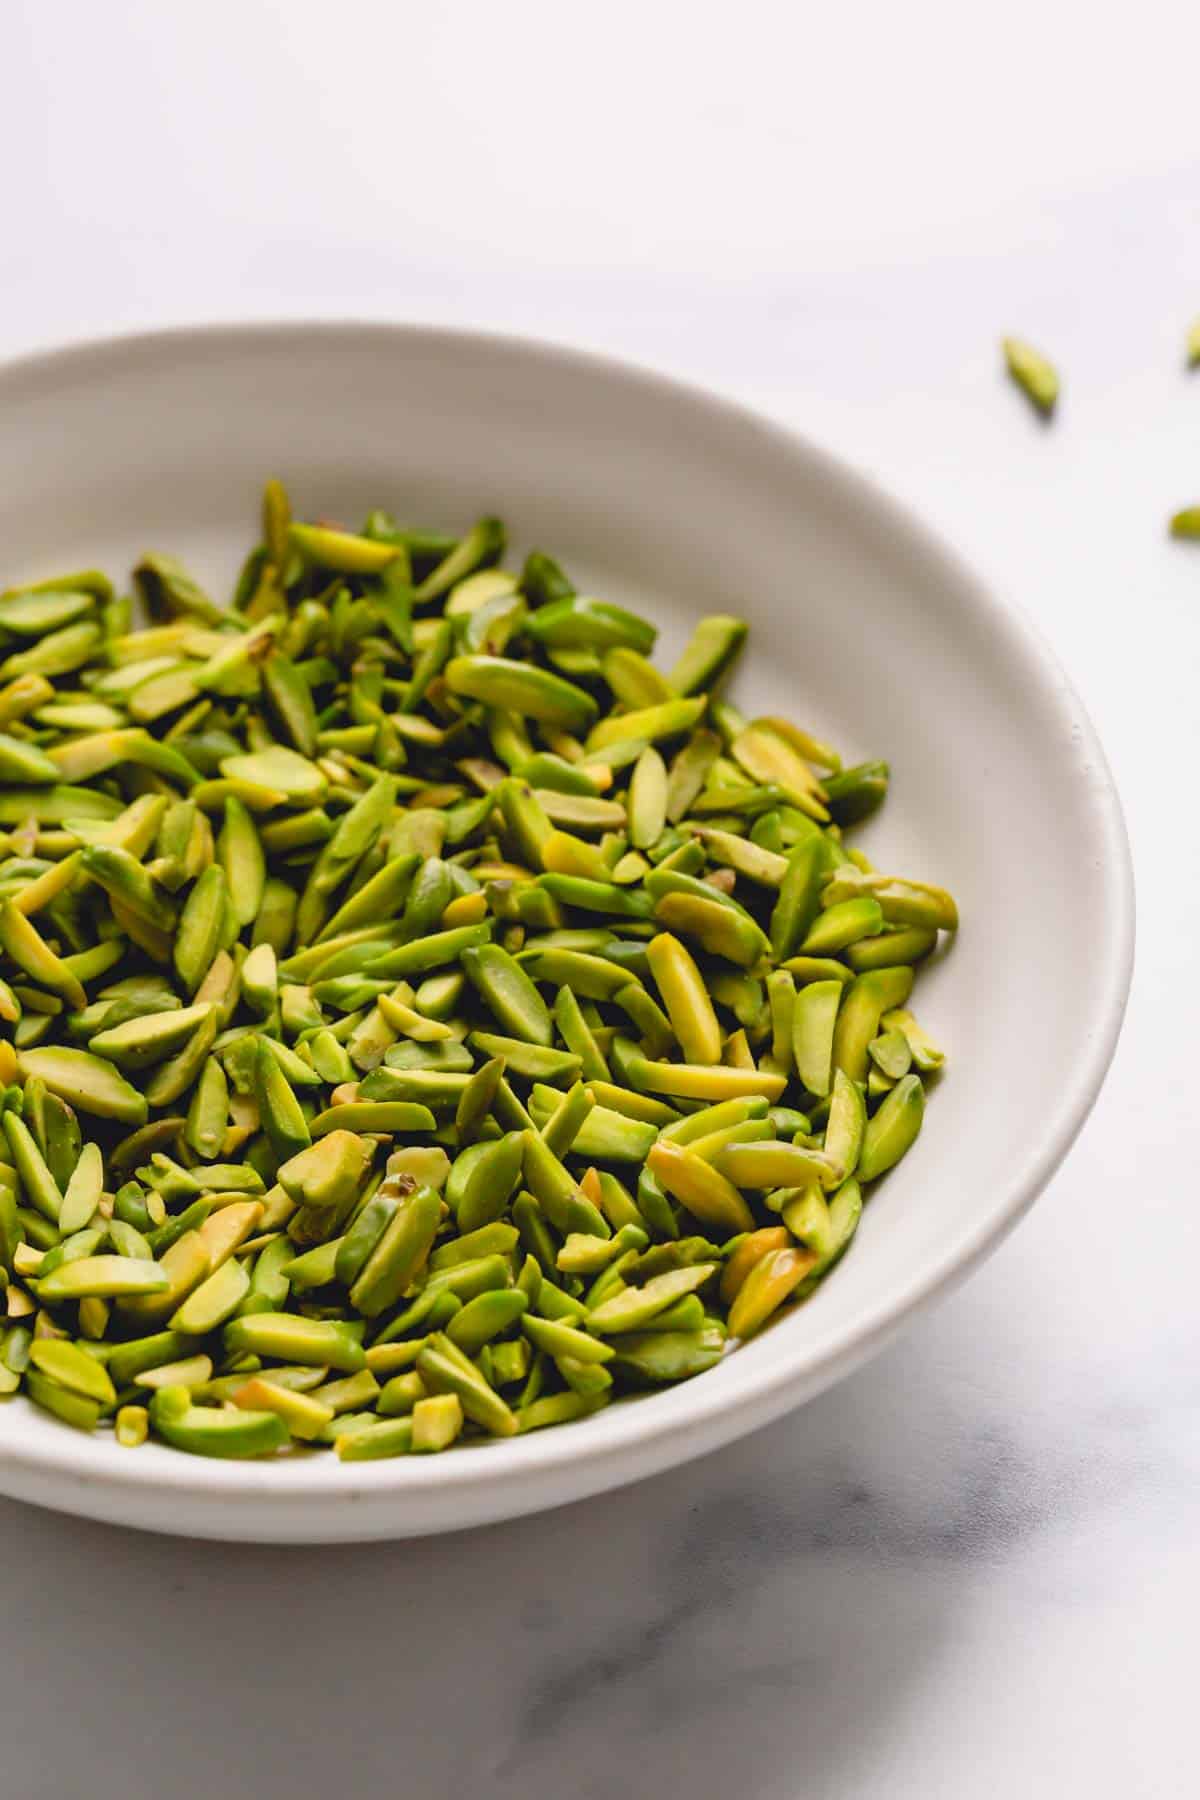
2. Slivered Pistachios (no skins)
- Best option for vibrant green color with minimal effort
- More expensive
- Save time (no peeling!)

The secret to vibrant green pistachio paste
There’re many different varieties of pistachio from different regions. And they all vary in color and taste.
California pistachios are the most common in the U.S., and unfortunately, they do tend to yield a darker, less vibrant green paste.
But there’s a way to make them less brown and encourage the brighter green color, even with California pistachios!
- Blanch the pistachios: the green color instantly brightens.
- Peel off the brown skin: removing any impurities helps to keep the beautiful green color of the pistachio.
How to remove brown skin off of pistachios
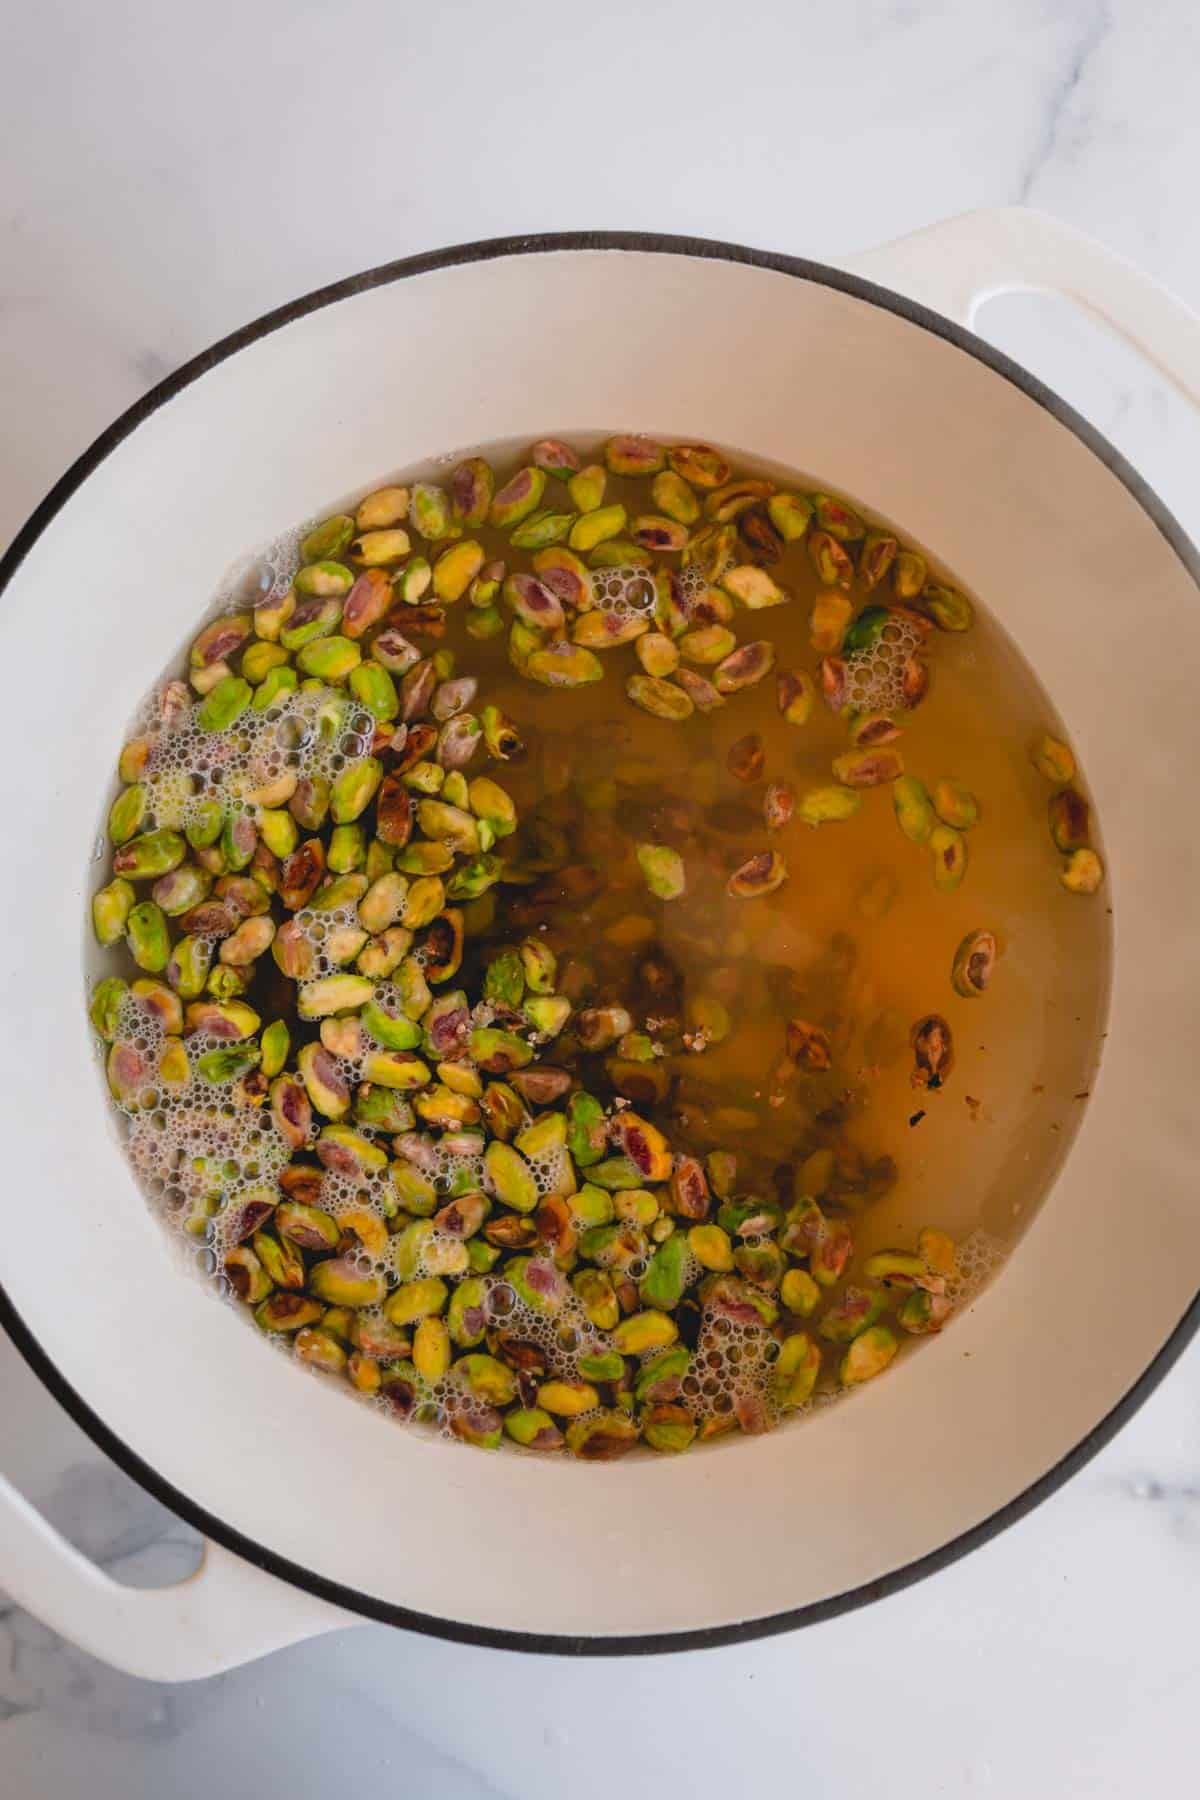
1. Blanch the pistachios
- Bring a pot of water to a boil.
- Add the pistachios, and remove the pot from the heat.
- Soak for 30 seconds and transfer into a bowl with ice water.
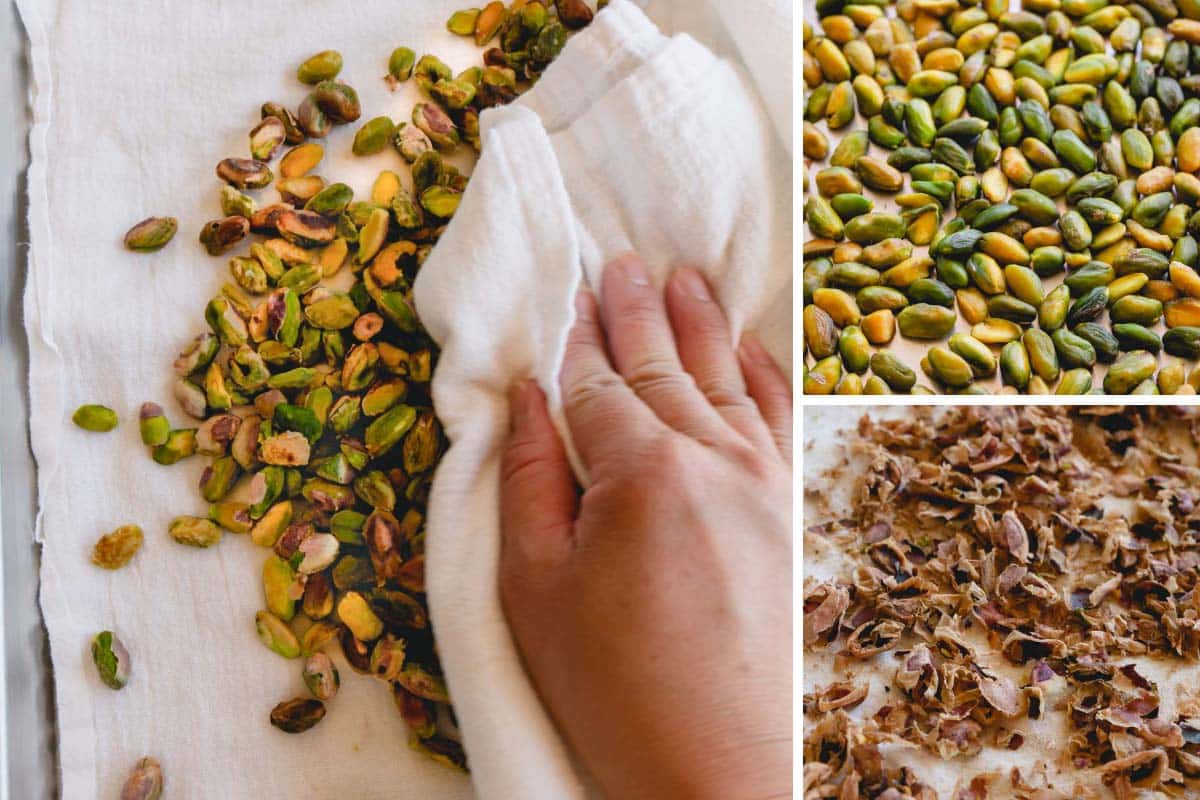
- Transfer the cooled pistachios to a clean kitchen towel.
2. Rub off brown skin
- Gently rub the blanched pistachios between the cloth to peel off the brown skin.
- You may need to help some stubborn ones by peeling individually with your fingers. Separate the peeled pistachions from the brown skin. This process can be a bit tedious, but I promise it’s worth it!
How to make easy homemade pistachio paste
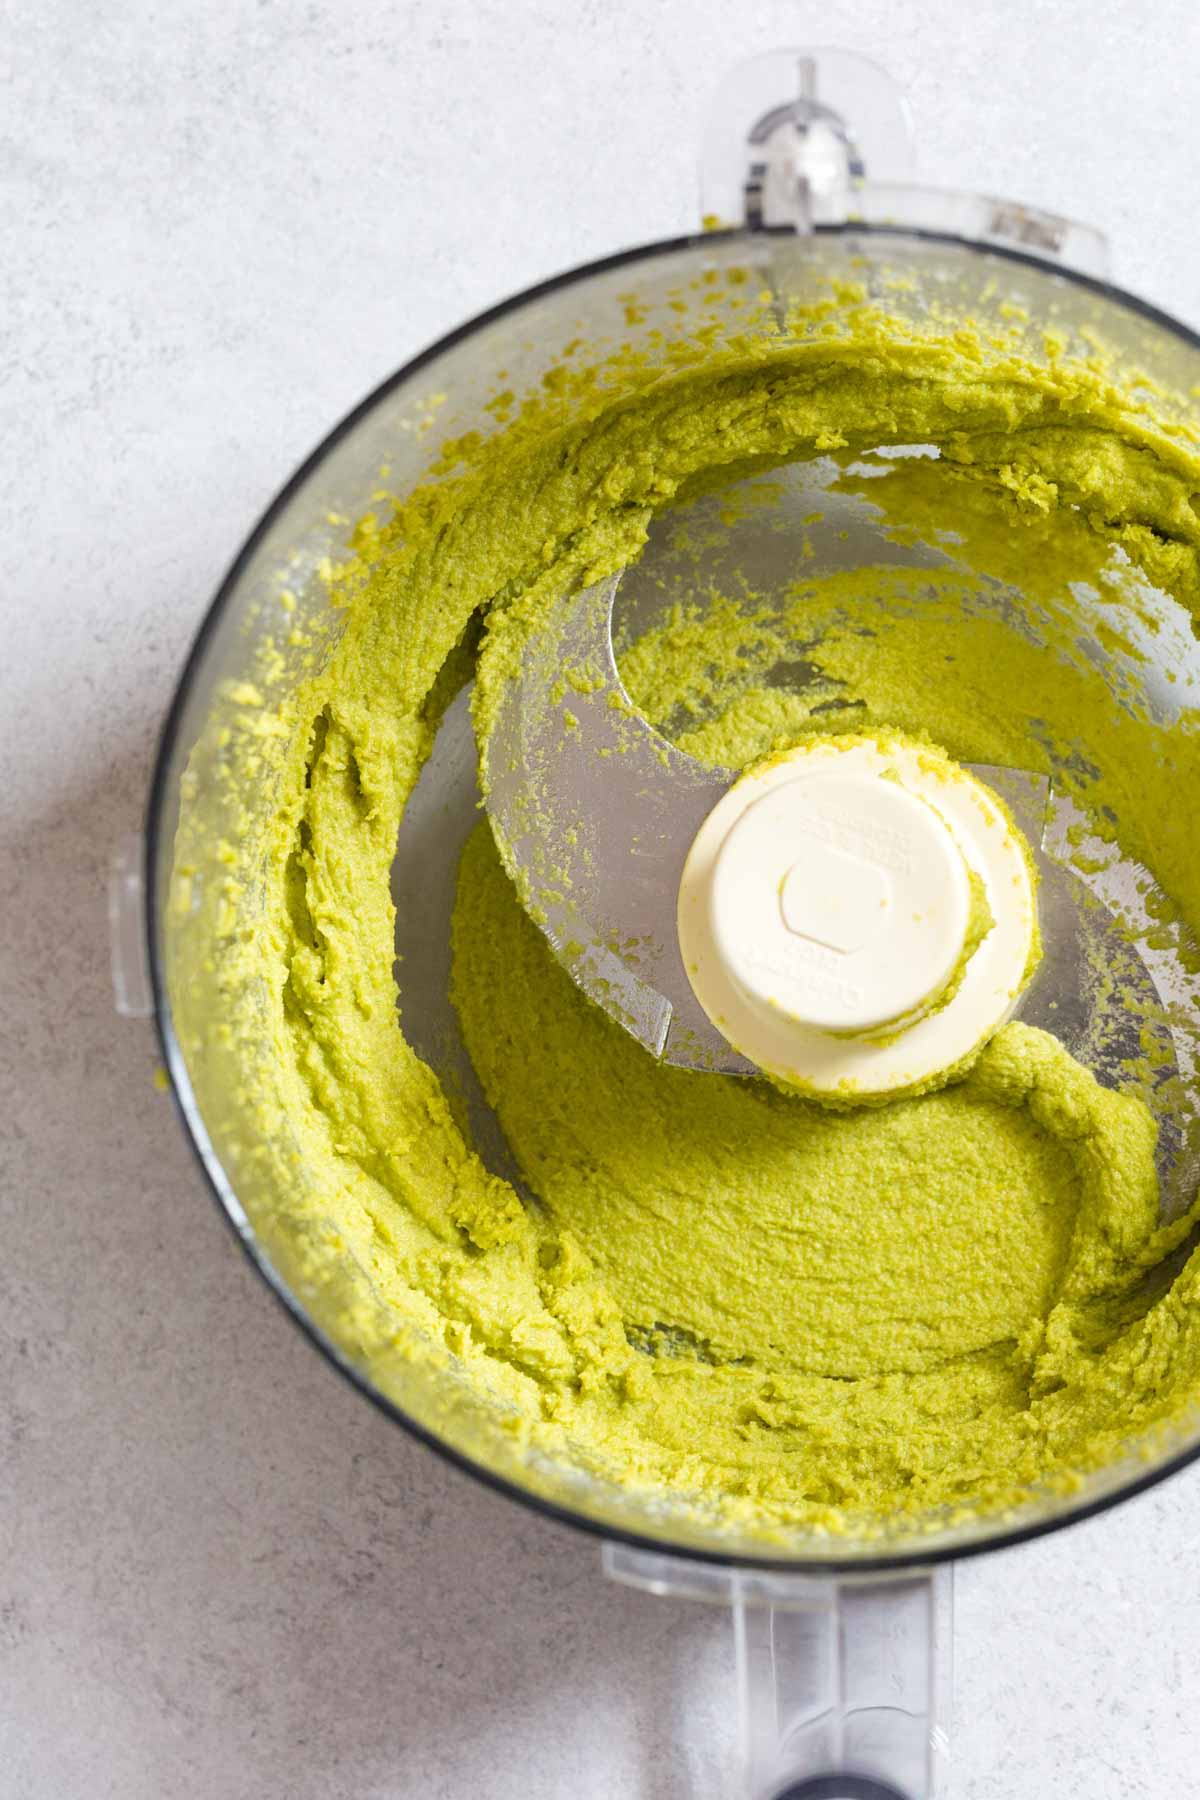
- Add the peeled pistachios to a food processor.
- Blend until nice and smooth, scraping down as needed.
- Add neutral oil, a little at a time, if needed, to help it blend. (You can also use 1-2 tablespoons of water instead of oil.)
During this process, the pistachios will transform in stages: whole nuts -> crumbs -> powder (or pistachio flour) -> paste. And the entire process takes less than 5 minutes!
oil vs water
If you’re planning to use the pistachio paste right away, you can add water instead of oil to help the paste blend smoothly.
Just keep in mind that adding water reduces the shelf life of the paste, and not ideal if you’re planning to store it in the fridge.
Cost effective, incredibly delicious, healthy homemade pistachio paste!
Use a Powerful Food Processor
For the smoothest pistachio paste, a large, powerful food processor (like a Cuisinart 14-cup model) makes a big difference.
Stronger motors process the nuts more efficiently, helping them release their natural oils faster and blend into a smooth paste without overheating or getting stuck at the crumb stage. Smaller or less powerful machines may struggle and require more scraping and longer blending time.
How to use homemade pistachio paste
This flavorful pistachio paste is incredibly versatile. It can be used in so many pastries and desserts, like my pistachio macarons, pistachio gelato or ice cream, pistachio frosting, cookies, and so much more.
I can’t wait to make amazing desserts incorporating this tasty nut butter.
This homemade paste also makes an awesome snack! Spread it on a toast, or cracker, or just grab a spoon and dig in.
Storage
Store pistachio paste in an airtight container in the fridge for 1-2 weeks.
You can also freeze it for up to 3 months.
How to freeze pistachio paste
I like to freeze the pistachio paste in 1-tablespoon portions. First, drop a tablespoon of paste on a plate lined with parchment paper, flatten slightly, and freeze for 1 hour. Then transfer them into a freezer bag before putting it back in the freezer.


My Favorite Pistachio Recipes
Video Tutorial
Homemade Pistachio Paste
Ingredients
- 1 cup (120 g) raw shelled pistachios
- 1 teaspoon neutral oil Note 2
Instructions
To peel the brown skin off:
- To remove brown skin, bring a pot of water to a boil. Add pistachios and remove from heat. Soak for 30 seonds or so and transfer into a bowl of ice water.
- Drain the pistachios onto a clean kitchen towel. Rub it gently and peel off the brown skin.
To make pistachio paste:
- In a food processor, put cleaned pistachios and process for 5-10 minutes, until pastey. It'll go through a few stages; be patient.
- Add oil to help the paste to blend more easily, and continue to process for another 5-10 minutes, or until it is nice and smooth.
- Store in an airtight container in the fridge for up to 1 weeks, or freeze for up to 3 months.
⭐️ Did you make this recipe?
Please leave a review and let us know how you liked it!
Video
Tips & Notes
Nutrition
This recipe was originally published on March 6, 2015.


Hi! If I am using the raw slivered pistachios, do I still need to blanch them?
No, you don’t need to black slivered pistachios. We’re blanching them to remove the brown skins.
Would it be possible to make this with ghee and still have good results? I know that’s more of a “butter” than a paste still curious. Thank You for Your time.
Hi, Julie. What’s the main reason you want to use ghee in this recipe? In my opinion, ghee isn’t suitable here because it has a distinct flavor, and it won’t help much with thining out the paste. If you don’t have neutral oil, or don’t want to use it, you may use a little water. In that case, you’ll need to use up the pistachio paste within a week and keep it refrigerated. Hope this helps.
DO NOT BLANCHE BEFORE ATTEMPTING TO REMOVE SKINS.
Based on my incredibly tedious experience I would try to get as much of the skin off BEFORE the blanche process if you have raw California pistachios that are not slivered. Then again afterward to go for the final effort. I tried both and it was significantly better when they were dry.
Fatastic recipe
Very good flavour and easy to make
Perfect for my Pistachio cake
So happy you tried and loved the recipe. Thank you for your feedback, Patricia!
I made this with raw pistachios and it came out very nice and green. I pulsed it in the cuisinart for the time stated, but it was a little grainy when done. Any harm in pulsing it for twice as long?
Hi, Alex. Absolutely, process it until desired consistency. Thank you for trying my recipe.
No sugar in it right?
Hi, Tiberiu. Correct, I don’t add sugar.
Does not peeling affect the taste or texture or is it mostly for the bright green appearance?
Hi, Shelby. Peeling the brown skin mostly for bright green appearance. It doesn’t affect the taste.
Can this be made with pistachio flour? Thank you.
I need the paste to be thinner and more liquidy. What can I do?
Add teaspoon oil
What kind of food processor recommend it?I have months looking for a food processor.
I am a baker. Thanks
Hi, Elena. I’ve had my Cuisinart 14-cup food processor for over 10 years. It’s great for large works. I also have a smaller one, KitchenAid 3.5-cup older version, for smaller everyday jobs. For a baker, I think you can’t go wrong with the large Cuisinart one. 😉
Hi Elena. I’ve made pistachio paste several times though I don’t believe it was this exact recipe but both recipes are asking for the same ingredients. I have 3 cup Cuisinart chopper/blender (just like the little one shown in the picture above). That’s what I’ve used every time and it’s come out perfectly. I did try to use my Nurti Bullet but the nuts just kinda stayed put even after I added the oil so I grabbed my trusty mini chopper/blender, transfered everything over to it and began pulsing. You do have to get in there to move the nuts/paste around from time to time but I don’t mind doing that. I don’t want to have to buy a food processor nor do I have the space for one so I stick to using the little blender. Depending on how much I’m making I do have to do it in batches but again I don’t mind. I work with what I have. Since these are small they’re not very expensive like a food processor is. Hope this is helpful even though it’s a few months after the fact lol.
Tammie, thanks so much for sharing your experience with smaller food chopper. As you mentioned, it’s necessary to work in batches when using a smaller food chopper in order to not overheat the appliance.
What the difference between pistachio paste and pistachio butter?
Hi, Leela. I don’t believe there is a different between the two.
There is a difference, I’m just not sure what it is. you’ll have to google it.
I made this recipe with roasted shelled pistachios. I’ll have to try it with raw next time since my final color was a lot less green, but still more green than not removing the skins. It was definitely more work to remove the skins than I expected, but maybe that had to do with the roasted pistachios. I might also work in smaller batches (1/2 cup at a time) next so the blanched pistachios have more chance to rub against the towel. Thank you for posting this recipe!
Thanks so much for your feedback, Chris!
I haven’t tried this recipe but I did use one that has you blanch the nuts. They made it sound as if those skins were going to come right off but like you I didn’t experience that. It took longer to get them off than it did to make the paste and use and finish it in the dessert I was making. I had to do the rubbing in small patches but when that didn’t work either I had to do them one by one. I just want others to know that this is something you’re going to come up against if you decide to blanch them to get the color. I’m not a big fan on using food coloring unless I have to but that’s exactly what I did the last time I made a batch, lol. It saved me A LOT of time and frustration so that made it so worth it…
I was so relieved to find this recipe! I needed pistachio paste for a ricotta cheesecake I had planned to make for Easter, but had forgotten to obtain by the time Saturday rolled around and I needed to do the baking. To all those who only have roasted pistachios on hand (as was the case with me): worry not! I saw another comment posted that the roasted nuts are indeed still green, so I forged ahead. As the author of the recipe notes, roasting actually gives the nuts MORE flavor, and as I experienced, shelling the nuts causes much of the skin to come off (and if you rub even a little more, can be almost totally removed). With much less work or time than going through the blanching process (or running out to the store in search of raw pistachios) I had perfectly green, tasty pistachio paste to use in this recipe – which worked perfectly. Thank you!
I’m so happy that roasted nuts worked for you! Thank you so much for sharing your tips and feedback, Sonja!!!
Love this recipe. It is time consuming though but anything worth eating is time consuming and worth the time! As for removing the skin it took some patience. After blanching and cooling down I found small batches wrapped in a twisted cloth towel then rubbed roughly took the skins off faster.
The pulsing to paste was a challenge and I had to use more then 1/4 cup of water but it worked and we are excited to use it in our baking and lattes. Thank you and Happy New Year.