
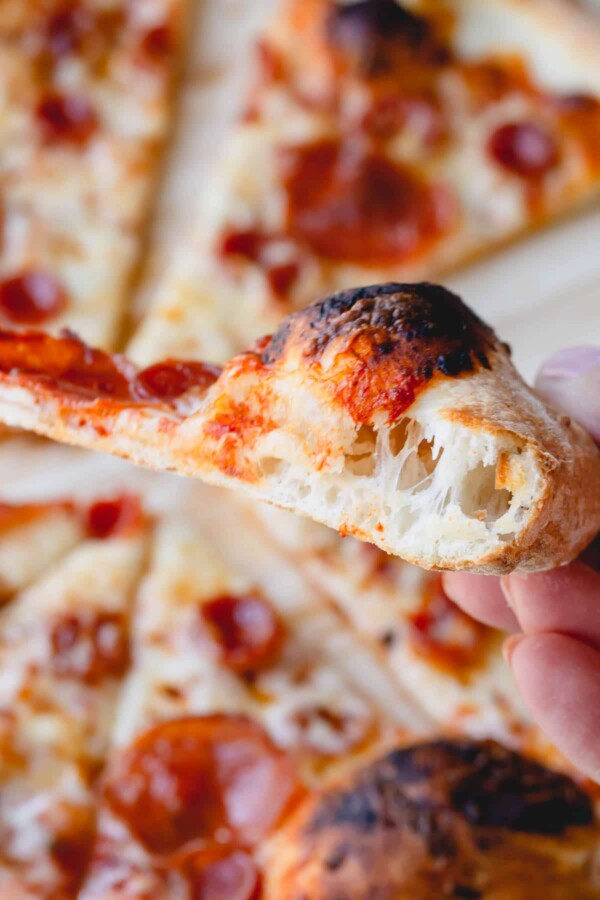
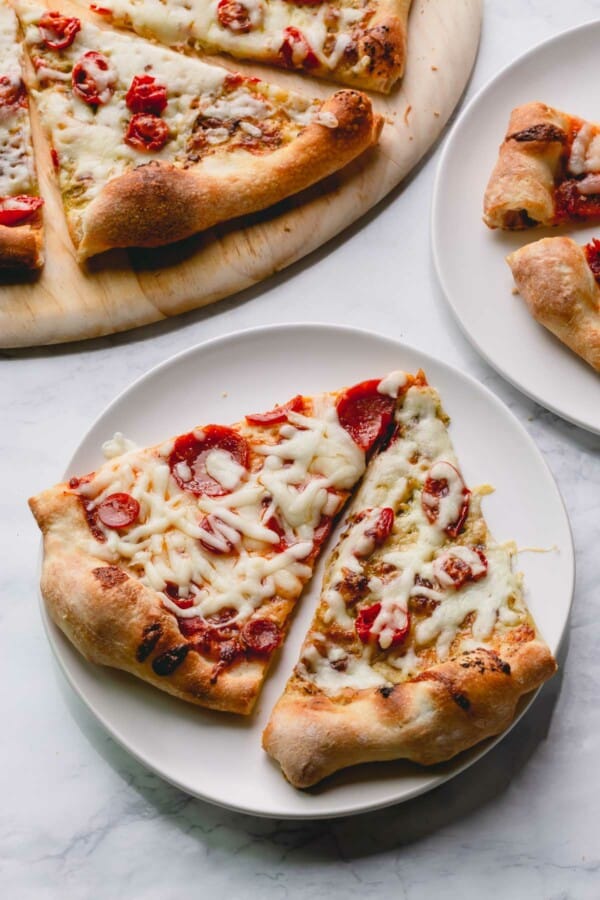
This easy pizza dough recipe is a must-try for light and airy, crisp and flavorful pizza every time! A complete tutorial with step by step photos, video and lots of tips!
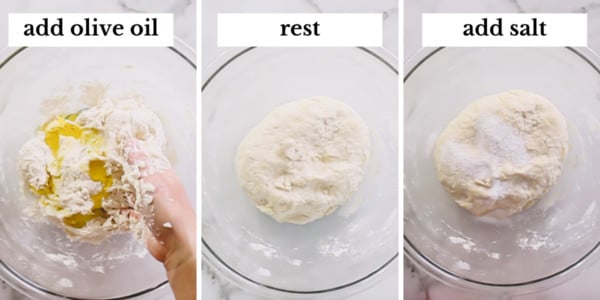
Did you know that adding olive oil in pizza dough before salt yields totally different texture than if you added salt before the olive oil?
It’s true!!
Today, we’re going to dive deep into the technique and why and how certain things affects the pizza crust texture! Plus, you’ll find many step by step photos, video tutorial and lots of tips below.
Where I learned about making pizza:
I learned how to make pizza from Master Pizzaillo, Leo Spizzirri, at North American Pizza and Culinary Academy in Lisle, IL. And I’m thrilled to share them with you today!!
Ingredient Notes:
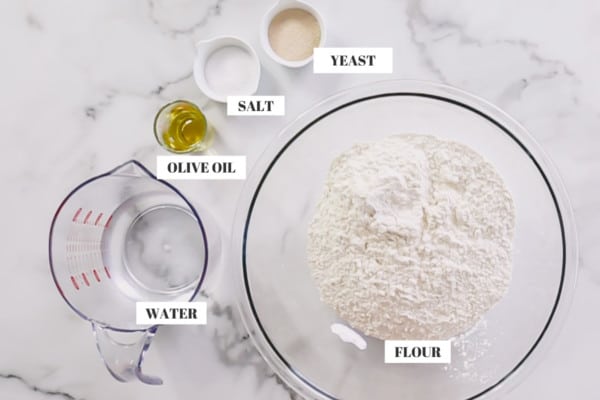
You only need 5 basic ingredients to make homemade pizza dough.
- Flour – While all-purpose flour works just fine, high protein flour, like bread flour, is the best for nice structure and chewier texture. My go-to pizza flour is this Napoletana “00” flour. The magic of this flour is that it’s super fine and helps to stretch the dough nice and thin for that incredibly crisp crust.
- Yeast – Red Star Platinum yeast is my all-time favorite and go-to yeast. I don’t use anything else! Since this’s an instant yeast, you don’t even need to proof it in warm water! If you’re using active dry yeast, you’ll need to proof it first. (Keep reading and I’ll share how to do that in a bit.)
- Olive oil – It’s essential for adding flavor and softness to the dough.
- Salt – Without salt, this crust will lack the flavor!
- Water – The amount of water affects the hydration level of your pizza dough. The higher the hydration, the lighter and crispier the pizza dough. However, it’s a little tricky to handle a dough with high hydration. I prefer 65% hydration, which makes easy-to-handle dough that’s still produces relatively light texture.
Hydration Levels
Here’s a quick cheatsheet for amount of water for different hydration level.
- For 60% hydration – add 270g water
- For 65% hydration – add 290g water
- For 70% hydration – add 315g water
- For 75% hydration – add 335g water
How to make pizza dough from scratch:
I like to make this dough by hand, but you can definitely use a stand mixer too.
- First, we’ll make a shaggy dough with just flour, water and yeast.
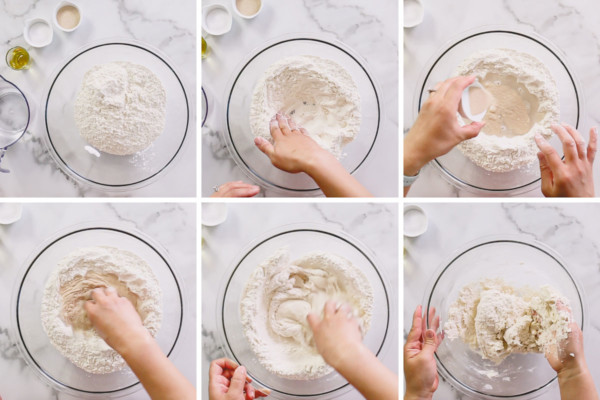
- Add olive oil and knead until the dough is almost smooth.
- Cover the bowl and let it rest for 5 minutes.
- Then add salt and knead it again.
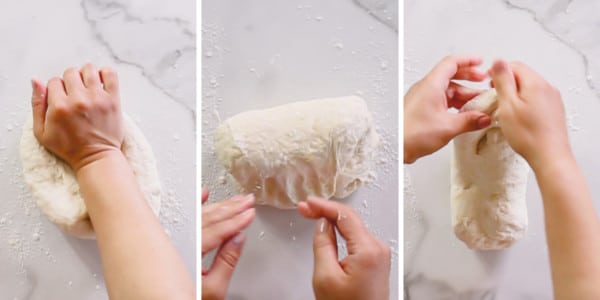
- Turn the dough onto a counter and knead for a few more minutes.
- To knead the dough, use the heels of your hand and push the dough away from yourself, then fold it over and push away again. When the dough forms into a long log, turn it and knead again the same way.
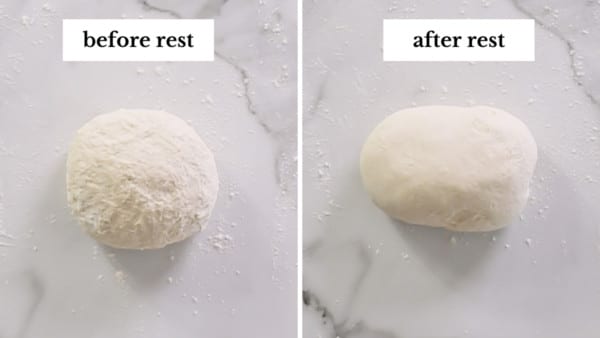
- Cover the dough with the bowl, or place the dough in a lightly oiled bowl and cover with damp towel. Rest the dough for 20 minutes, or up to 2 hours.
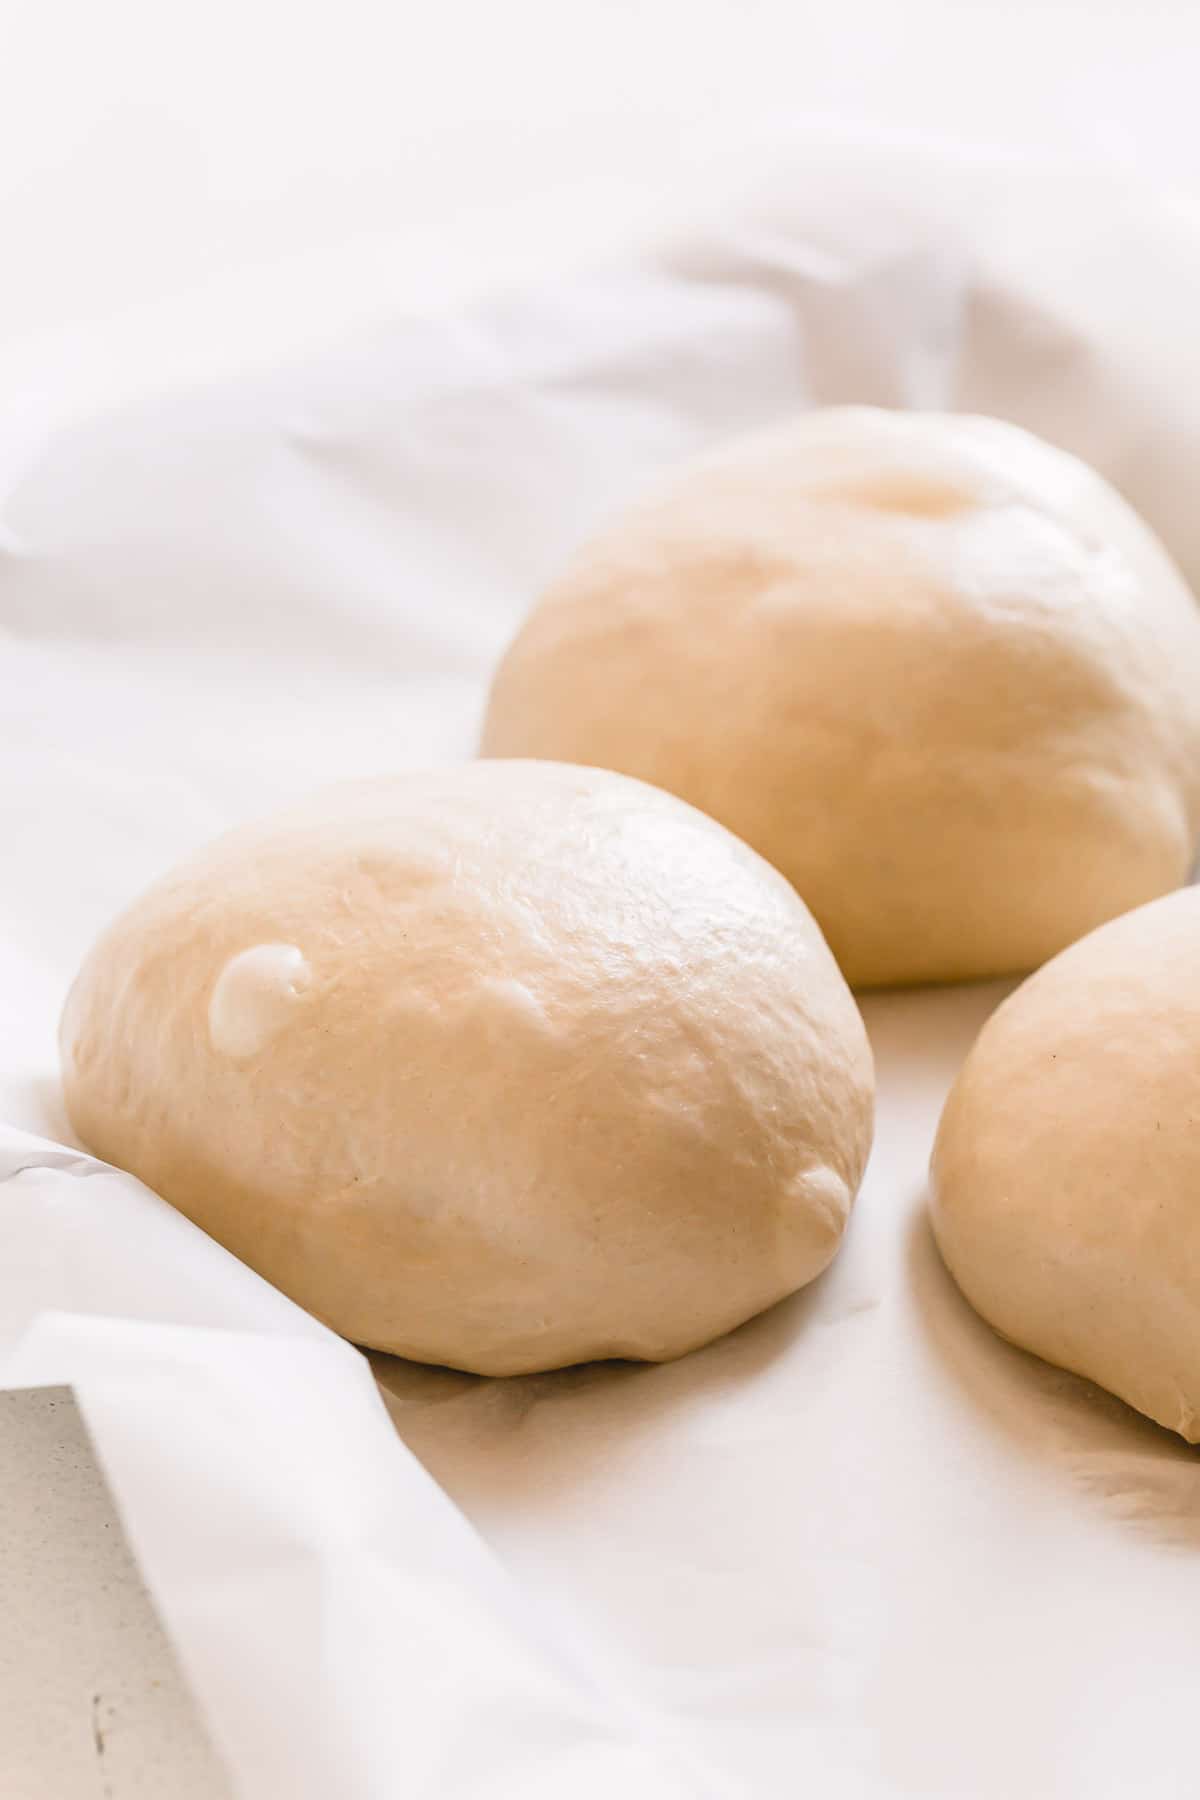
- As you can see below, the dough will be much smoother after the rest!
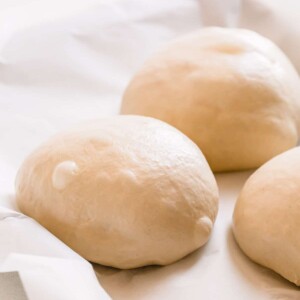
- Now, divide the dough into 3 equal parts (about 250g per pizza dough ball) and knead into smooth balls.
- Place the dough balls on a tray and cover with plastic wrap. Or you may place in a plastic container with a lid, or ziplock bags.
- Refrigerate for at least 24 hours, or up to 3 days. This process is called “cold fermentation“.
- Remove the pizza dough from the fridge about 2 hours before using and allow it to come to room temperature.
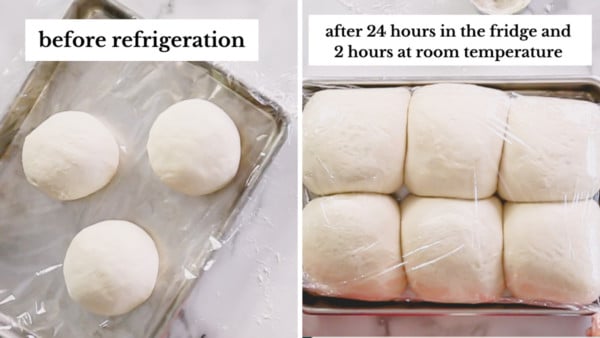
P.S. No, dough balls don’t double during the rest. 🙂 I just made a different double batch previously.
Tip
Cold fermentation (aka retardation) is a process of slowing down the yeast activity to develop more complex flavors and to improve gluten structure, which means the dough becomes easier to stretch and shape.
How to stretch pizza dough:
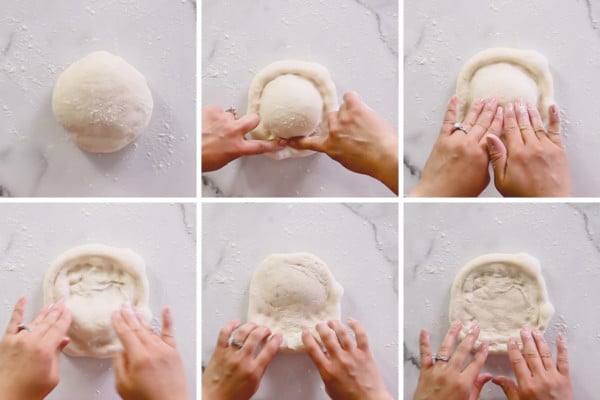
- Place a dough ball on a lightly floured countertop.
- Draw an imaginary line about one finger width all the way around the edges. That’s the guideline that we don’t want to cross over for that beautiful round edge, which is called “cornicione”, which means frame.
- Then draw another imaginary line right in the center of the dough ball. With all of your fingertips, press forward until you reach the border, leaving dimples all over. Turn the dough over, and then press again from the center forward on the other half of the dough. This’s an important step. Pressing the dough with fingertips and creating dimples traps all the air bubbles inside the dough, so the crust bakes light and airy.
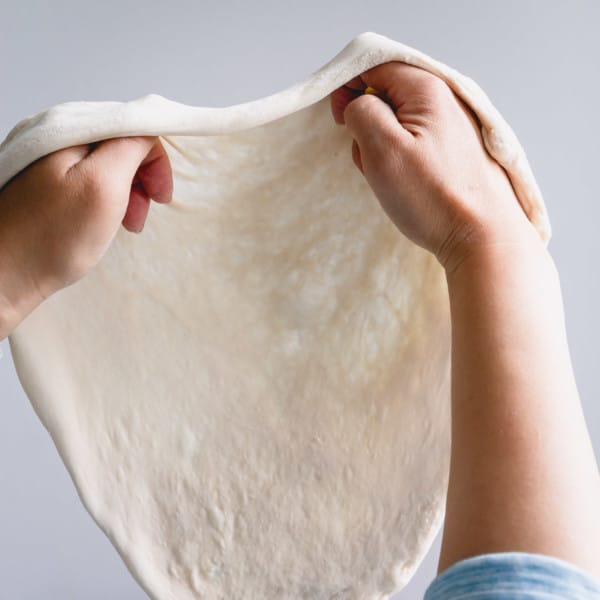
- Now, you can stretch the dough by pulling the dough with your hands, stretching, slapping or throwing up in air. Have fun!
- If it’s getting too sticky, get a little bit of flour with only two fingers to dust.
- You want to see lots of bubbles on your stretched pizza dough, that’s how you get light and airy pizza crust!
Tip
It’s important to bring the dough to room temperature before stretching it, or the dough will keep shrinking and you may overwork the dough which will lead to tough crust.
Tip
Handle the dough gently without deflating the air bubbles.
Never ever use a rolling pin to stretch pizza crust!
Pizza Baking Tips:
- Use as little bench flour as you can for dusting. Excess flour will burn in hot oven, which will create bitter taste.
- Don’t use too much toppings and go easy on the sauce. You don’t want to overfill the crust, which will stick to the pizza peel, making it hard to transfer into the oven.

Make-Ahead Tips:
This pizza dough recipe is designed to be made ahead, but there’re a few ways you can prepare them even more in advance.
- Make the pizza dough up to 3 days in advance and keep it in the fridge, covered.
3 ways to freeze pizza dough:
After 24-72 hours of refrigerating/cold fermentation the pizza dough, you can freeze it using one of the following methods:
- Option 1: Place the pizza dough on a baking sheet, freeze it until firm, and then transfer it into a ziplock bag. Or, place each dough ball in a lightly oiled plastic container and freeze.
- Option 2: Stretch the pizza dough and line a large paper plate. And freeze it for up to 3 months.
- Option 3: Shape pizza crust and blind bake for 5 minutes at 400°F. Then freeze it for up to 3 months.
How to thaw frozen pizza dough:
- Transfer the frozen pizza dough into the fridge the night before to slowly thaw in the fridge overnight.
- Then bring it out on the counter for 1-2 hours to bring it to room temperature before shaping and baking.
Hope you’ll make this easy homemade pizza dough! Please let us know if you give it a try.
Video Tutorial:
Easy Homemade Pizza Dough
Ingredients
- 450 g flour Note 1
- 290 g water cold or room temperature Note 2
- 1 packet Red Star Platinum Yeast Note 3
- 10 g extra virgin olive oil
- 2 teaspoons coarse sea salt
Instructions
To make pizza dough:
- Add flour in a large bowl and make a big well in the middle of the flour.
- Pour all the water into the well.
- Sprinkle yeast over the water. Form a claw with your hand and stir the yeast and water mixture, slowly incorporating flour into the wet mixture and creating a thicker and thicker paste.
- When the dough is shaggy, stir in olive oil.
- Once you have most of the dough formed, let it rest for 5 minutes. It'll look pretty dry, but it's totally normal.
- Now, add salt and knead the dough until smooth.
- Then turn the dough onto a lightly floured counter and cover with a bowl. Rest for 20 minutes.
- Divide the dough into 3 equal parts (about 250g each) and knead into smooth balls.
- Place the dough balls on a cookie sheet, lined with plastic wrap, and cover with plastic wrap. (Alternatively, you may place the dough balls in a plastic container with a lid, or plastic bags.)
- Refrigerate for at least 24 hours, or up to 3 days. (After cold fermentation, you can freeze the dough balls for up to 2 months. To thaw, place the frozen dough in the fridge overnight.)
- Remove pizza dough(s) from the fridge 1-2 hours before using and allow it to come to room temperature.
To stretch pizza dough:
- Dust a counter with a little bit of flour and place a pizza dough ball.
- Draw an imaginary line about one finger width all the way around the edges. That’s the guideline that we don’t want to cross over for that beautiful round edge, which is called “cornicione”, which means a "frame".
- Then draw another imaginary line right in the center of the dough ball. Now, press forward with all of your fingertips over the top half of the circle until you reach the border, leaving dimples all over. Turn the dough over, and then press again from the center forward on the other half of the dough. This’s an important step! Pressing the dough with fingertips traps all the air bubbles inside the dough, so the crust is airy and light after baking.
- Now you can stretch the dough by pulling the dough with your hands, stretching, slapping or throwing up in air. (TIP: If the dough is resisting, your dough might be still cold. Let it rest a bit and try again.)
- If it’s getting too sticky, get a little bit of flour with only two fingers to dust. You don't want too much flour!
- It's a good sign if you see lots of bubbles on your stretched pizza dough, that's how you get light and airy pizza crust!
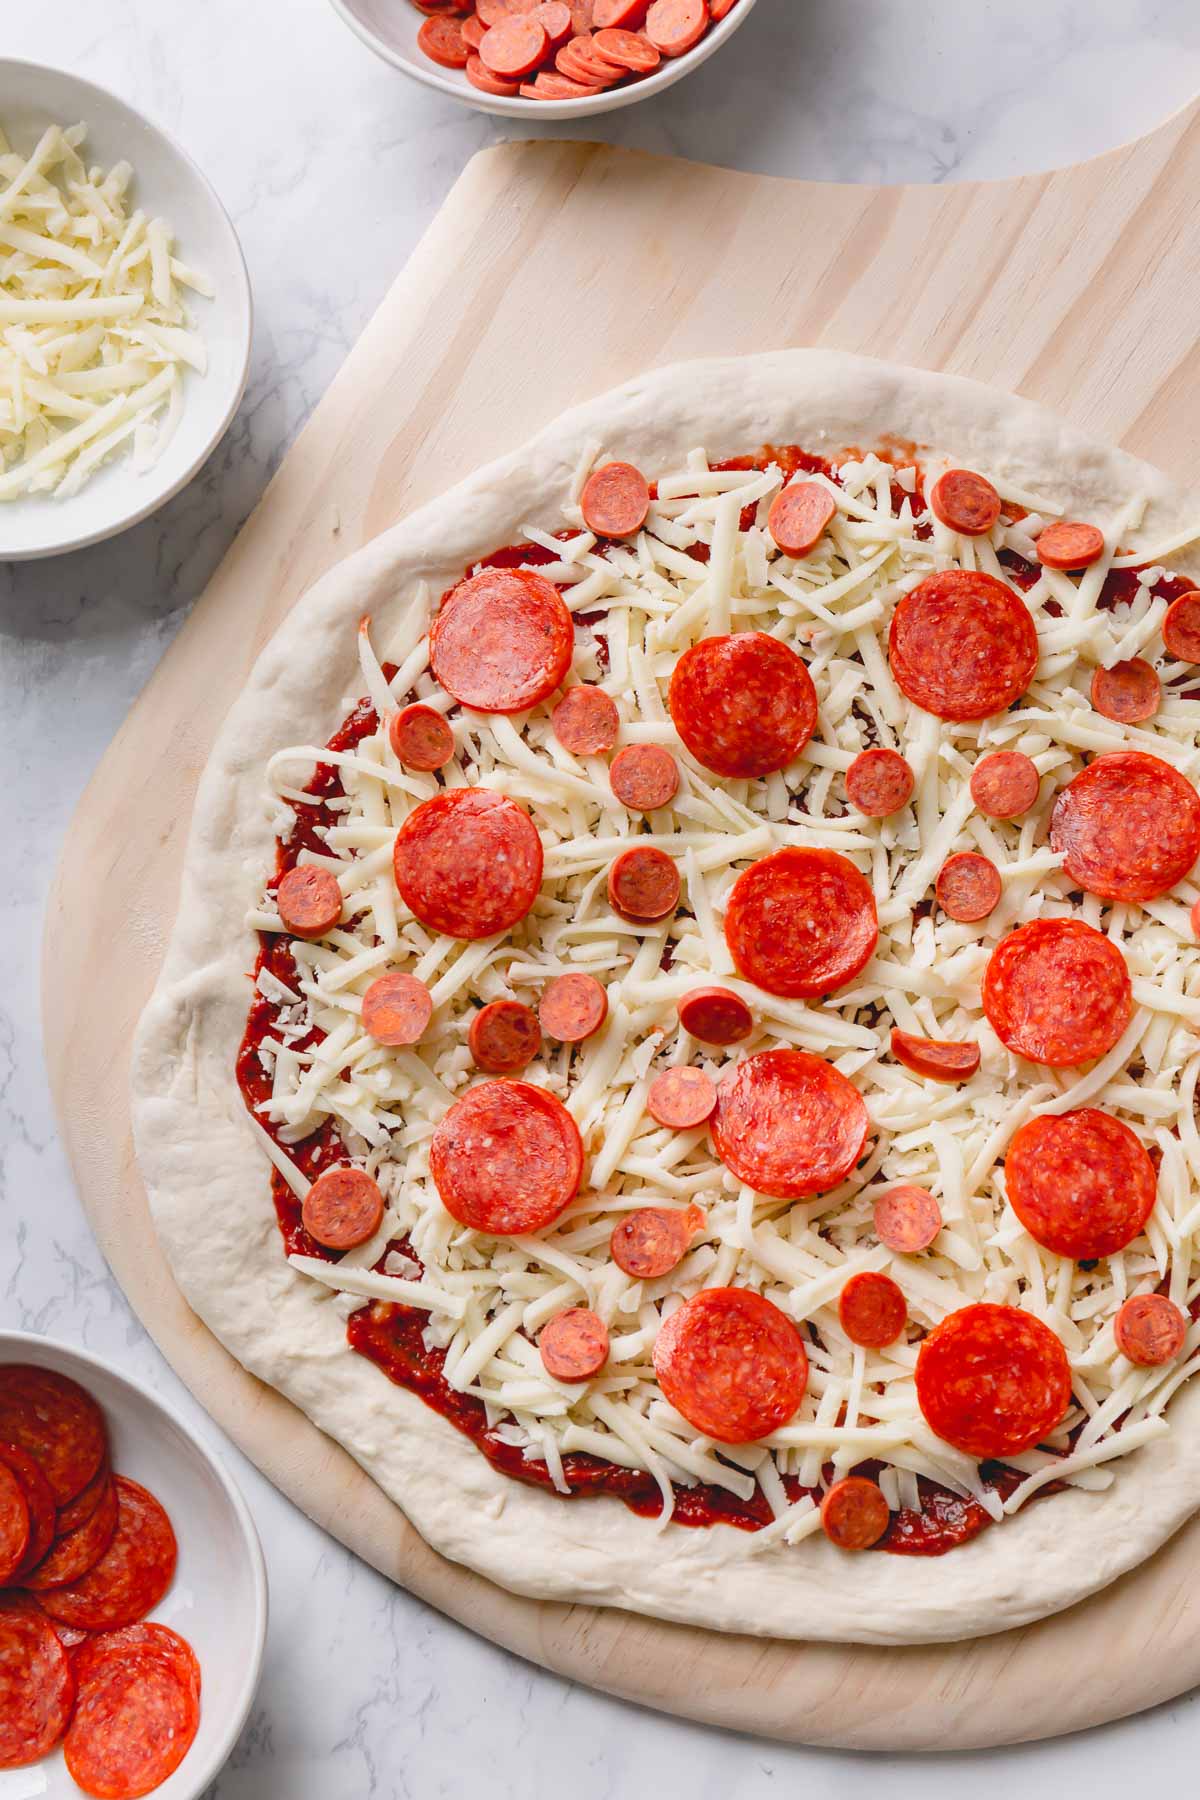
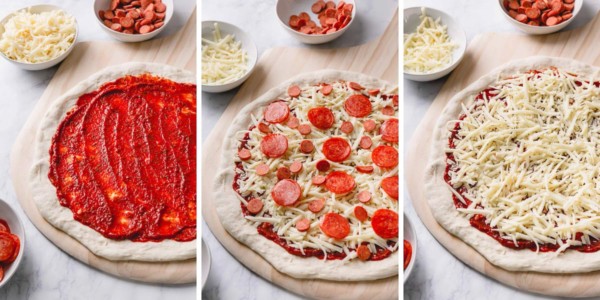
To top and bake:
- Preheat the oven to 525°F (270°C) or the highest setting. If you have a pizza stone, place it in the oven right away.
- Put the pizza crust on a pizza peel and top it with your favorite toppings. Then slide it onto the pizza stone and bake for 13-15 minutes, or until the toppings are golden brown.
⭐️ Did you make this recipe?
Please leave a review and let us know how you liked it!
Video
Tips & Notes
Nutrition


Wow! Looks amazing. Can’t wait to try!
Hi, Tammy! Please let us know if you give it a try. Hope you’ll enjoy it!
Recipe thank you very much! I did it exactly like you said to do and it turned out perfectly!
We were gifted a pizza oven and after trying many dough recipes, this is our go-to. Your great video and clear instructions made it easy to make this very tasty dough. Thanks for your enthusiasm too!
Aww, I’m beyond happy you tried and loved my pizza dough recipe. Thank you so much for your feedback, Deb.
I have the dough sitting now, I’m just curious: in your written ingredients you specifically list COARSE sea salt, which I used, but found odd as it did not incorporate super well and I have rarely used coarse salt in my dough. Looking at your pictures it looks like you used fine sea salt, but I could be wrong. Can you clarify which is the one you use?
Hi, Hannah. Thank you for reaching out! Ok, confession. I don’t usually use sea salt. Diamond Crystal kosher salt is my go-to. It’s not fine salt, it’s coarse kosher salt and I never had problem with salt not dissolving in the dough. That being said, this recipe is given by North American Pizza & Culinary Academy, where they specified for coarse sea salt. So I know it’s tested and reliable recipe as is. Hope your pizza dough turns out great. And please let us know how you like it.
wow! wonderful, i really loved it.
Thank you, Durjoy!