Learn how to roll and dip cake pops like a professional baker with our easy-to-master cake pop recipe! These impressive treats are the perfect individual serving for birthday parties, showers, and more.
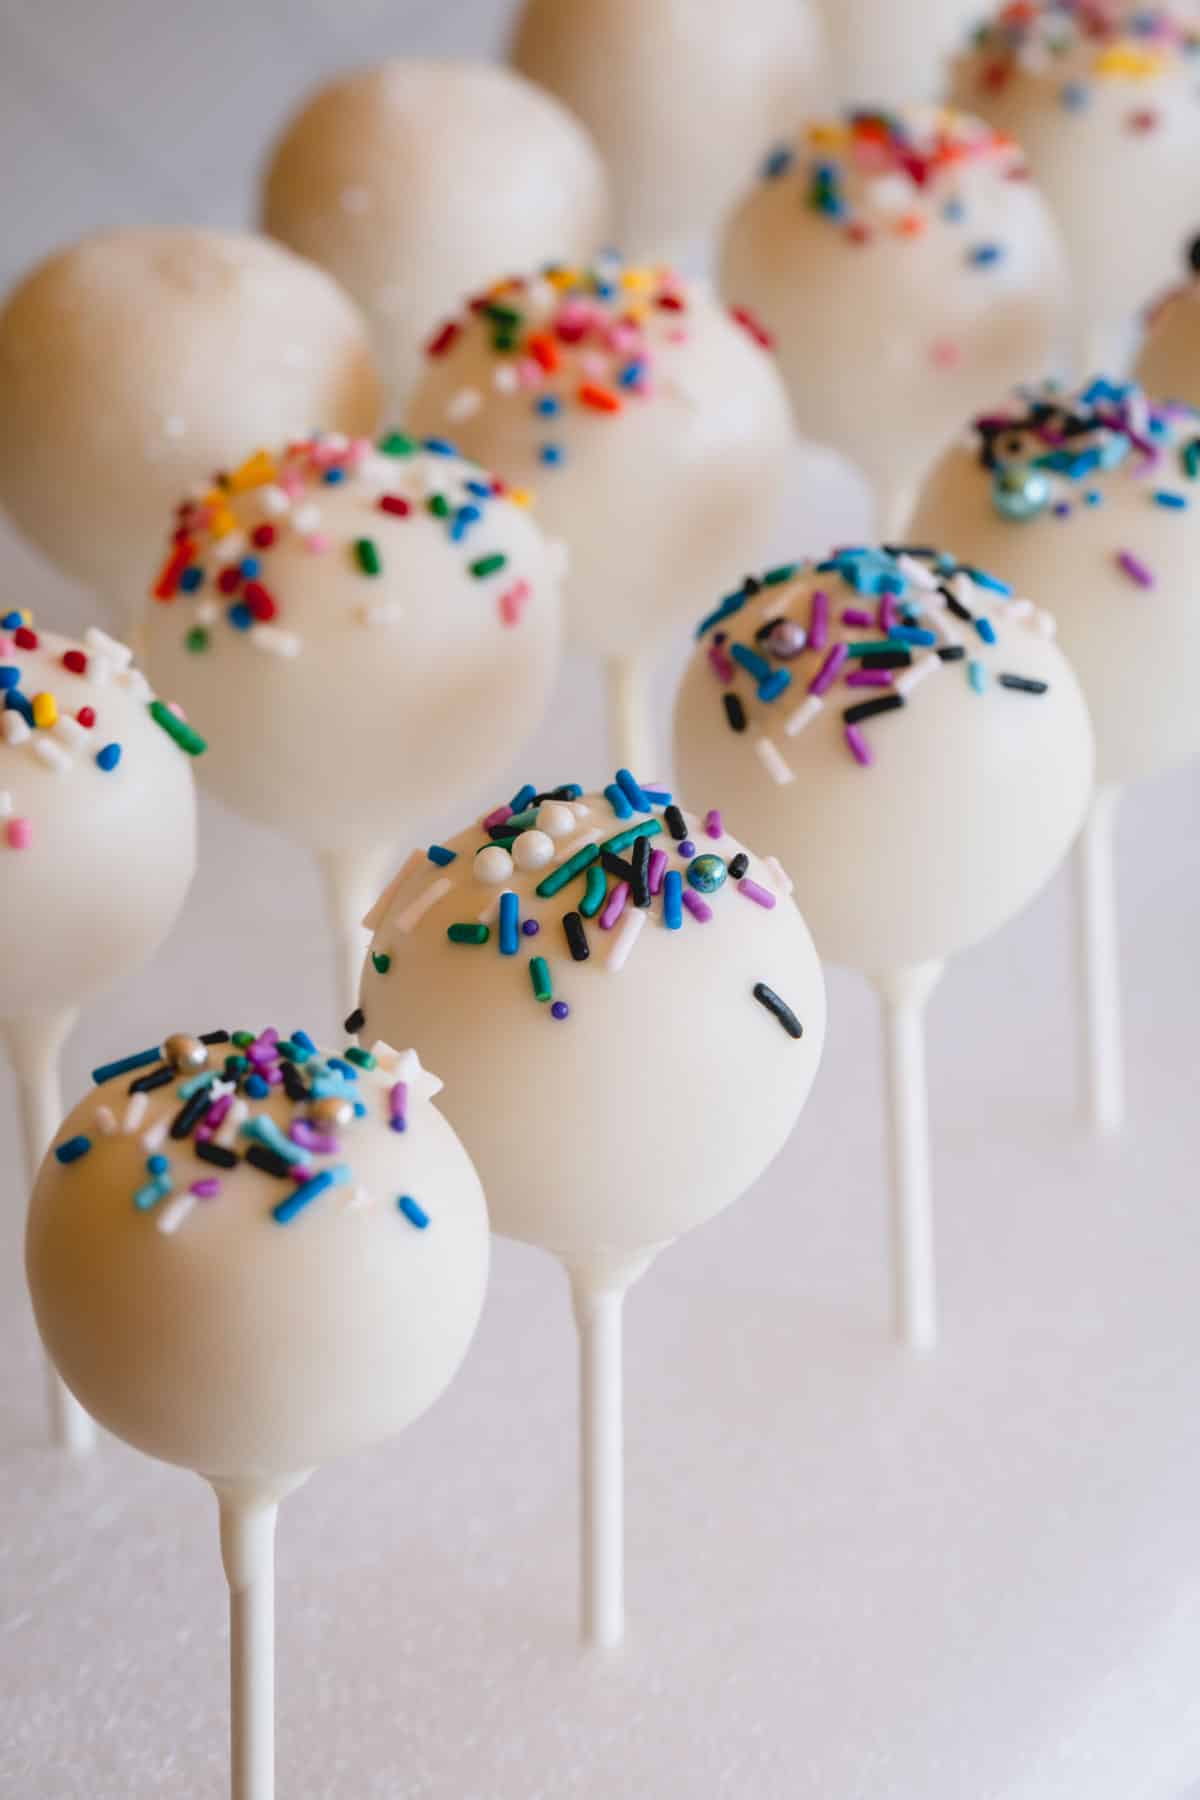
You don’t have to be an experienced baker to master our cake pops recipe! I’ve been making these for years, with all kinds of themes, since they are the perfect party treat or favor.
I’m giving you all my step-by-step tips so you can make these cake pops with no stress!
Every time I bring these to an event, everyone always asks which bakery I bought them from. Little do they know, I made them at home and with store-bought cake mix too!
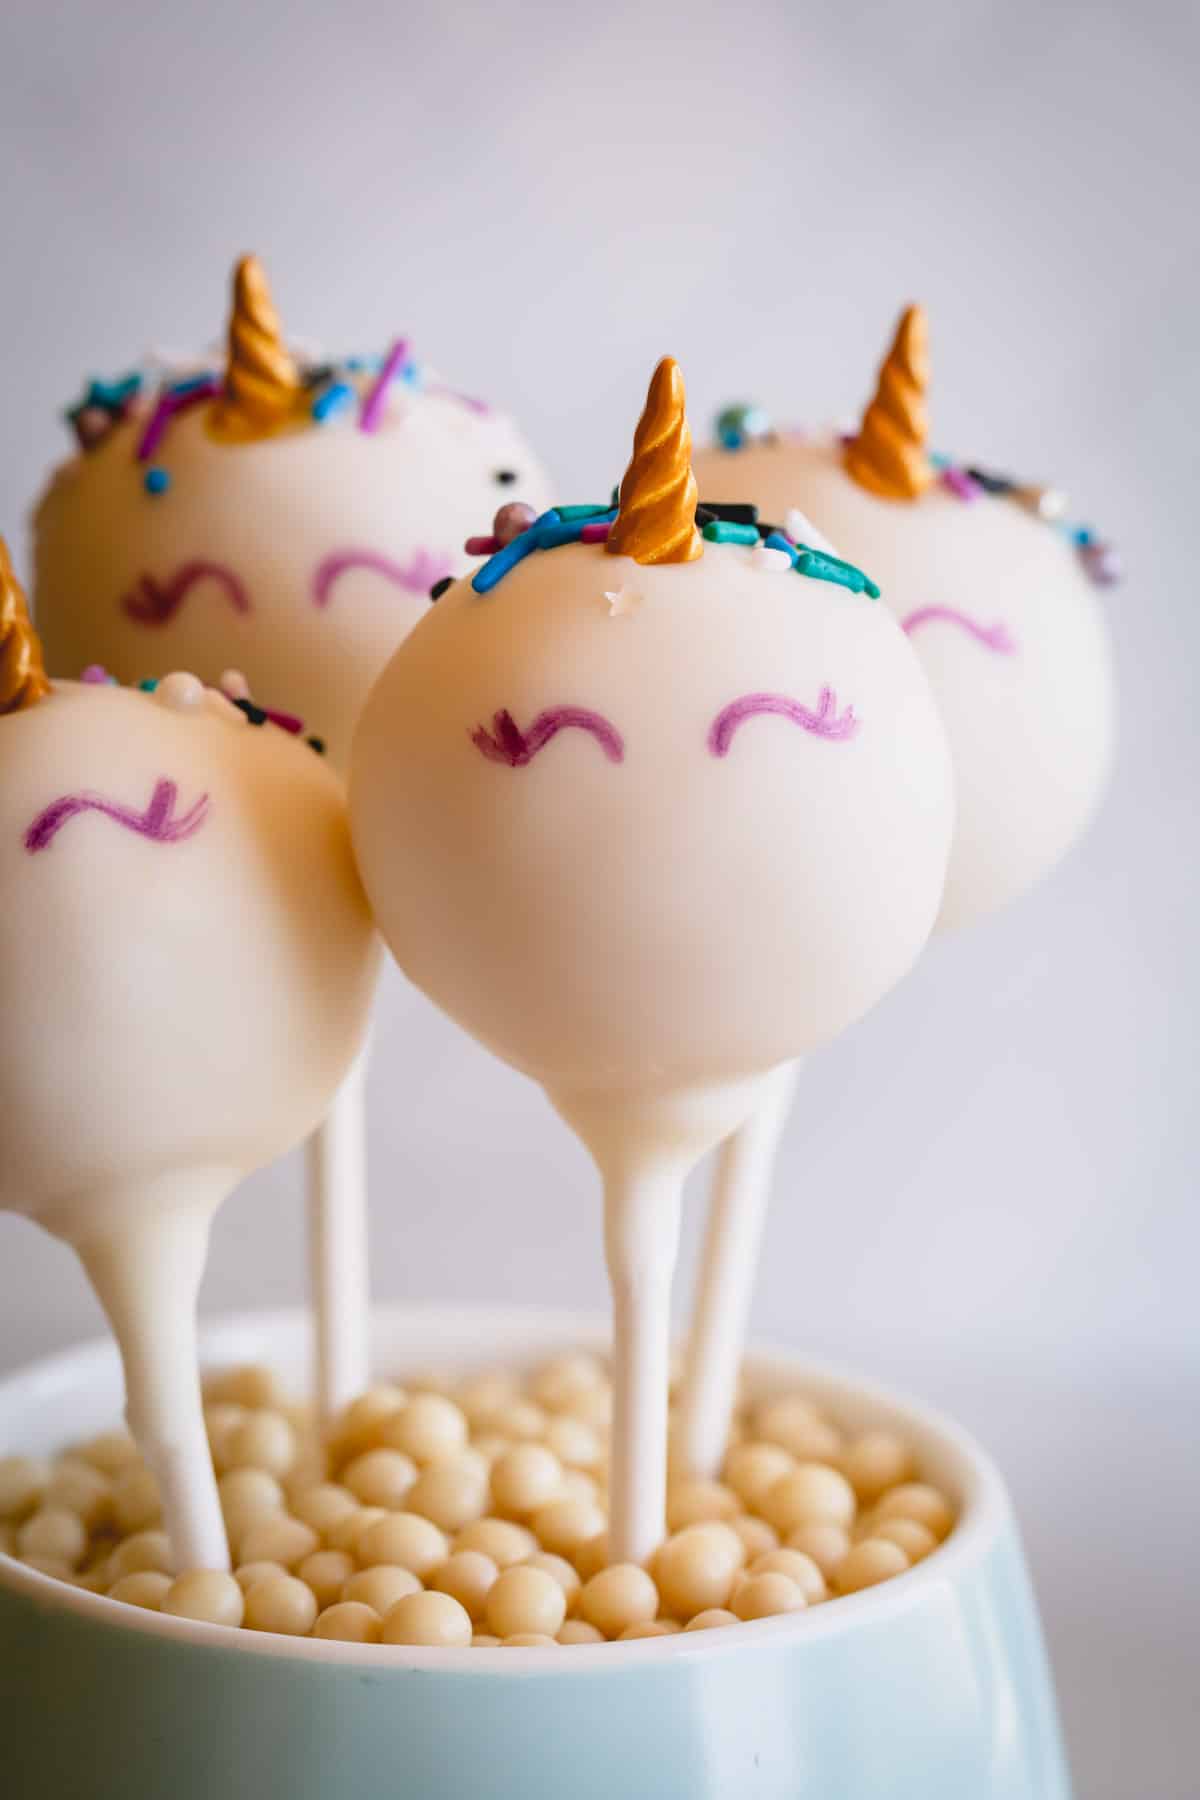
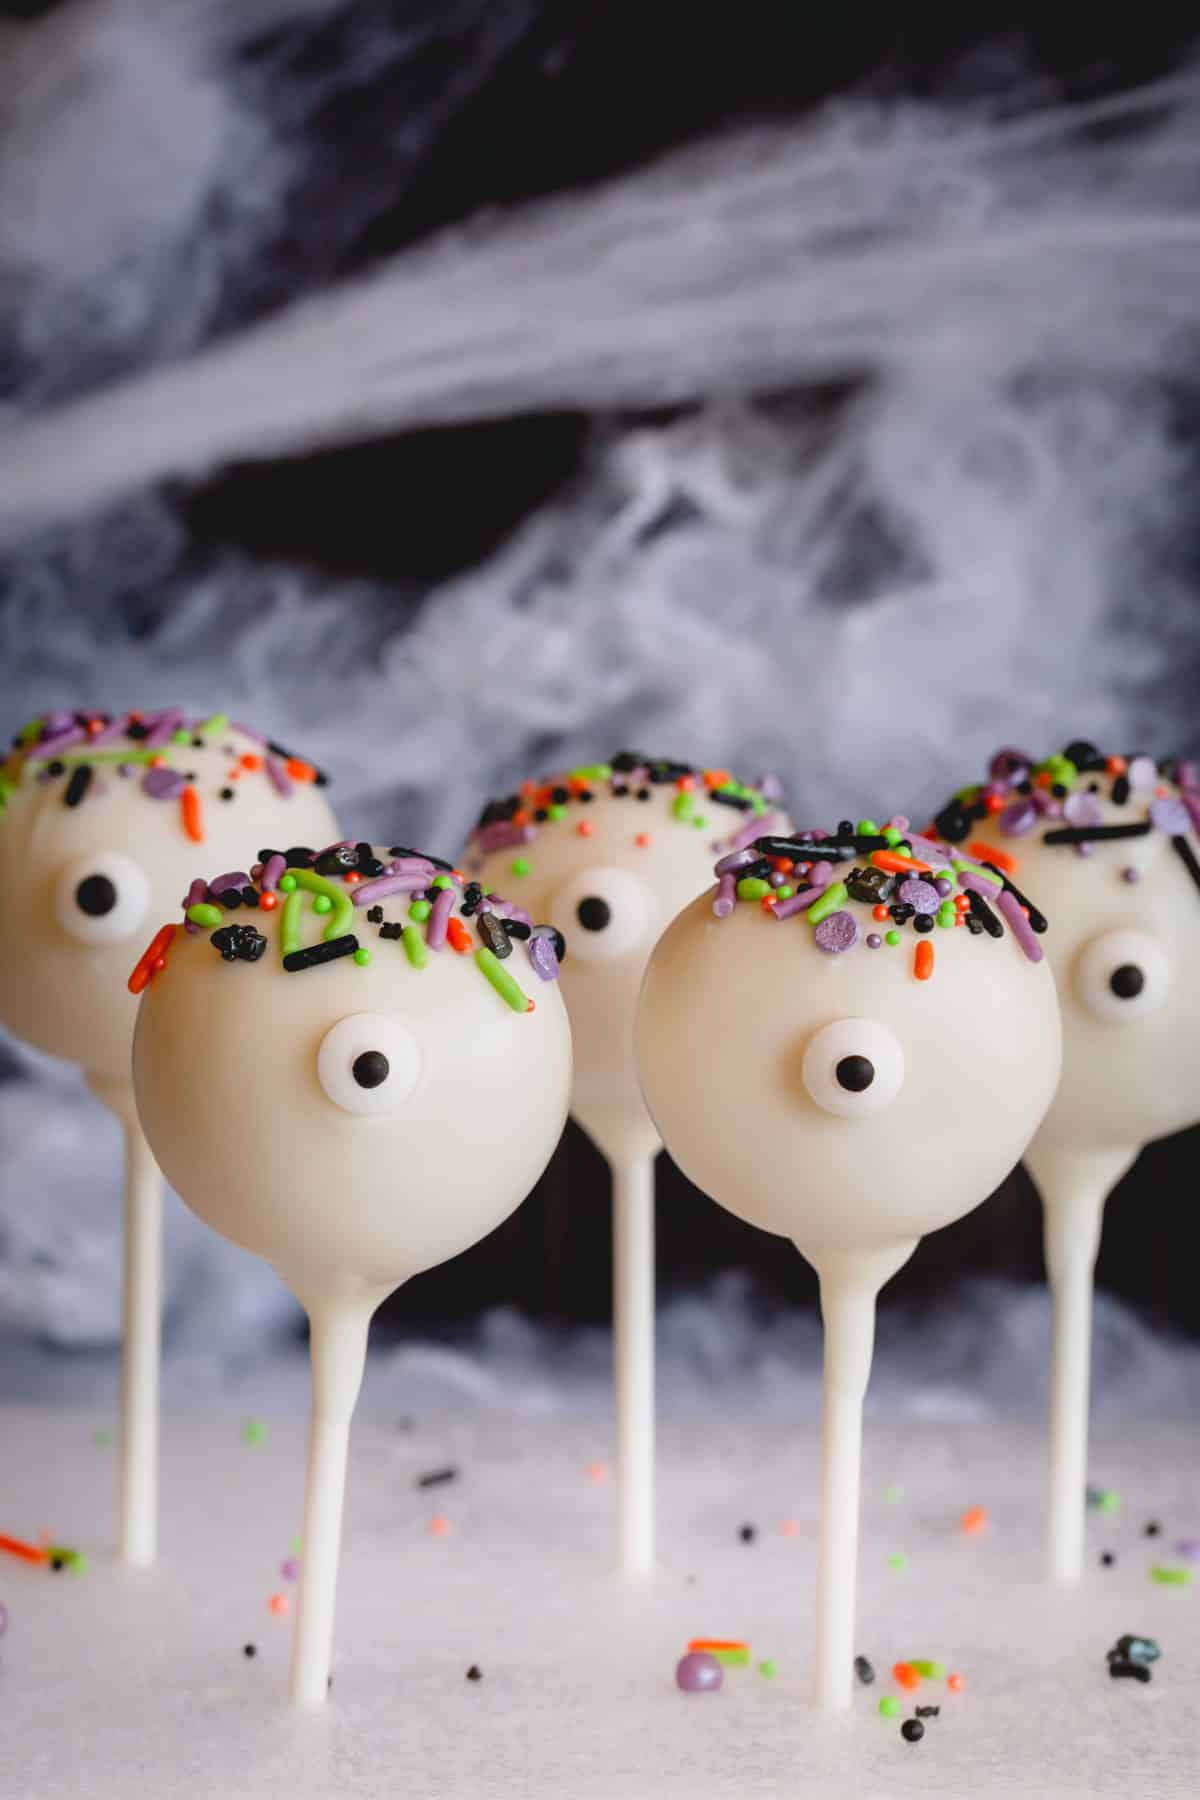
Dip them in bright colors, make rich chocolate cake pops, top them with sprinkles, drizzle them with chocolate, or shower them with edible glitter!

Why you’ll love this recipe
- Customize for parties and celebrations. No matter the event, you can easily theme these pops for any occasion.
- Simpler to make than you think, even kids can help out! My kids love to help decorate with sprinkles and edible glitter.
- Easy to make using store-bought cake mix. Forget making cake from scratch, the mix cuts down on prep time.
- Look just like a professional bakery without the price tag. These are so much more affordable to make from home with just a couple of extra supplies from the arts and crafts store.
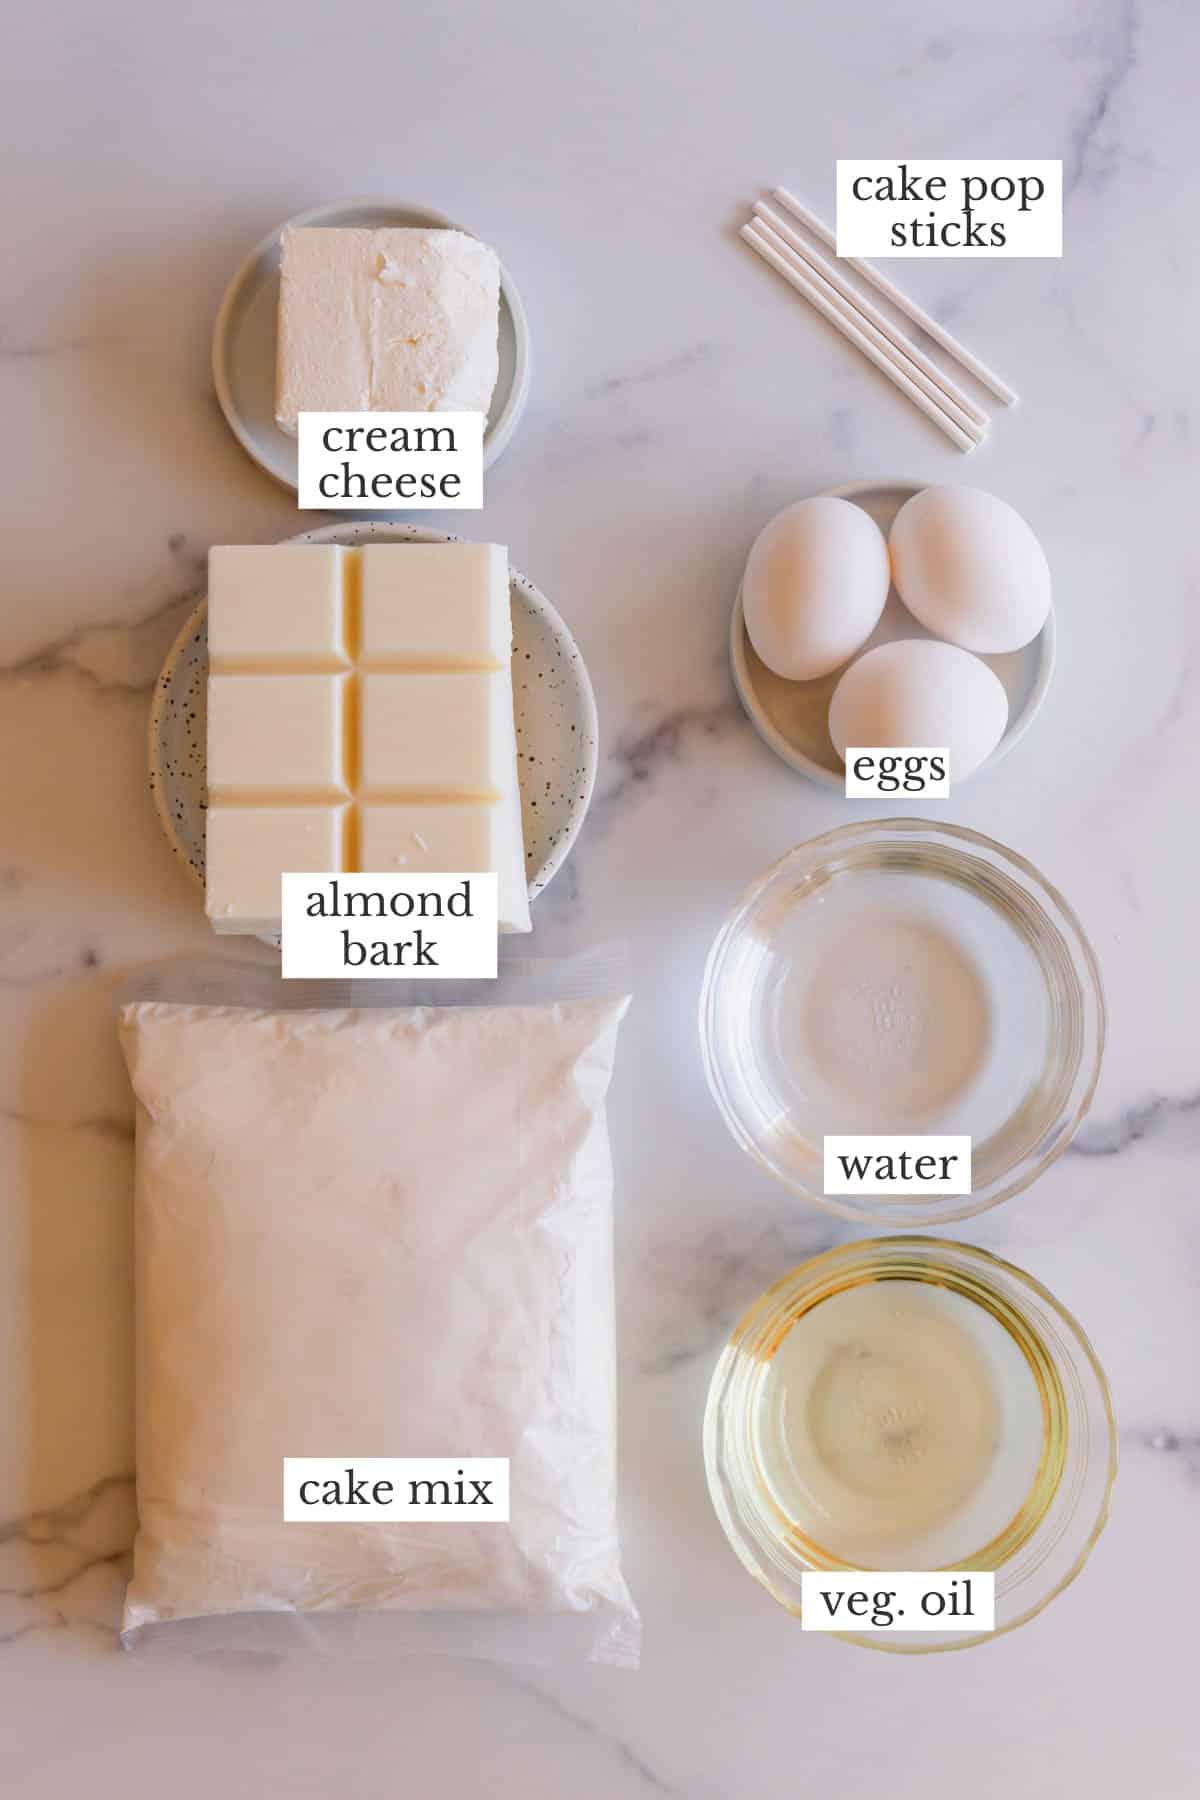
Key Ingredient Notes
- Yellow cake mix – For classic vanilla pops, use a yellow cake mix, and for chocolate pops, a chocolate cake mix. You can make any flavor of cake you like! Try red velvet, spiced, strawberry, Funfetti, or white cake mixes. The sky is the limit!
- Eggs – Eggs provide structure and richness for the batter! Always use large eggs when baking unless otherwise specified.
- Vegetable oil – Fat is essential for a moist and soft cake! Vegetable oil or melted butter both work great.
- Cream cheese – Plain cream cheese is the perfect binder for the crumbs! It’s decadent, firmer than frosting, and it won’t sweeten the already sweet cake!
- Cake pop sticks – Don’t forget to buy sticks before you start. Purchase them at your local craft store or online.
- Almond bark – I find melted almond bark coats the balls with ease. It has a better consistency than candy melts and it doesn’t need to be tempered like chocolate. If you want a colored coating, you can add oil-based fool coloring to it.
How to make this cake pops recipe
Homemade cake pops are so easy! Follow my recipe and tips for perfectly dipped pops every time.
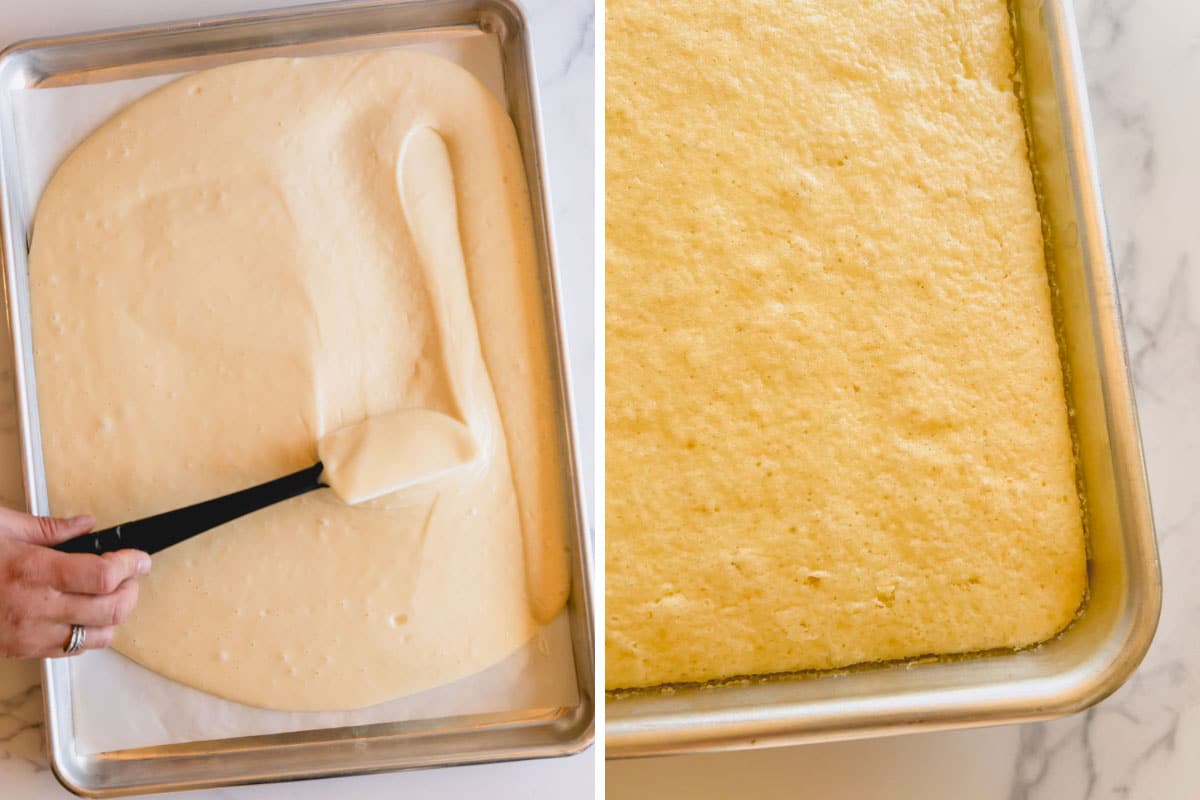
Bake the cake
Preheat the oven to 350 degrees Fahrenheit. Line a baker’s half sheet pan with parchment paper or a silicone baking mat.
- Beat the cake mix, eggs, water, and vegetable oil in a large mixing bowl for 2 whole minutes. Doing this ensures the cake will be light and fluffy.
- Pour the batter into the prepared baking sheet and spread it around evenly.
- Bake the cake for 15 minutes, or until a toothpick inserted into the center comes out clean. Cool the cake completely.
Make the cake pop mixture
- Crumble the cooled cake into a large bowl. Try not to leave large chunks of cake, so the pops are easy to roll.
- Add the cream cheese to the crumbs and mix until a thick, smooth dough forms. Make sure there’s no dry cake visible.

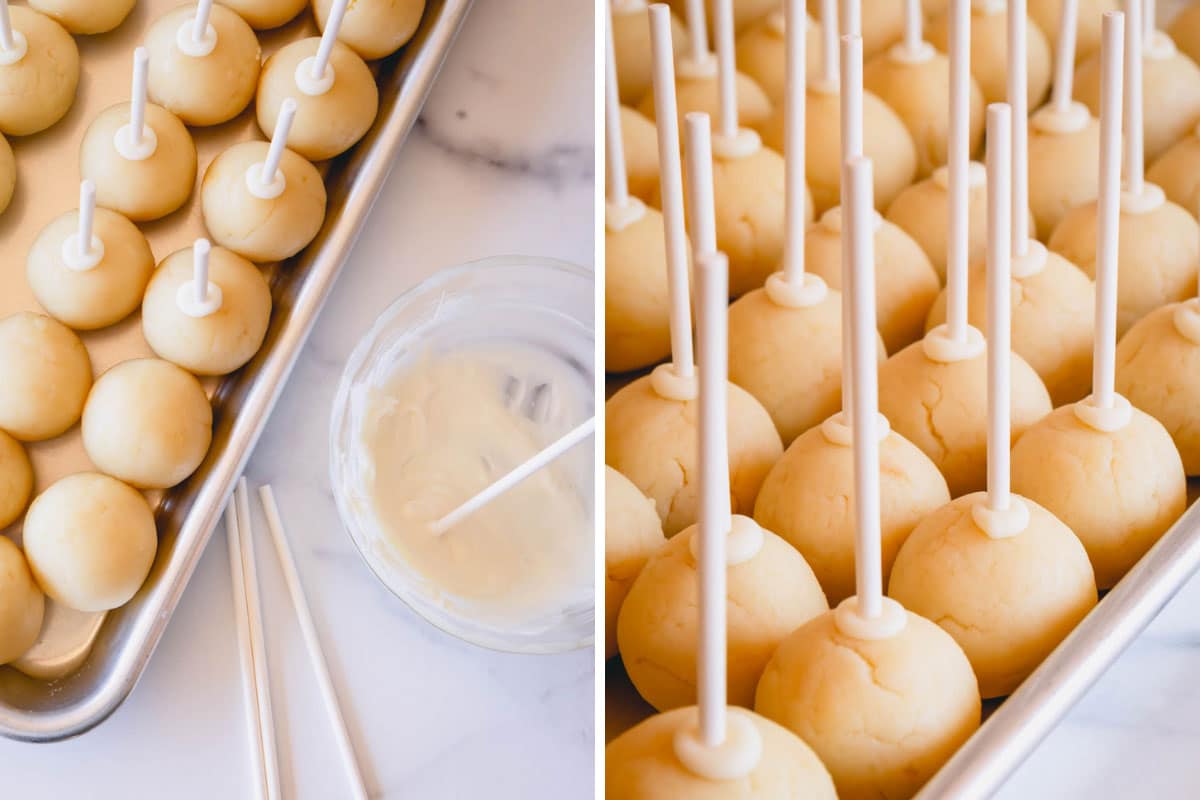
Form the cake balls
- Divide the cake mixture into 1.5-inch balls and roll them until smooth.
- Arrange the balls on a lined baking sheet.
- Chill for 2 hours, or overnight.
- Place a small amount of almond bark in a small bowl and microwave it in 30-second increments until melted.
- Dip a stick into the melted almond bark about ½-inch deep, then insert the stick into a cold cake ball. Repeat this process until all the balls have a stick. Put the pops back into the fridge so the sticks can set.
Make the balls the same size
The easiest way to do this is to purchase a cookie scoop online or at a cooking or arts-and-crafts store. It makes it so easy to scoop and shape cake balls.
refrigeration is key
It’s crucial to refrigerate the cake pop balls. If the balls are soft, they won’t hold together when you dip them.
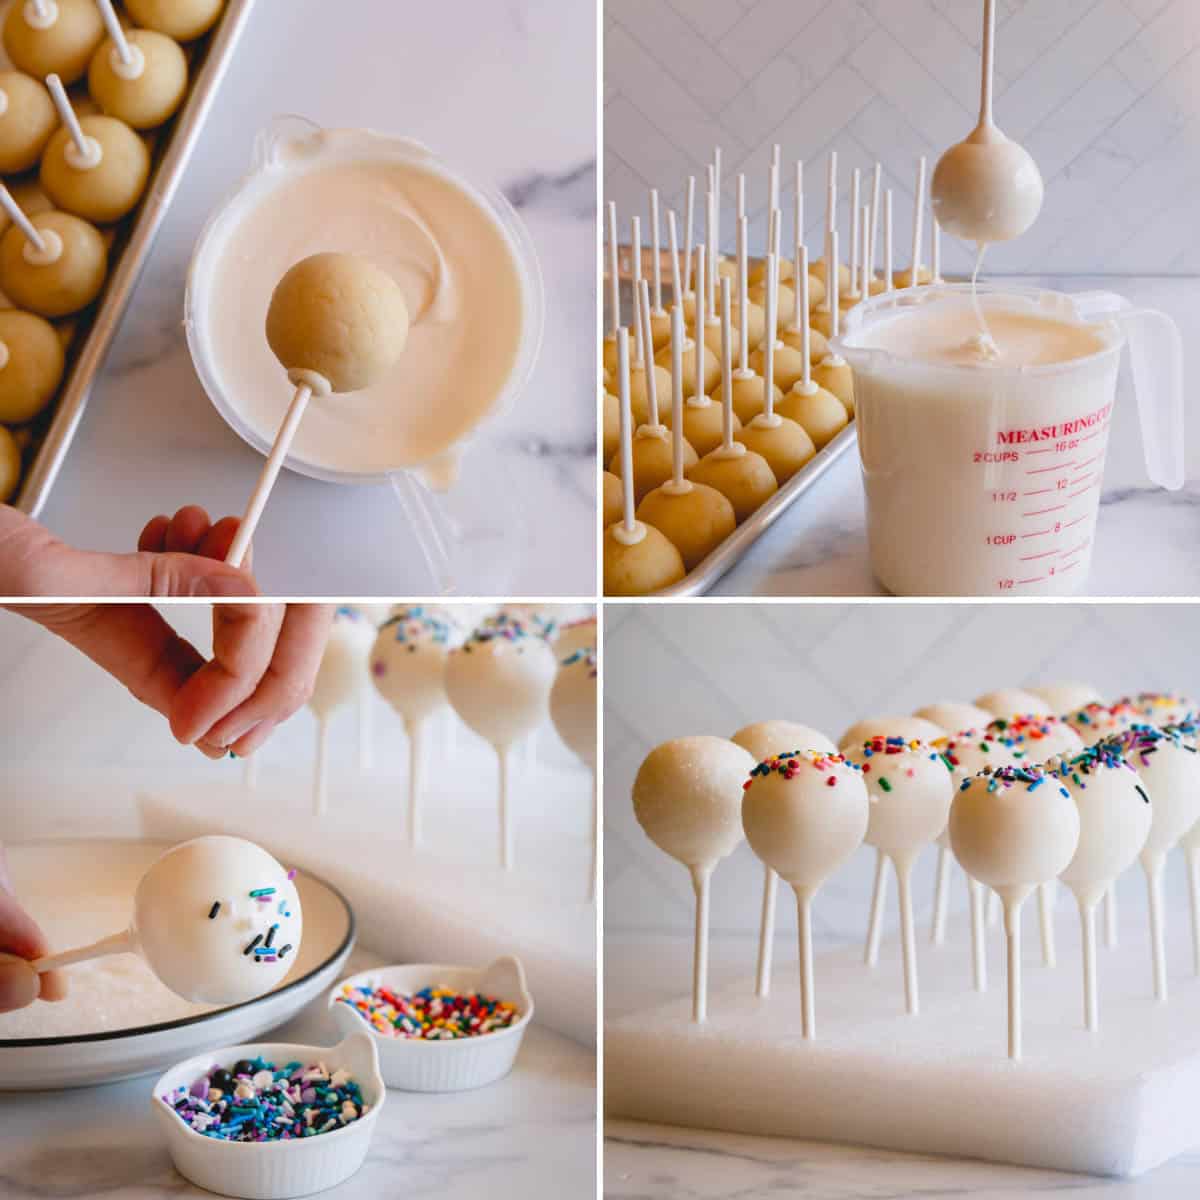
dip the cake balls
- Melt the remaining bark in a 2-cup liquid measuring cup in the microwave until nice and smooth.
- Place the sprinkles or toppings into small bowls.
- Dip about 10 balls at a time, leaving the rest in the fridge to chill. Dip each cake ball into the almond bark until it’s fully covered.
- Pull the cake ball out of the almond bark, then gently shake off the excess coating back into the cup.
- Decorate the top with sprinkles and carefully place the pop standing up into a piece of Styrofoam.
- Repeat with the remaining pops, 10 at a time. If you pull the whole sheet pan out, the cake balls will warm up and fall apart as you dip them.
- Let the coating set for at least an hour before you package them.
Expert Tips
- Cold temperature is key. Warm cake balls will fall apart as you dip them, and frozen ones will crack! They should be cold and firm so they dip easy but don’t crack.
- Let the excess almond bark drip or candy melts off the cake pops. Doing this prevents drips or an overly thick coating.
- Use your favorite homemade cake instead! The ratio should be 840 grams of crumbled cake to 115 grams of cream cheese.
- Only use oil-based food coloring! If you try to add water-based food coloring, it will ruin the smooth texture of the almond bark, making it un-dippable.
- If you plan to use colored candy melts, add 1/2 teaspoon of vegetable oil to achieve dipping consistency. Candy melts are the easiest way to achieve a bright coloring.
- White, milk, or dark chocolate can also be used for dipping. I recommend Ghirardelli’s melting wafers because they don’t need to be tempered.
- For identical and uniform-sized cake balls, use a small portion cookie scoop. It’s important the balls aren’t too big or heavy so they don’t fall off the sticks!
Decorating Ideas & Tips
No matter the event, you can decorate these cake pops in so many different ways! It’s easy to find all of the items online or at a craft store.
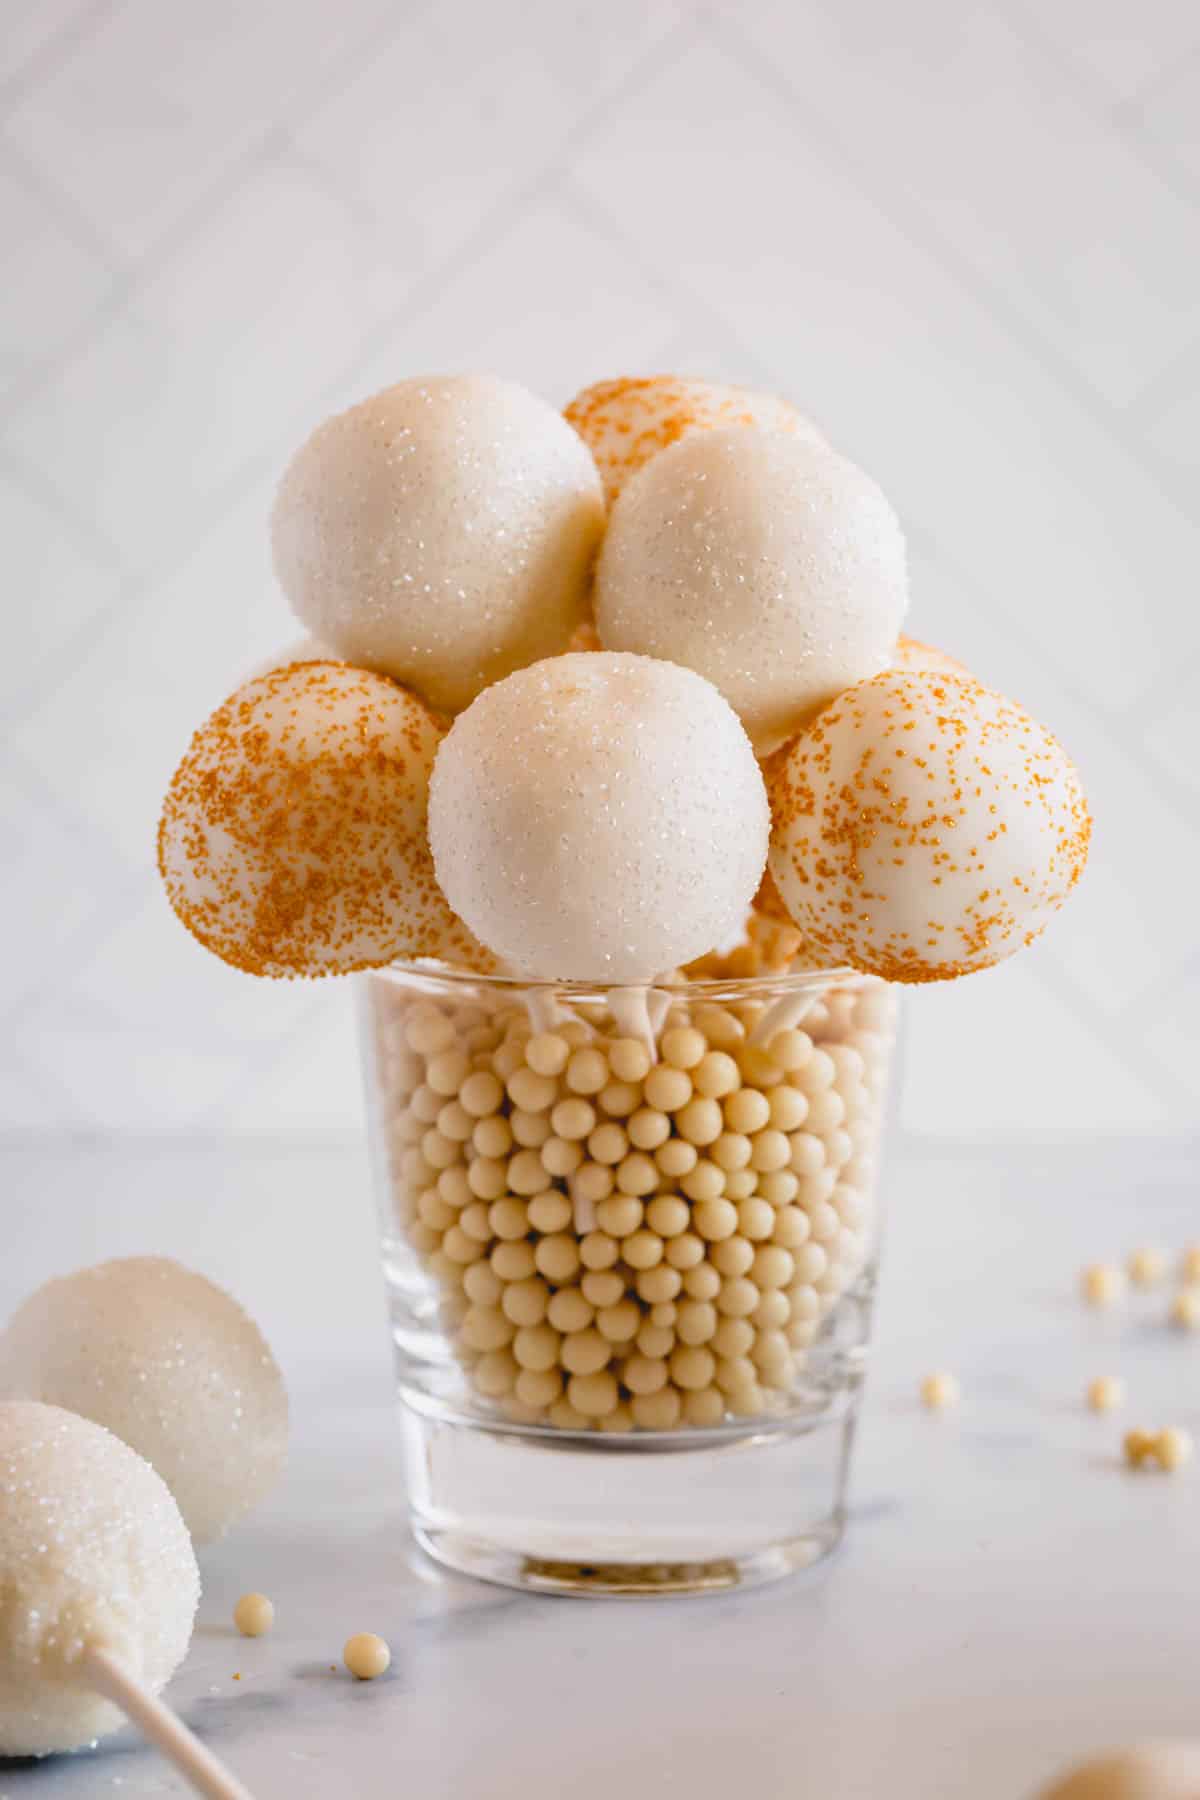
- Bright colors – If you want deep colors with a bright hue, it’s best to use candy melts for coating the cake balls. You can find them in any color!
- Toppings – Try brightly colored jimmies, crushed peppermints, sanding sugar, candy eyes, mini candy flowers, or festively shaped sprinkles. Check the cake & baking section of your local craft store for mini royal icing decorations.
- Sticks – Swap the sticks for colorful paper straws. You can find them in any color or design!
- Edible markers – Draw faces or add details on your cake pops with edible markers.
- Presentation – Use glass jars filled with candy or sugar pearls to display your lovely pops, or make your own stand!
Storage
Store pops in the refrigerator for up to 1 week.
Freeze pops in an airtight container for up to 2 months. Be sure to thaw them in the refrigerator overnight. If you skip this step, the temperature change will cause them to crack.
FAQs:
It’s important to chill the cake pops before you dip them. If the balls are warm during the dipping process they won’t hold together. Most cake pop recipes call for frosting as a binder, but too much of it can make the balls soft and greasy which makes them fall apart! The correct ratio of cake crumbs to cream cheese will result in a sturdy and dippable pop!
You can freeze uncoated cake pops, but let them sit at room temperature before you dip them. If you dip frozen pops into warm chocolate or candy coating, they will crack because of the temperature difference! They should be firm and cold, not frozen.
Cream cheese! It’s thicker than frosting and easier to work with. It doesn’t make the pops too soft or overly sweet. The flavor is on point and so is the texture!
Temperature! If the cake pops are too cold and the coating is too hot, the cake pops will crack as they set up. The cake pops should be cold enough to stay together, but not frozen. The candy coating should be melted but not hot.
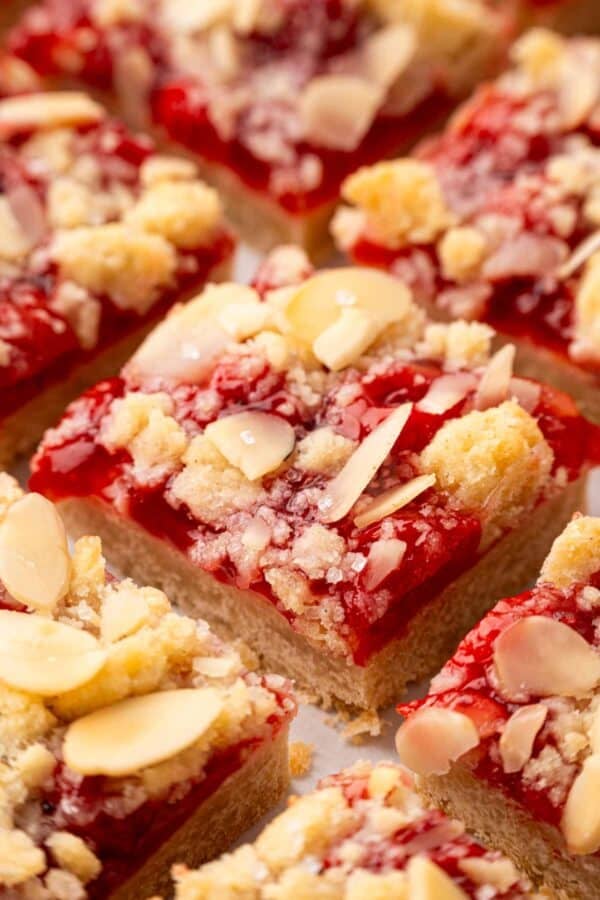
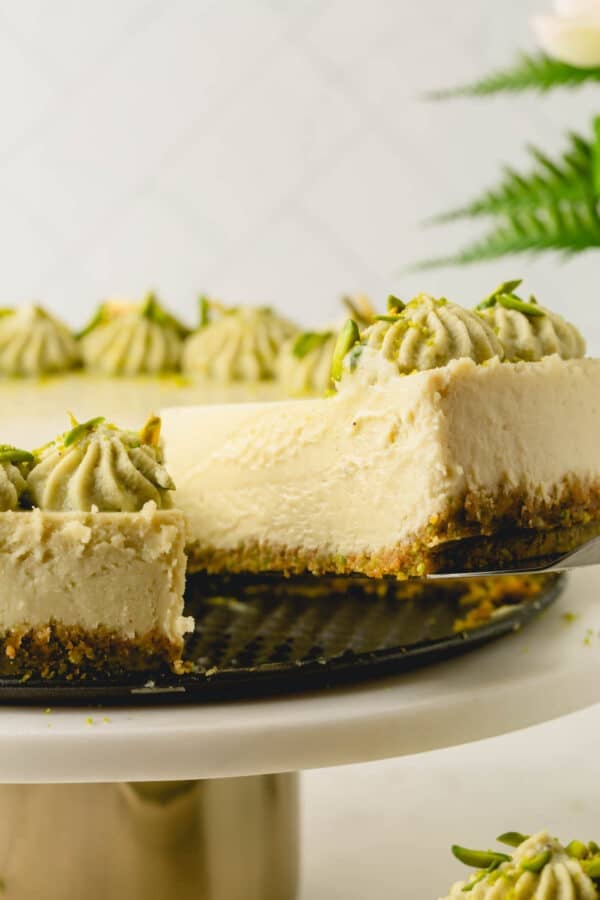
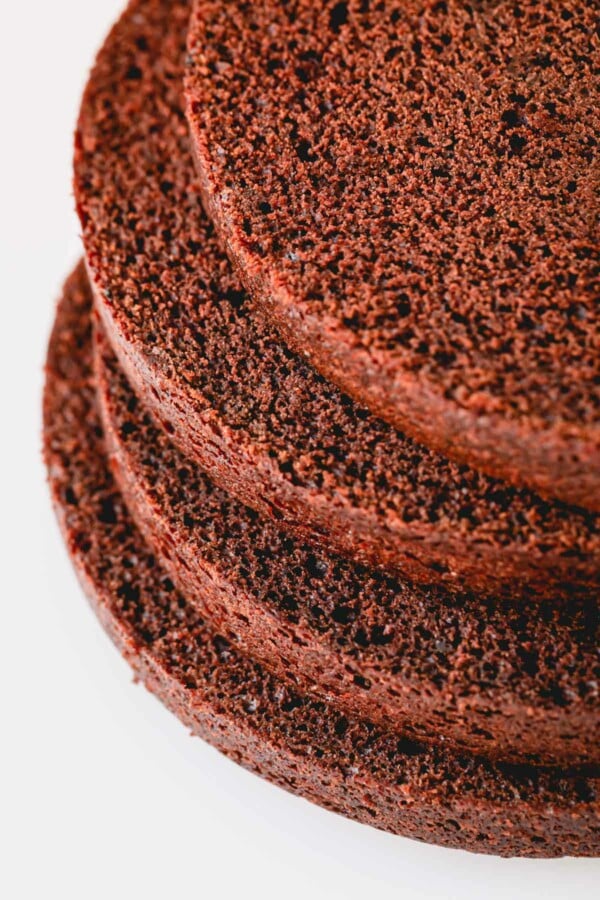
More Impressive Cake Recipes

Easy Cake Pops Recipe
Ingredients
- 1 box yellow cake mix Note 1
- 3 large eggs
- 1 cup (240 ml) water (or milk)
- ½ cup (120 ml) vegetable oil
- 4 ounces (113 g) cream cheese Note 2
- 25 cake pop sticks
- 16 ounces (450 g) almond bark Note 3
Instructions
Bake the cake:
- Preheat the oven to 350°F. Line a baker’s half sheet pan with parchment paper or a silicone mat.
- In a large mixing bowl, beat the cake mix, eggs, water, and vegetable oil for 2 minutes.
- Pour the batter into the prepared baking sheet and spread it evenly.
- Bake for 15 minutes, or until an inserted toothpick comes out clean. Cool the cake completely.
Make the cake pop mixture:
- Crumble the cooled cake into a large bowl.
- Add the cream cheese and mix it well into the cake crumbs with clean hands. Make sure there’s no dry cake visible.
Form the cake balls:
- Divide the cake pops into 1.5-inch balls and arrange them on a lined baking sheet.
- Refrigerate for 2 hours, or overnight.
Coat the cake balls:
- Melt a small amount of almond bark in the microwave.
- Dip cake pop sticks into the melted almond bark about ½-inch deep, then insert it into the chilled cake balls. Continue this process until all the cake balls have a stick. Put them back into the fridge.
- Melt the remaining almond bark in a 2-cup measuring cup in the microwave until nice and smooth.
- Prepare sprinkles in small bowls, if using, to decorate the cake balls.
- Bring out about 10 cake balls at a time. Dip each cake ball into the melted almond bark until it’s fully covered, including the base. Gently shake it to let the excess coating drip off. Immediately decorate the top with sprinkles, if desired. And place the cake pops upright into a Styrofoam, or box, or special cake pop stand.
- Repeat with the remaining cake balls. Be sure to bring about 10 cake balls out of the refrigerator at a time, or cake balls will fall out of the stick it they warm up at room temperature.
- Let the cake pops set for about an hour before packaging.
⭐️ Did you make this recipe?
Please leave a review and let us know how you liked it!
Tips & Notes
– Store in the refrigerator for up to 1 week.
– Freeze for up to 2 months in an airtight container. Thaw in the refrigerator overnight.
Nutrition