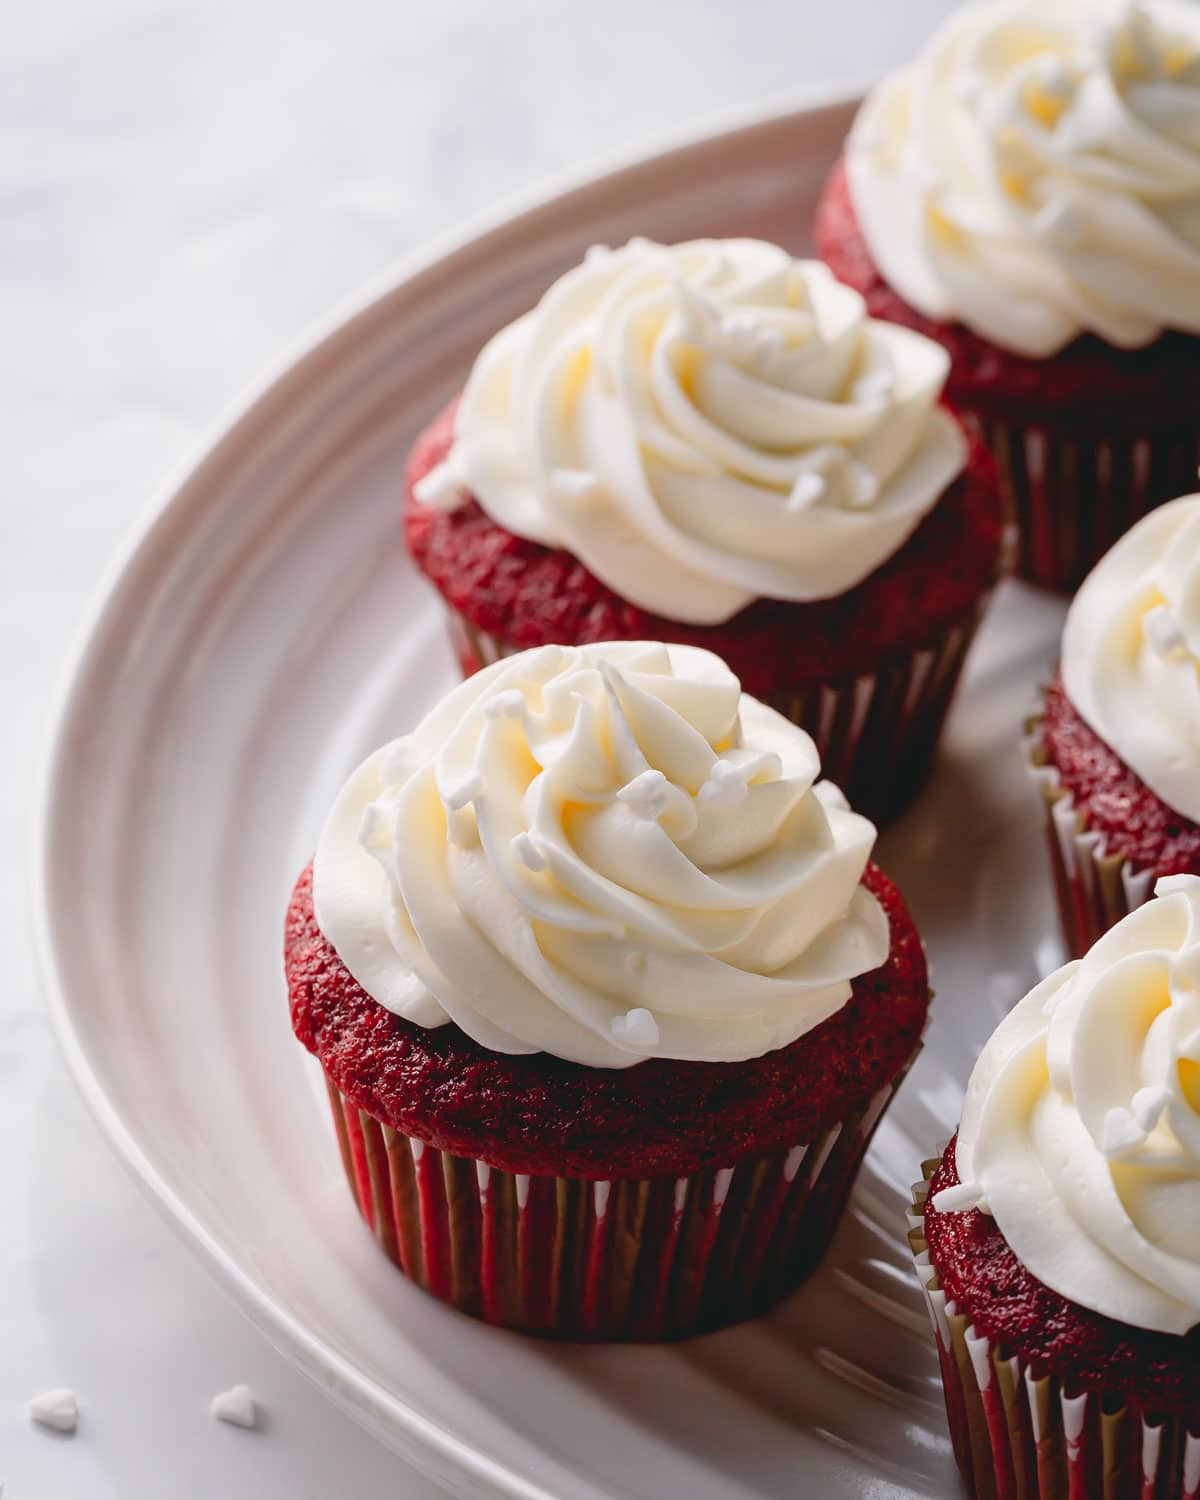
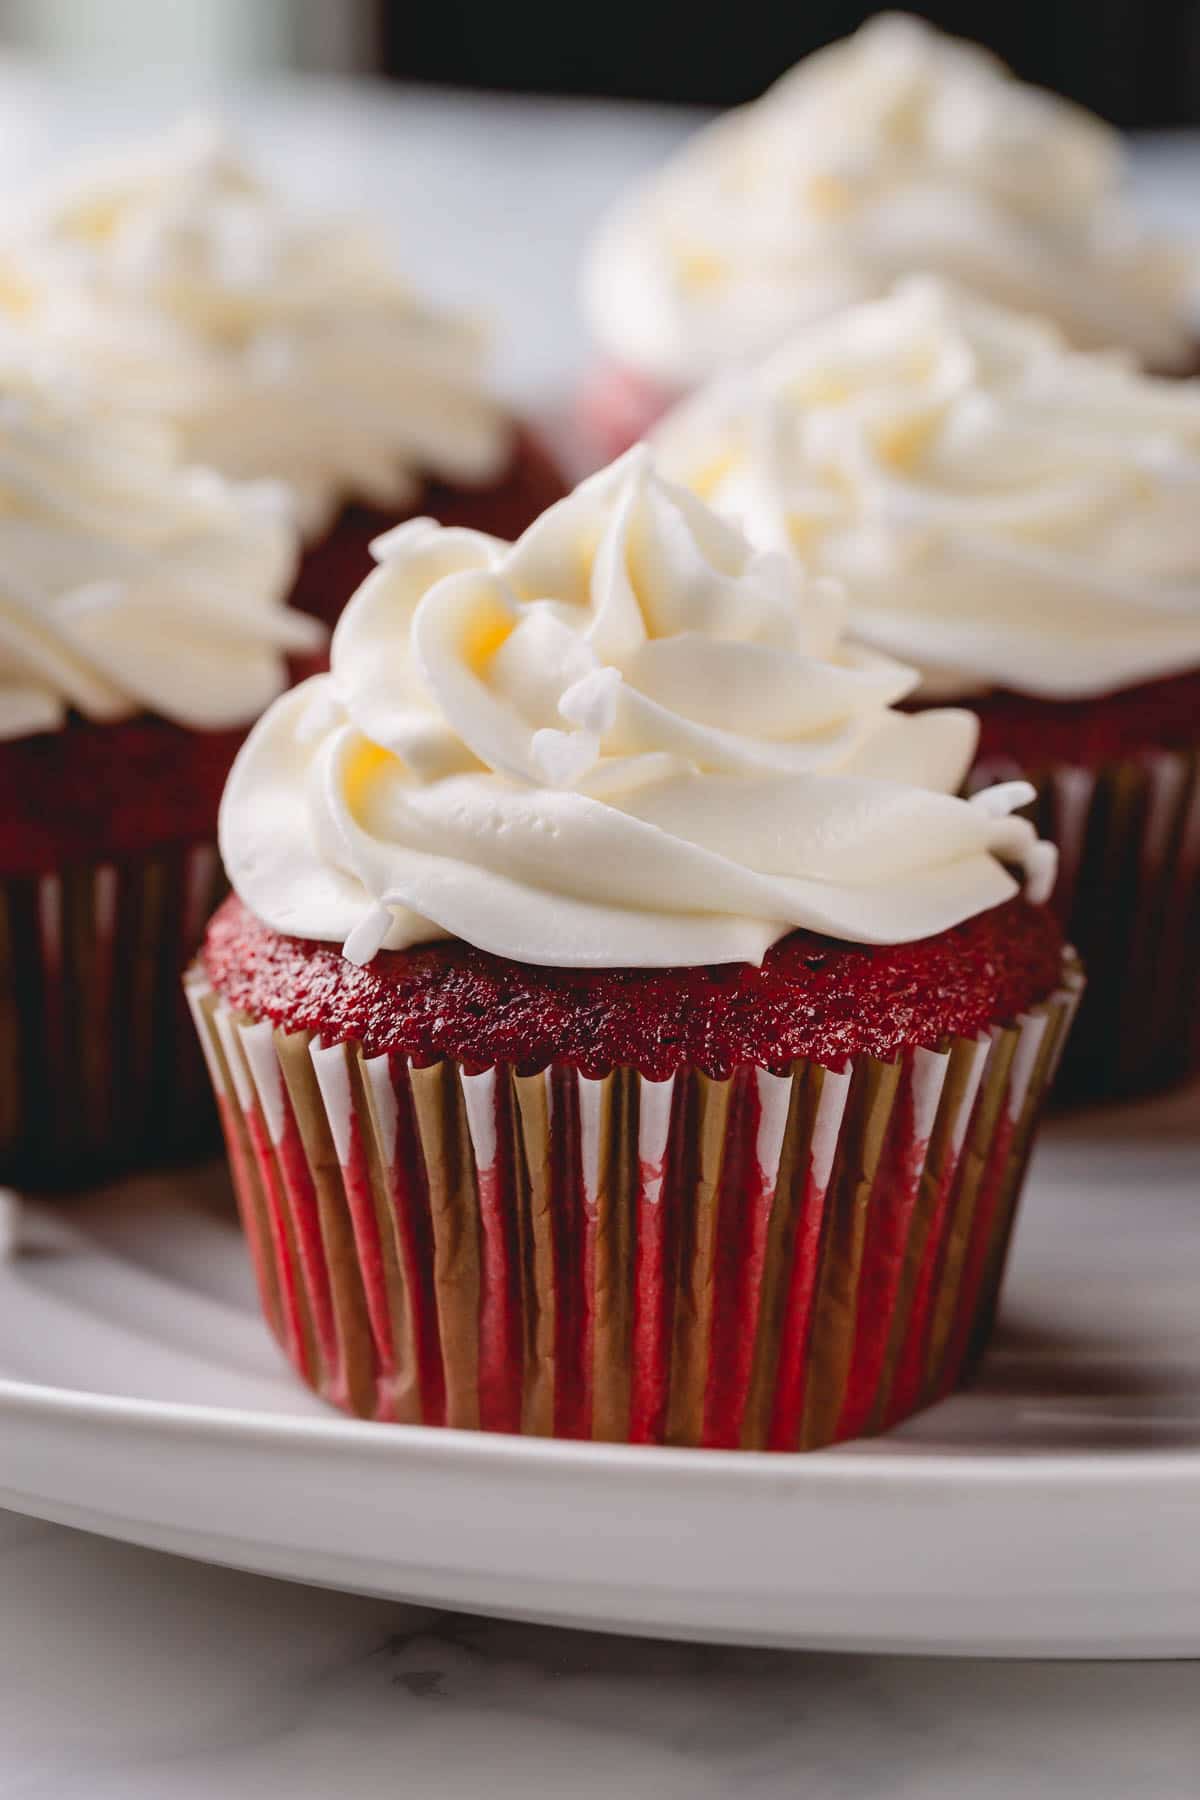
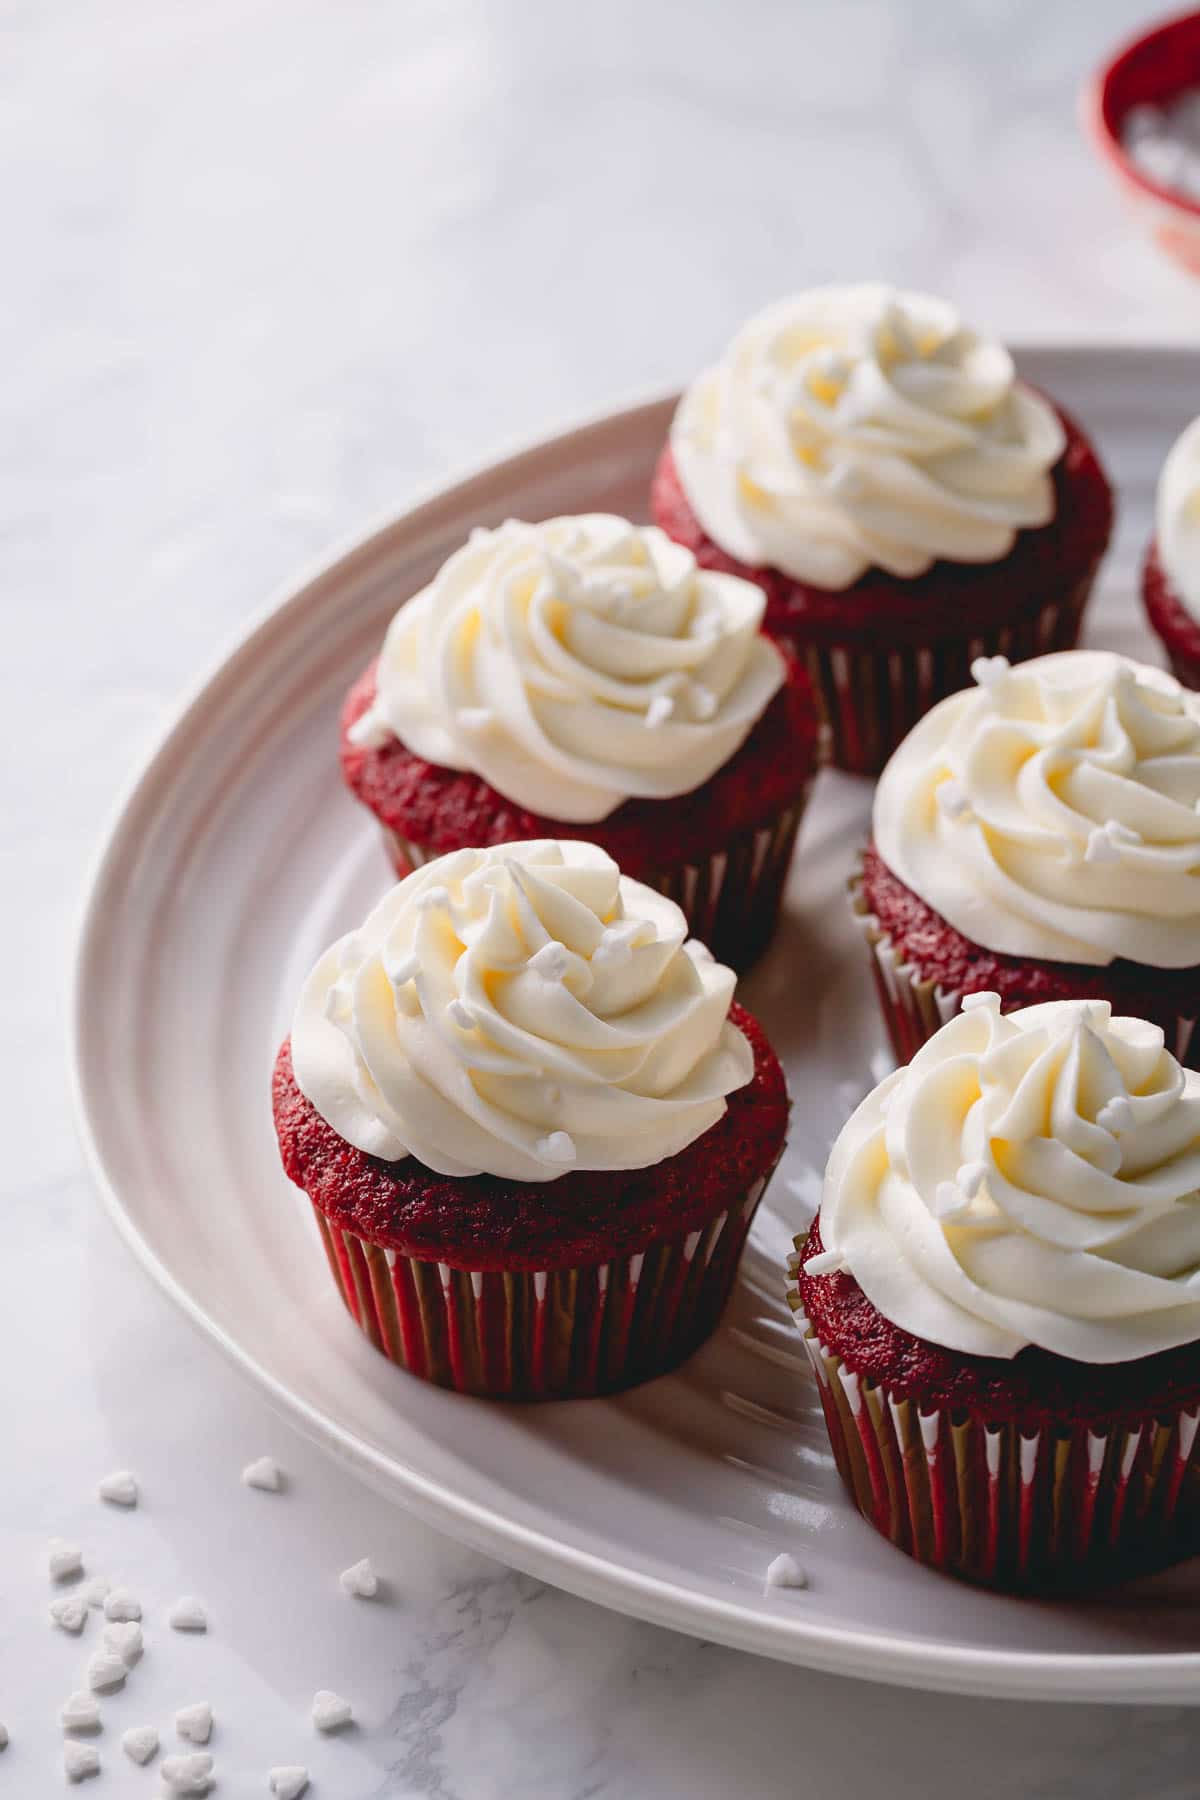
These classic red velvet cupcakes with velvety texture and buttery soft crumbs are ridiculously easy to make and so perfect with tangy cream cheese frosting!
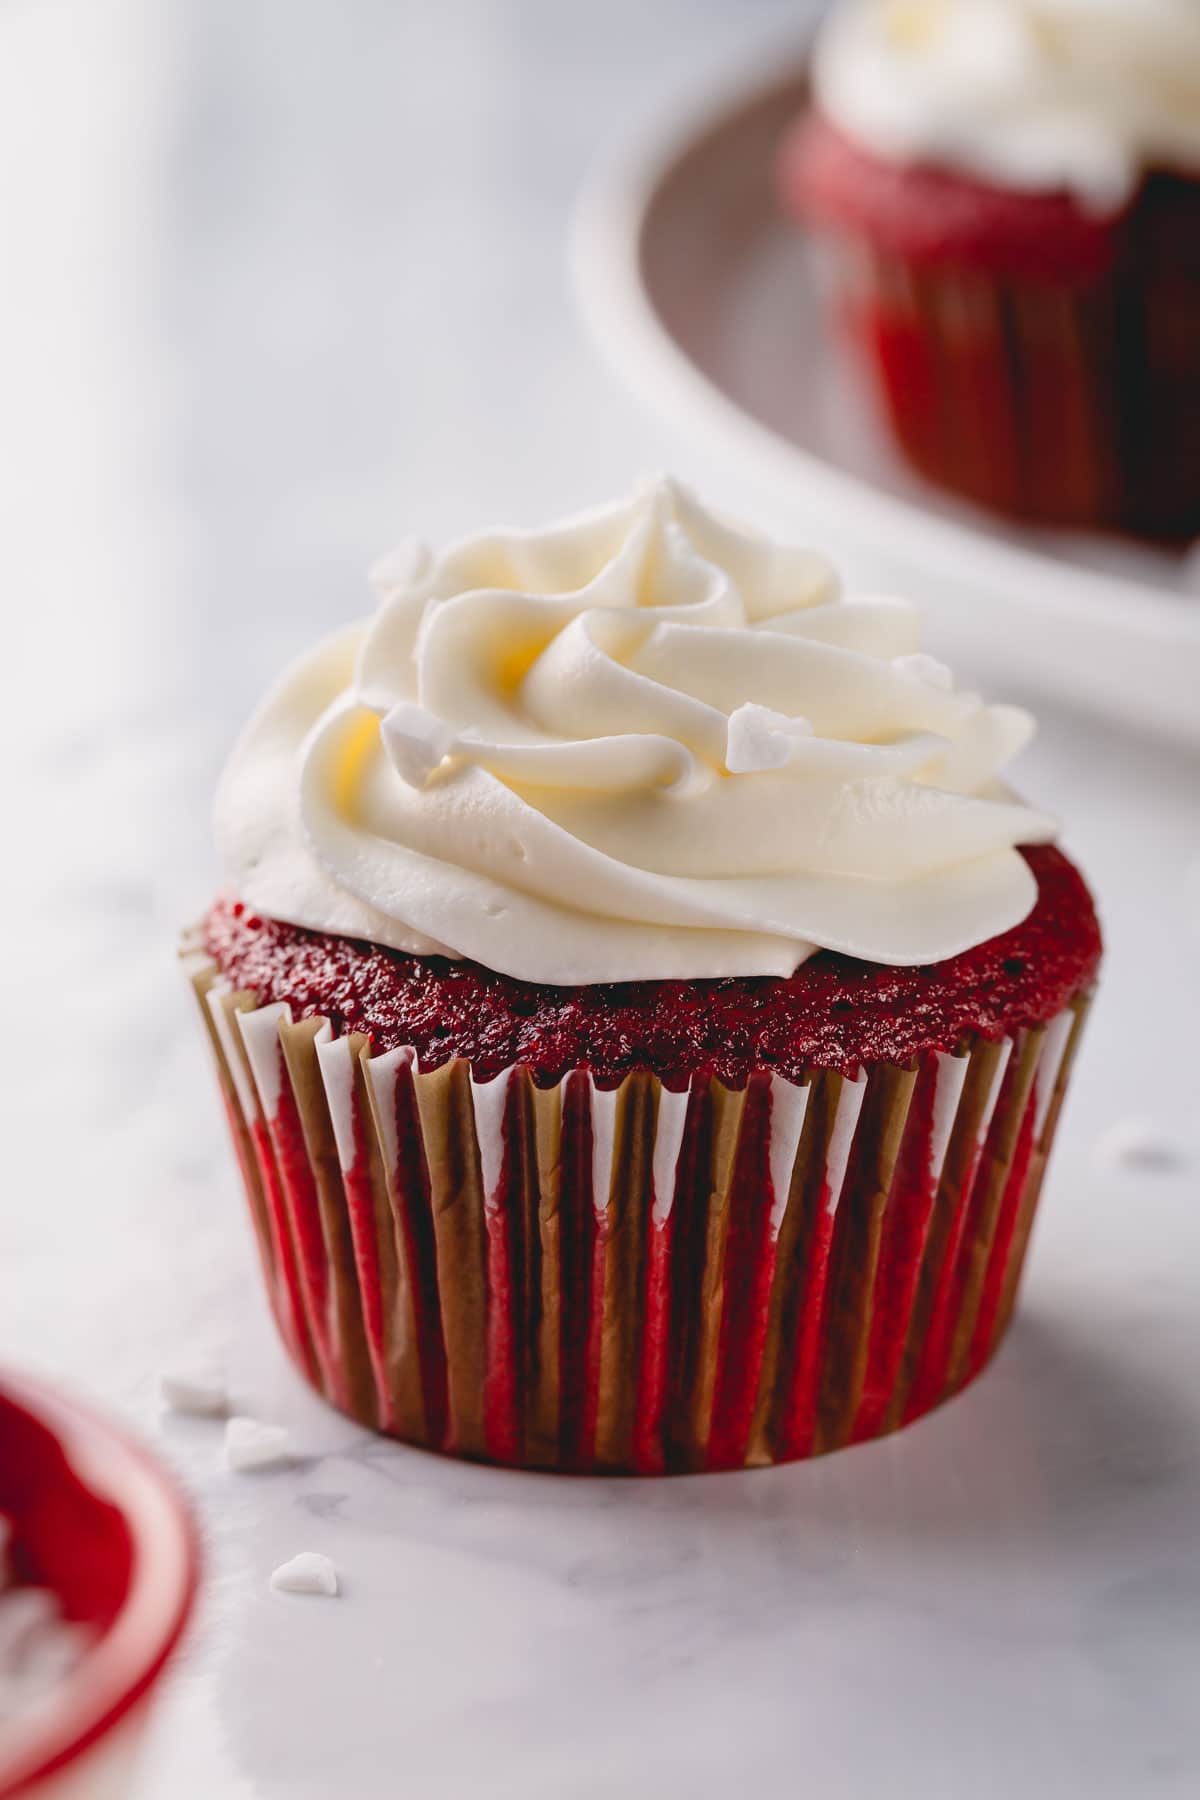
Table of Contents
Why you’ll love this recipe?
Anyone who knows me will tell you that I love pretty much anything red. However, the color of this cake is not the only reason I love it so much.
And no, red velvet cake is not just a chocolate cake tinted with red color!! It’s so much more!
When done right, red velvet cake has a smooth velvet-y texture with soft buttery crumbs. It has just a hint of cocoa without overpowering chocolate flavor.
Paired with tangy cream cheese frosting, these homemade cupcakes are simply irresistible!
Why red velvet cupcakes are red?
Traditionally, red velvet cakes didn’t call for any artificial food coloring to get that bright red color. It was a natural result of combining vinegar with cocoa powder.
Cocoa powder (and other fruits and vegetables, like purple cabbage, plums, blueberries, raspberries) naturally contain anthocyanins, a pigment that changes the color due to pH level. So back in the day, when natural cocoa powder was mixed with acidic ingredients like vinegar and buttermilk,the cake batter naturally turned red.
Today, cocoa powders are processed with acid-neutralizing agent and it doesn’t react to acidic ingredients as it used to. That’s why we have to add food coloring to get that beautiful red color.
And I’m about to show you how to make absolutely perfect red velvet cupcakes from scratch.
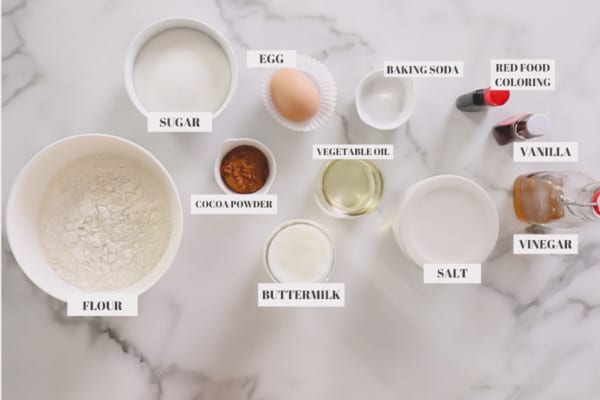
Ingredient Notes:
To makes these soft and velvet-y cupcakes, you’ll need a few simple ingredients: flour, sugar, cocoa powder, salt, egg, vegetable oil, buttermilk, vanilla extract, baking soda and white vinegar.
- Cocoa powder – When it comes to cocoa powder, I recommend using unsweetened natural cocoa powder. Dutch-processed cocoa powder has a darker color, which may result darker cupcakes. Here’s an excellent article on difference between natural and dutch processed cocoa powder.
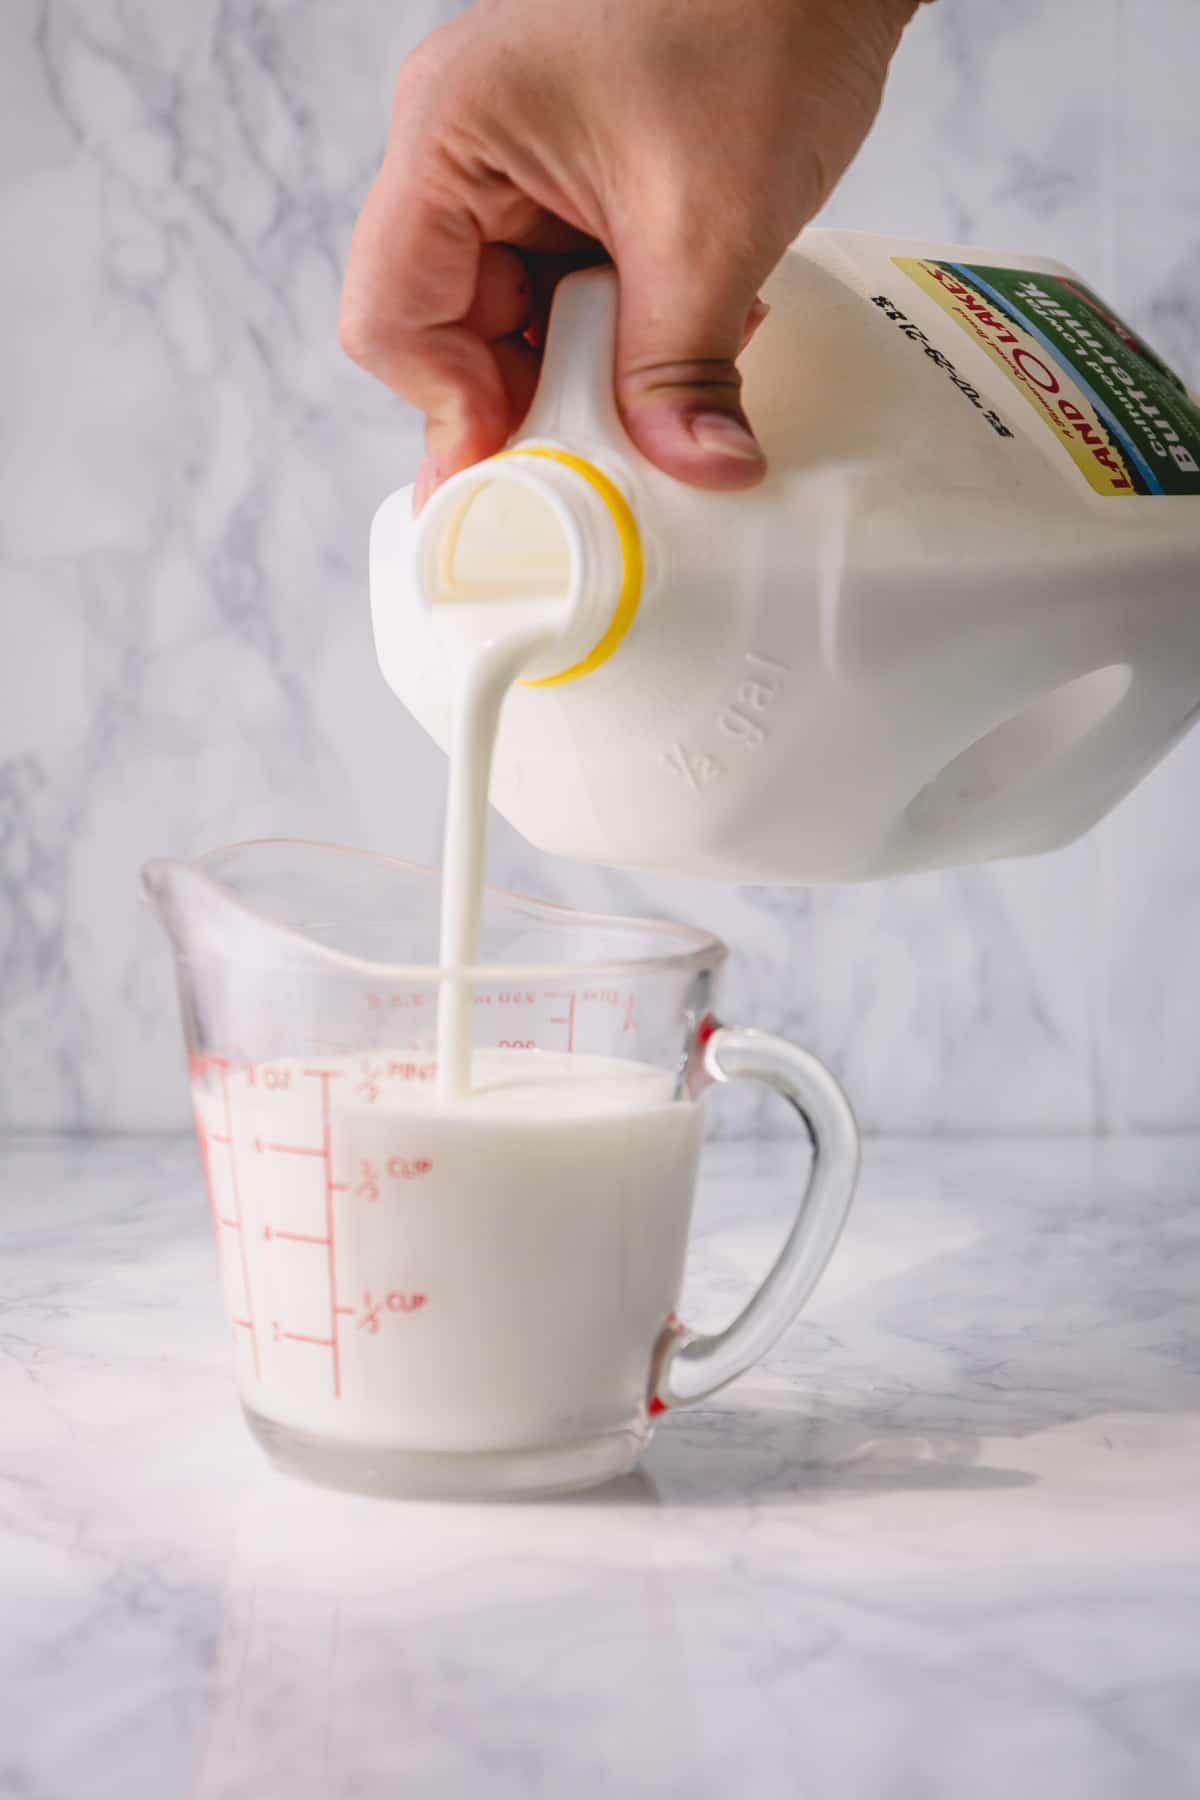
- Buttermilk is a must for that beautiful velvet-y texture, moist and soft crumbs and a slight tang, the signature taste and texture of these classic cupcakes. Oh and I prefer store-bought buttermilk over DIY version. But homemade buttermilk will work in a pinch.
- Food coloring – Either liquid or gel food coloring will work for this recipe. To achieve the level of brightness of my cupcakes, you’ll need: 1 tablespoon of liquid food coloring, or 1 teaspoon of gel food coloring.
DIY Buttermilk:
I realize not everyone have buttermilk in the fridge like we do at all times. (We sure love our buttermilk pancakes!) Here’re 2 ways you can make a quick homemade buttermilk:
- Option #1: 1/3 cup sour cream, or plain Greek yogurt + milk (or water) to make 1/2 cup. Stir well before using.
- Option #2: 1/2 cup of milk + 1/2 tablespoon lemon juice (or white vinegar). Stir and let it sit for 5 minutes for milk to curdle.
Tip
While homemade buttermilk works in a pinch, I personally prefer store-bought buttermilk for making these red velvet cupcakes.
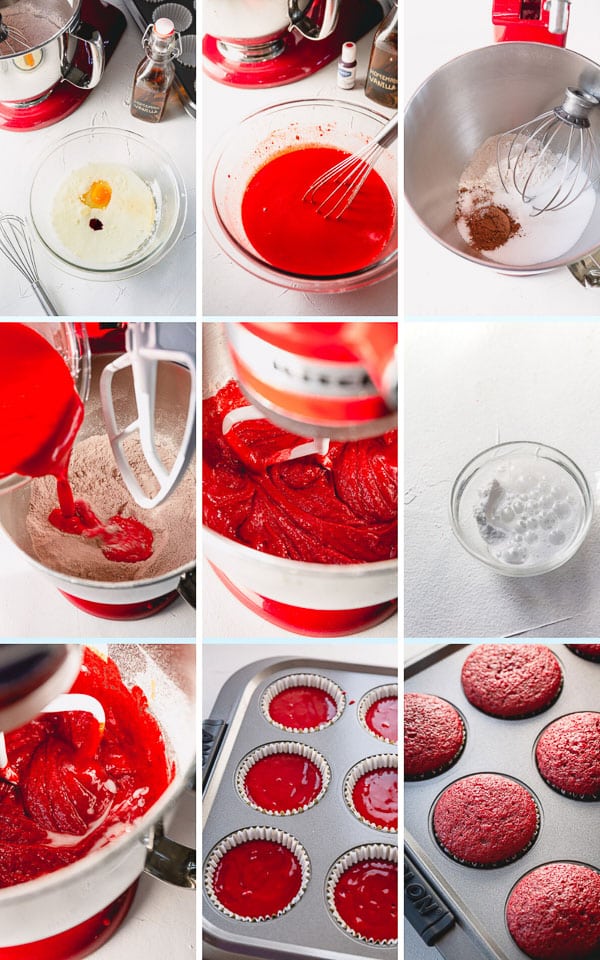
How to make these cupcakes:
It’s really easy to make these cupcakes, you don’t even need a mixer, as I did in my video below.
- Mix dry ingredients.
- Mix wet ingredients.
- Combine dry and wet ingredients.
- Stir in baking soda/vinegar mixture.
- Bake!
And here’s the step by step frosting recipe with a troubleshooting guide.
Make-Ahead Tips:
You can make both cupcakes and frosting in advance.
- Store the cooled cupcakes in an airtight container at room temperature for up to 2 days, or freeze for up to 3 months.
- Refrigerate the frosting, covered, until ready to decorate the cupcakes.
Tip
I recommend frosting the cupcakes preferably right before serving, or 2-3 hours in advance at the most.
Storing Tips:
- Store unfrosted cupcakes at room temperature, covered, for 1-2 days.
- You can also freeze unfrosted cupcakes in an airtight container for up to 3 months. Thaw overnight in the refrigerator.
- Store leftover cupcakes in the refrigerator, covered, for up to 3 days. Cover the cupcakes with a plastic wrap to prevent them from drying out.
Hope you enjoy this recipe and let me know what you think. 🙂

Red Velvet Cupcakes
Ingredients
For cupcakes:
- 1 ½ cups (190g) all-purpose flour
- 1 cups (200g) sugar
- 1 tablespoons natural unsweetened cocoa powder Note 1
- ¼ teaspoon salt
- 1 large egg at room temperature
- ½ cup (120ml) vegetable oil
- ¾ cup (180ml) buttermilk at room temperature, Note 2
- 1 tablespoon liquid red food coloring or 1 teaspoon gel food coloring, Note 3
- 1 teaspoon pure vanilla extract
- ½ teaspoon baking soda
- ½ teaspoon white distilled vinegar
For cream cheese frosting:
- 8 oz (225g) cream cheese at room temperature
- ¼ cup (55g) unsalted butter at room temperature
- 2 cups (250g) powdered sugar
- 1 teaspoon pure vanilla extract
- 1/8 teaspoon kosher salt
Instructions
To make cupcakes:
- Preheat the oven to 350°F (175°C). Line muffin pans with paper cupcake liners.
- In a medium bowl, whisk together flour, sugar, cocoa and salt. Set aside.
- In a large mixing bowl, whisk the egg, vegetable oil, buttermilk, red food coloring, and vanilla extract until well combined.
- Add prepared dry ingredients and mix until smooth, about a minute.
- In a small dish, mix together baking soda and vinegar. While the soda/vinegar mixture is bubbling, add it to the batter and mix it well.
- Using a large cookie scoop, divide the batter into 12 muffin cups. (Fill the cups 2/3 of the way.)
- Bake for 18-20 minutes, or until inserted toothpick comes out clean.
- Cool the cupcakes for 5 minutes in the pan. Then transfer onto a wire rack to cool completely.
To make frosting:
- In a mixing bowl with paddle attachment, beat cream cheese and butter on medium high speed until fluffy, about 1 minute.
- Add powdered sugar and beat on low speed for a minute. Then increase the speed to medium high and continue to beat until smooth and fluffy, about 3 minutes.
- Stir in vanilla extract and salt. Whip again until incorporated, 30 seconds.
- Transfer the frosting into a pastry bag, fitted with decorative tip (I used this Wilton M1 piping tip).
- Frost the cooled cupcakes preferably right before serving, or a few hours prior.
Tips & Notes
– Store unfrosted cupcakes at room temperature, covered, for 1-2 days.
– You can also freeze unfrosted cupcakes in an airtight container for up to 3 months. Thaw overnight in the refrigerator.
– Store leftover cupcakes in the refrigerator, covered, for up to 3 days.
Nutrition
This recipe was originally published on December 3, 2013 and updated on July 20th, 2021.

Pretty good, but the cupcake doesn’t have much flavor.
Absolutely delicious! My family and I loved them (:
Yay, so happy you all loved it. Thank you, Heather!
These are amazing!!!! So easy to make. Can you freeze these with the icing on?
Hi, Deborah! So happy you loved the cupcakes!!! I’ve never frozen frosted cupcakes, and I don’t usually recommend it.
Delicious
Thank you!
I made these and they turned out great! This is a very good recipe. Thank you for sharing it!
Awesome!! Thank you for your feedback, John!
It was spectacular , and tasted delicious. I will definitely be making these again.
Made these today and theybwere amazing. The only thing I did differently was sift my flour and cocoa powder. Big hit! The cream cheese frosting amazing. Thank you for sharing.
Yay, so happy you tried and loved my red velvet cupcake recipe. Thank you so much for your feedback, Chrisann!
Followed the recipe exactly. It was delish! Very moist and pretty fluffy. The icing is a tad runny but still holds it shape rather well while piping. It is also hot in Alabama so that probably didn’t help matters. A little extra powered sugar for the hot summers in the south!
So glad you liked this recipe, Kelsey. Thank you for sharing your feedback!!
Wonderful recipe!! Very pleased with the outcome! I made them in mini cupcake form for my Christmas goodie box to friends. Will definitely use this recipe again!
Oh, I’m so happy you enjoyed the recipe, Caitlin. Thank you for your feedback!!
Oh My Goodness. I have made alot of red velvet desserts using many different recipes. I received so many compliments when I used this recipe. I this only thing that is different from other recipes is mixing the baking soda & vinegar separately. It made all the difference in the world when it comes to taste & texture. Sooo good! For some stupid reason I did not save this recipe when I made it. I have been searching for it ever since lol 2 weeks later, I found it, saved it, printed it, laminated it & put it in a safe place lol. This will be the only RV recipe I use from now on. I did use my own CC buttercream recipe which is the best!!
Hi, Robin! So glad you fount the recipe after all! And thank you for your feedback. Seemingly little things sure make a big difference in baking, don’t they? 😉
I’ve tried the recipe and its absolutely good. I wanted to double the recipe and make it a proper cake, how to do it? Should I just double everything or do I need to do some tweaks on the recipe? Thanks!
Hi, Greg. Yep, you can basically double the recipe. Here’s my red velvet cake version: https://www.sweetandsavorybyshinee.com/super-tall-red-velvet-layer-cake/