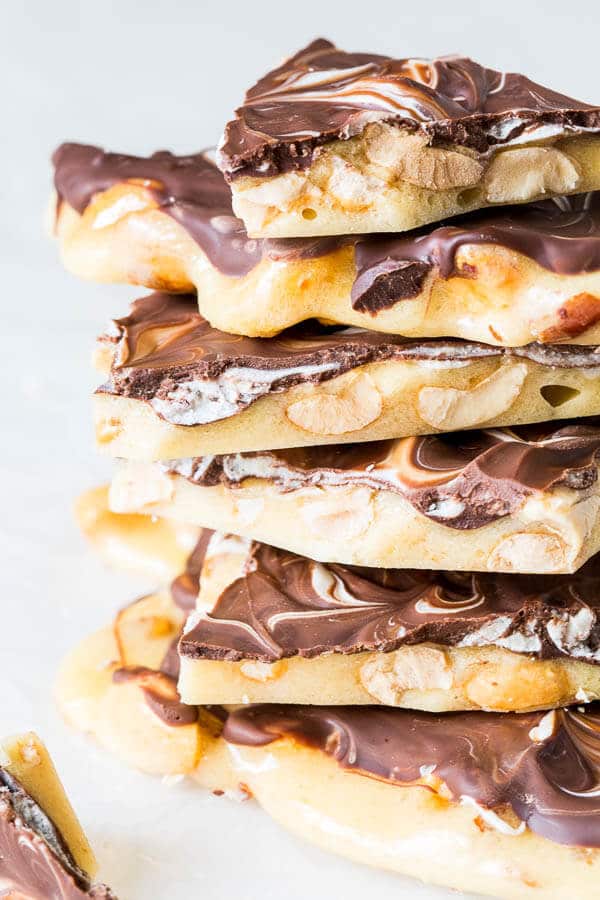
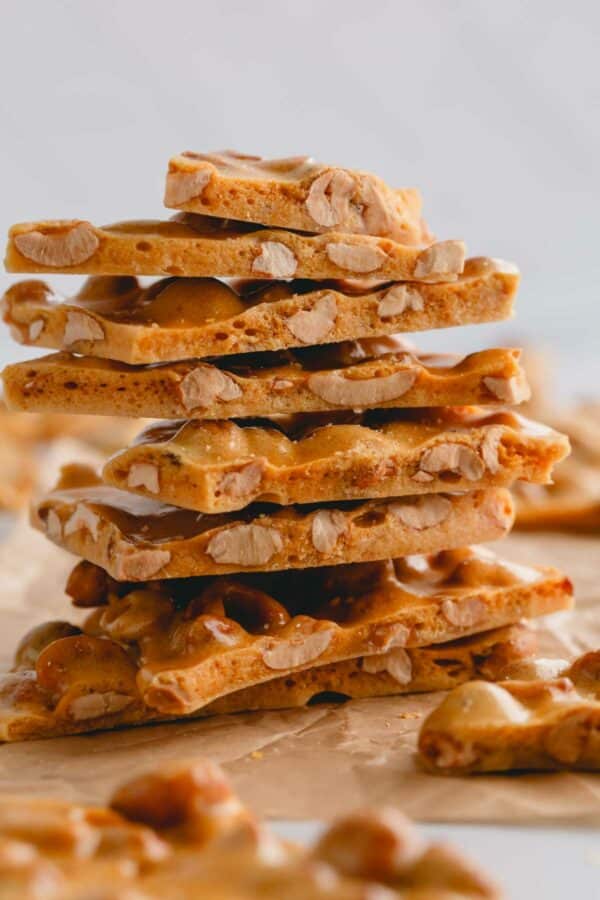
Chocolate peanut brittle is a fun twist on classic peanut brittle with an even more decadent flavor. Irresistibly light with a satisfying crunch, it’s easy to make and virtually failproof thanks to the microwave!
Why you’ll love this chocolate covered peanut brittle
I first had peanut brittle when my mother-in-law’s friend, Leo, made it for our family. It’s safe to say it was love at first bite. Sweet, nutty, and crunchy, it’s seriously addicting!
I’ve been making Leo’s microwave peanut brittle ever since. However, I also decided to put my own twist on it by adding chocolate, of course. My father-in-law raved about my recipe, and my mother-in-law asked me to make four batches for a church holiday bake sale. So, I think it’s safe to say it was a huge hit!
- Nutty, chocolatey, crunchy, and airy, this chocolate covered peanut brittle has it all, satisfying every craving!
- With just 10 minutes of “cooking” time and no candy thermometer needed, this is a fuss-free, failproof recipe.
- One batch makes enough for 12 servings and can easily be doubled or even tripled for holiday parties or gifting.
Just be warned that you might want to go ahead and make extras because this peanut butter chocolate brittle never lasts long!
Key Ingredient Notes
- Dry-roasted peanuts – Look for unsalted peanuts roasted without oil. We don’t want raw peanuts here, because roasting brings out the nutty flavor. I’ve also used salted dry-roasted peanuts with success.
- Granulated sugar is used to sweeten the peanut brittle, giving it a caramel-like flavor and a classic golden color. It also holds the brittle together as it cools.
- Salt – Just a pinch helps balance the sweetness of the rest of the ingredients.
- Light corn syrup gives the peanut brittle a smooth texture because it doesn’t crystallize or become grainy when heated.
- Unsalted butter – Most peanut brittle recipes call for margarine, but I have success with butter. Use whichever you have on hand!
- Pure vanilla extract – I always have a batch of DIY vanilla extract! However, store-bought options also work. Just make sure to use high-quality pure vanilla extract, not imitation varieties.
- Baking soda – This is key to creating the light, airy texture we want with this recipe.
- Chocolate chips – I use a combination of semi-sweet chocolate chips and white chocolate chips to create a beautiful swirled pattern. Dark chocolate chips will also work if preferred.
How to make chocolate peanut brittle in microwave
Before you begin, grease a baking sheet with non-stick cooking spray.
1. Create the peanut brittle base
- Combine the peanuts, sugar, salt, and corn syrup in a 1-quart microwave-safe bowl. I prefer to use a glass bowl!
- Cover the bowl (making sure the lid isn’t plastic), and microwave the mixture for 3 minutes. Don’t skip covering the mixture, or it will burn!
- Stir the ingredients. Then, cover the bowl, and microwave again for another 3½ minutes.
- Stir in the butter and vanilla extract.
- Cover the bowl a third time, and microwave for 2½ minutes.
- Add the baking soda, and stir quickly as the mixture foams.
- Pour the peanut brittle mixture onto the prepared baking sheet.
- Spread it out in an even layer using two forks.
Check your microwave
Be sure to check your microwave power before you begin. (Mine is written on the inside of the door.) The time directions in this recipe for microwaves with 1000 watts, but you may need to adjust if your microwave power is different.
2. Add the chocolate swirl
- Sprinkle the chocolate chips over the hot brittle immediately, and let them stand for 1 minute. This allows the chocolate to melt!
- Spread the chocolate in an even layer using a spatula.
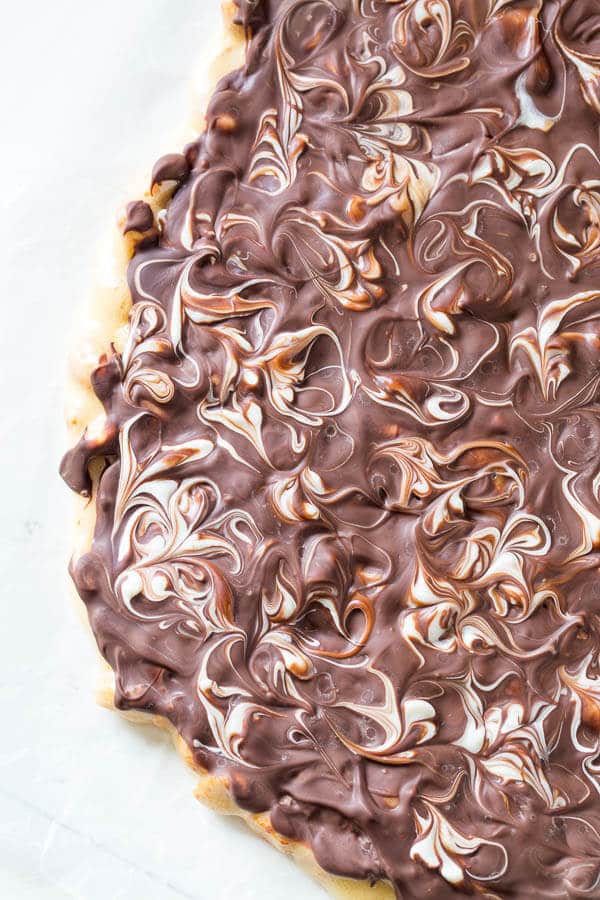
- For a swirled appearance, sprinkle white chocolate chips on top, and let them stand for a minute or until softened. Then, use a toothpick to swirl the white chocolate into the semi-sweet chocolate layer. Just be careful not to mix too much, or it will all blend together!
- Let the chocolate peanut brittle cool and harden for about 30-45 minutes.
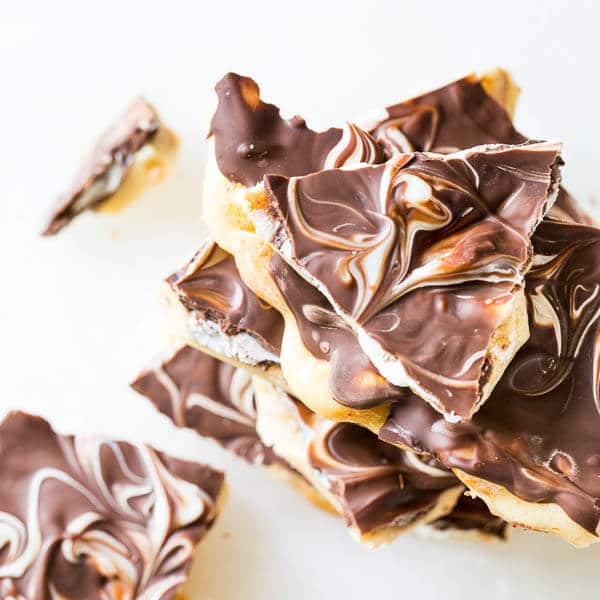
- Break the brittle into pieces, and enjoy right away! Or, store it for later.
Tips for Success
- Measure all your ingredients before you begin! This recipe comes together quickly. So, once you begin, you won’t have time to measure. If you wait too long to spread and layer, the brittle is likely to harden!
- A microwave-safe bowl with a tight-fitting lid is essential. Without a lid, the mixture will burn. Avoid using a plastic bowl if you can. Glass bowls are best.
- Make sure your baking soda is fresh. Baking soda makes the microwave peanut brittle light and airy. So, you want to be sure your baking soda isn’t expired. And don’t be alarmed when the baking soda foams up – it’s a good thing!
- After adding the baking soda, don’t spend too much time mixing. You only need a few good stirs until the mixture is evenly foamed.
- Avoid overmixing the chocolate. Swirl the white chocolate chips just enough to create a pattern but not so much that they blend with the semi-sweet chocolate layer.
Storing Tips
- Store leftover chocolate peanut brittle in an airtight container at room temperature for up to 1 week. I don’t recommend storing it in the fridge, because the moisture tends to cause it to become sticky.
- To freeze, allow the brittle to fully cool. Then, transfer it to an airtight container, separating the layers of brittle with parchment paper. Freeze for up to 3 months.
FAQs
Adding baking soda to hot peanut brittle results in a foaming action, creating tiny air pockets. These air pockets give the brittle a light, airy, and snappy texture, making it easier to bite into. It’s what helps make peanut brittle, brittle!
Both brittle and toffee are hard candies made with sugar and butter. However, they have very different flavors and textures. For instance, brittle recipes are made without cream and contain baking soda, which is not found in toffee. As a result, they’re much thinner and crispier with a sweeter, less rich taste. On the other hand, toffee is fairly dense and rich with a chewier consistency.
The most common reasons for chocolate brittle to stay soft or chewy are not completely melting the peanut butter mixture so that it’s nice and hot and allowing moisture to get into the brittle. Be sure to microwave the mixture completely so that it’s completely melted and runny. Then, allow it to cool in a cool, dry place.
More Sweet Treats
Chocolate Peanut Brittle
Ingredients
- 1 cup (125 g) dry-roasted peanuts
- 1 cup (200 g) granulated sugar
- 1/8 teaspoon salt
- ½ cup (150 g) light corn syrup
- 1 tablespoon (14 g) unsalted butter
- 1 teaspoon pure vanilla extract
- 1 teaspoon baking soda
- ½ cup (85 g) semi-sweet chocolate chips
- ¼ cup (50 g) white chocolate chips
Instructions
- Before you begin, check your microwave power. (Mine was written at front when you open the door.) The time directions in this recipe for microwaves with 1000Watts.
- Measure and prepare all the ingredients before moving forward.
- Spray a baking sheet with non-stick spray.
- In 1-quart microwave-safe bowl with a lid (stay away from plastic container though, I prefer a glass bowl), combine peanuts, sugar, salt and corn syrup.
- Cover the bowl and microwave the mixture for 3 minutes. (TIP: If you don’t cover the mixture, it’ll get burnt.) Take it out and give it a nice stir.
- Take it out and give it a nice stir.
- Then cover and microwave for another 3.5 minutes. Take it out and stir in margarine and vanilla extract.
- Cover and microwave again for 2.5 minutes. Take it out and add baking soda.
- Quickly stir, as the mixture foams. And pour the mixture onto the prepared baking sheet.
- Using 2 forks, spread it out into even layer.
- Immediately, sprinkle semi-sweet chocolate chips over the hot brittle and let it stand for a minute. Then using a spatula, spread it into even layer.
- If you want swirled look, sprinkle white chocolate chips and let it stand for a minute, or until softened. Then using a toothpick, swirl white chocolate chops into semi-sweet chocolate layer.
- Let it cool and harden, about 30-45 minutes. Store in a ziplock bag for up to a week.
Tips & Notes
– Store leftover chocolate peanut brittle in an airtight container at room temperature for up to 1 week. I don’t recommend storing it in the fridge, because the moisture tends to cause it to become sticky.
– To freeze, allow the brittle to fully cool. Then, transfer it to an airtight container, separating the layers of brittle with parchment paper. Freeze for up to 3 months.
Nutrition
This recipe was originally published on November 8th, 2016.
Is there a particular brand of margarine that you use reliably? I have never bought margarine before. what are your thoughts on I can’t believe it’s not butter? Is that a margarine? thanks so much this recipe looks very interesting. I’m a follower of yours on Instagram and I love your feed
Hi, Michelle. I don’t know much about margarines, because I don’t use them much. I used Blue Bonnet, but “I can’t believe it’s not butter” looks like margarine too. I never used it though. Hope this helps, and hope you give this recipe a try. It’s soo good. Oh and thank you for following on IG!! 😉
Wow these look really good! I wish you made one of your short videos 🙂 love seeing those! But don’t get me wrong the pictures look amazing too, I could just eat those right off your pictures!
Margarine is on my shopping list!!!
After a burnt batch and a couple of burned fingers, I finally got a perfect batch! I can’t stop eating them…. ????
Olya, I’m planning to make a video very soon! Just need someone watching my little munchkin… 🙂 But I’m so glad you tried the recipe. You said you had a burnt batch, did your microwave have a different power, or did you not cover the bowl when microwaved it?
I didn’t find the microwave power written anywhere on my microwave…. and I wasnt sure how to check it…. lol so had to find out the hard way….
Ah, I see. But I’m glad you got the perfect batch though. 🙂
This candy looks addictive! I love how easily it’s put together- it looks delicious 🙂
Thanks, Medha! They’re truly addictive!