Dry brining is the easiest way to season a turkey for the juiciest and most flavorful Thanksgiving turkey! Here’s everything you need to know about dry brining!
What is dry brining?
Dry brining is basically salting a turkey 1-3 days prior to cooking. This process allows the salt to penetrate the meat all throughout, not just on the surface, and helps the protein to retain the moisture during roasting process.
Why dry brining is better than wet brining?
Wet brining is messy and takes up a lot of space! Besides, dry brining has a lot of benefits over wet brining. It’s a no brainer!!
Dry brine is the best brining method, because…
- It takes up less space.
- It yields a flavorful and juicy meat!
- Produces nice and crispy skin – hooray!
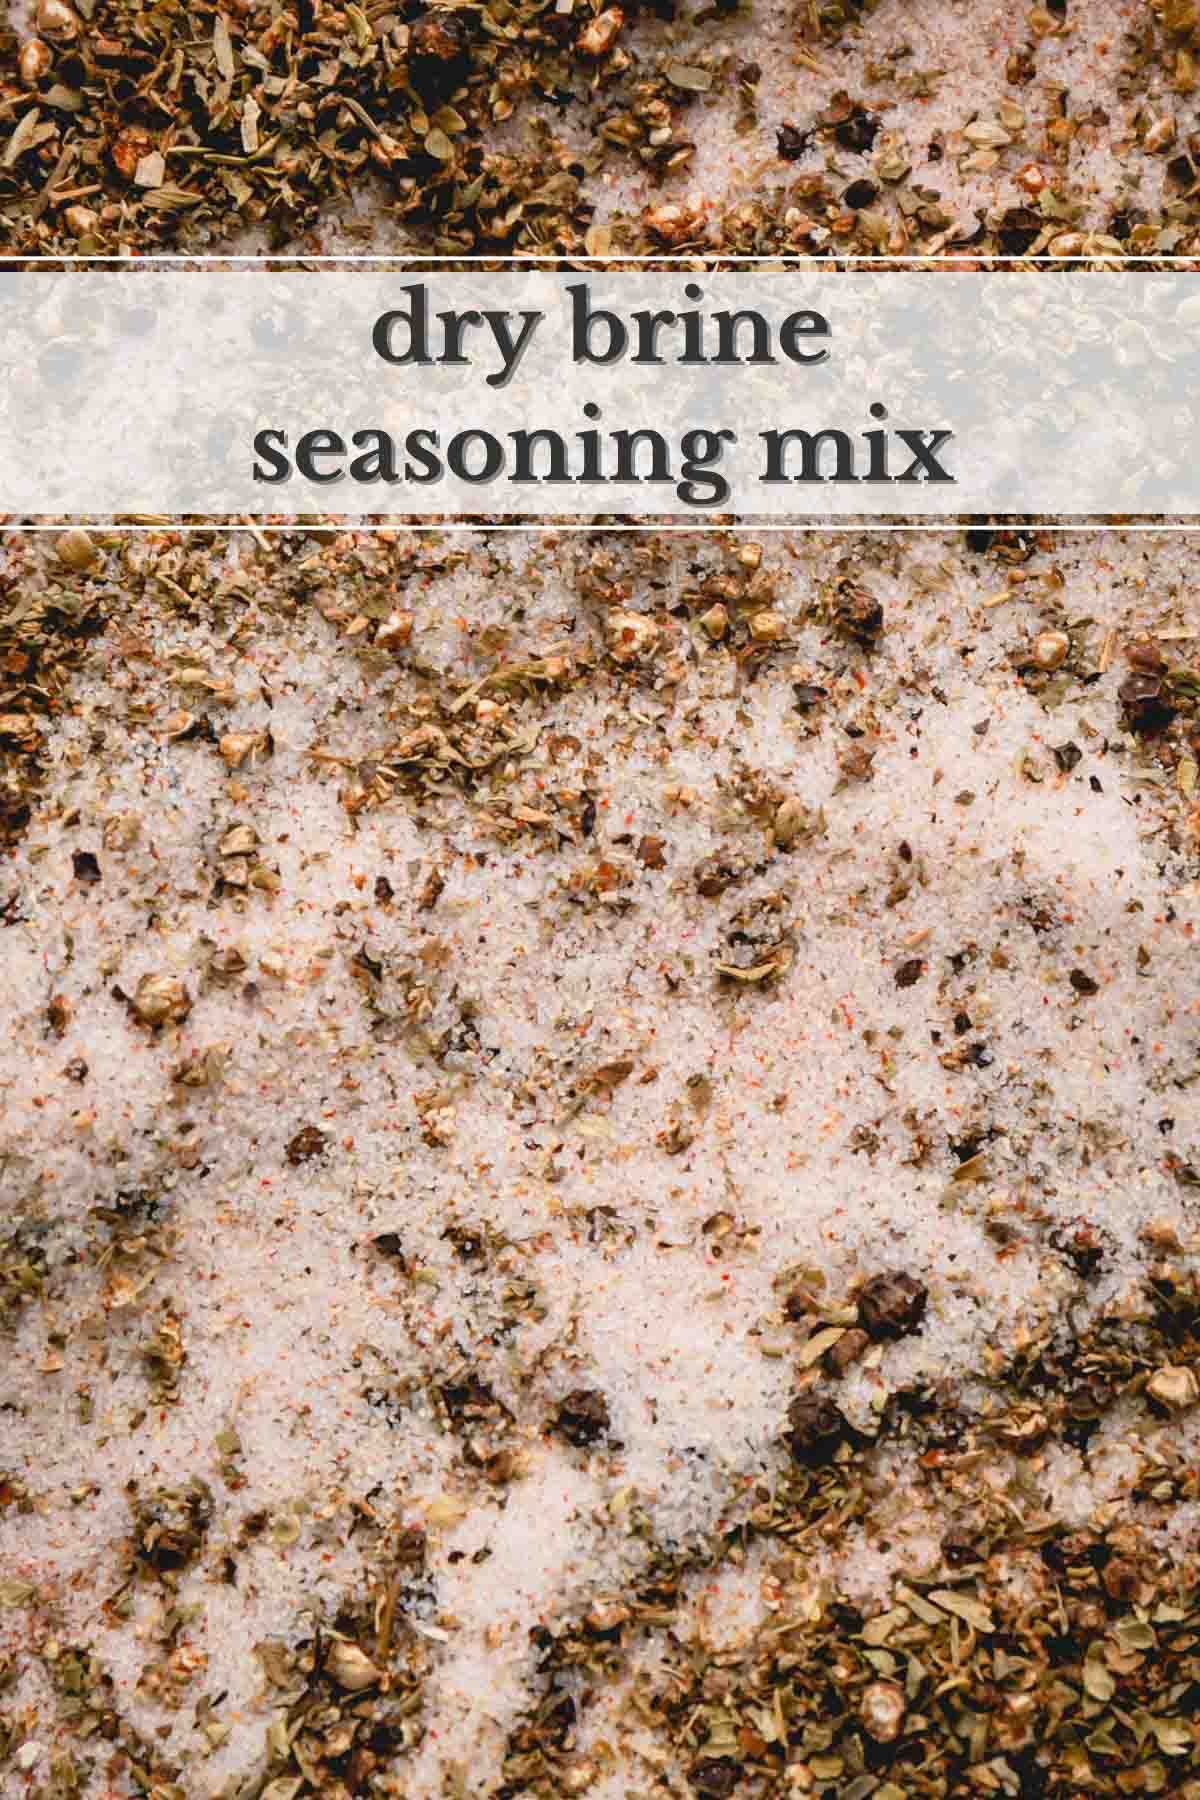
Ingredients you’ll need:
Technically, you only need salt to dry brine a turkey, because only salt can dissolve and penetrate the meat.
However, why not use some spices and aromatics right away, so we don’t need to bother with it later, right? The aromatics will lend its flavor during roasting process after all!
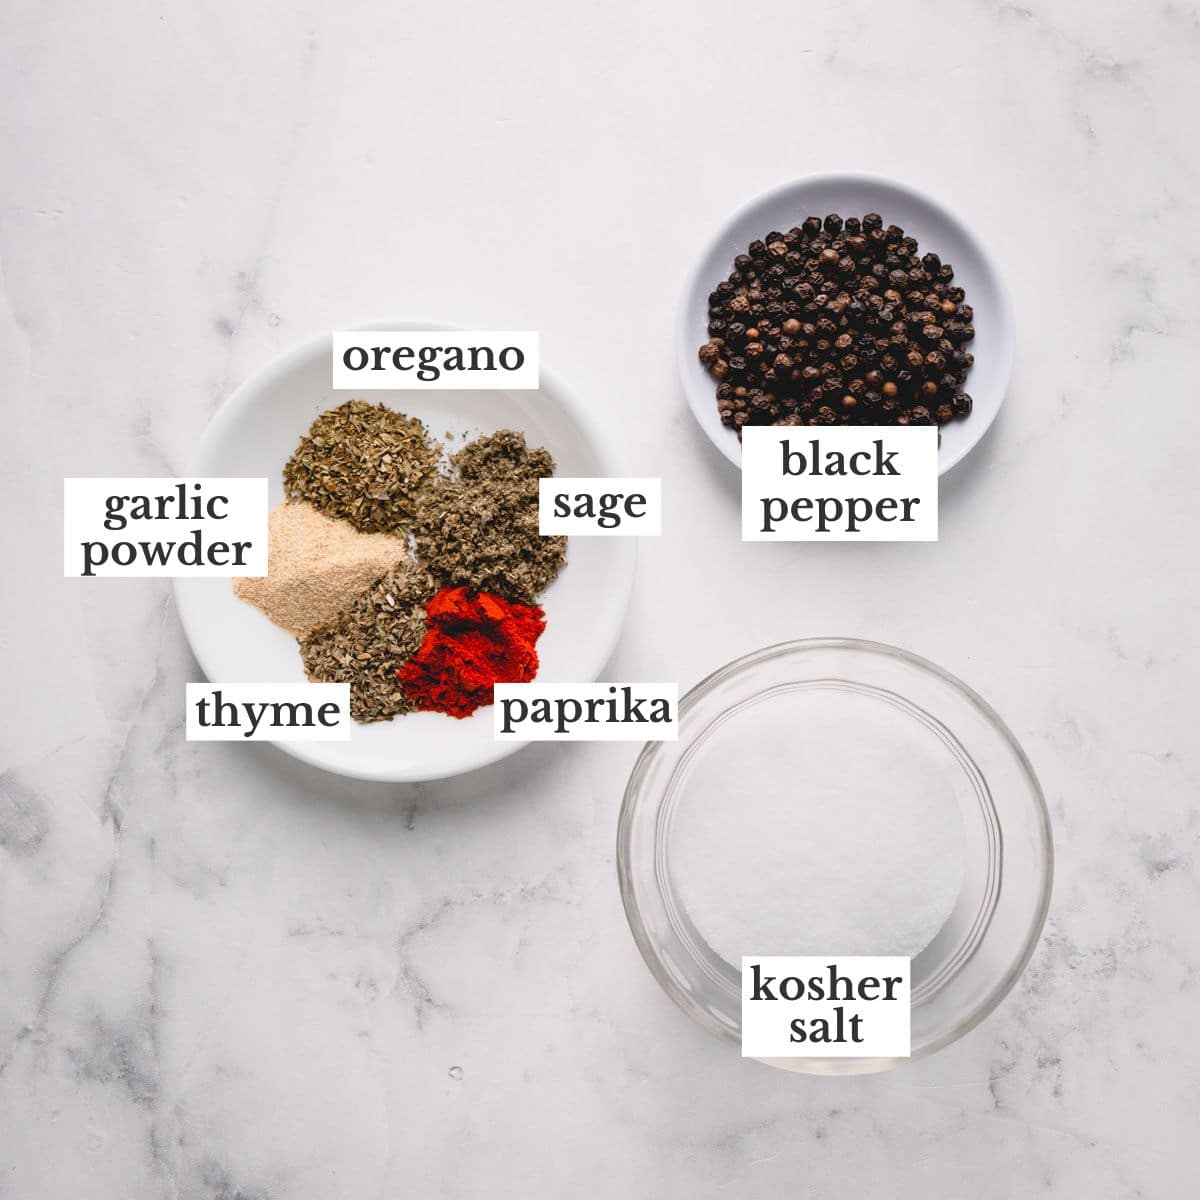
- Kosher salt is the best for dry brining, as it has large granules and different shape of grains than other types of salt, which allows it to distribute evenly, sticks to the meat better and dissolve quicker! If you don’t have kosher salt, you may substitute table salt, but reduce the salt amount by half!
- Black peppercorns – I like to crust fresh black peppercorns in a mortar and pestle for the freshest aroma and flavor.
- Spices: dried oregano, dried sage, dried basil, paprika and garlic powder. These are the spices I typically have on hand. Feel free to use any spices and herbs you have.
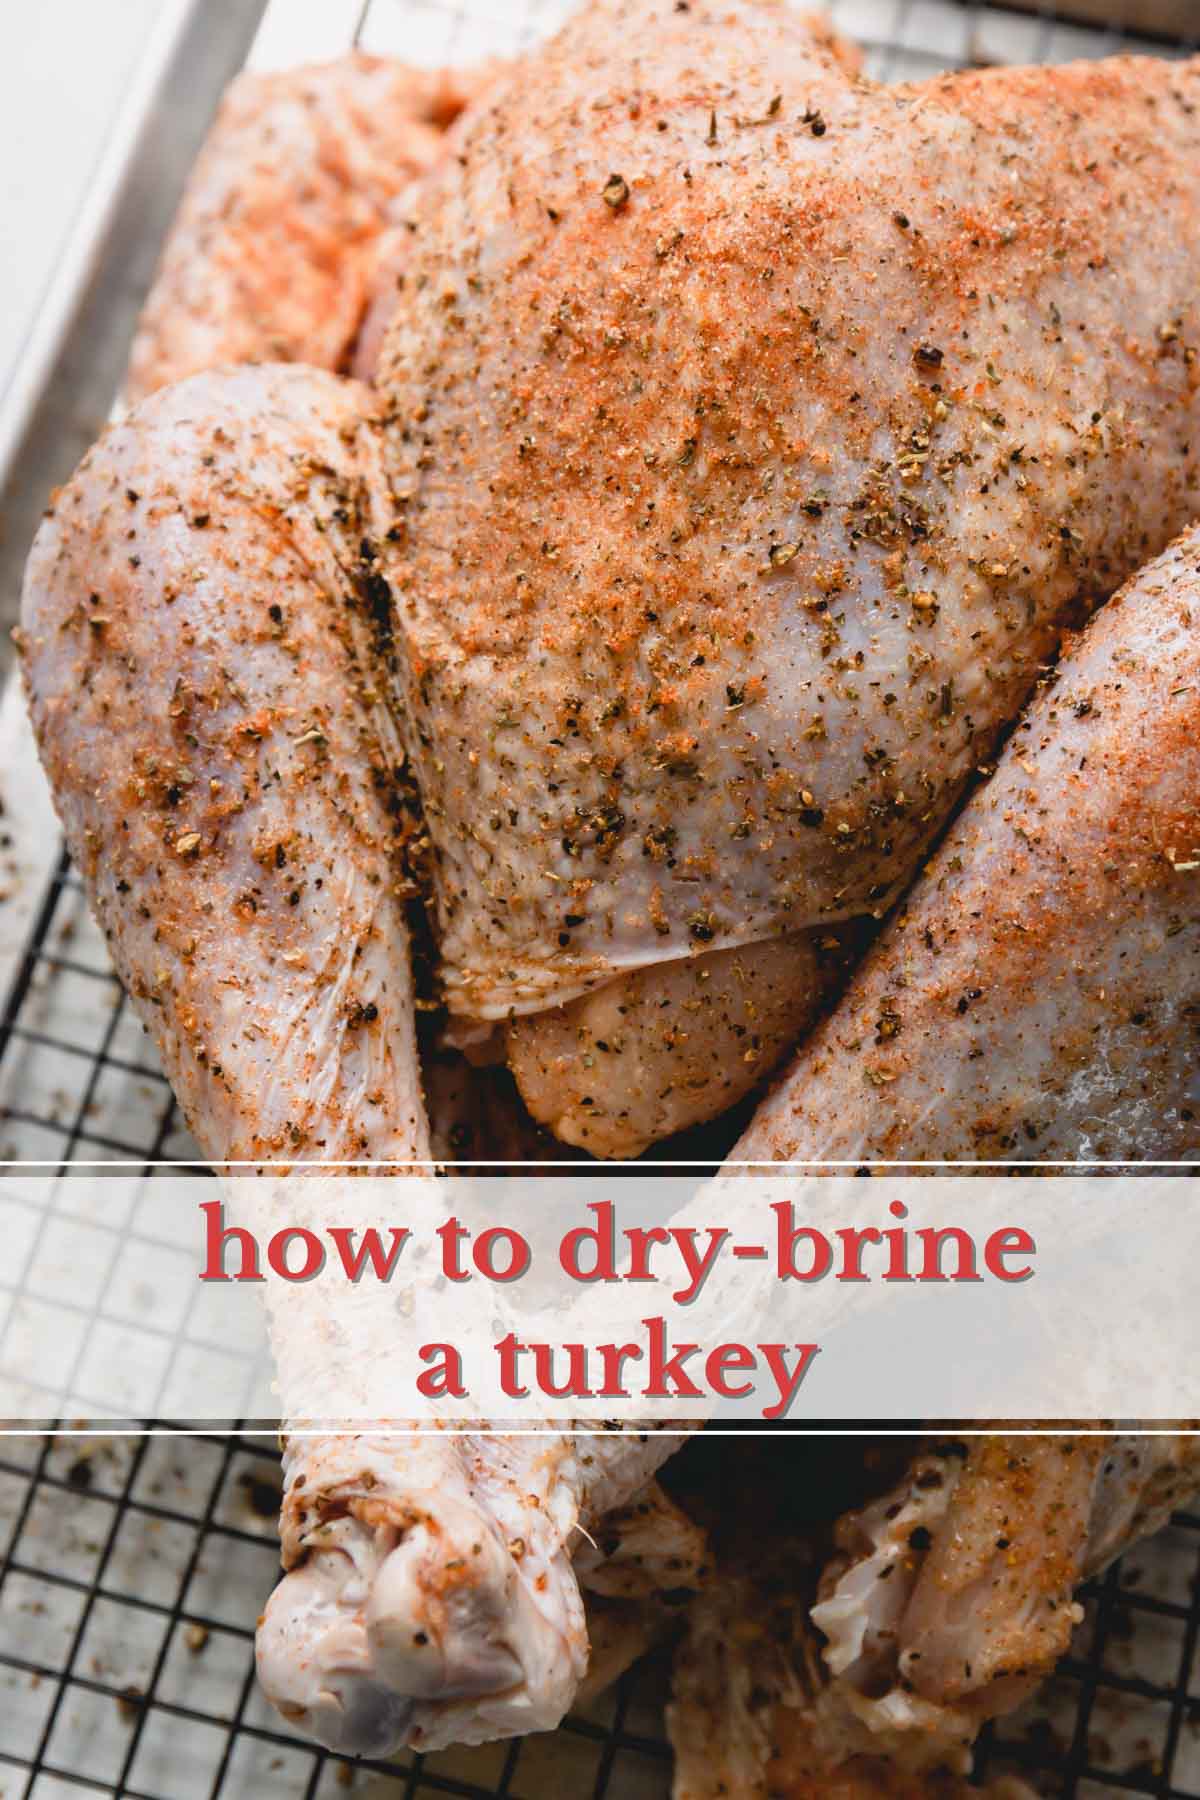
How to dry brine a turkey:
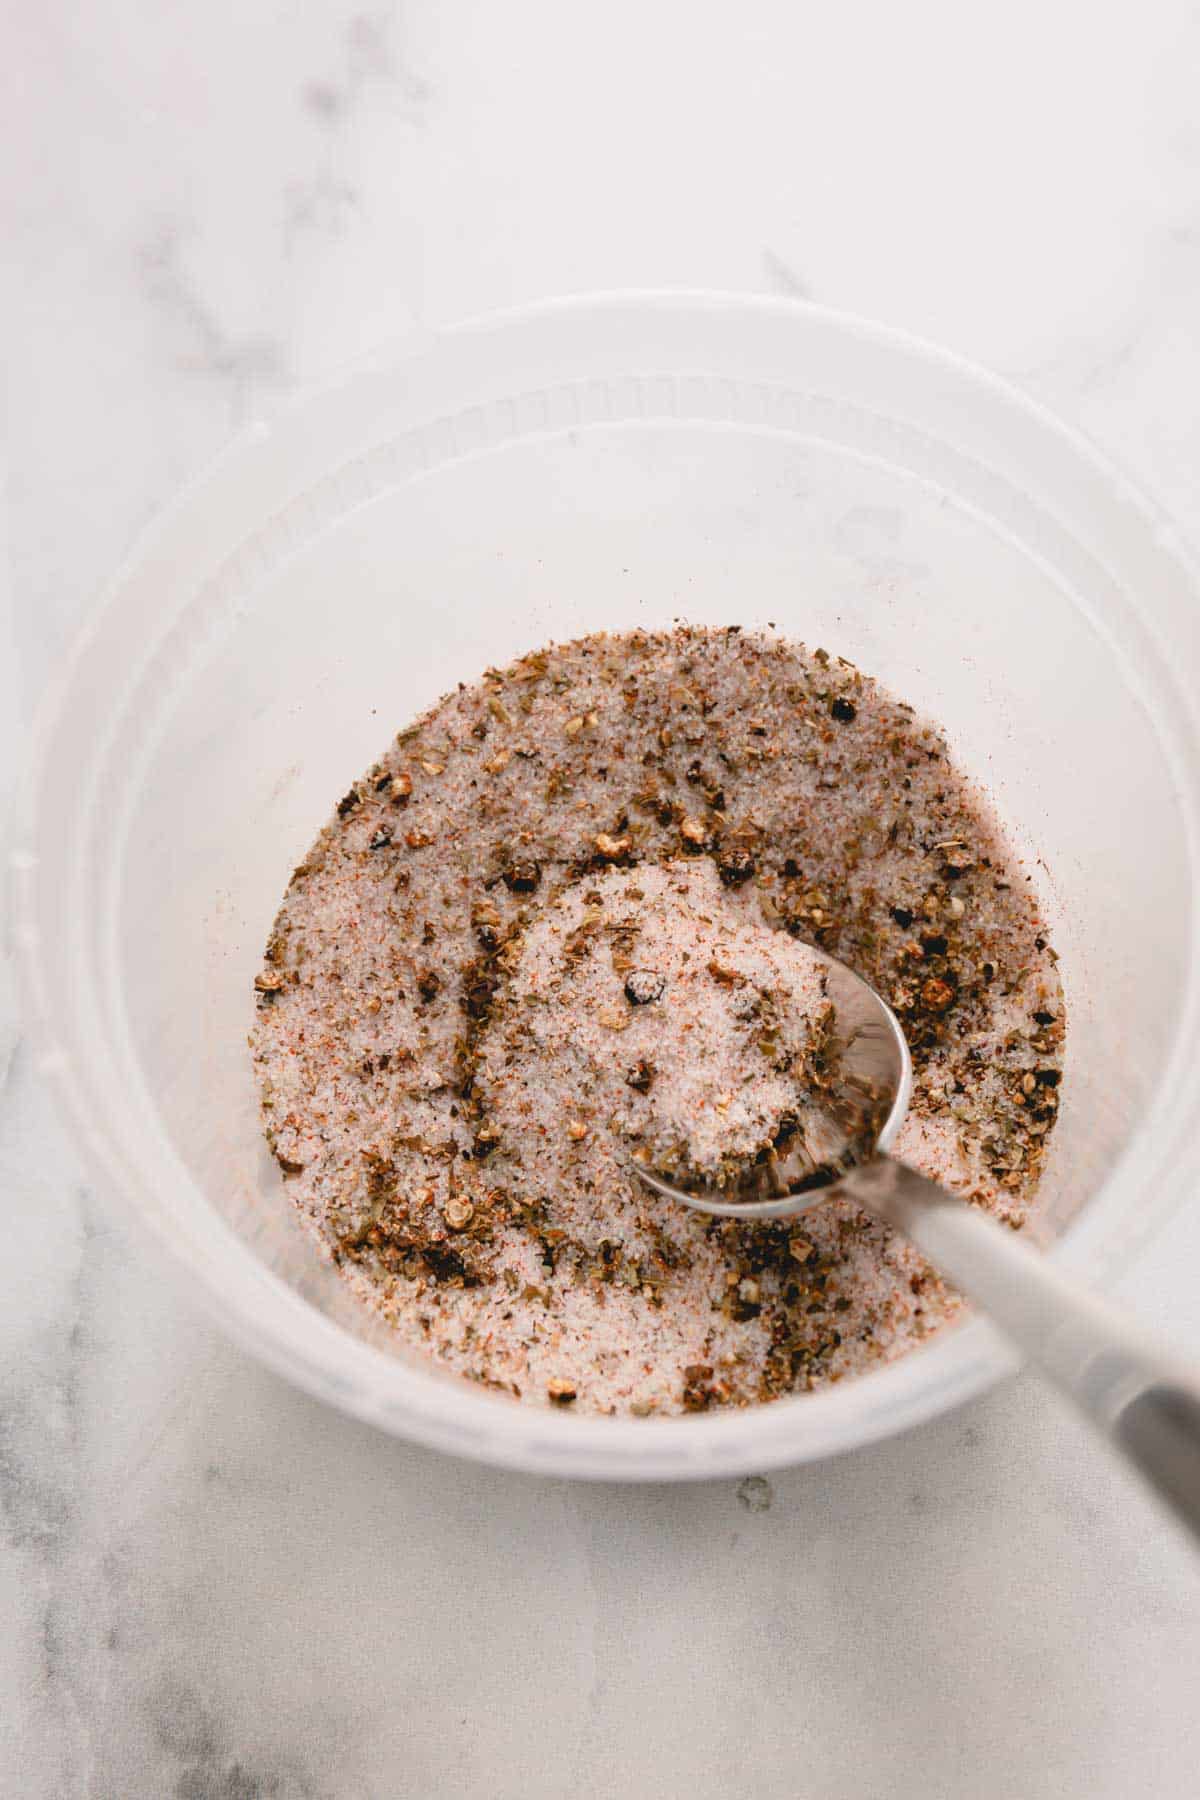
- Mix all the seasoning in a bowl. (If using whole peppercorns, crush them in a mortar and pestle.)
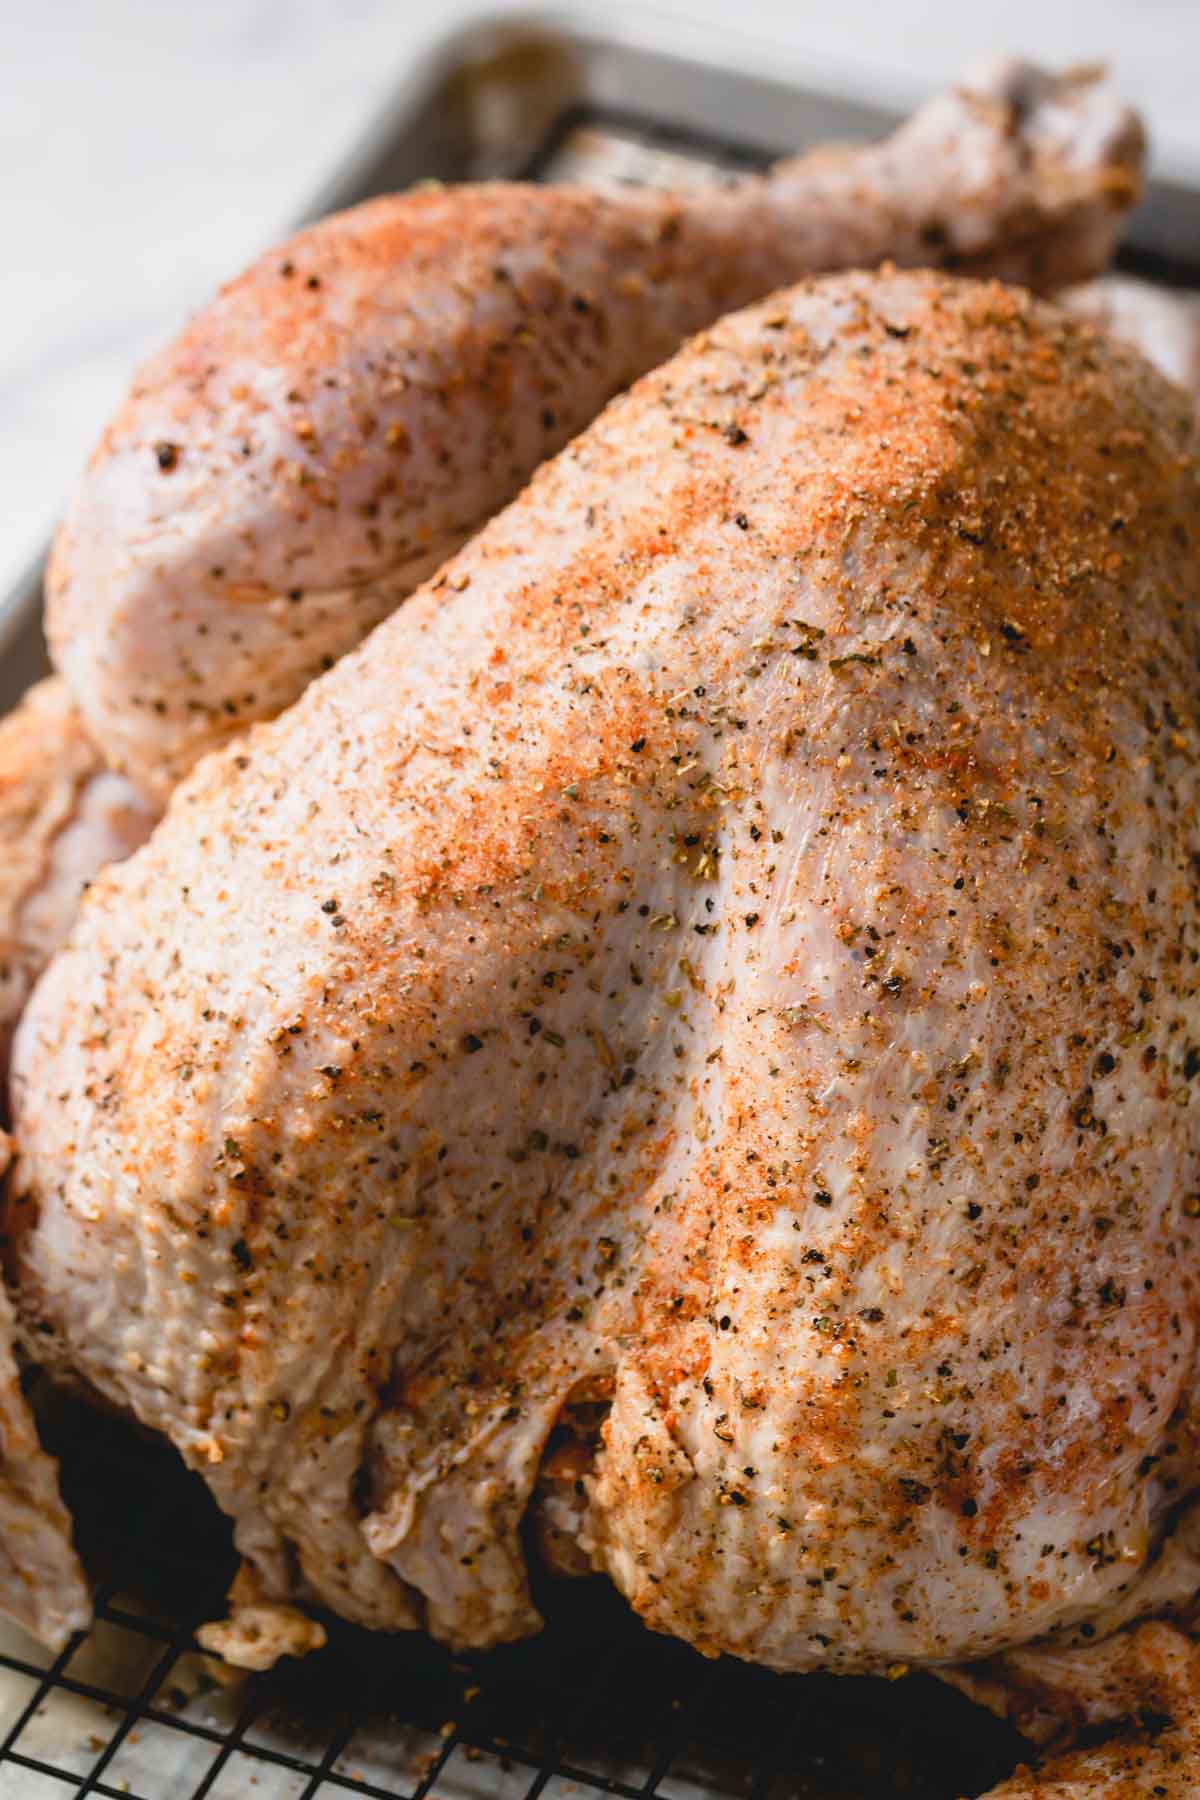
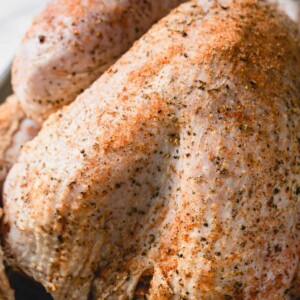
- Place a thawed, or semi-thawed turkey on a baking sheet with a wire rack. Pat dry the turkey with paper towels. Gently run your hand under the breast skin to separate them.
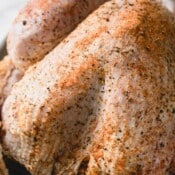
- Rub the seasoning mix evenly all over the turkey, under the breast skin right over the meat, and inside the cavity.
- Refrigerate the turkey, uncovered, for at least 24 hours or up to 72 hours.
- When ready to roast, no need to rinse the turkey! You may rub olive oil, or compound butter and go ahead and roast the turkey.
Tips for Success:
- Choose the right turkey! Make sure your turkey isn’t already brined. If the labels specify that it contains saline, or sodium solution, or if it’s a kosher turkey, you don’t need to brine them!
- Thaw the turkey first. It’s best to brine a thawed, or semi-thawed turkey. If your turkey is semi-frozen, be sure to use a deeper pan to catch any excess water from thawing.
- Use kosher salt! Kosher salt has larger granules and different shape of grains than other types of salt, which allows it to distribute evenly, sticks to the meat better and dissolve quicker! If you don’t have kosher salt, you may substitute table salt, but reduce the salt amount by half!
- Don’t cover the turkey. Allow the turkey air dry in the fridge during dry brining process, and you’ll be rewarded with a satisfying crispy skin!
FAQs:
It’s best to dry brine a turkey for 3 days. At the minimum, you should brine it for 24 hours.
Absolutely not. You’ll ruin the perfect air-dried skin that will produce the most satisfying crispy skin. Plus, USDA does not recommended washing a raw turkey!
Fresh turkey or frozen turkey that hasn’t been treated with saline, or sodium solutions are perfect for brining. Avoid kosher turkey, or any turkey that’s labels as “pre-salted“, “basted“, “self-basted“, or “enhanced“. When in doubt, check the ingredient list.
How to Dry Brine a Turkey
Ingredients
- 3 tablespoons kosher salt Note 1
- 2 tablespoons black peppercorns Note 2
- 1 teaspoon dried oregano Note 3
- 1 teaspoon garlic powder
- 1 teaspoon dried sage
- 1 teaspoon dried thyme
- 1 teaspoon smoked paprika
- 1 whole turkey thawed or semi-thawed Note 3
Instructions
- Mix all the seasoning in a bowl. (If using whole peppercorns, crush them in a mortar and pestle.)
- Place thawed, or semi-thawed turkey on a baking sheet with a wire rack. Pat dry the turkey with paper towels. Gently run your hand under the breast skin to separate them.
- Rub the seasoning mix evenly all over the turkey, under the breast skin right over the meat, and inside the cavity.
- Refrigerate the turkey, uncovered, for at least 24 hours or up to 72 hours.
- When ready to roast, no need to rinse the turkey! You may rub olive oil, or compound butter and go ahead and roast the turkey any which way you like.
⭐️ Did you make this recipe?
Please leave a review and let us know how you liked it!
Tips & Notes