
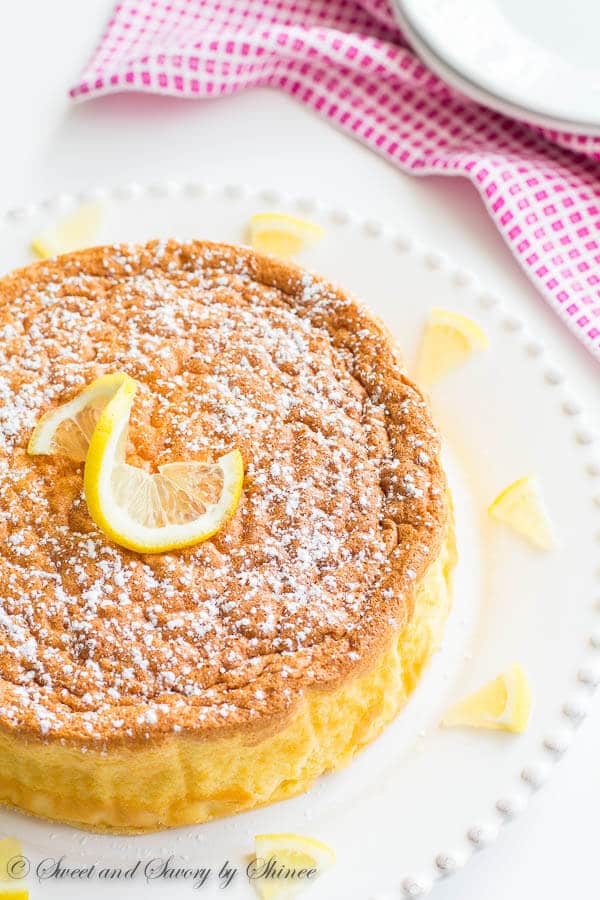
With less than 5 ingredients, this dreamy light lemon souffle cheesecake is the perfect treat to welcome long-awaited spring!
You guys love this 3-ingredient soufflé cheesecake. It’s one of the top most popular recipes on the blog, just take a look at the list on the sidebar. And rightly so, because it’s simple, light as air and so, so delicious. Also you just need 3 ingredients. And no, white chocolate isn’t one of them!
Anyway, I decided to add another simple ingredient into the mix for a fun, spring-y/summer-y feel. Nothing screams spring like lemon, right?
I love all things lemon when weather gets nice. Lemonade, lemon cake, lemon cheesecake bars, lemon curd… Oh my gosh, a big, loud YES to lemon curd. Have you tried this homemade version?? It’s the best stuff in the world (after chocolate, of course!). And today we’re adding this lemon soufflé cheesecake into the mix. I hope you love lemon as much as I do.
As mentioned above, you don’t need much for this cheesecake.
I’m sure you’ve seen 3-ingredient souffle cheesecake on the internet, and most of them are made with melted white chocolate. Not this one though. We’re using sweetened condensed milk. It’s a staple in my pantry. And I have an unhealthy obsession with it. Always have! Can you keep a secret? Just as any peanut-butter-lover digging into peanut butter jar in the middle of the night, you can catch me with a can of sweetened condensed milk and a spoon in front of an open fridge any time of the day! I’m blushing as I type this, but it’s sooooo good!
Alright enough with confessions, let’s get back to the cheesecake. You know what’s great about using sweetened condensed milk? No hassle with a double boiler, or worse, working with temperamental white chocolate! I hate melting white chocolate, probably because I’ve seized way too much white chocolate in the past! Besides, sweetened condensed milk is just as sweet and creamy.
Ok, let’s make the cheesecake now! Open your fridge and grab some eggs and cream cheese.✔️ Now get a can of sweetened condensed milk from the pantry.✔️ And I’m sure you have a plump and juicy lemon laying around on your counter, yeah?✔️ Great!
How to Make Lemon Souffle Cheesecake:
This is a souffle cheesecake we’re making, which means we need to incorporate ton of air into the batter. And for that we need to do two things:
- Beat the cream cheese until nice and fluffy, for good 2 minutes. Use softened brick of cream cheese, not the stuff in a tub (Philadelphia is my go-to brand, read this to learn why.) Bringing cream cheese to room temperature is important for a smooth and fluffy batter. Next, we’ll add condensed milk, yolks along with lemon zest and juice and continue to beat for a few minutes. Batter #1 is ready!
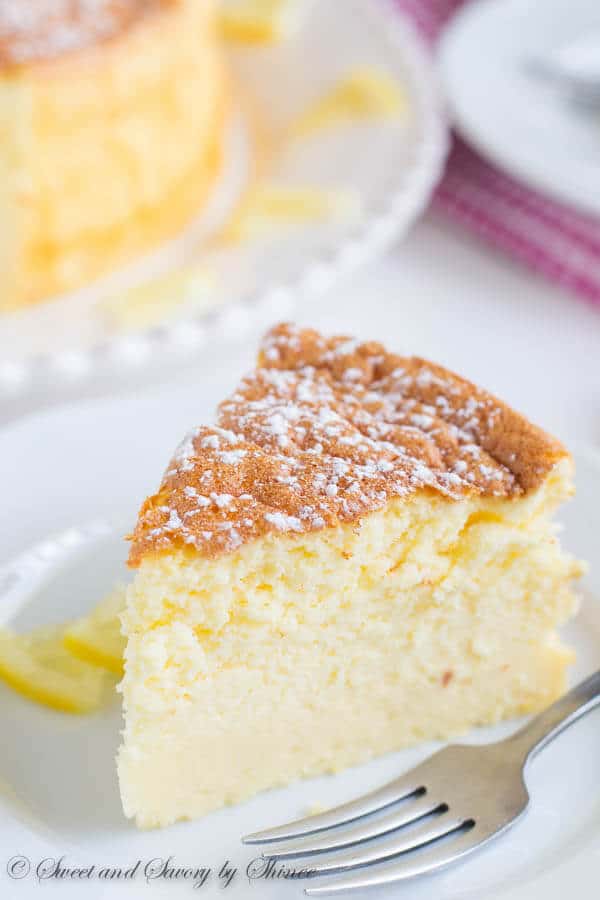
- Whip the egg whites until hard peaks form. The key is to use grease-free, preferably stainless steel bowl and utensils. Also be careful not to include even the smallest drop of egg yolk in the whites. It’s crucial, otherwise you’ll never get to that hard peak stage. That cloud-like fluffy mixture is what creates the signature soufflé texture in our cheesecake!
Now very carefully fold the 2 mixture until completely combined, being mindful not to deflate the batter too much. Remember, we need all that air in the batter for tall and fluffy soufflé cheesecake. We’ll bake it low and slow with a water bath in the oven.

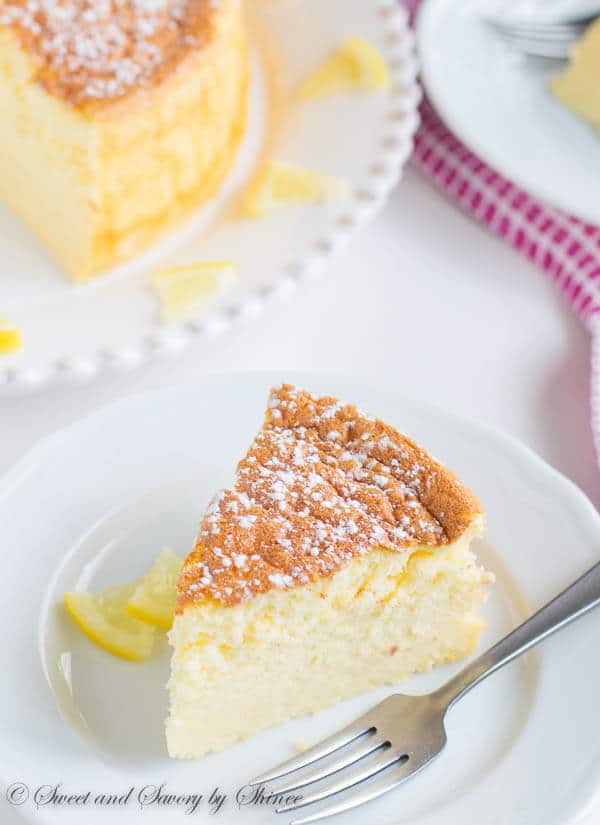
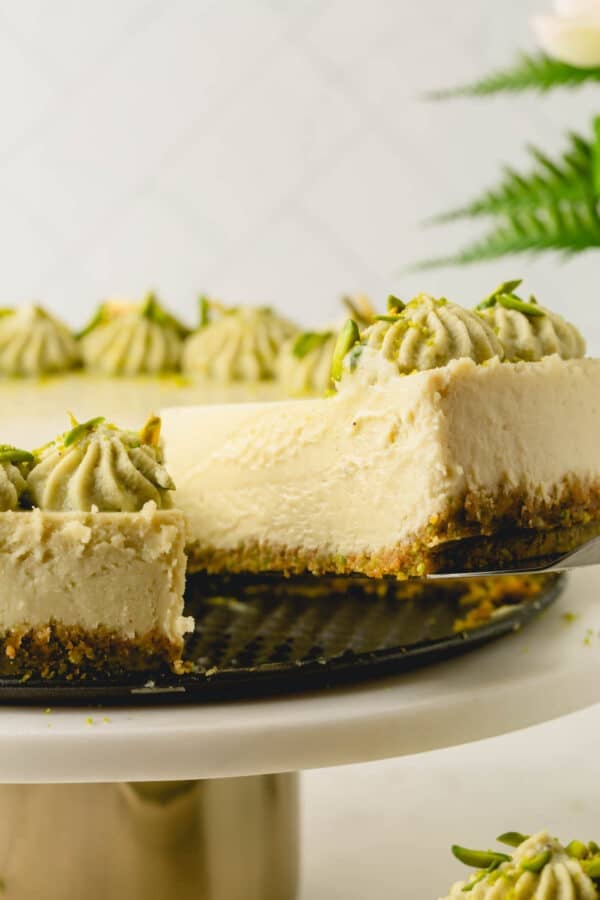
Oh, by the way, this cheesecake will rise during baking, but it does go back down to its original height while cooling. So don’t be alarmed. If you use larger than 8-inch pan, your cheesecake won’t be as tall as mine.
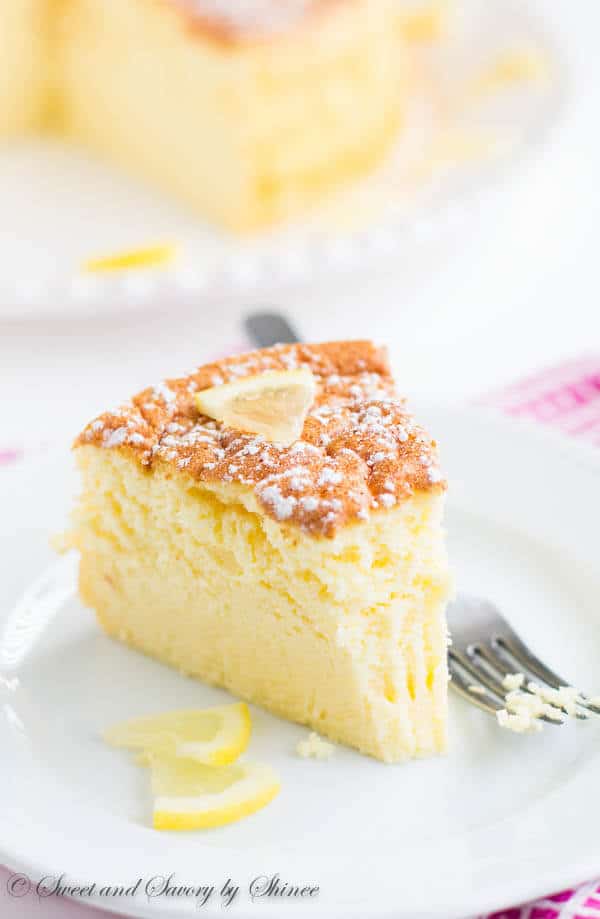
And there you have it. Super fluffy, soft and lemon-y cheesecake ready for you to devour!
No matter how full I’m after dinner, I always find room for this creamy deliciousness. And you’ll too, I just know it!
Hope you enjoyed today’s recipe. Thanks so much for stopping by!

Lemon Souffle Cheesecake
Ingredients
- 1 lemon
- 5 large eggs at room temperature
- 8 oz (225 g) cream cheese at room temperature
- 14 oz (400 g) sweetened condensed milk
- Powdered sugar for dusting optional
Helpful Equipment:
Instructions
- Preheat the oven to 325°F (160°C). You will need at least 2.5-in (6cm) deep 8-in (20sm) springform pan. Cut 3.5-inch (9cm)-wide long strip and 8-inch (20cm) round circle of parchment paper. Line the sides and the bottom of the springform pan with the prepared parchment paper. Set aside.
- Zest and juice the lemon. You should get about 1 teaspoon of lemon zest and 2 tablespoons of lemon juice.
- Separate the egg whites and yolks. Set aside.
- In a mixing bowl with paddle attachment, or using a handheld electric mixer, beat the cream cheese until smooth and fluffy, about 2 minutes.
- Add condensed milk and beat for another minute.
- Next, add the egg yolks, lemon zest, and lemon juice. Continue to beat until well combined, 2-3 minutes.
- In a separate bowl, beat the egg whites until hard peaks form. Make sure the bowl and the beaters are squeaky clean and free of grease. (TIP: Egg whites at room temperature are easier to beat and reach hard peaks faster.)
- Fold in half of the whipped egg whites into the cream cheese mixture.
- Then add the remaining egg whites and gently fold until well-combined and no white streaks are visible.
- Transfer the batter into the prepared pan and tap on the counter a few times to release any air bubbles.
- Place an empty baking sheet on the lower rack of the oven and pour about 2 cups of boiling water. Place the cake pan on the middle rack, above the one with a water bath. Bake for 45 minutes.
- Turn off the oven and cool the cake in the oven for 30-40 minutes.
- Remove the sides of the springform pan and gently peel off the parchment paper from the sides.
- Cool completely on the counter, then refrigerate until ready to serve.
- Before serving, when the cake is chilled and set, gently remove the parchment paper from the bottom and place the cake on a platter.
- Dust with powdered sugar, if desired. Store the cake in the fridge, covered, for up to 3 days.
⭐️ Did you make this recipe?
Please leave a review and let us know how you liked it!
Tips & Notes
Nutrition


This is a such a delicious, delicately flavored cake. I love that there is no flour. It came out perfectly. Thank you for the recipe.
Make it as instructed with an 8” springform & you will have the most delicious cake ever! Beautiful presentation. I encircled the cake with fresh strawberries. Nothing else needed! I received rave reviews! Don’t hesitate!
Hi, Louise!! I’m so happy you tried and loved this cheesecake recipe! Thank you so much for your feedback!!
Made this today. Tasted good. Didn’t rise and then fall. Stayed pretty flat. Could partially been that I didn’t have a 8” springform, only a 10” so it was spread out more. Looked nothing like the photos. I’ll try again.
Hi, Cindi. Thank you for trying my recipe. Yeah, that make sense, a larger pan will yield flatter cheesecake.
Can the recipe be doubled and baked in a 10 inch springform pan
Hi, Phyllis. I’ve never tested it that way. No idea.