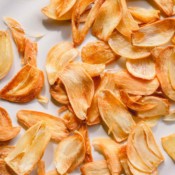
Here’s how to make fried garlic chips, ultra-crispy and nutty topping for any dish! Learn my tips on choosing the garlic, storing tips and more!
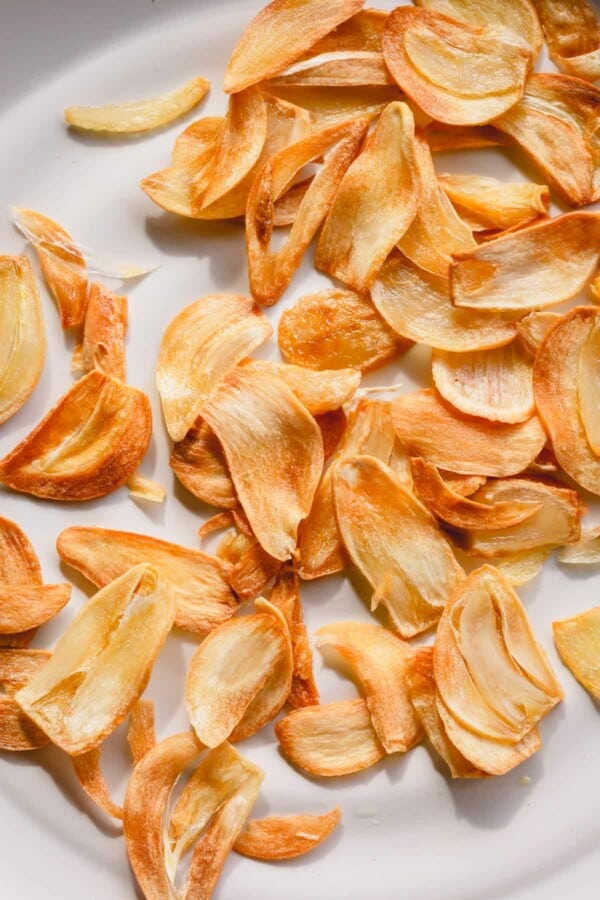
Table of Contents
Why you’ll love this recipe:
Calling all garlic lovers!!! We’re making the most amazing garlicky topping to jazz up your next meal!
Crispy and nutty, these fried garlic chips are SO addicting. They add that pleasant crunch and nuttiness without overpowering pungent flavor.
And the best part: it’s super easy and quick to make!
Things you need:
- Mandolin, or sharp knife – Using a mandolin ensures even slices and makes the process so much easier. But I just use a sharp chef’s knife.
- Small skillet – If you’re not making ton of chips, I recommend using a smaller pan. For this recipe, I use my 2.5 qt stainless steel saucepan, which has about 5-inch bottom.
- Oil – I use olive oil, because that’s what I mostly use for my everyday cooking. But you can use any kind of oil: avocado oil, vegetable/canola oil.
- Garlic – See next section on choosing the garlic.
What types garlic to choose:
There’re 2 main categories of garlic: hardneck and softneck.
- Hardneck is the type of garlic that is hardier and grows better in colder climates. They have a hard stem from the middle – hence the name “hard neck” – which is totally edible, and it’s called garlic scape. Hardneck garlics have more pungent and complex flavor and have larger and fewer cloves than softneck garlic.
- Softneck garlic grows in warm climates and have a milder flavor profile. Grocery stores mostly carry softneck garlic, because they have longer shelf life.
While both types of garlic will work, I personally prefer hardneck garlic for making garlic chips.
- They have bigger cloves, which means it’s easier to peel and slice them.
- More complex flavor = more flavorful chips!
Tip
Hardneck garlic is commonly available in Asian market.
How to make it:
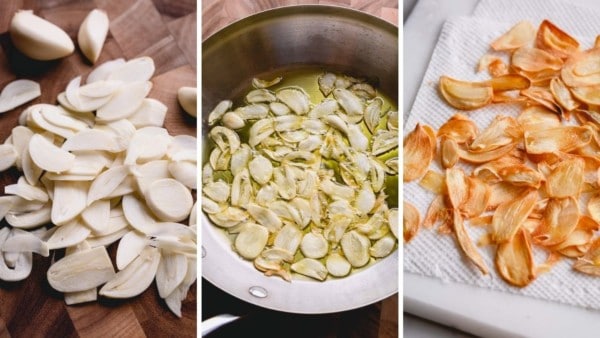
- First, prepare a plate lined with paper towel. Gather a slotted spoon.
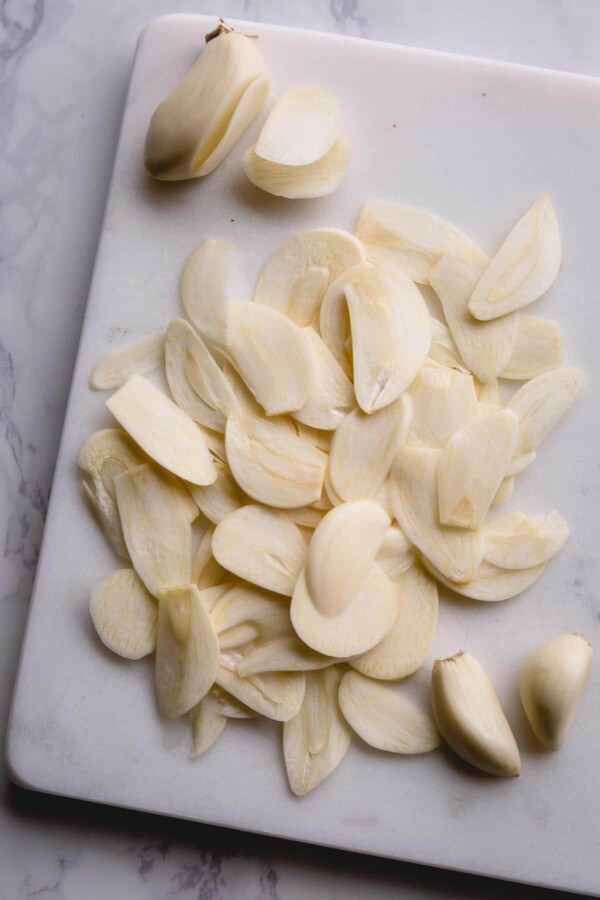
- Thinly slice the garlic cloves into even slices.
- Heat oil in a skillet over medium heat just until it’s warm.
- Add sliced garlic and fry for 2 minutes until golden, flipping them half way with a spatula. The oil will bubble up around the garlic slices, but it may look like garlic isn’t cooking for the first minute or so. Be patient and stay close by. Do NOT increase the heat to speed up the process. The garlic will burn over high heat.
- Remove crispy garlic chips with a slotted spoon, and drain them on paper towel.
Tip
Don’t discard the oil. It’s super flavorful! Use it to coat potatoes or any other vegetables for roasting. Or simply use it for cooking.
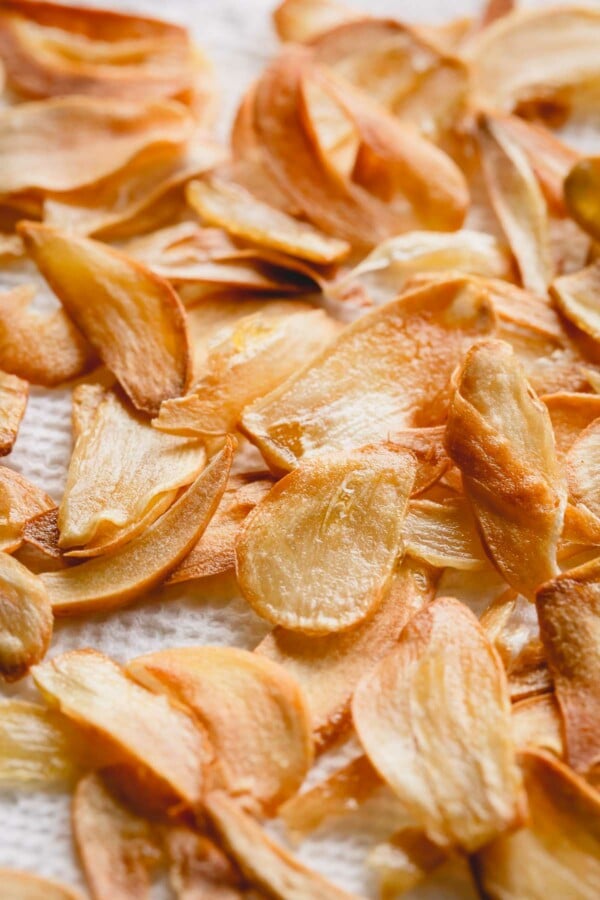
Garlic chips garnish ideas:
You can sprinkle garlic chips on literally everything!! (Well, maybe not on ice cream! Wait, maybe worth a try?)
Here’re my favorite dishes to garnish with these crispy garlic:
- 15-minute sesame noodles or garlic butter rice
- stir-fries and steak fried rice
- skillet shrimp and cabbage stir-fry
- oven roasted veggies and any salad
Storing Tips:
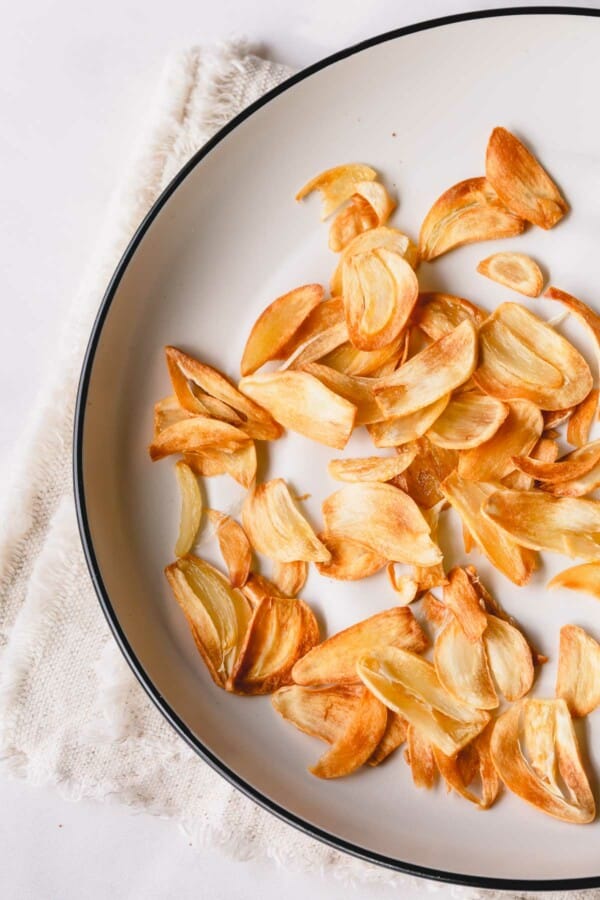
Store leftover garlic chips in an airtight container for up to 1 month at room temperature.
Infused oil should be refrigerated and can be used for cooking.
How to Make Garlic Chips
Ingredients
- 3 tablespoons olive oil Note 1
- 6 garlic cloves Note 2
Instructions
- First, prepare a plate lined with paper towel. Gather a slotted spoon.
- Thinly slice the garlic cloves into even slices.
- Heat oil in a skillet over medium heat just until it’s warm.
- Add sliced garlic and fry for 2 minutes until golden, flipping them half way with a spatula. The oil will bubble up around the garlic slices, but it may look like garlic isn’t cooking for the first minute or so. Be patient and stay close by. Do NOT increase the heat to speed up the process. The garlic will burn over high heat.
- Remove crispy garlic chips with a slotted spoon and drain them on paper towel. Once completely cooled, store in an airtight container for up to 1 month.
- Transfer the oil into a mason jar to use for another cooking. Store the infused oil in the fridge.
