Classic deviled eggs are simple yet tasty appetizer for any occasion! Let’s learn to make perfectly creamy and well-balanced filling. Plus, all the tips on how to make them ahead.
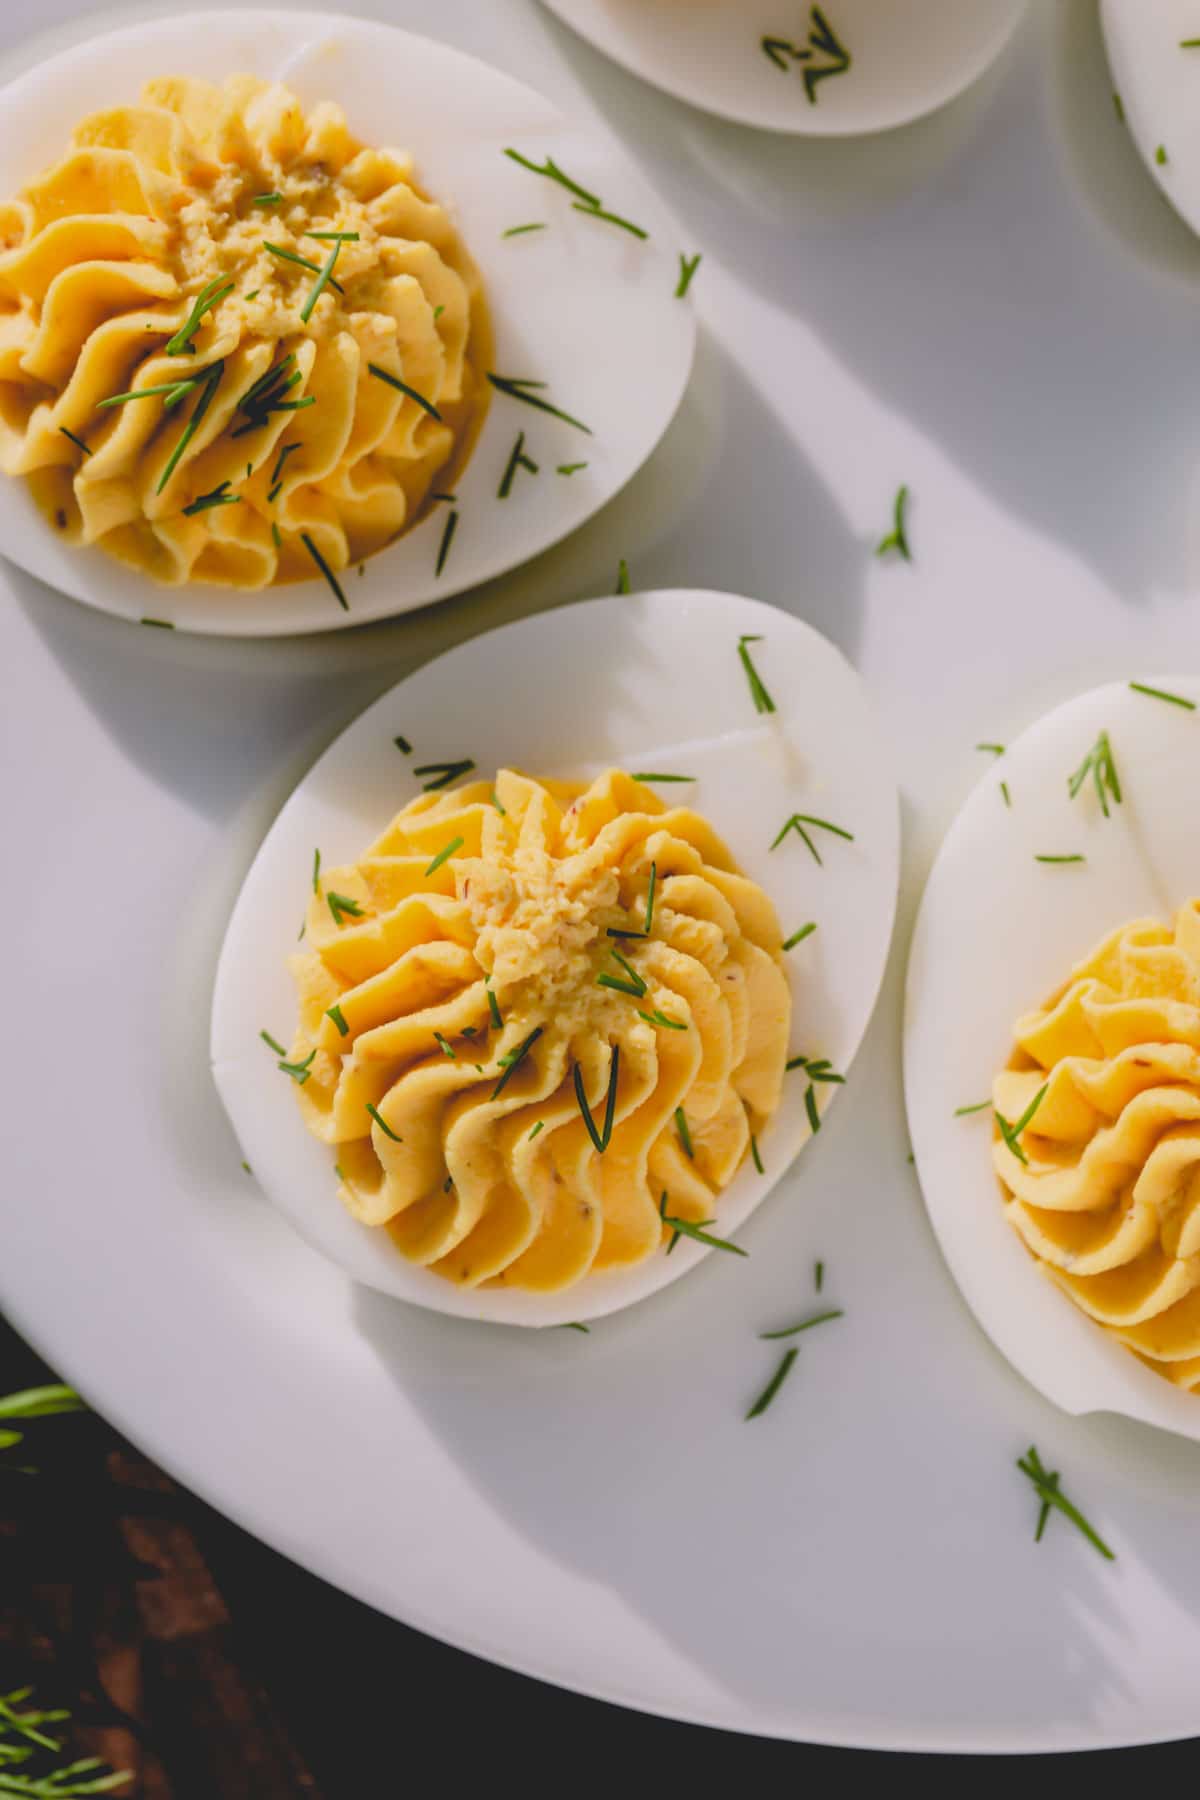
Table of Contents
I’ve shared many variations of deviled eggs. From slightly adventurous to borderline bizarre ones (chicken liver pate deviled eggs, anyone?)!
So, it’s about time to share a classic version of this crowd-pleasing appetizer.
Why you’ll love this recipe:
Deviled eggs are such a classic crowd-pleasing appetizer!! And they’re so quick and easy to make too!
You’ll love my time-tested recipe, because you’ll get:
- silky smooth and soft egg whites
- flavorful and smooth filling
- well-rounded flavors
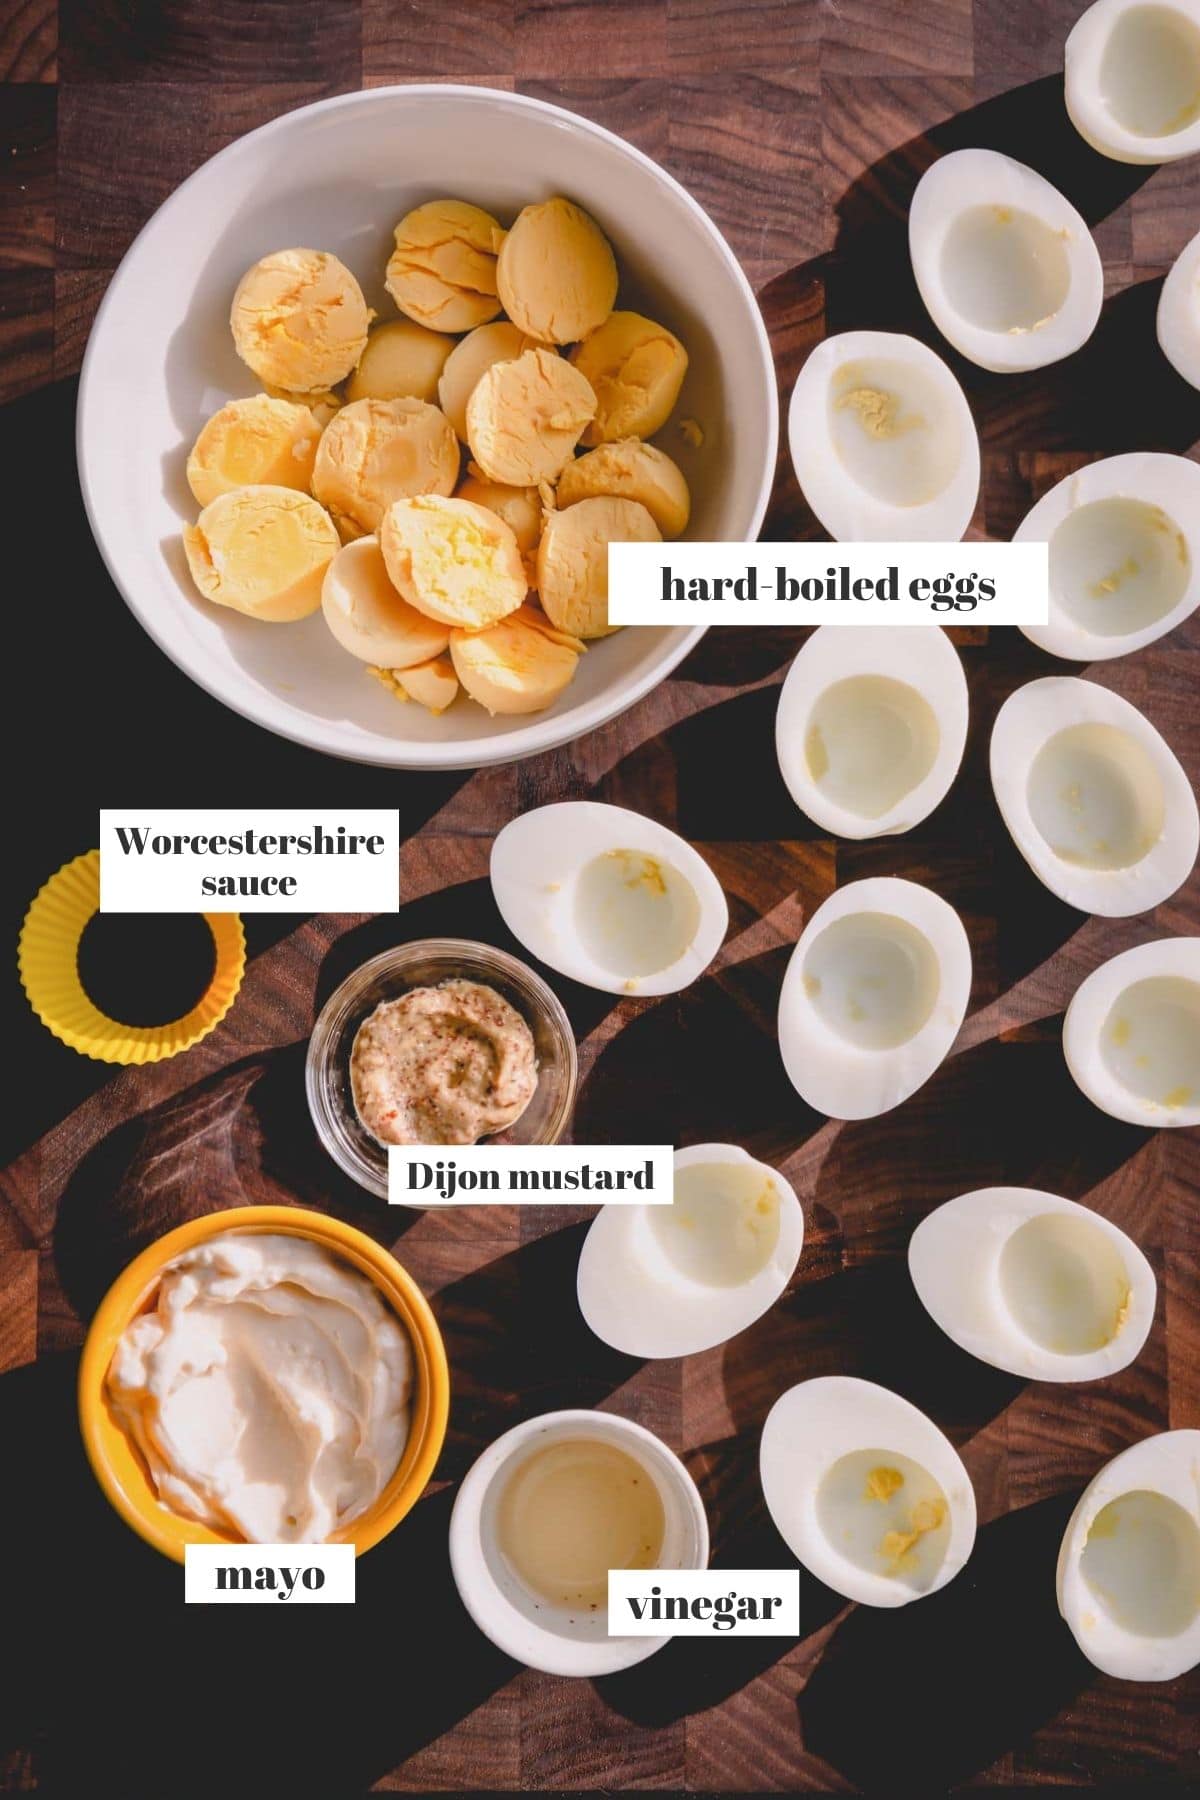
Key Ingredients:
- Eggs – You don’t need to treat your eggs any special way for making deviled eggs. Don’t need to buy the eggs weeks in advance, or place them sideways to center egg yolks. In fact, I often use farm fresh eggs and they turn out perfect every time. (My easy peel hard boiled eggs tutorial is perfect for fresh eggs!!)
- Mayo makes the filling so satisfyingly creamy. If you prefer Miracle Whip over mayo, go right ahead and use that instead.
- Dijon mustard adds a touch of spiciness, a quintessential characteristic of deviled eggs.
- Apple cider vinegar brightens up the flavors. You may substitute with any other vinegar, if needed.
- Worcestershire sauce adds a nice salty and savory touch to the filling.
How to make this recipe:
It’s super simple to make deviled eggs.
1. Cook the eggs
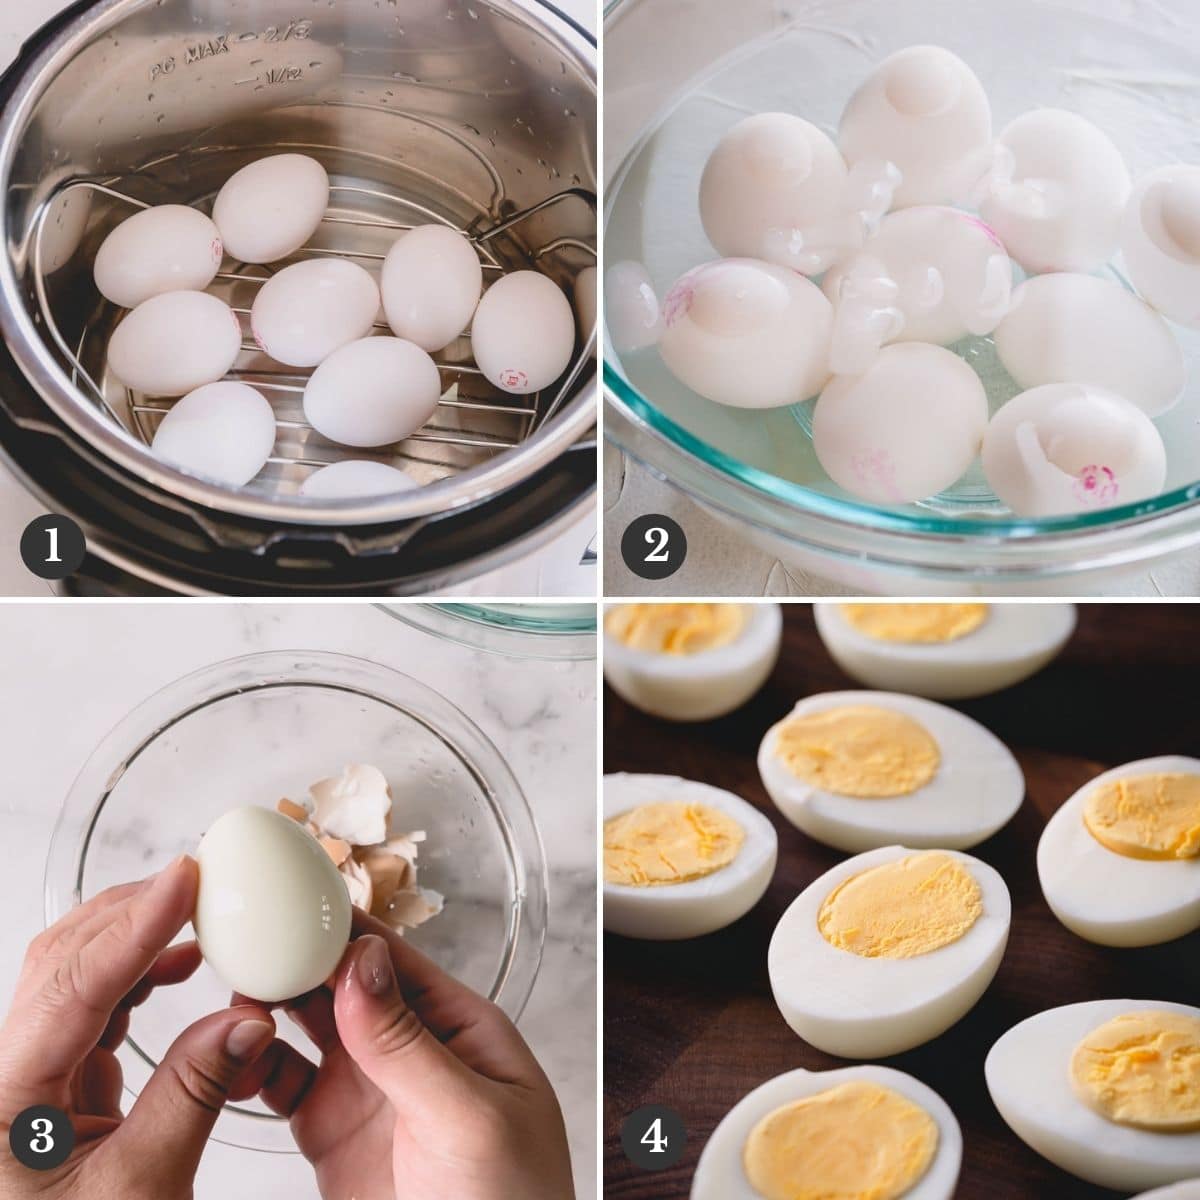
I’m cooking the eggs in an Instant Pot here because it makes the peeling the eggs super easy. But it works the best for store-bought eggs.
If you have farm fresh eggs, I recommend steaming hard-boiled eggs instead to ensure easy peeling.
Once the eggs are cooled, carefully peel them and cut them in half.
Tip
Hard boiled eggs peel easily right after cooling in an ice bath.
2. Make the filling
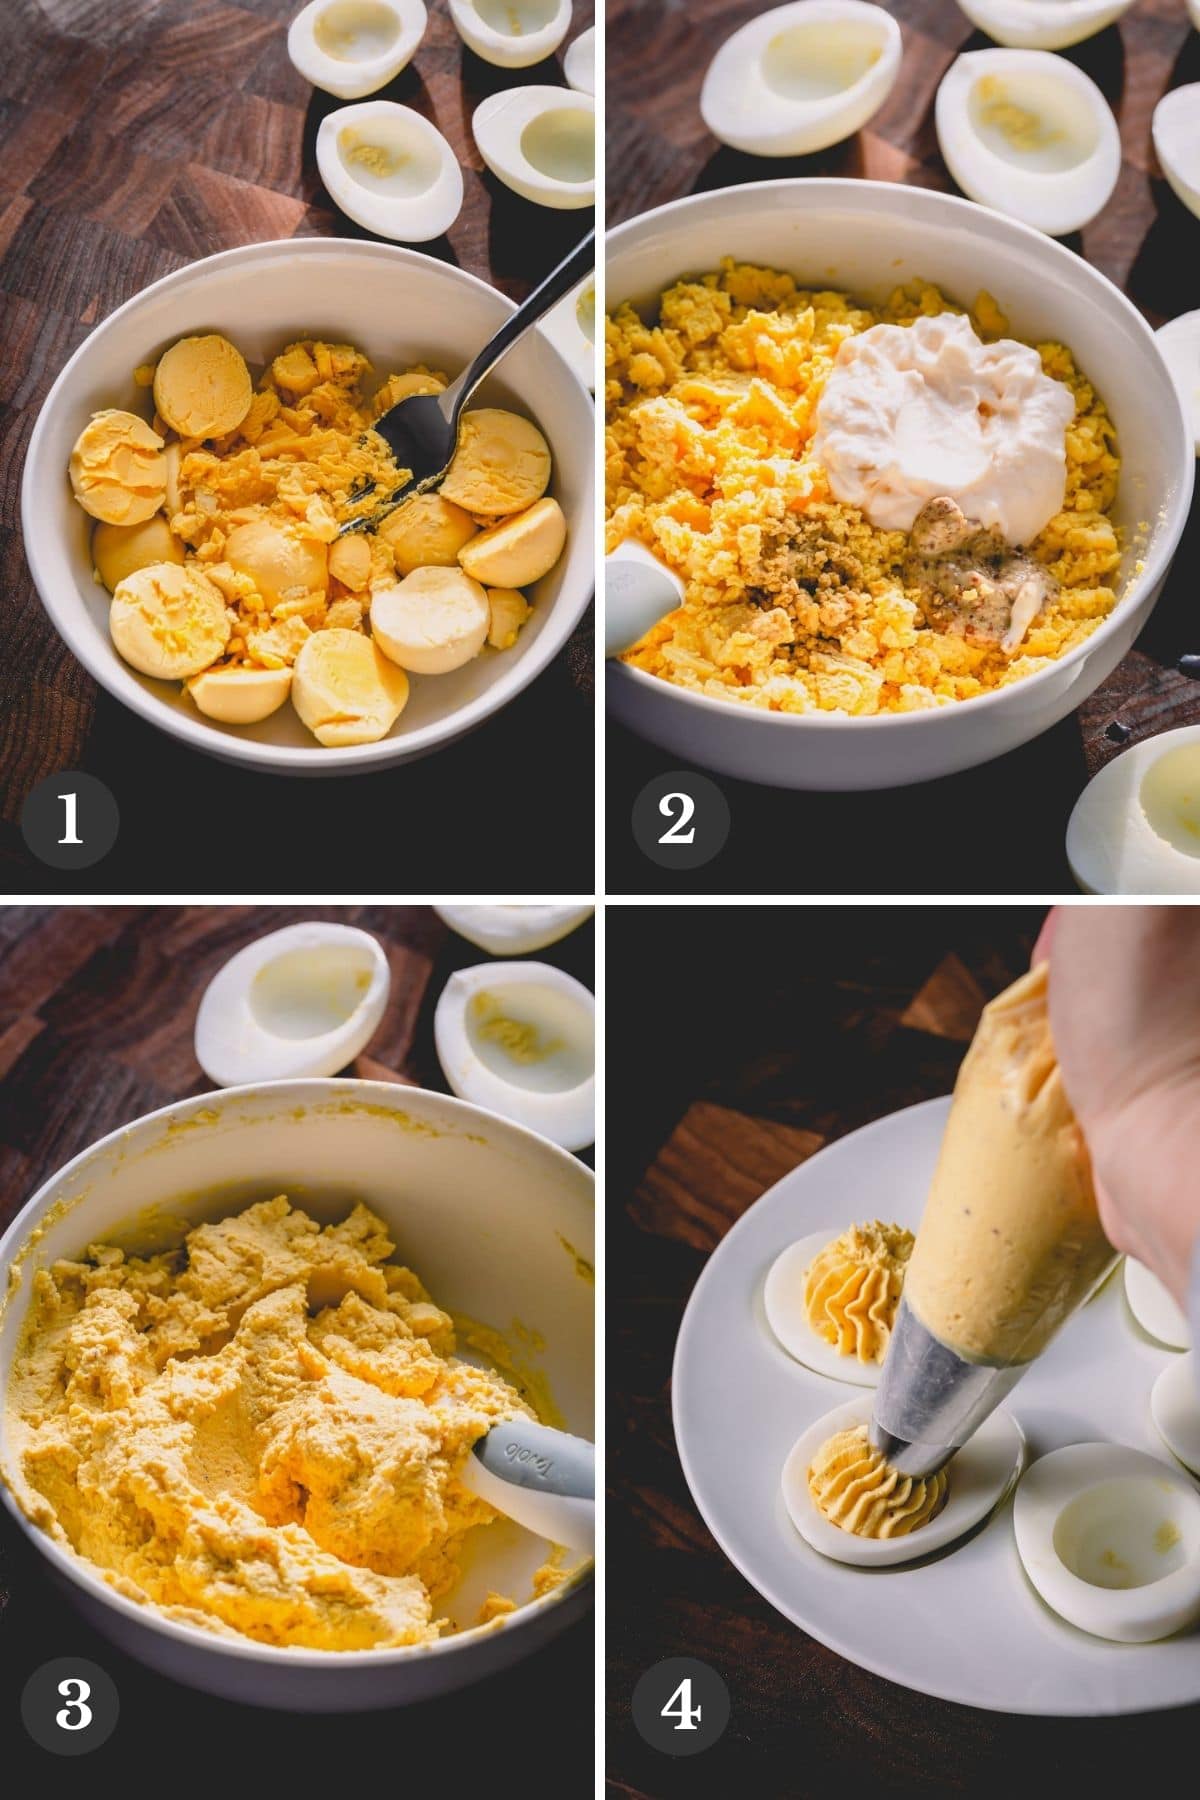
To make the egg yolk filling, gather all the yolk in a bowl and mash them well with a fork. Be sure not to leave any chunks.
Then add the remaining ingredients and mix until smooth.
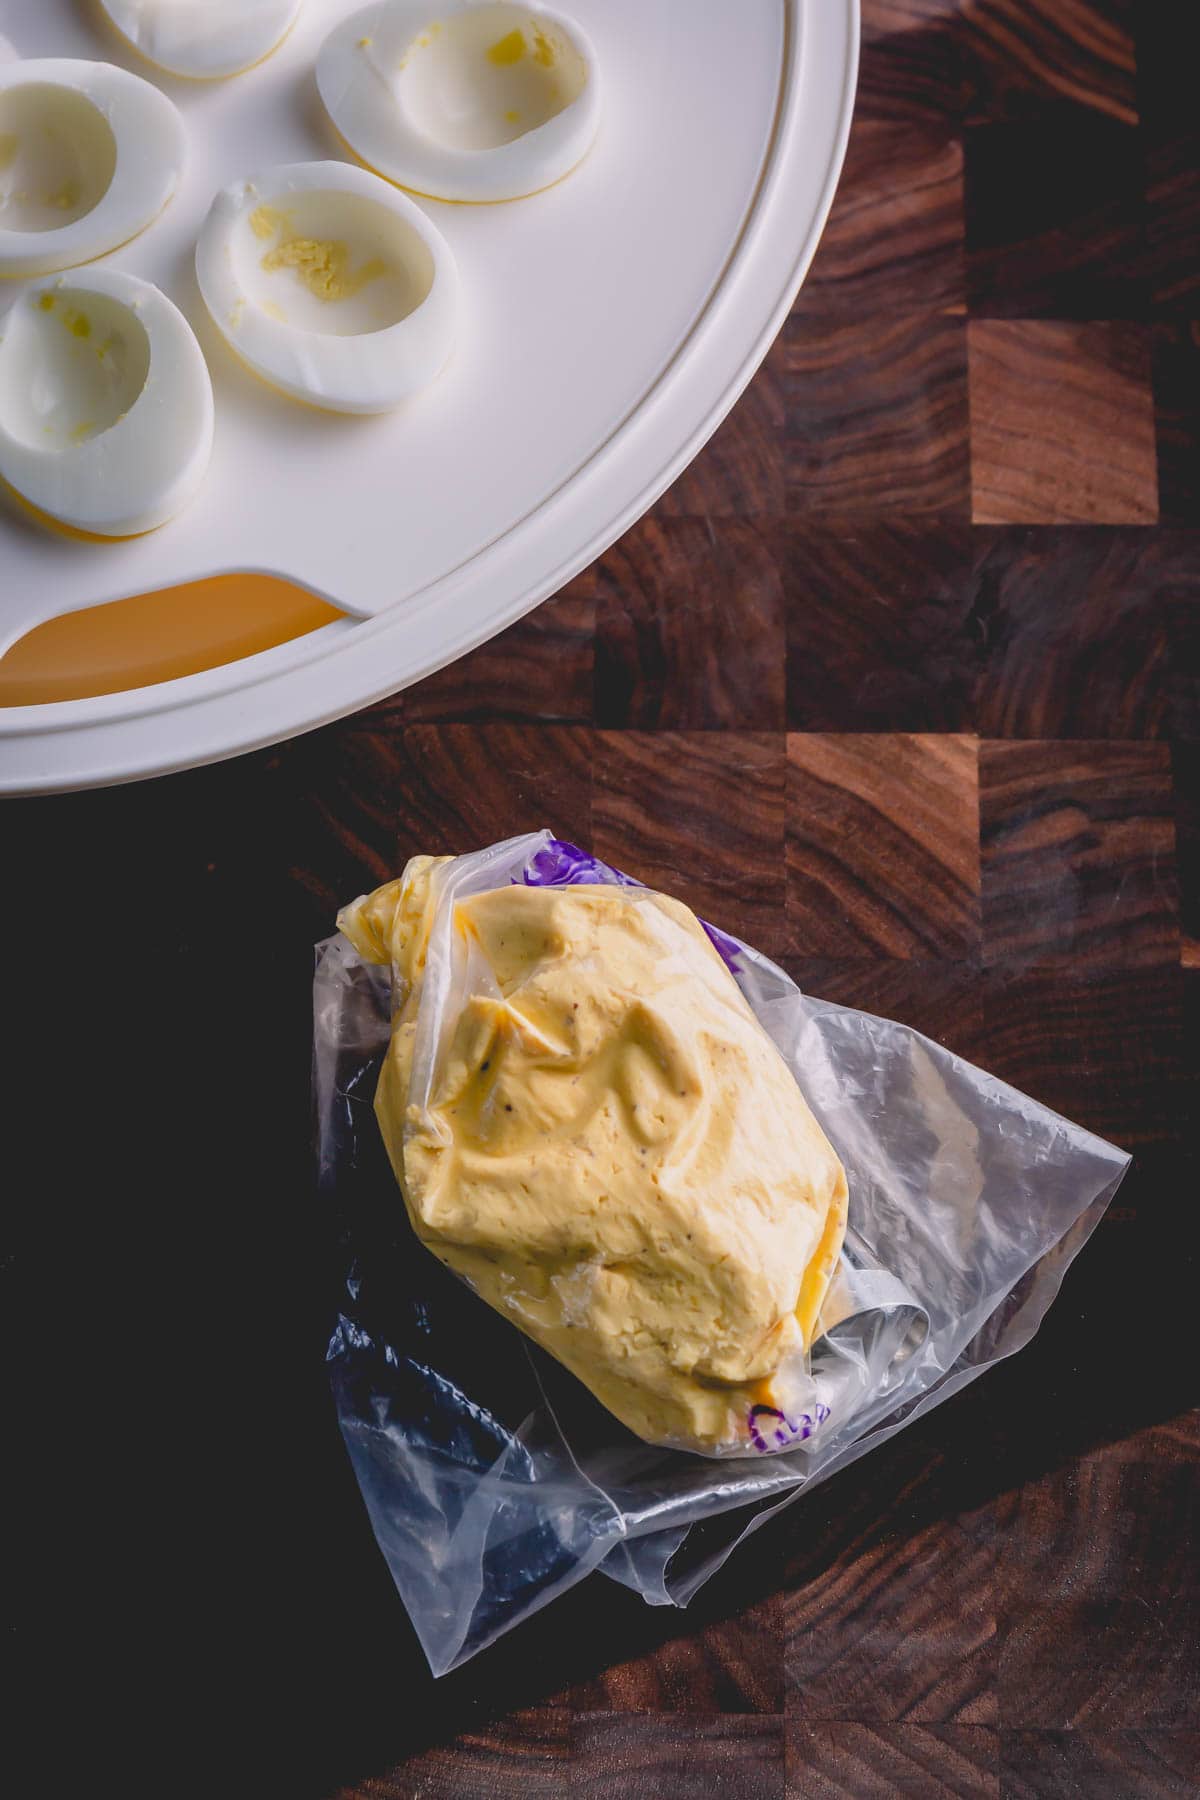
Transfer the filling into a piping bag. If you want, you can put in a piping tip. Here, I’m using a French star tip, but it’s totally optional.
Lastly, arrange the egg whites on a serving platter and pipe the filling into each egg white.
Tip
It’s best to fill the deviled eggs right before serving for maximum freshness.
How to fill the egg whites:
It’s really easy to fill deviled eggs. Let me show you 2 simple ways to pipe the filling in the egg whites:
- Use a freezer bag. Place the filling in a freezer bag and gather the filling into one corner of the bag. Cut the tip off of the corner with scissors and squeeze the filling back into the whites. It works just like a pastry bag!
- Use a pastry bag. Place the filling in a pastry bag, fitted with a star tip, if you have it, and pipe into the egg whites.
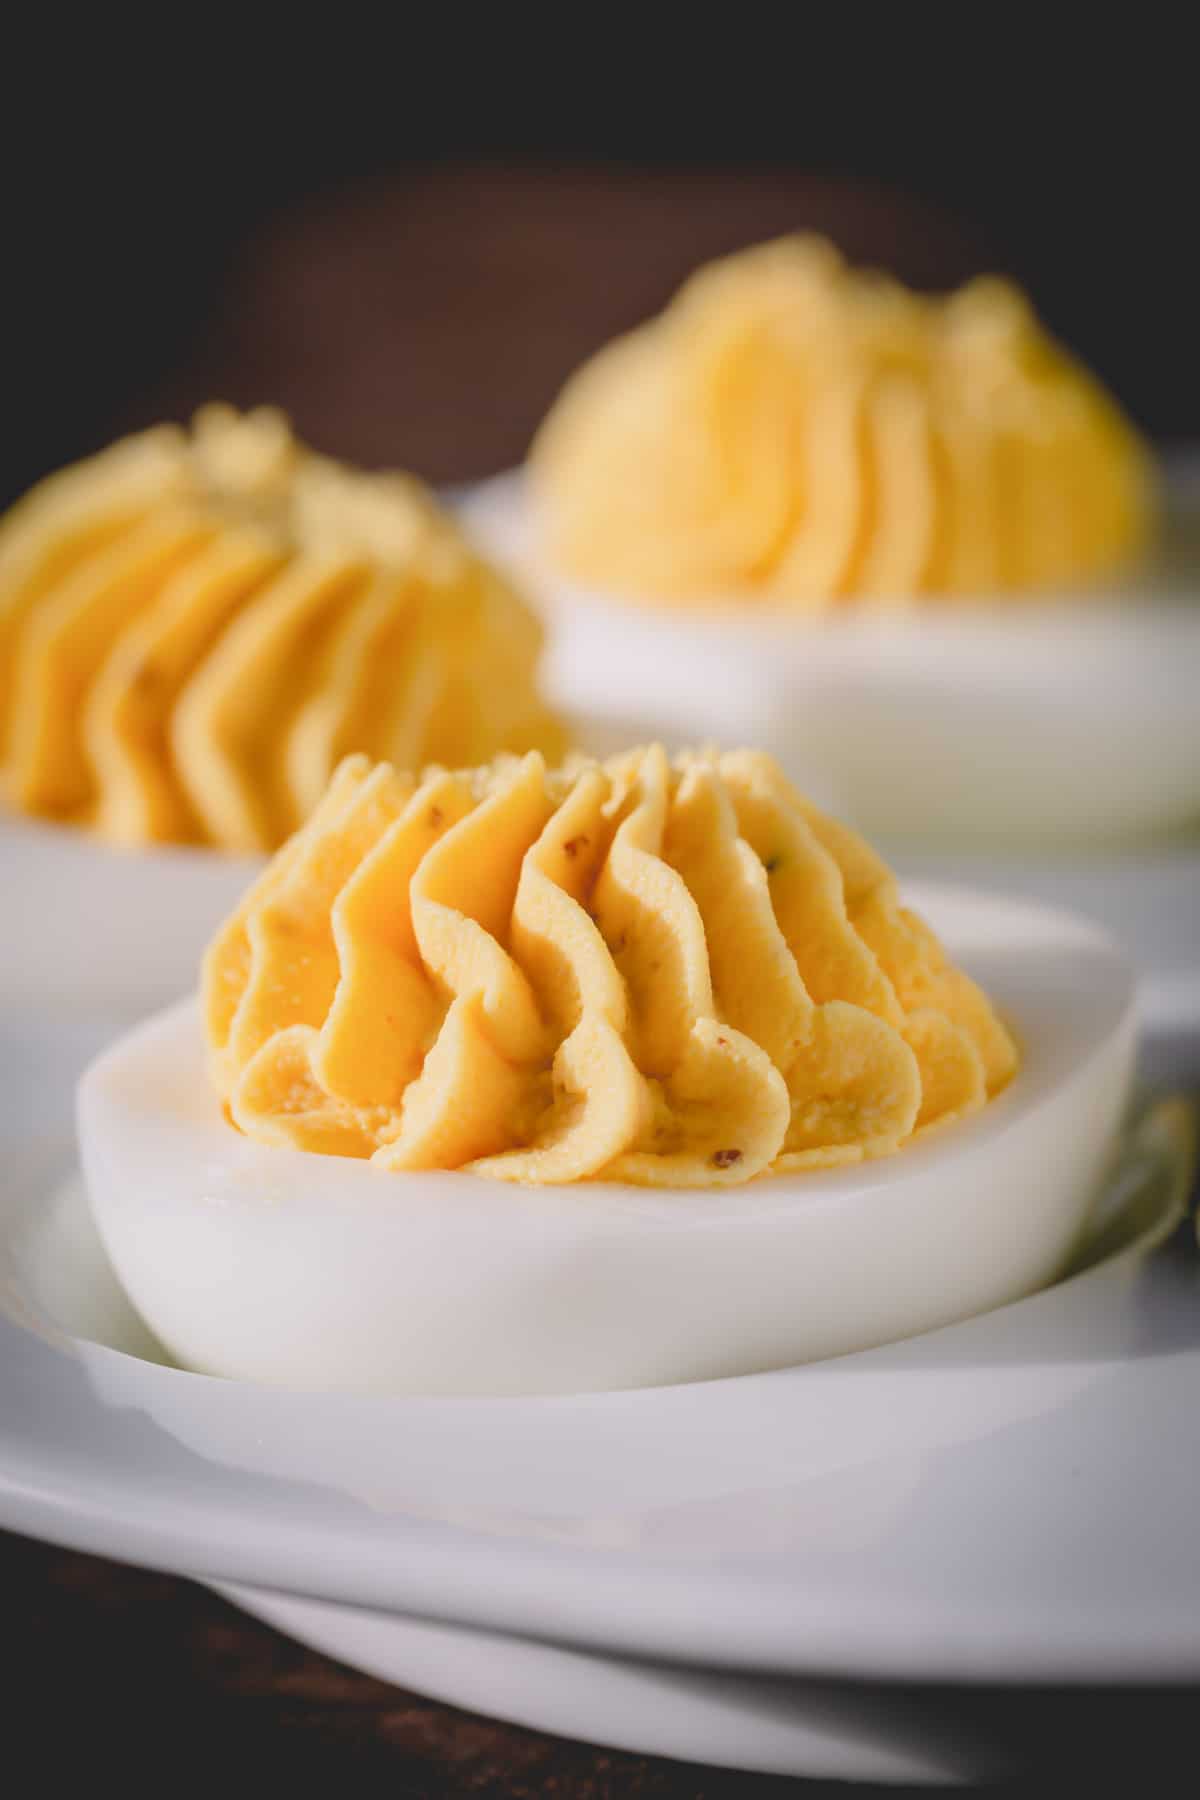
Tips for Success:
- For easy peeling, steaming the eggs is the best way to cook hard-boiled eggs. Instant Pot works perfectly for store-bought eggs, and stovetop steaming is best for farm fresh eggs.
- Ice bath is crucial to stop cooking the eggs and to prevent over-cooked eggs, which causes the unappealing green ring around the yolks.
- Don’t fret if you got green ring around the yolks! You can save the dish by continuing through the process and adding a slight squeeze of yellow mustard to bring back the yellow color.
- Cook an extra egg or two just in case one doesn’t peel well.
Make-Ahead Tips:
Deviled eggs are such a simple appetizer and perfect for making ahead!
- 1 week in advance: Cook the hard-boiled eggs. Refrigerate unpeeled eggs until ready to use.
- 1 day in advance: Prepare the filling. Store the filling and egg whites separately in airtight containers in the fridge.
- The day of serving: Fill the egg whites preferably right before serving (or a few hours in advance) for maximum freshness.
Storing Tips:
- Place the egg whites in an airtight container, lined with a damp paper towel, and refrigerate.
- Transfer the egg yolk mixture into a ziplock bag, or a pastry bag, making sure to twist both ends to keep the bag airtight.
Tip
If you are transporting the eggs, this versatile (and inexpensive!) egg carrier is super convenient!
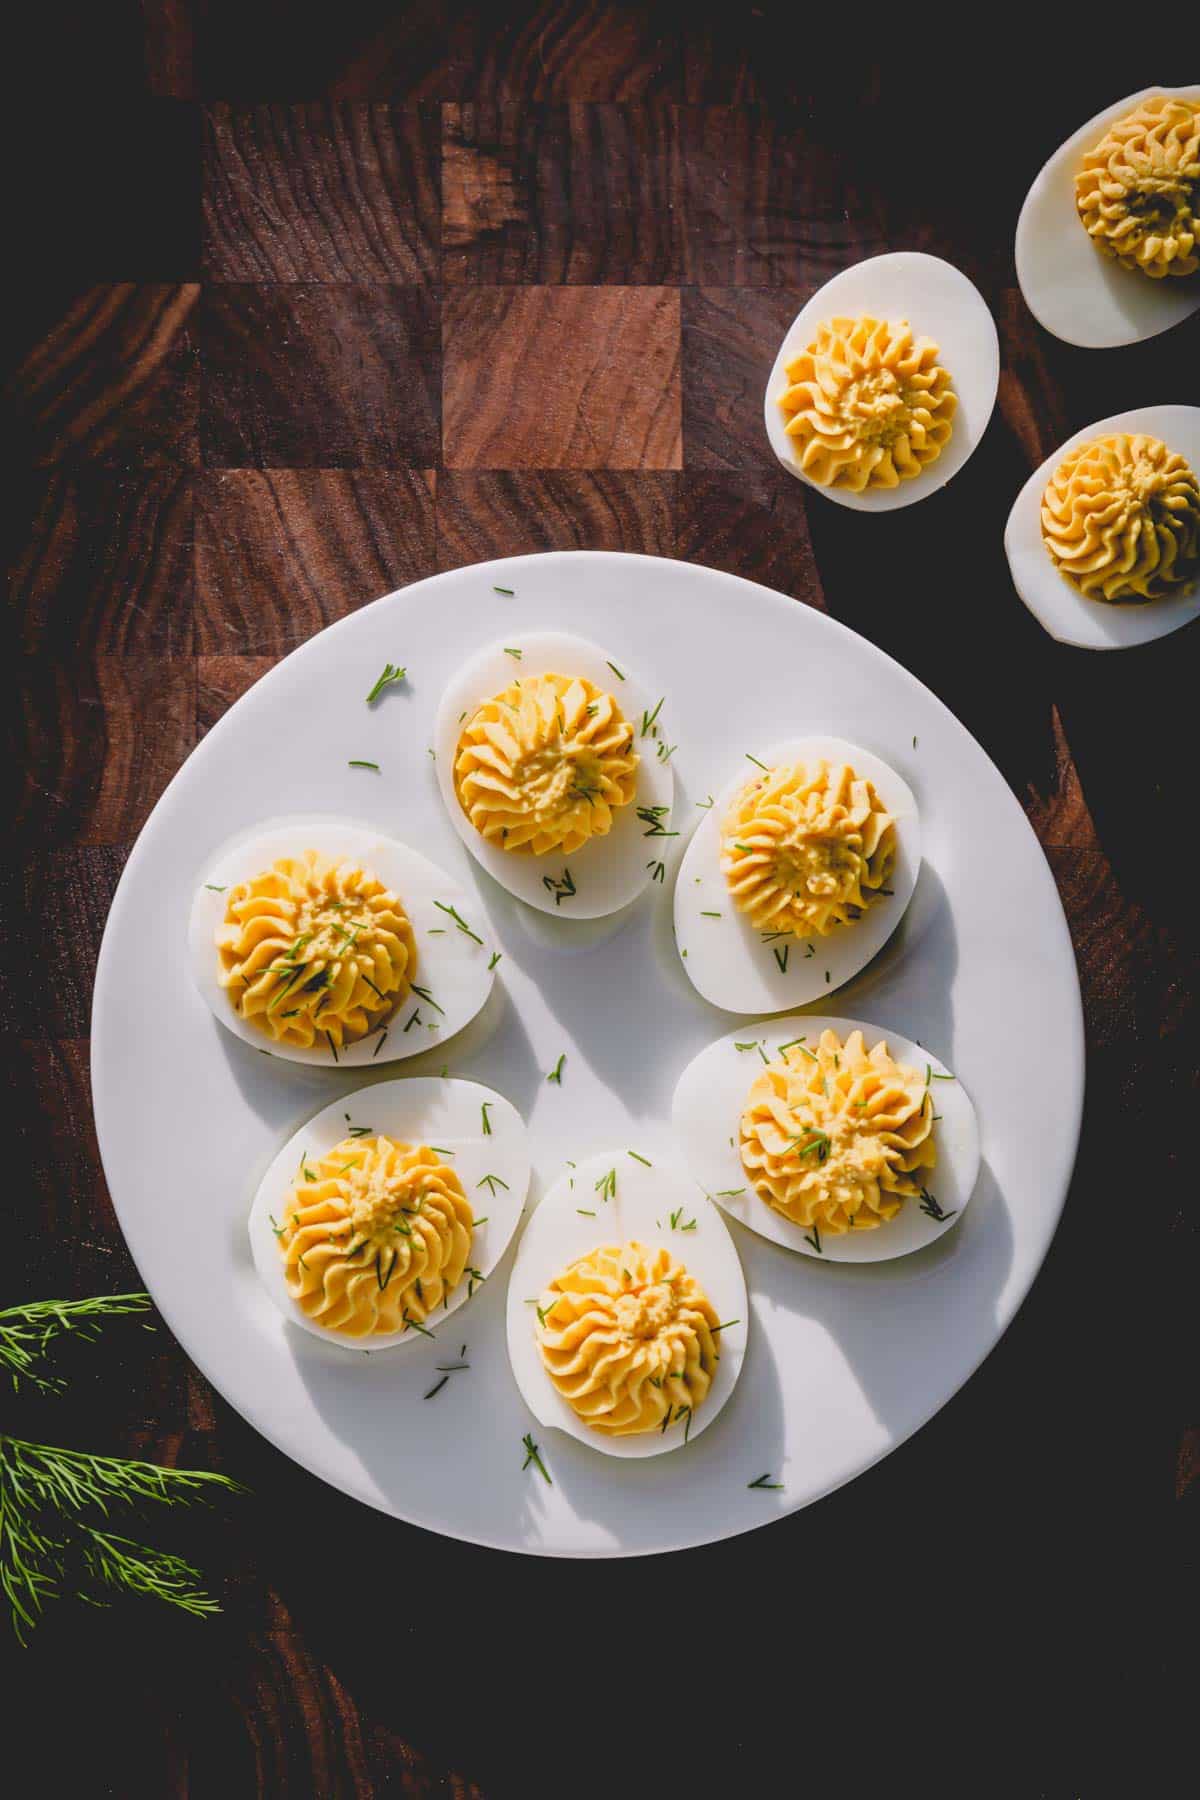
Garnish your deviled eggs with fresh herbs, like dill, or smoked paprika, or anything your heart desires!
I hope you enjoy this recipe as much as I do!
Classic Deviled Eggs
Ingredients
- 6 large eggs Note 1
- 3 tablespoons mayo Note 2
- 1 ½ teaspoons apple cider vinegar Note 3
- 1 teaspoon Dijon mustard
- ¼ teaspoon Worcestershire sauce
- ¼ teaspoon salt
- Fresh dill for garnish optional
Instructions
To cook hard-boiled eggs:
- Place a trivet in inner pot of Instant Pot. Add 1-2 cups of water and place eggs on the rack. (For 6qt Instant Pot – 1 cup, for 8qt – 2 cups of water.)
- Set the Instant Pot to Manual/Pressure Cook for 8 minutes on High.
- Once the time is up, allow the pressure to release naturally for 5 minutes, and then carefully turn the valve to venting. Once the pin drops, carefully open the lid. (Alternatively, you can steam hard-boil eggs on stovetop.)
- Meanwhile, prepare a bowl of water with ice. Then immediately transfer the eggs into the ice water to cool, about 10 minutes.
- Once the eggs are cooled, gently tap the egg on a counter to crack the shell all over and gently peel.
- Cut the peeled eggs in half and separate the yolks.
To make egg yolk filling:
- Place the yolks in a medium bowl and mash them well with a fork.
- Add mayo, apple cider vinegar, Dijon mustard, Worcestershire sauce and salt. Mix with a rubber spatula until smooth.
- Transfer the filling into a pastry bag, fitted with a star tip, or just a Ziploc bag.
To assemble:
- Arrange the egg whites on a serving platter and pipe the filling into egg whites. It's best to fill the deviled eggs right before serving for maximum freshness.
- Garnish with fresh dill or paprika, if desired.
Tips & Notes
– 1 week in advance: Cook the hard-boiled eggs. Refrigerate unpeeled eggs until ready to use.
– 1 day in advance: Prepare the filling. Store the filling and egg whites separately in airtight containers in the fridge.
– The day of serving: Fill the egg whites preferably right before serving (or a few hours in advance) for maximum freshness. Storing Tip:
– Place the egg whites in an airtight container, lined with a damp paper towel, and refrigerate.
– Transfer the egg yolk mixture into a ziplock bag, or a pastry bag, making sure to twist both ends to keep the bag airtight.
– If you are transporting the eggs, this versatile (and inexpensive!) egg carrier is super convenient!
