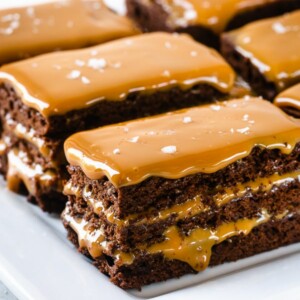
These indulgent dulce de leche chocolate mini cakes are uber-fudgy and rich, a little bit goes a long way!!
- Do you love chocolate? ✔️
- Do you love caramel? ✔️
- Do you love cake? ✔️
If you answered “YES” to these questions, then these dulce de leche chocolate mini cakes are for you!
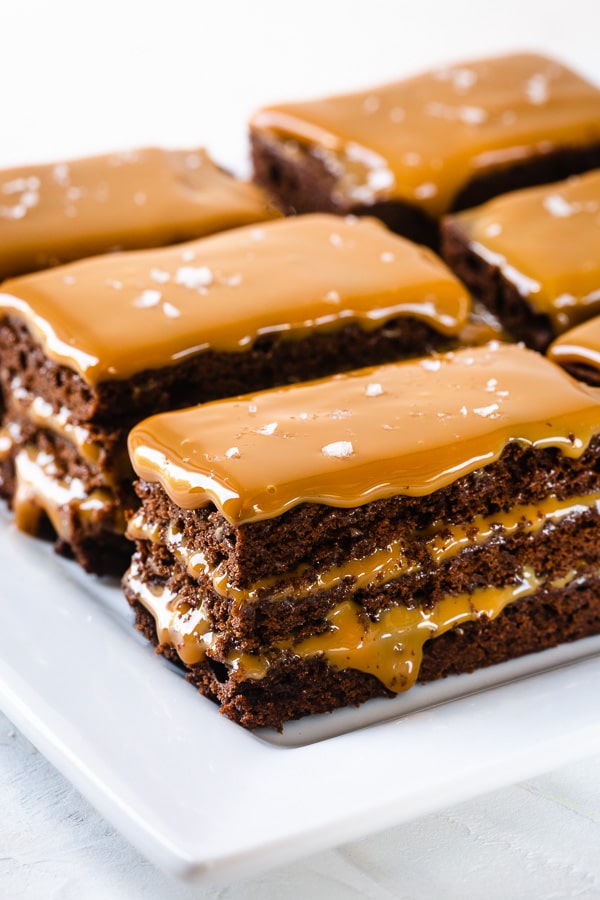
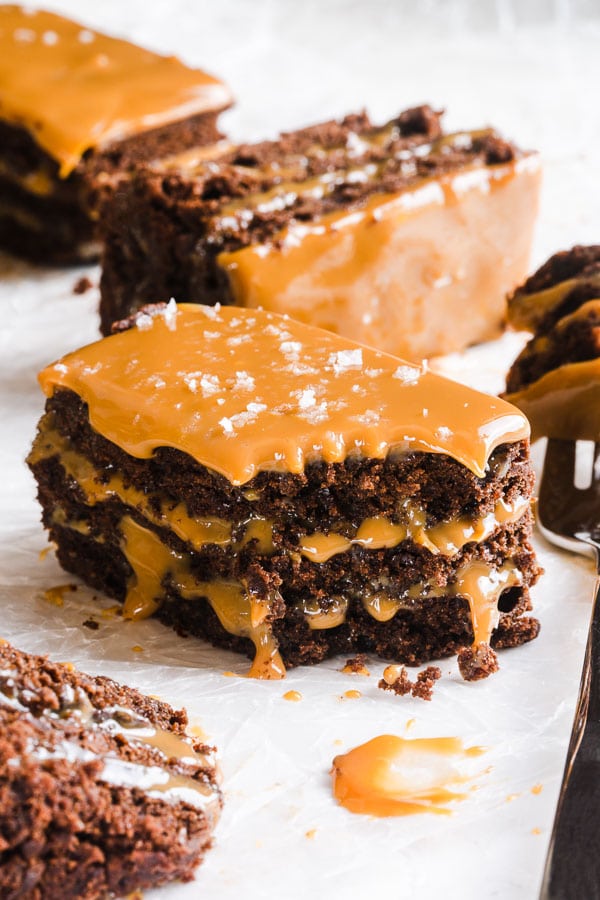
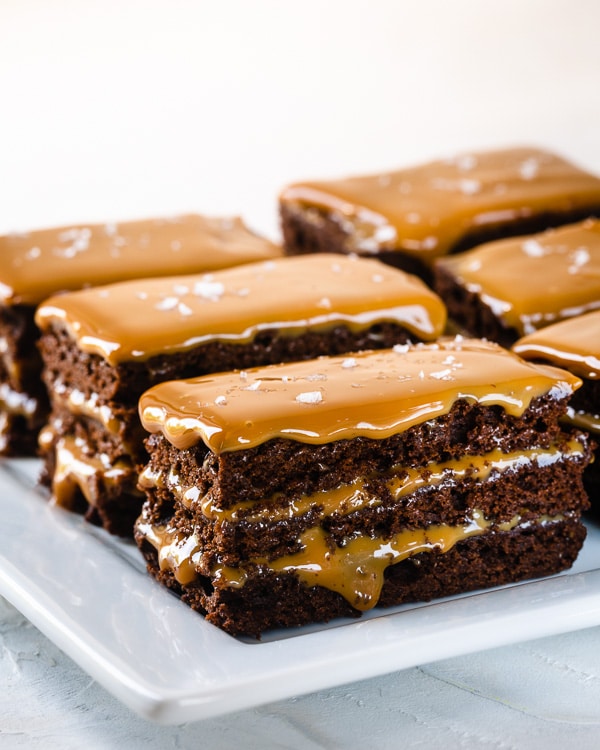
We’re talking super fudgy and rich chocolate cake layers filled with gooey sweet dulce de leche!! Nothing light about this dessert, but I’m telling ya, every bite is worth it!
Ok, I may sound like a broken record here, but these little cakes are RICH, in a good way, of course, but you’d want it in small dozes, and preferably, with a cup of tea, or coffee!
HOW TO MAKE MINI CAKES?
The cake layer is baked into thin, rich n’ fudgy chocolate cake in a regular half sheet pan. I’d also say it’s more like brownie than a cake texture-wise.
Then we’ll cut the sheet cake into 3 parts and fill each layer with dulce de leche. THREE layers of deliciousness!
See, how much richness is going on here? But let me tell you, you wouldn’t want to miss out on this. I mean, chocolate + caramel x3!!
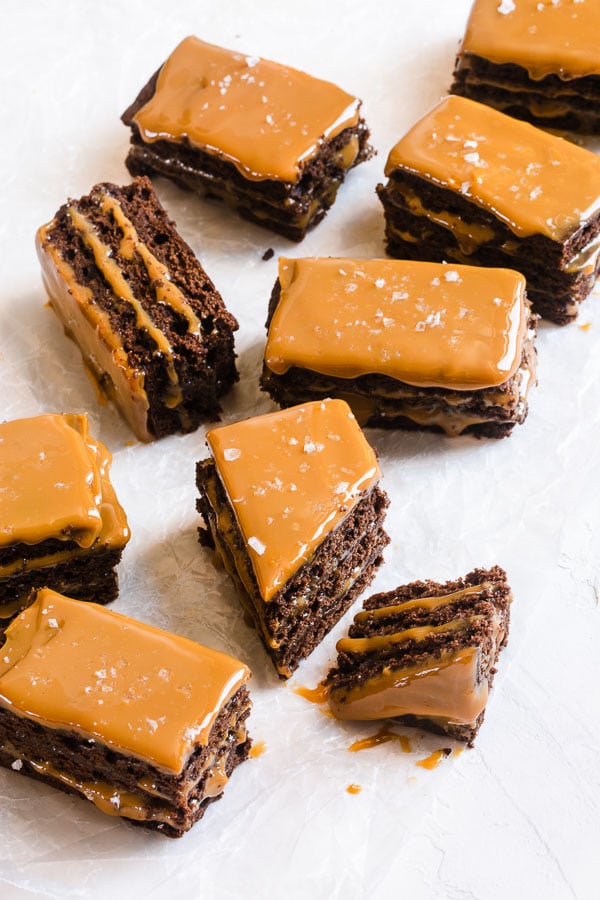
And guess what? While these mini cakes are rich, they are not cloyingly sweet. And a sprinkle of fleur de sel (or coarse sea salt) makes each bite just perfectly balanced. To top it all off, it’s so easy to make this cake.
But while it’s easy to make, there’s one caveat!
This cake isn’t really a great last minute cake though. Because this chocolate sheet cake is pretty thin, it’s very fragile, making it difficult to handle at room temperature. That’s why it’s best to bake the cake in advance and freeze it! Frozen layers are way easier to handle and they’ll defrost quickly while you assemble them.
Once assembled, cut the cake into small pieces and serve, or refrigerate until ready to serve.
Hope you’ll give it a try, and please let us know, if you do. And as always, thank you for stopping by.
Dulce de Leche Chocolate Mini Cakes
Ingredients
For cake:
- ½ cup 60gr all-purpose flour
- ¼ cup 30gr natural unsweetened cocoa powder
- 1 teaspoon baking powder
- ¼ teaspoon salt
- ½ cup 115gr unsalted butter, cut into small pieces
- 8 oz 225gr semi-sweet chocolate, broken into small pieces
- 4 large eggs at room temperature
- 2/3 cup 130gr sugar
- 2 teaspoons pure vanilla extract
For filling:
- 1 can 14oz/400gr dulce de leche
- Fleur de Sel or coarse sea salt for decorating, if desired
Instructions
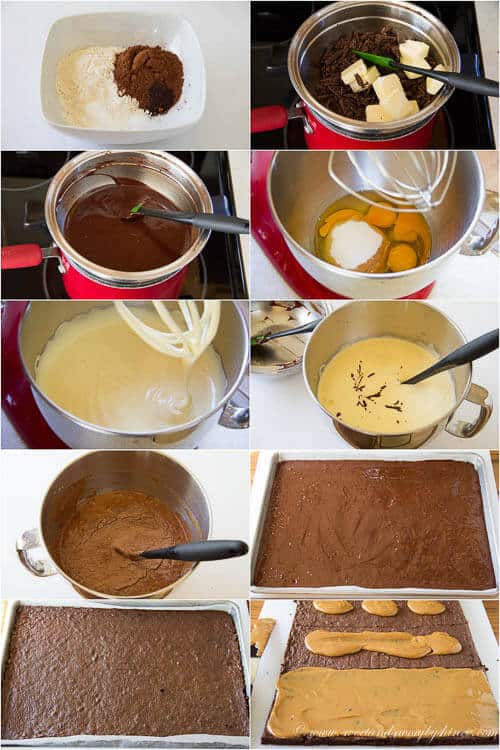
- Preheat the oven to 375°F (190°C). Line half sheet baking pan with a parchment paper and spray cooking spray all over the parchment paper and on the sides.
- In a medium bowl, whisk together flour, cocoa powder, baking powder and salt. Set aside.
- In a mixing bowl with whisk attachment, place eggs, sugar and vanilla extract. Beat on medium high for 5 minutes, or until the mixture is thick, white and tripled in size. (You can also use a handheld electric mixer, but it’ll take slightly longer, about 8 minutes.)
- Meanwhile, in a medium heatproof bowl, combine butter and chocolate and melt in double boiler over simmering water. (Or you can melt the chocolate/butter in a microwave at 50% power in 30-60 seconds increments, stirring well after each session.) Remove from heat and cool slightly.
- Then using a rubber spatula, gently fold in the melted chocolate mixture into the egg mixture.
- Add the flour mixture and gently mix until just combined.
- Pour the batter into the prepared baking sheet, spread it evenly and tap a few times to get rid of bubbles. Bake for 10-12 minutes, or until inserted toothpick comes out clean.
- Transfer onto a cooling rack to cool for 5 minutes. Then place a wire rack on top of the cake and invert. Remove the baking sheet and peel off the parchment paper. Now place another wire rack on the cake and then invert it again so that the top of the cake is up. Cool completely and then tightly wrap with plastic wrap and freeze for a few hours, or overnight. (It’s easier to handle the cake without breaking it when it’s frozen, as the cake layers are quite fragile.)
- To assemble the cake, carefully place the frozen cake on a cutting board. Cut off the edges to even out the cake, and then cut the cake into 3 equal parts.
- Spread dulce de leche evenly over each cake layer. Then carefully place each layer on top of each other. Cut the cake into 1.5×2-inch (about 3.5x5cm) pieces.
- Right before serving, sprinkle fleur de sel, or coarse sea salt on each cake.
- Store the cakes in the fridge, covered.
Tips & Notes
Nutrition
This recipe was originally published on November 9th, 2015.




This looks amazing! Everything good in one piece! Pinning…
Thanks, Meredith!
Hi Shinee, your cakes are great. I would love you to stop by Food on Friday: Cakes over at Carole’s Chatter to add this to the cake collection! Cheers!
I sure will. Thanks, Carole!
Oh yes, Shinee, I am in love!!
🙂 Thanks, Brianne!
These caught my eye on a linkup…so pleasing to the eye, and I bet they are to the palate too! Can’t wait to make these over the holidays. What beautiful photography too!
Thank you, Ginger!
Oh my! This will definitely go into the line up! Thanks for sharing.
Thanks, Beth!
Well Shinee, I answered yes to everyone of those questions, so I know I must make this cake. It looks irresistable!
Thanks, Kristen! It’s a must-try! 😉
These look so yummy! But I couldn’t resist checking your recipe out…caramel and chocolate together is a match made in heaven!
Agreed!! Thank you, Michelle!
I’m not much of a chocolate cake person, but that caramel is calling my name! what a gorgeous cake
🙂 Thanks, Heather!
Those are such pretty treats. I am so glad you included those tips in your post because my first thought was, “no way, I could never get the layers together.” You made it sound possible! I definitely think my family would love these!
Yeah, chilling the layer before stacking them helps a lot. Hope you give this a try, and if you do, please let me know how they turn out, Kristen. 😉
These cakes are so beautiful! Love that caramel deliciousness 🙂
🙂 Thanks, Medha!