Learn how to make sushi rolls step by step with any ingredients you love! Raw seafood is not required! Step by step photos and video included.
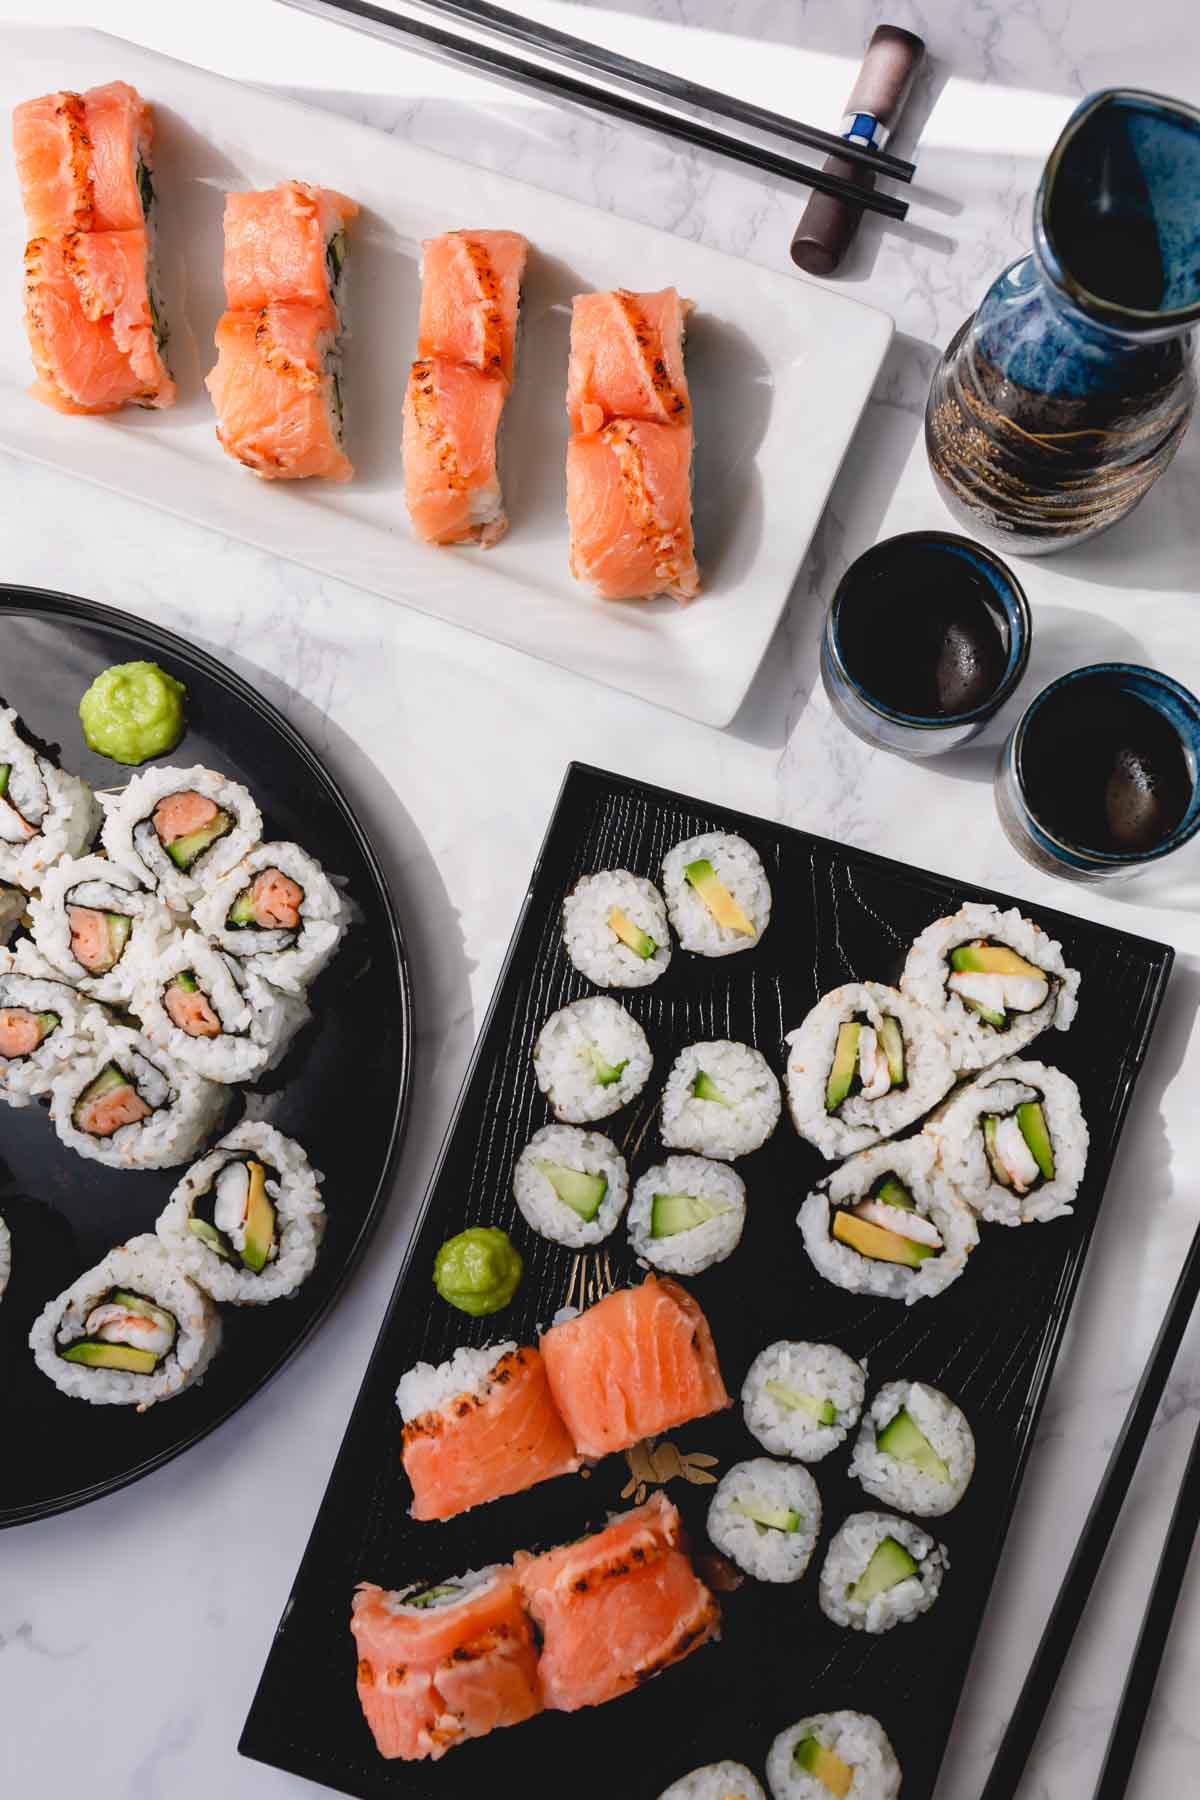
Table of Contents
Whether you’re an avid sushi lover, or one who prefers cooked seafood over raw fish, or even a vegetarian, you can enjoy homemade sushi rolls that suit your taste. Plus, you’ll save ton of money!!
Since you’re making the rolls, you get to decide what to fill them with! That’s the advantage of making your own sushi rolls. And it’s not even that hard to make them at home!
Let me show you exactly how to make sushi rolls at home! It’s super fun, I promise!
What you’ll need:
- Short grain sushi rice – It’s essential to have the correct rice! Sticky rice makes the whole process fun and easy.
- Sushi mat– You absolutely have to have a sushi bamboo mat to roll your sushi rolls. It really helps to form tight and neat rolls!
- Seaweed (nori) sheets– I bought nori sheets at an Asian market a while back. They’re not just for making sushi rolls, you can totally snack on it or serve it with plain rice.
- Rice vinegar– It’s essential to flavor your sushi rice.
How to make sushi rolls:
Making homemade sushi rolls is fun and easy! Here’s how:
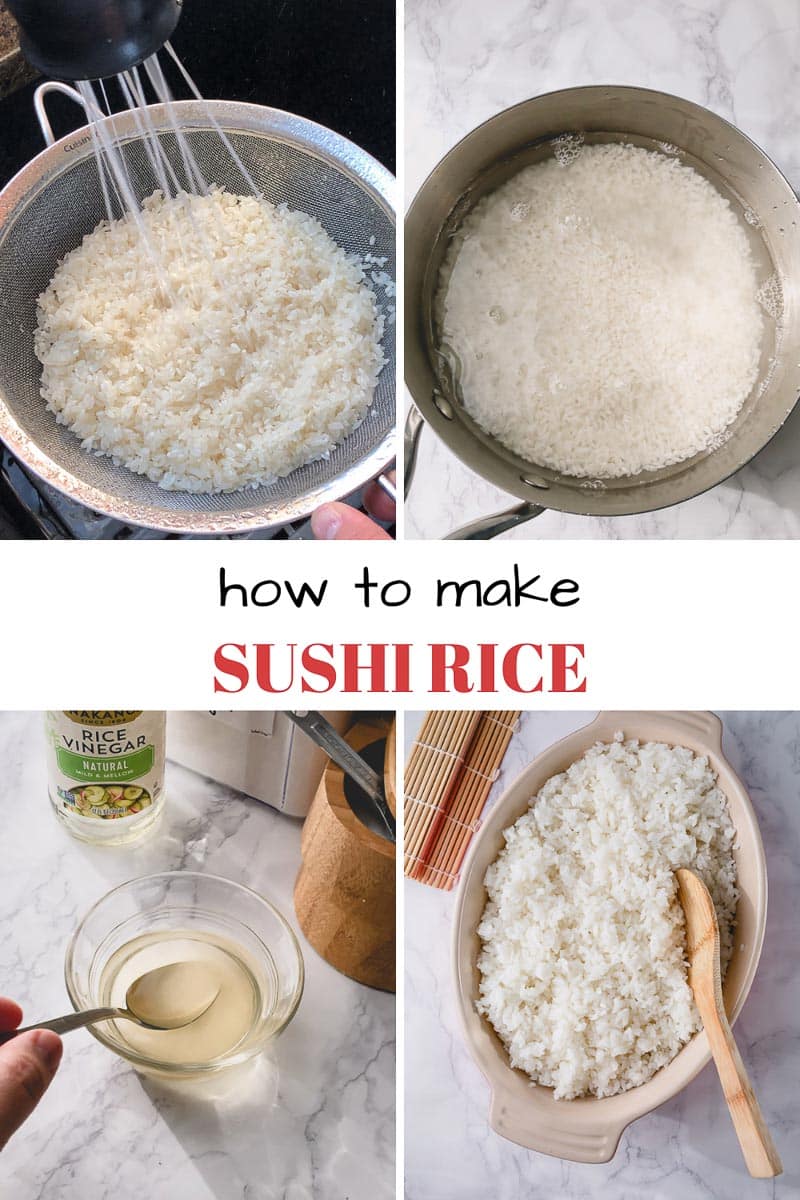
1. Prepare sushi rice
Sushi rice is made with short grain sticky rice, cooked and seasoned with rice vinegar, sugar and salt.
Tip
You cannot just use any rice here. The emphasis is on short grain sticky rice, because regular rice will just fall apart.
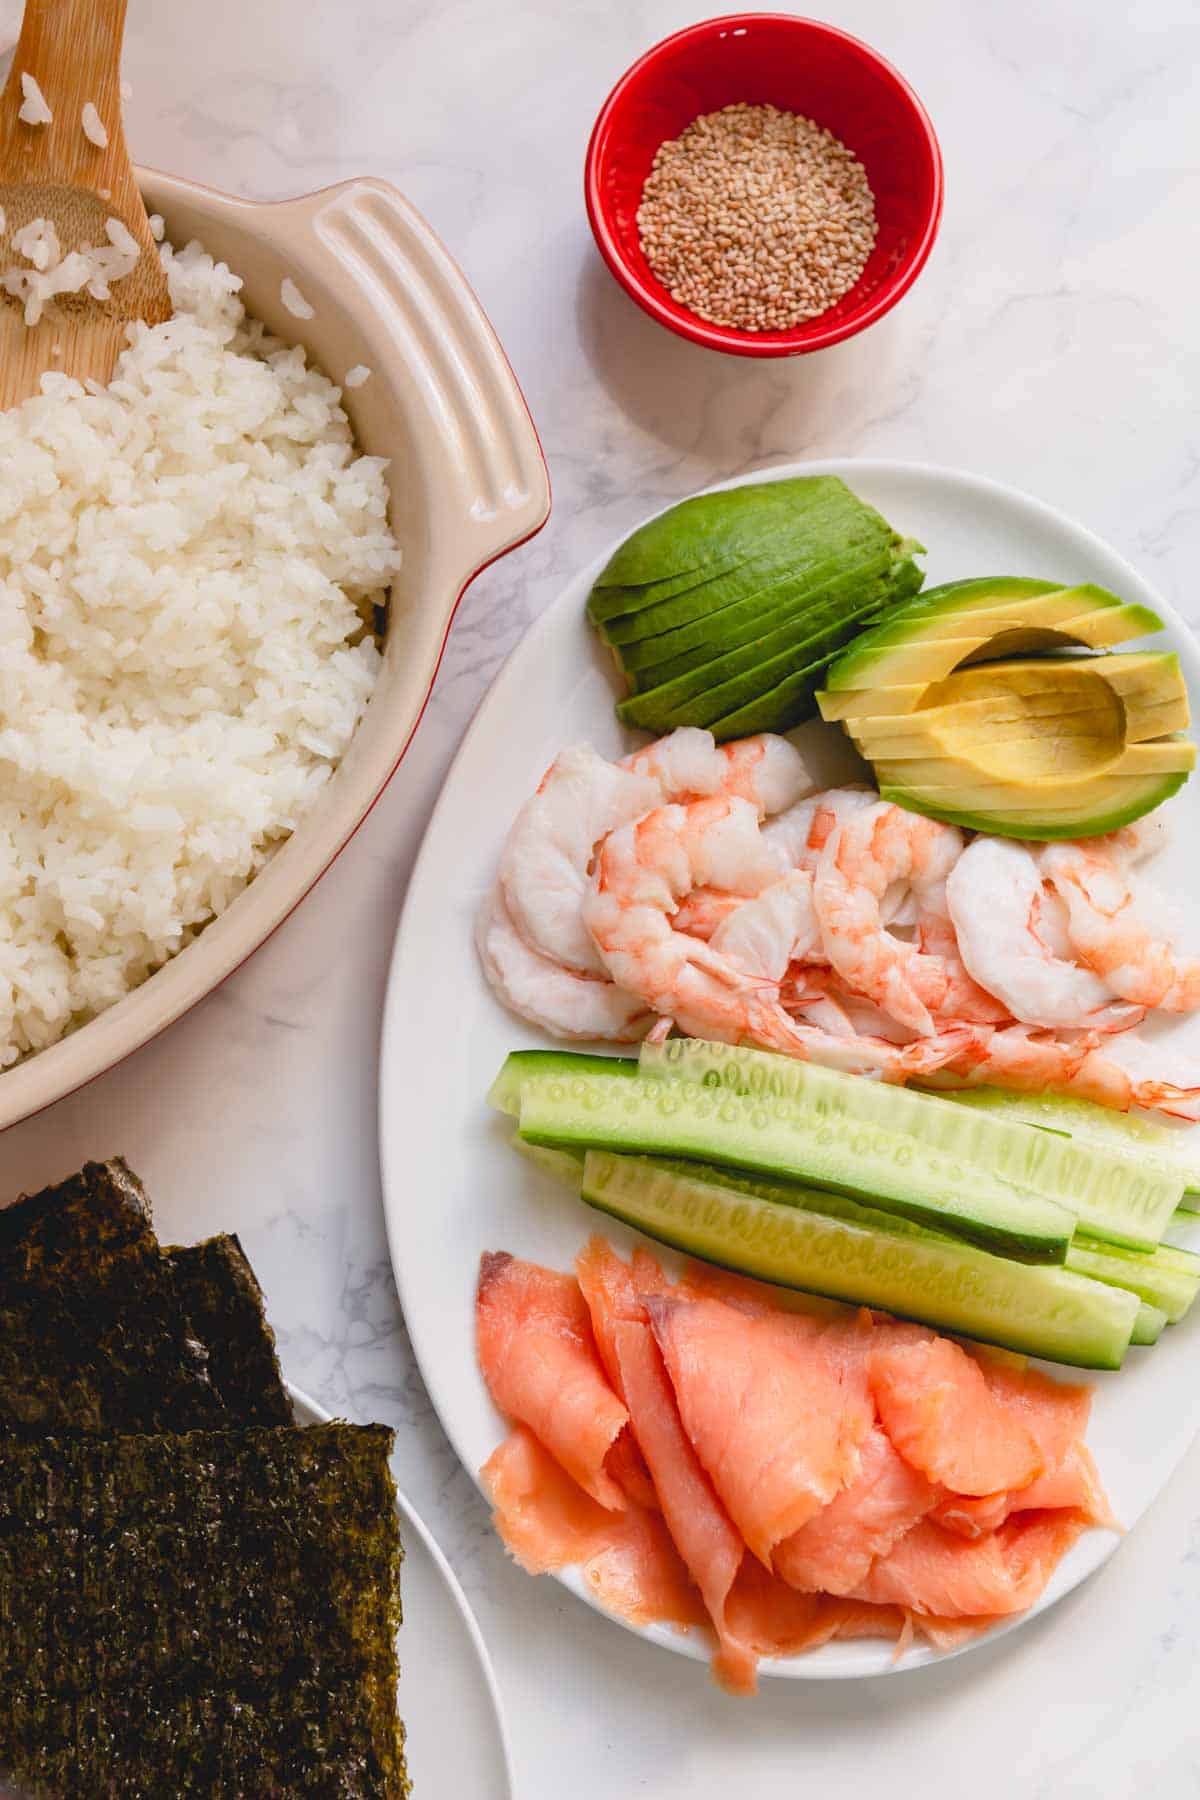
2. Prepare the fillings
- Cut the vegetables into long thin slices. My go-to vegetables are avocado and cucumber.
- I also slice cooked shrimp length-wise.
3. Roll the sushi rolls
- Place a sheet of nori on the prepared sushi mat, smooth side down.
- Bring a large bowl with water to dip your hands in. Wetting your hands prevents the rice from sticking your hands.
- Now, take about 1/2 cup of sushi rice and spread it evenly over the nori sheet, leaving about 1/2 inch space from the top. Again, don’t mash the rice too much. You want the rice stay fluffy and light.
- Arrange the fillings in whatever combination you like.
- Then place your thumbs under the mat and bring the roll over the fillings. Use your other fingers to hold the fillings in place and continue rolling until it reaches the end of the nori. Make sure the seam is on the bottom. Gently squeeze along the bottom of the roll and don’t press too hard. Just gentle but firm squeeze to give it a good shape.
Tip
Don’t overfill the rolls! It’s not a burrito.

To make inside out rolls:
- To make inside out rolls, spread the rice evenly on seaweed sheet, sprinkle some toasted sesame seeds and flip it over.
- Then arrange the fillings straight on the nori sheet.
- And roll just like the previous roll. Again try not to press too hard, just gently run your fingers along the bottom and top to shape the roll.
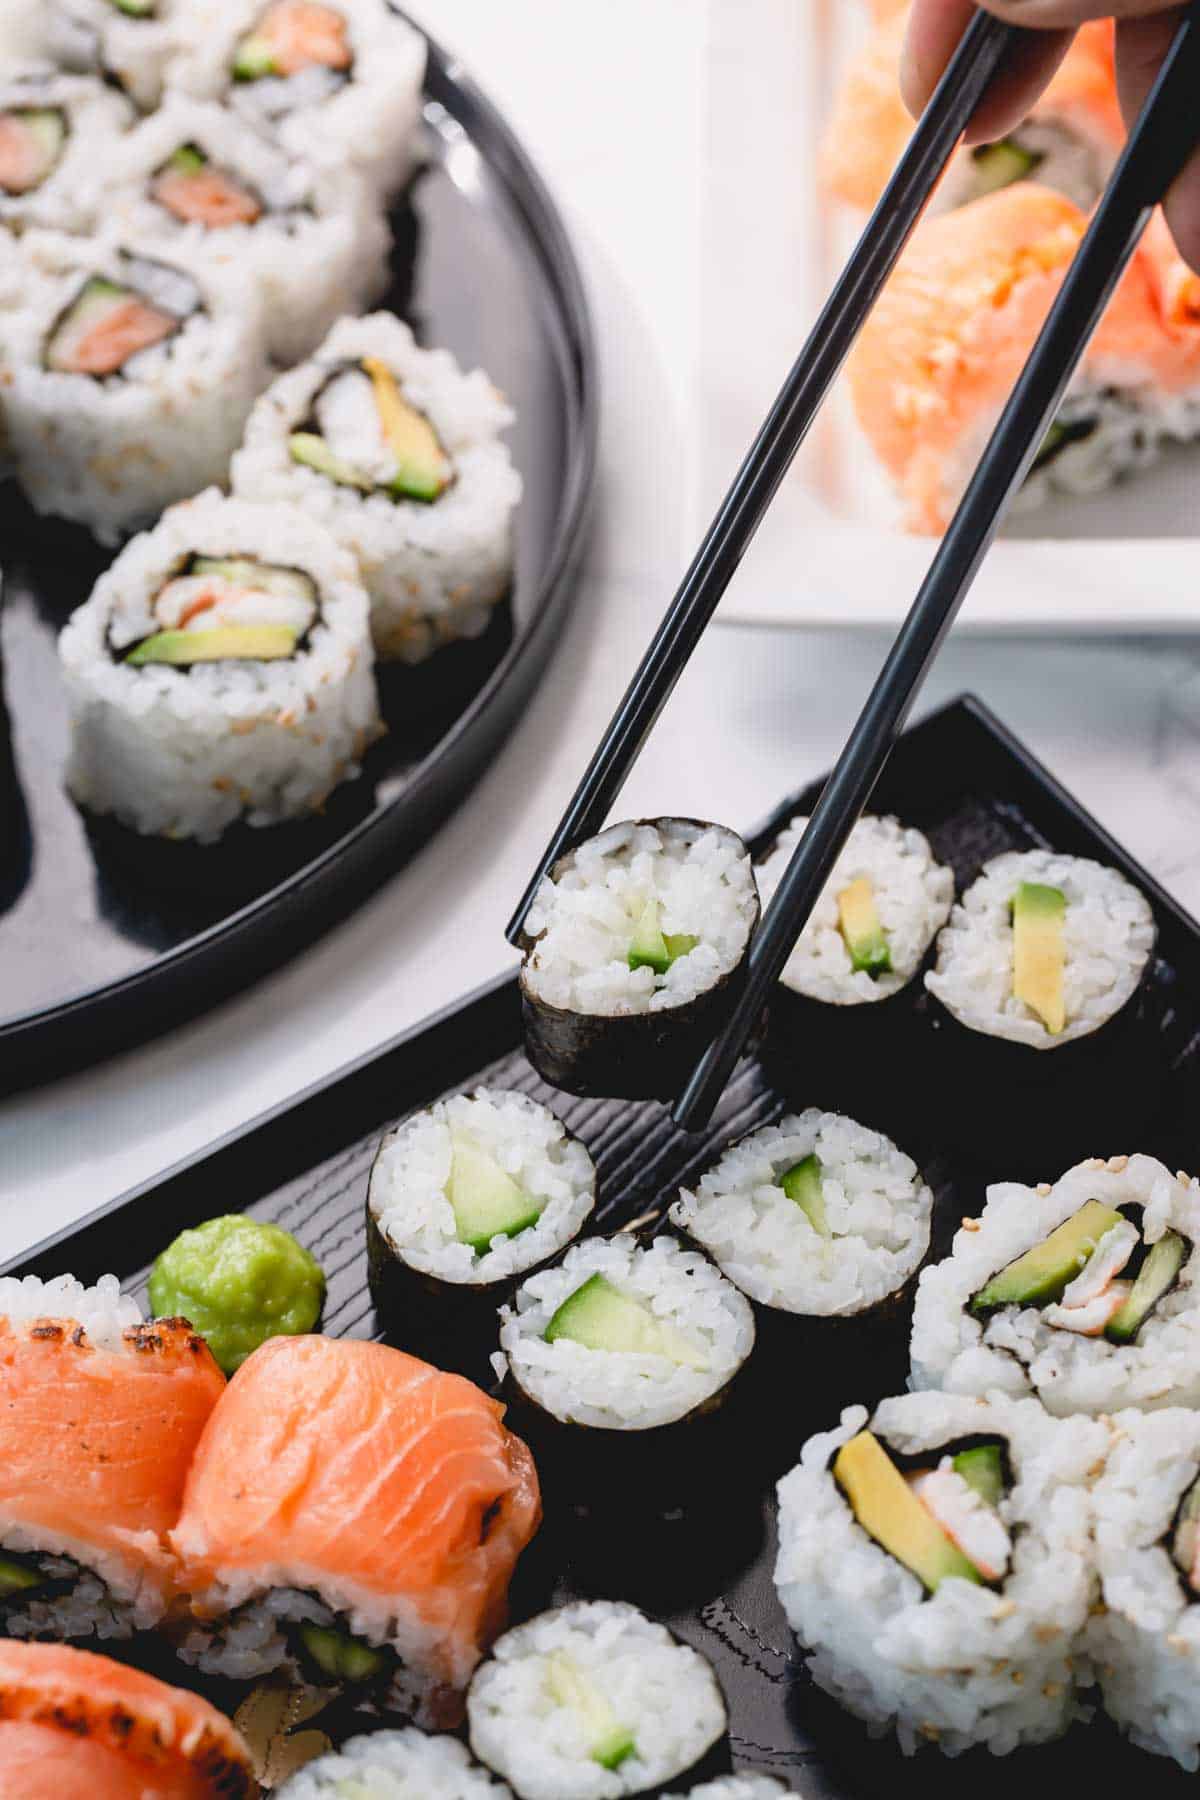
How to cut sushi rolls:
- Use a sharp knife and wet it lightly for a clean cut.
- Run the knife in gentle sawing motion without pressing too hard and smushing the rolls.
Tip
Wipe the knife on a clean wet towel in between cuts to prevent the rice from sticking to the knife.
Tips for Success:
- You can be as creative as you want with the fillings. Or keep it basic! Veggies like cucumbers, avocado, thinly sliced carrots are great options.
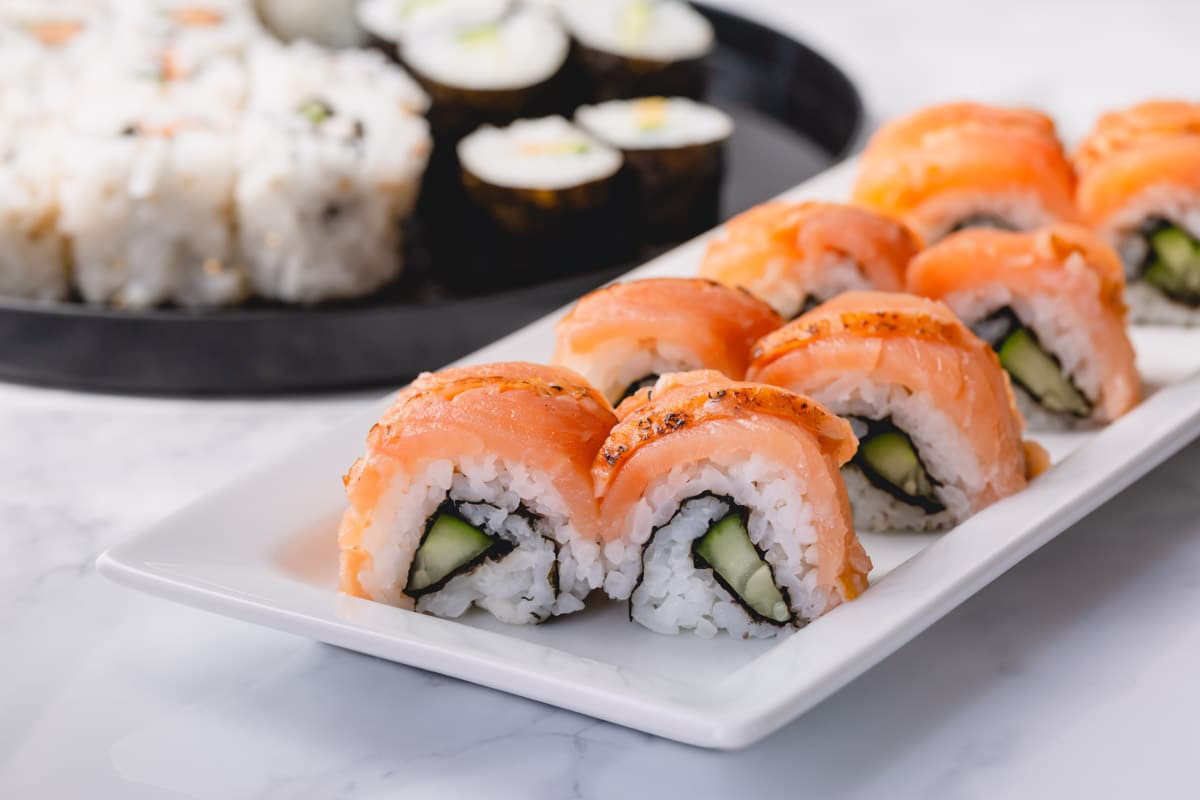
- As for seafood, you don’t *have* to have sushi-grade raw fish. If you’re like me with no access to fresh seafood, stick with cooked seafood like shrimp, crab, or even smoked salmon. For smoked salmon, I highly recommend cold smoked salmon.
- Super sharp knife is essential for cutting raw fish. Hold your knife at an angle to slice the fish.
- Place sushi mat in a large plastic bag to keep it clean and prevent the rice from sticking.
- Keep a bowl of water to dip your hands when rolling your sushi rolls. Rice doesn’t stick to wet hands.
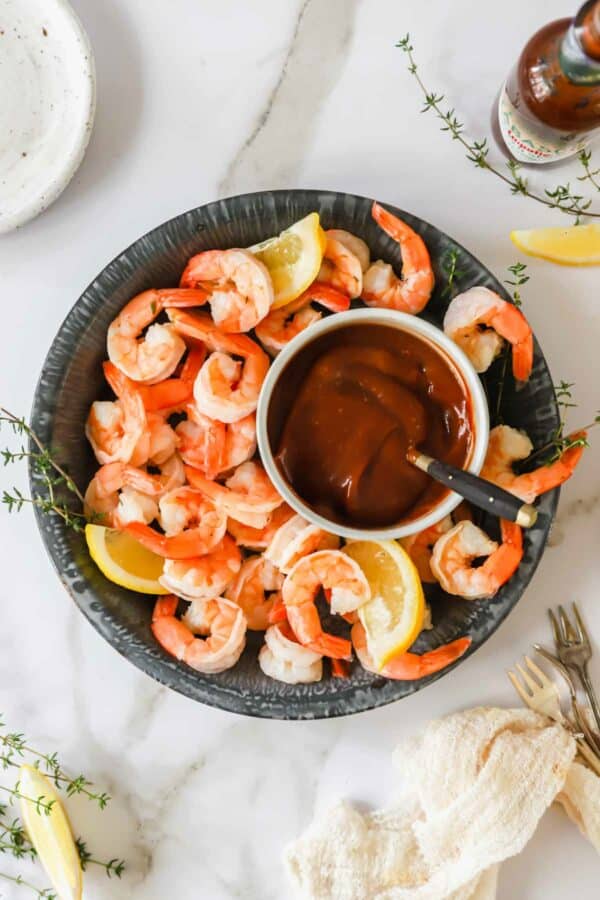
What to serve with sushi:
Homemade Sushi Rolls
Ingredients
For sushi rice:
- 2 cups short grain sushi rice Note 1
- 2.5 cups water
- ¼ cup rice vinegar
- 2 tablespoons sugar
- 1 teaspoon salt
For sushi rolls:
- 1 medium cucumber Note 2
- 1 avocado
- 4 cooked jumbo shrimp Note 3
- 4 oz cold smoked salmon
- 5 full nori (seaweed) sheets Note 4
- Black and white sesame seeds optional
- Wasabi and soy sauce for dipping if desired
Instructions
Make sushi rice:
- Wash the rice under running cold water until the water runs clear. (TIP: This helps to get rid of the excess starch and makes nice and fluffy rice. So don’t skip this step.)
- Drain and shake the excess water off. It’s crucial because rice to water ratio is very important for the right texture.
- Then place the washed rice in a saucepan and add 2.5 cups of water. Level the rice under the water so it’s nice and even. Cover with tight fitting lid and turn the heat to medium high. Bring it to a boil.
- Once boiled, reduce the heat to low and cook for 10 minutes, still covered. Then turn the heat off and let it sit for another 10 minutes. Don’t open the lid the entire time!
- Meanwhile, prepare the rice seasoning by mixing together rice vinegar, sugar and salt in a small dish until sugar is fully dissolved. Set aside.
- When the rice is fully cooked, transfer the rice into a large dish. (TIP: Choose a dish with the largest surface area, like a casserole dish, so that the rice cools quickly.)
- Pour the rice seasoning over the rice. And gently mix everything with a wooden spatula, using a cutting and folding motion. The goal here is to mix the seasoning evenly all throughout the rice and also cool the rice quickly. Rice will also get stickier in the process. Avoid smashing the rice, you don’t want to make mashed rice here. Be gentle!
- Then cover the rice with damp kitchen towel and prepare the fillings.
Prepare nori sheets and fillings:
- This's optional, but if desired, toast the nori sheets over an open flame to make them nice and crisp. ( I do this over my gas burner. Make sure to quickly swipe nori sheets over the fire.)
- If using full nori sheets, cut them in half into 2 rectangular sheets.
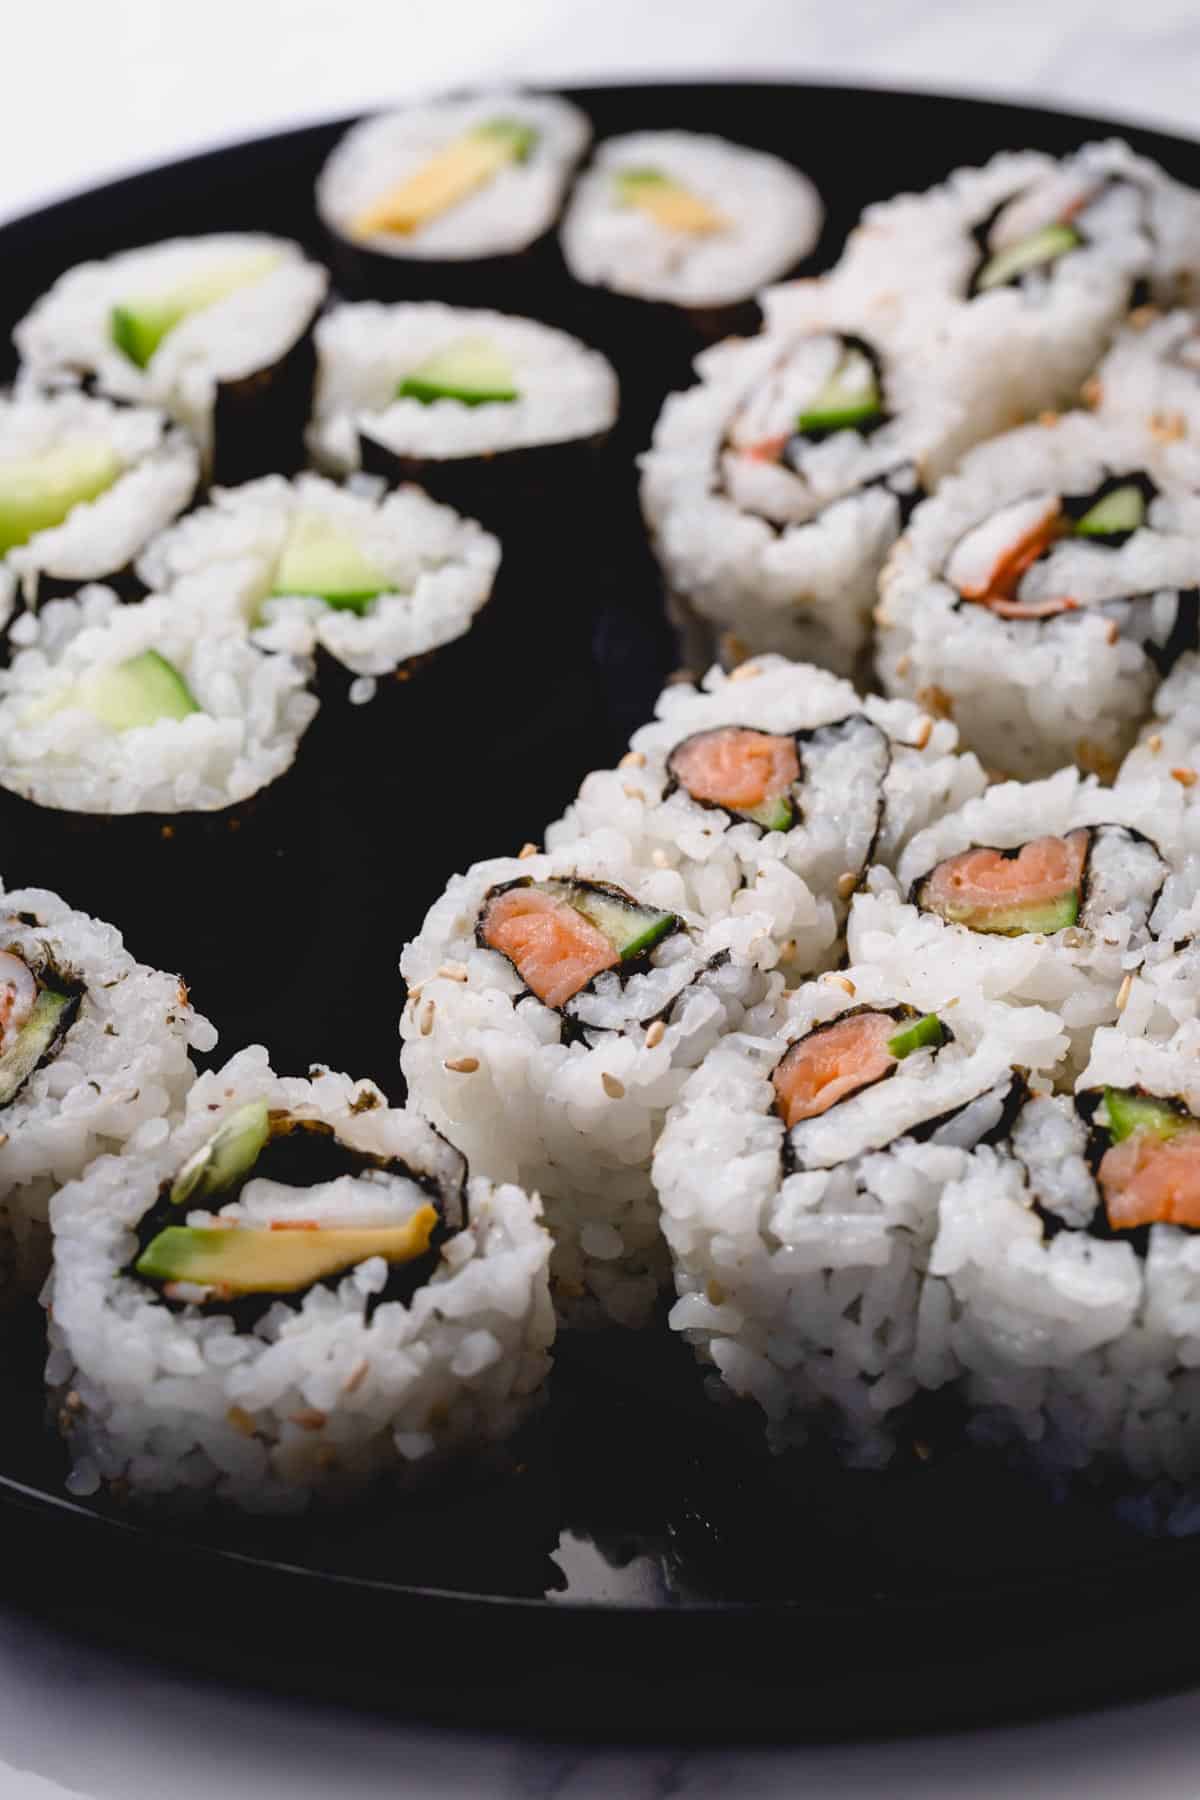
- Prepare the fillings by cutting and slicing them into thin strips. Here I'm using cooked shrimp, cucumber, avocado and smoked salmon. So I slice the shrimp horizontally, cut the cucumber into think sticks (you can also remove seeds, if desired) and peel and slice avocado.
Make the rolls:
- Prepare a bowl of cold water to dip your hands in to keep them wet when you handle the rice. This will help from rice sticking to your hands.
- Place sushi mat in a large ziplock bag to prevent the rice sticking to the mat. Arrange everything (rice, fillings, etc) around the work area.
- Place a seaweed sheet rough side up on the prepared sushi mat.
- With wet hands, take about 1/2 cup of sushi rice and spread it evenly over the nori sheet, leaving about 1/2 inch space from the top. Again, don’t mash the rice too much. You want the rice stay fluffy and light.
- Arrange the fillings in whatever combination you like. (For example, just cucumber, or just avocado, or cucumner + shrimp, or cucumber + smoked salmon, etc.)
- Then place your thumbs under the mat and bring the roll over the fillings. Use your other fingers to hold the fillings in place and continue rolling until it reaches the end of the nori. Make sure the seam is on the bottom. Gently squeeze along the bottom of the roll and don’t press too hard. Just gentle but firm squeeze to give it a good shape.
- To make inside out rolls, spread the rice evenly on seaweed sheet, sprinkle some toasted sesame seeds and flip everything over. Now arrange the fillings straight on the nori sheet. And roll just like the previous roll. Again try not to press too hard, just gently run your fingers along the bottom and top to shape the roll.
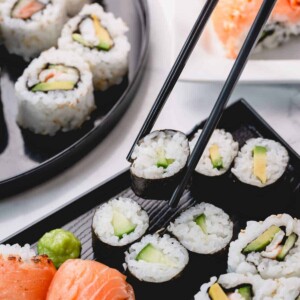
- To cut the rolls, use a sharp knife and wet it lightly for a clean cut. Run the knife in gentle sawing motion without pressing too hard and smushing the rolls. Wipe the knife on a clean wet towel in between cuts to prevent the rice from sticking to the knife.
- Arrange the cut sushi rolls on a serving platter. Serve with soy sauce and wasabi for dipping.
Tips & Notes
Nutrition

This recipe was originally published on December 29th, 2014.


Was wondering, how long does the leftovers last in the fridge? Also, I have nori sheets, but I thought they were crisp. I could be wrong. I’m making California rolls with imitation crab legs which I will divide as I think one leg is too thick (about diameter of string cheese or more) cucumber and avocado, if I can get the dang things ripe! LOL. My local grocery store has one I love, and it has crunches and an orange colored sauce (yum yum sauce) and usually a teriyaki sauce with some kind of crunchy on top. I’m thinking it’s French fried onions so will try that.
Can I cook my sushi rice in the rice cooker or does it need to be stove top? Thanks a bunch!
I’m in love with this! Thank you for sharing this with us! Pinned and tweeted! I hope to see you at tonight’s party. We are always so impressed with your creations and can’t wait to see them! Lou Lou Girls
I love sushi and it’s a lot of fun to make at home! Thanks for this 🙂
Sure thing. Thank you, Tianna!
I love sushi Shinee and your homemade sushi rolls look delicious! I love your step by step photos and glad your son is ok!
I have featured your recipe via last week’s Say Gday party! Pinned and shared and hope to see you on Saturday!
It was my husband who got sick. 🙂 Thank you, Joanne!
I am so excited I found this!!! I love sushi but had no idea how to make it. It always looks so complex – – it was a “go to” for a special treat. You make it look simple and kind of fun:) I will be making these very soon. Thanks for sharing!!!
You’ll have ton of fun making your own sushi rolls, Teresa! Hope you try this soon. Thank you for stopping by!